Steveair2
XS650 Addict
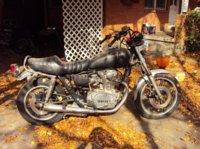
Hello Group,
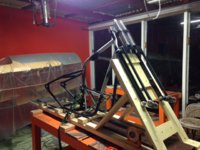
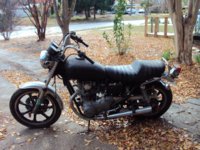
My name's Steve Stephenson. I live in Dallas Texas. I've been collecting parts for a few years now. I started this build a few weeks ago. I decided to document my progress here.
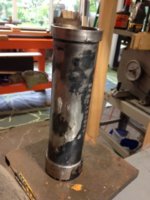
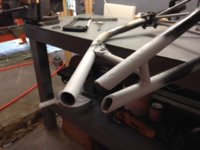
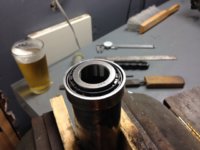
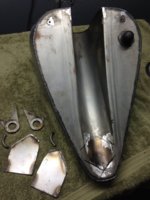
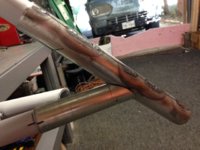
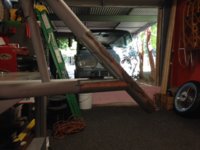
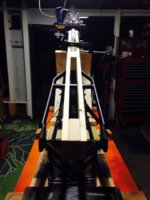
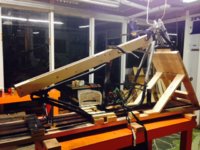
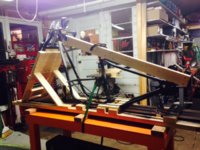
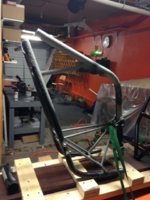
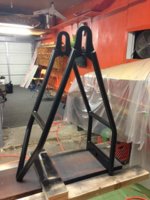
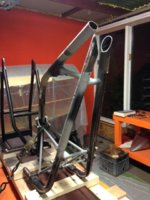
I have a Elswick hard tail and a four inch under DNA front end. After all the cutting and grinding, I think I should have just built the frame from scratch.
My name's Steve Stephenson. I live in Dallas Texas. I've been collecting parts for a few years now. I started this build a few weeks ago. I decided to document my progress here.
I have a Elswick hard tail and a four inch under DNA front end. After all the cutting and grinding, I think I should have just built the frame from scratch.
Attachments
Last edited: