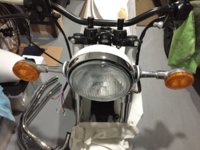
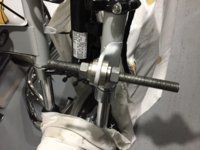
George, I had a similar problem. Ears not bent the same, accident history. Your right ear appears to be bent inward more than the left. I had to come up with a pinch/clamp jig for the ears, and carefully work them. Try a length of all thread, largest possible diameter and sized to fit thru and between the ears, like what the guys here do for spreading axle plates. Sandwich the ears between thick rubber washers, thick fender washers, nuts. Space the ears to match the headlight width, snug down. Then, grip the middle of the all thread and force it left/right a little to get the ears to conform. Gads, I hope that makes sense...

 !
!