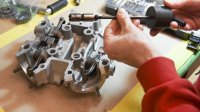
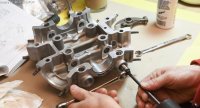
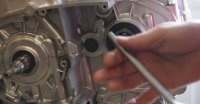
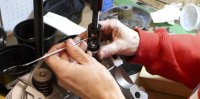
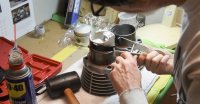
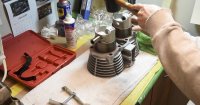
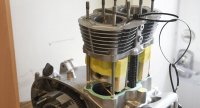
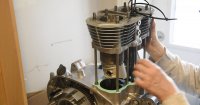
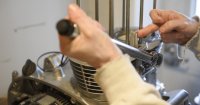
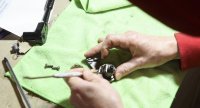
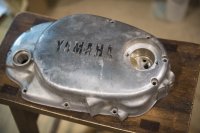
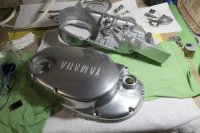
Unfortunately I forgot to install the new Push Rod Bushing before I sealed up the crankcase.

I don't really want to remove the new push rod seal that I just installed so I was just going to put in the new 1 piece push rod without changing the bushing, thinking I'll leave it till next time the seal starts to leak again.
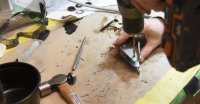
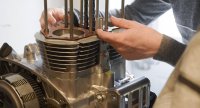
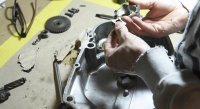
However when I look into/through the drive axle I can't see the existing bushing? Does anyone know if the bushing is visible to the naked eye?
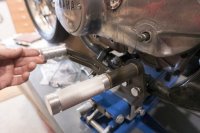
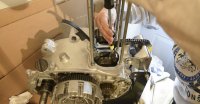
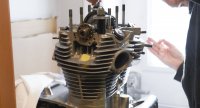
When installing the 1 piece rod is it just a matter of 1 ball bearing into the shaft, then slide the rod in and done?
Thanks!
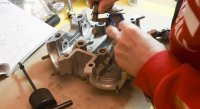
I don't really want to remove the new push rod seal that I just installed so I was just going to put in the new 1 piece push rod without changing the bushing, thinking I'll leave it till next time the seal starts to leak again.
However when I look into/through the drive axle I can't see the existing bushing? Does anyone know if the bushing is visible to the naked eye?
When installing the 1 piece rod is it just a matter of 1 ball bearing into the shaft, then slide the rod in and done?
Thanks!