How about shrink tubing used for electrical connections. Not sure if it will hold up to the gas?
Great Idea, I'll do an experiment!
How about shrink tubing used for electrical connections. Not sure if it will hold up to the gas?

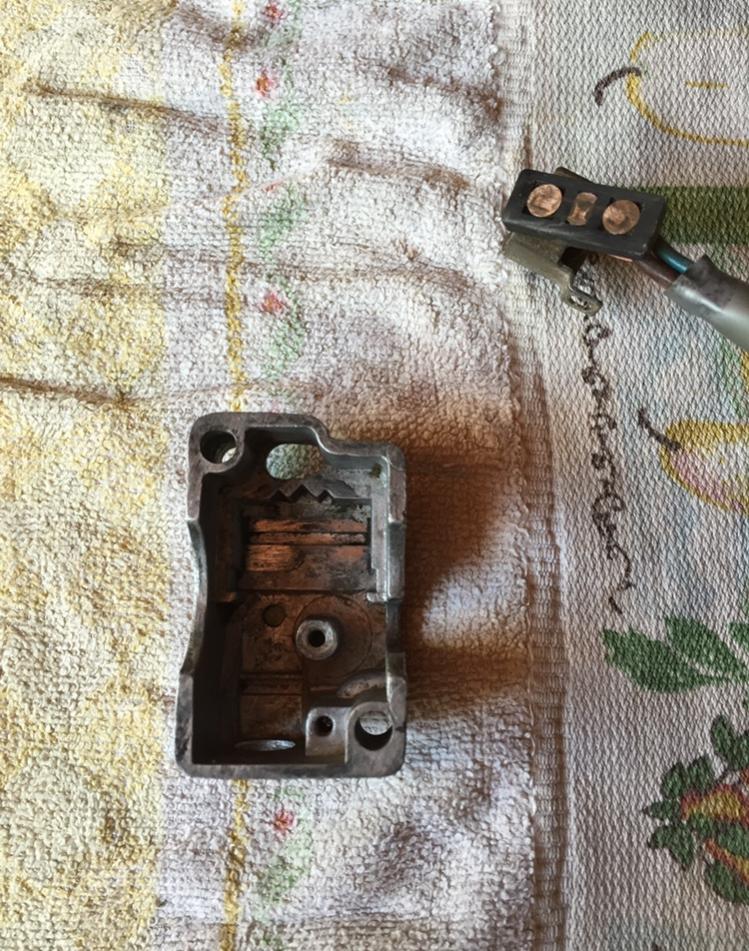
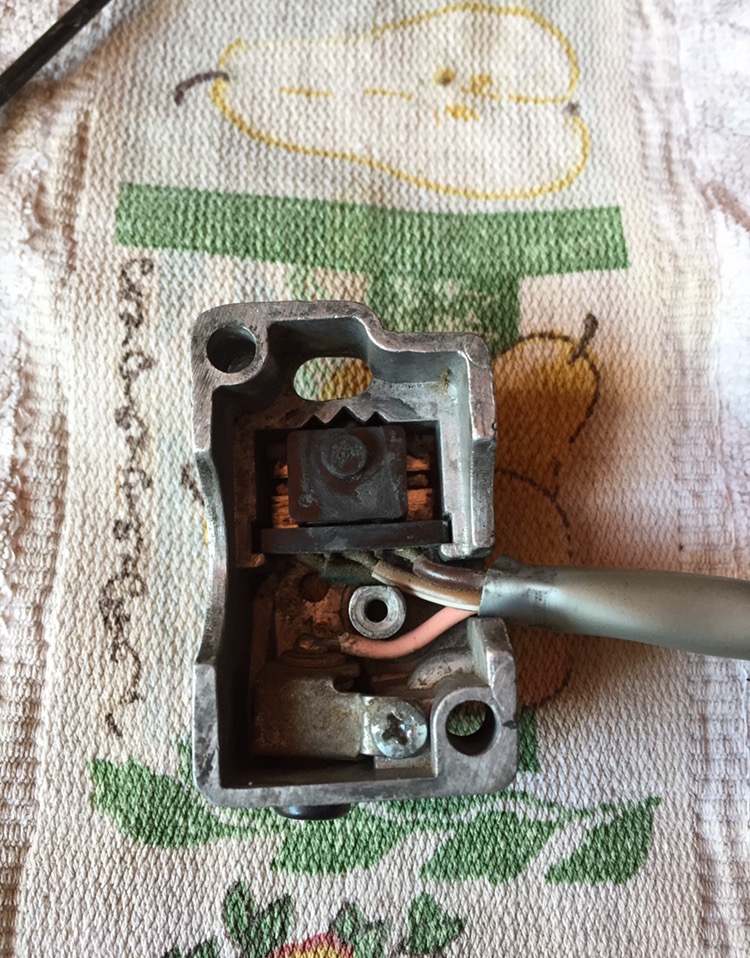

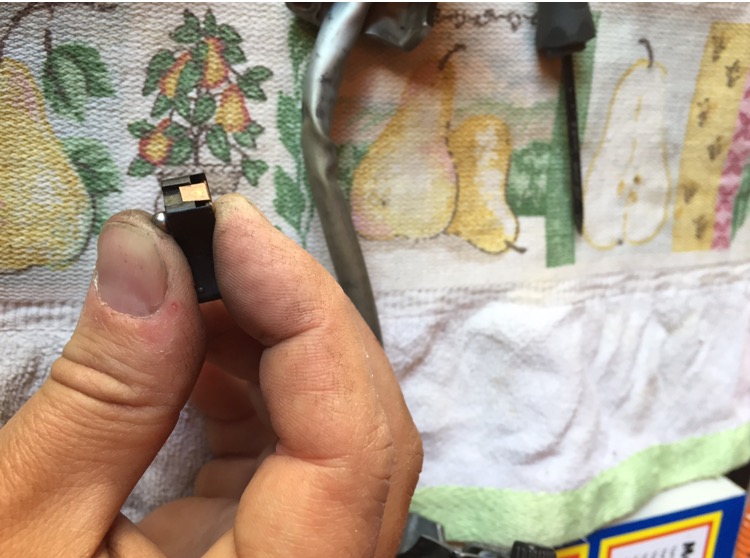

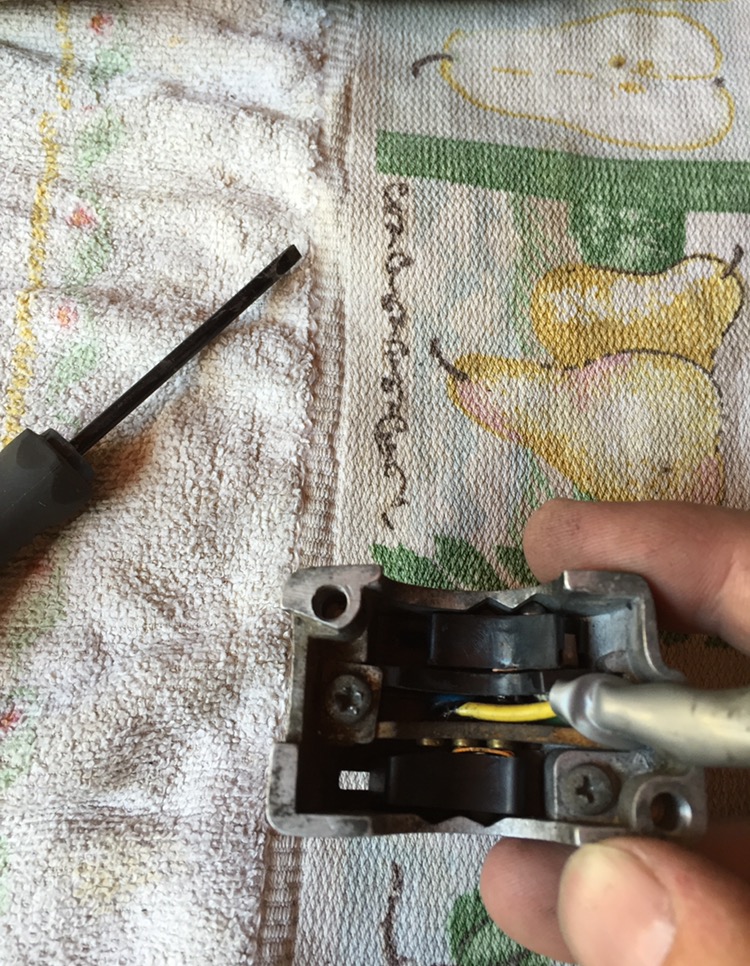
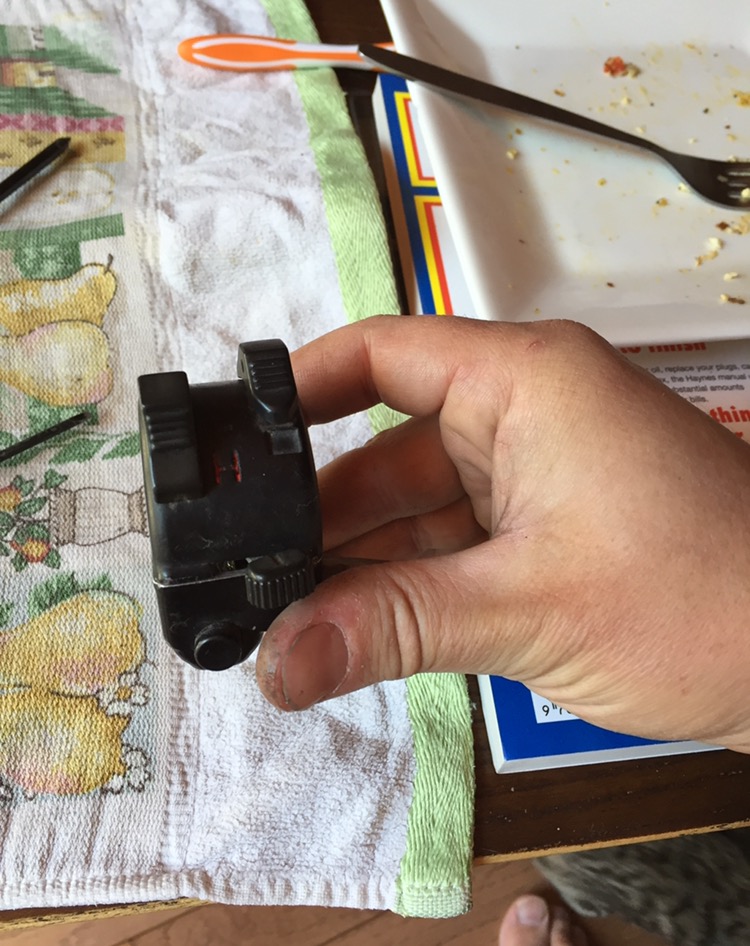


Now that you've got the left switch reassembled, I suppose you don't need me telling you to coat everything with dielectric grease first...
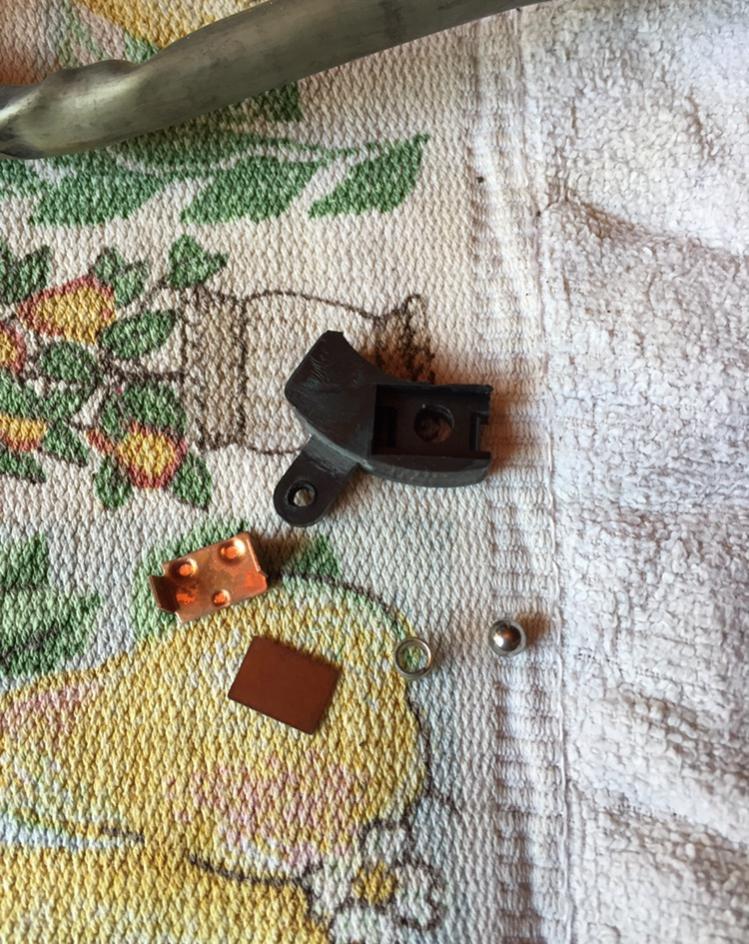
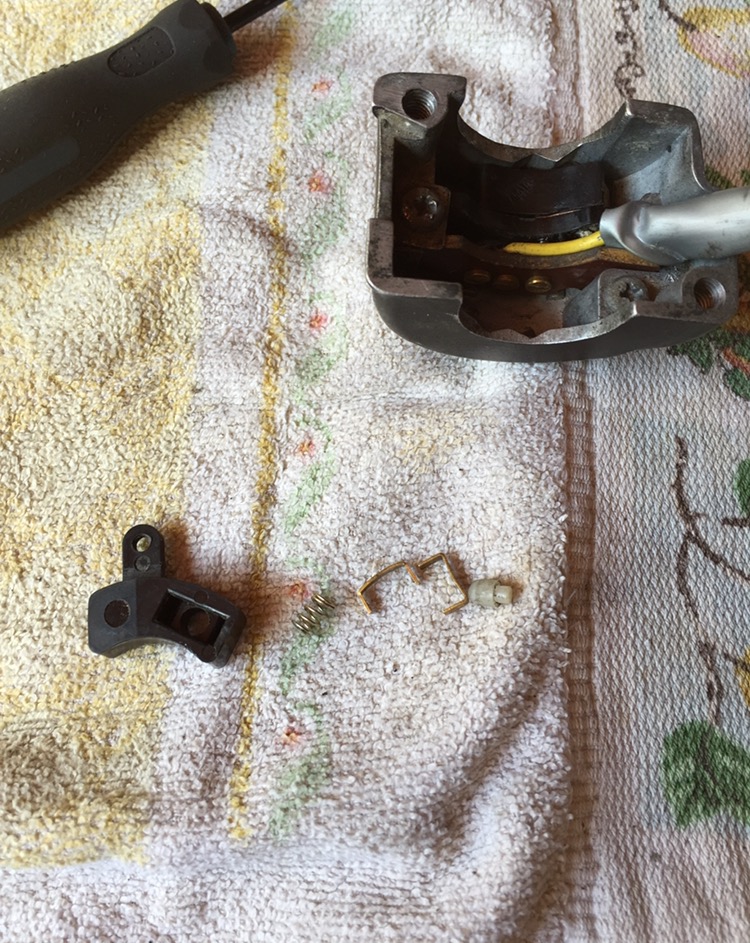
 Just don't have any atm. I'm gonna take it apart again and do that whenever I get some. The list is growing.
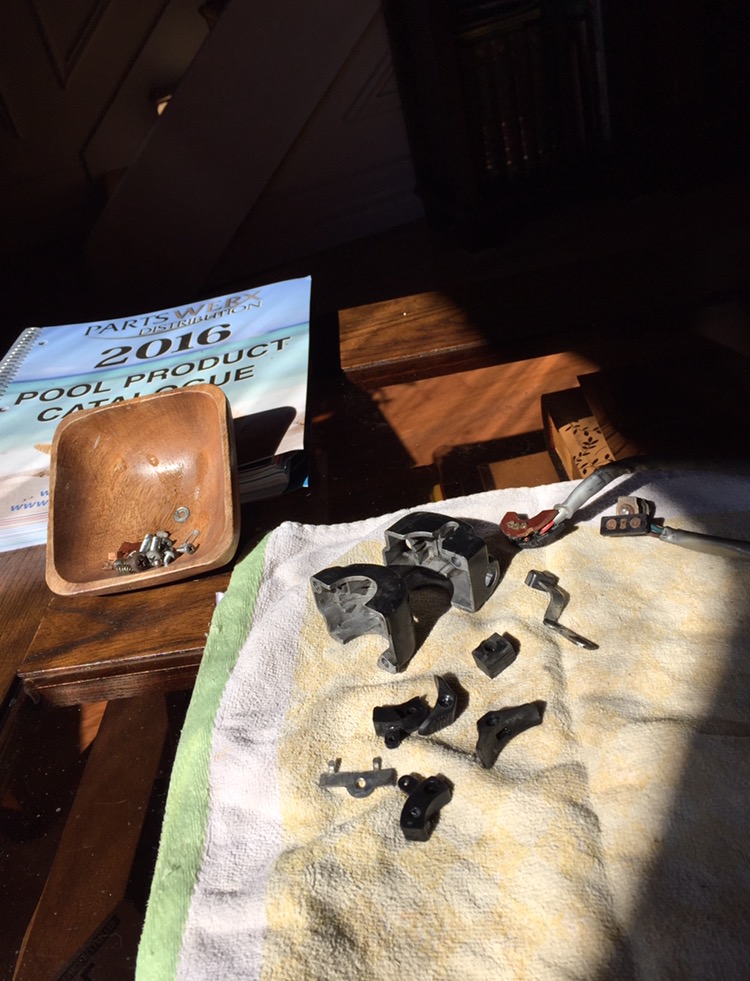

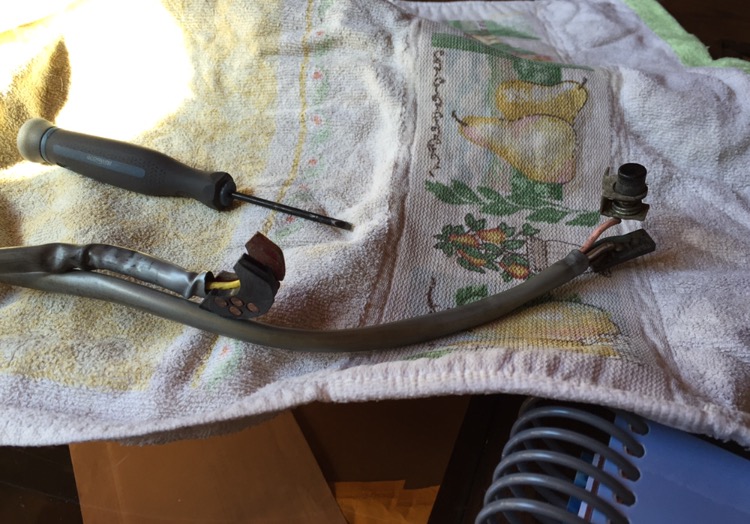
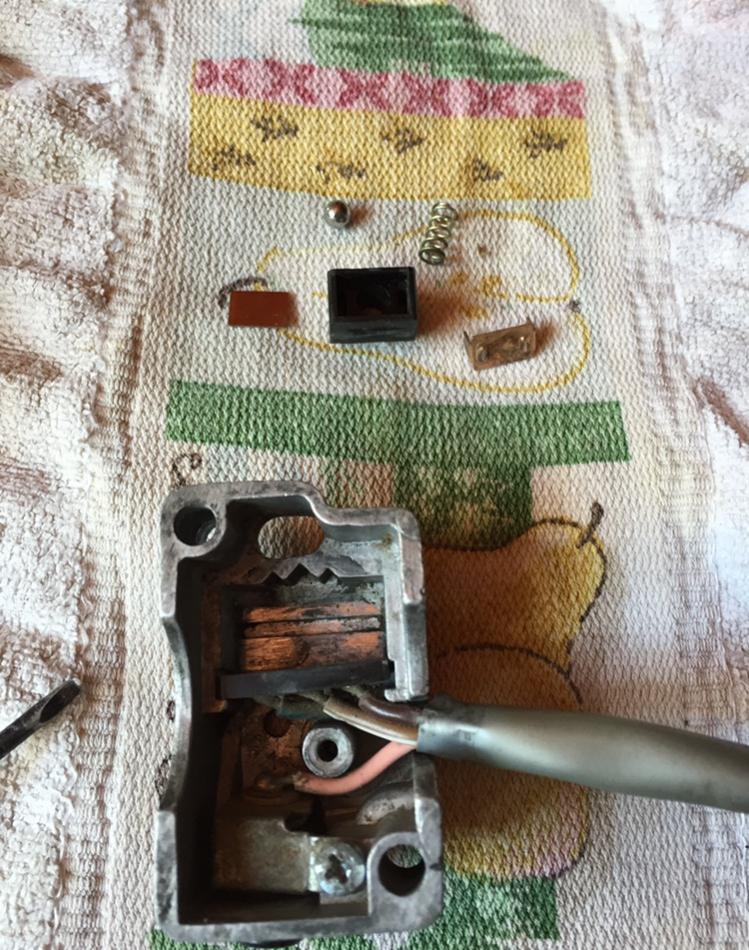
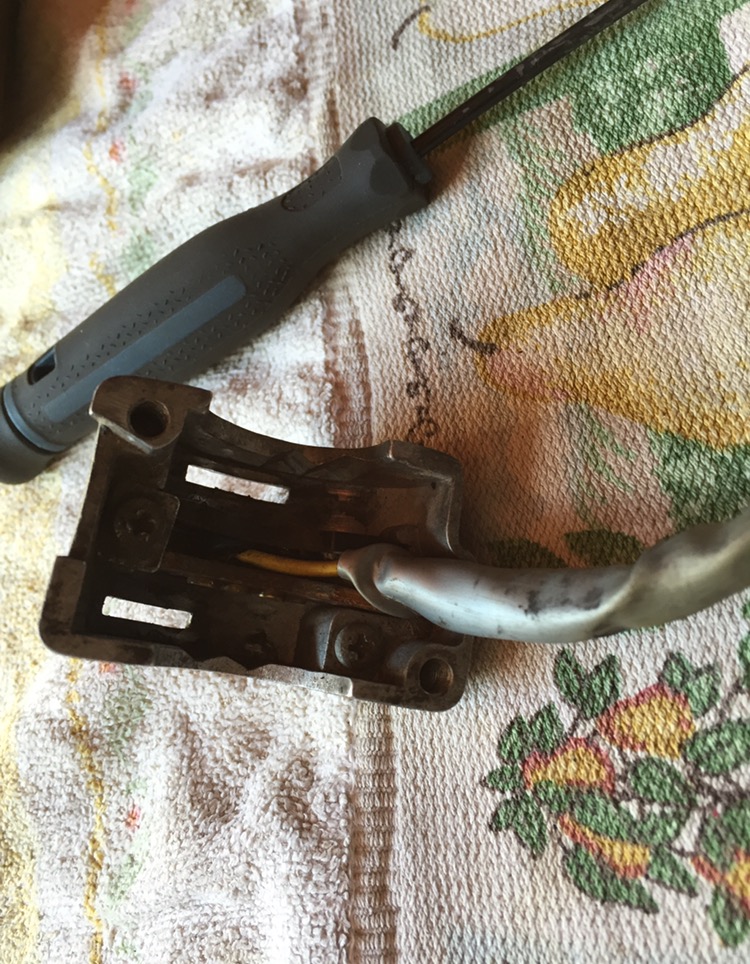
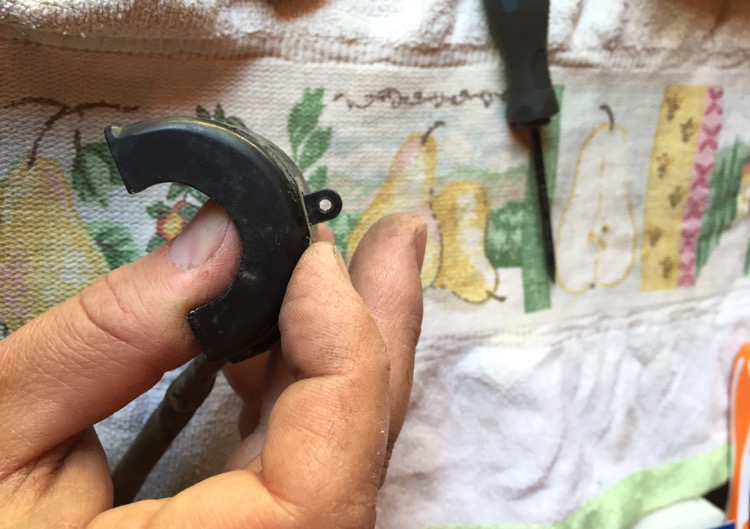
 Oops! Gonna have to reinstall that...
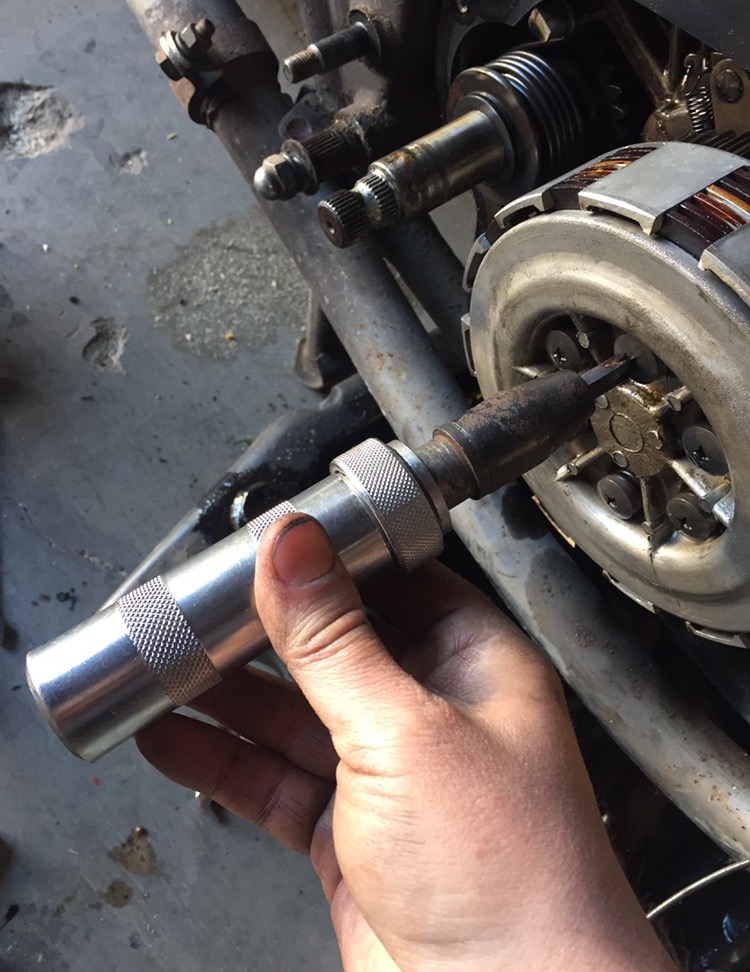
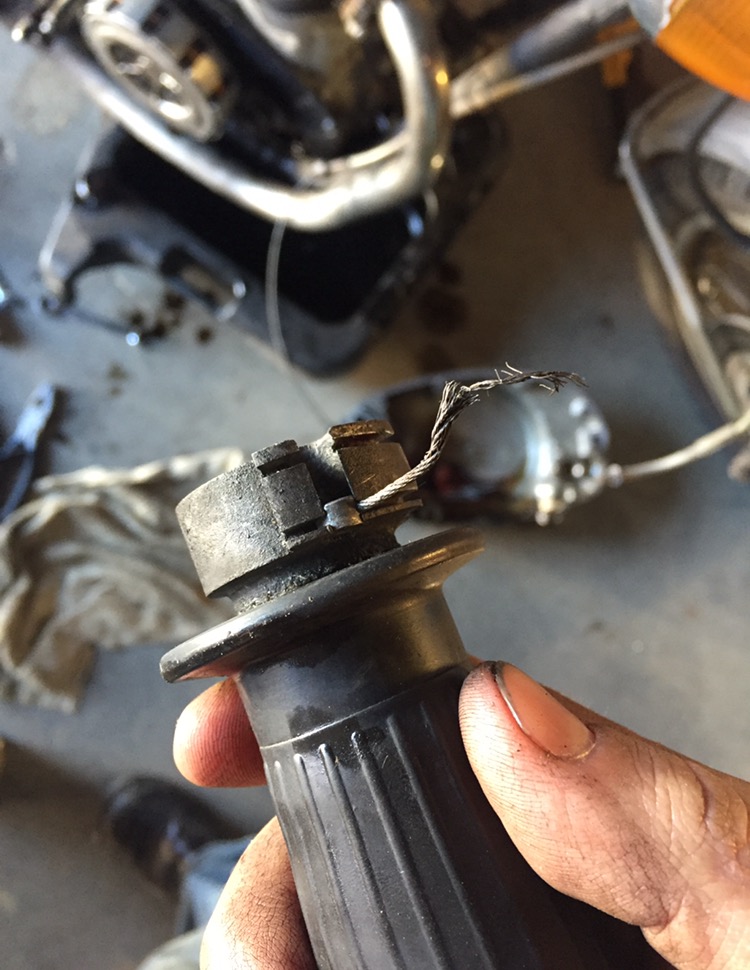
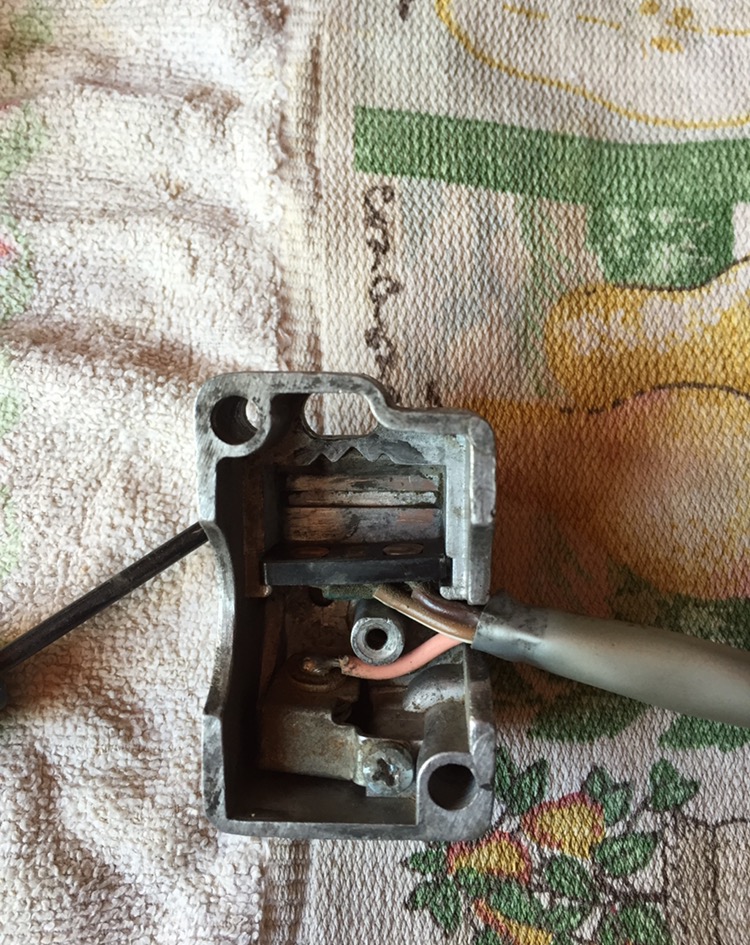
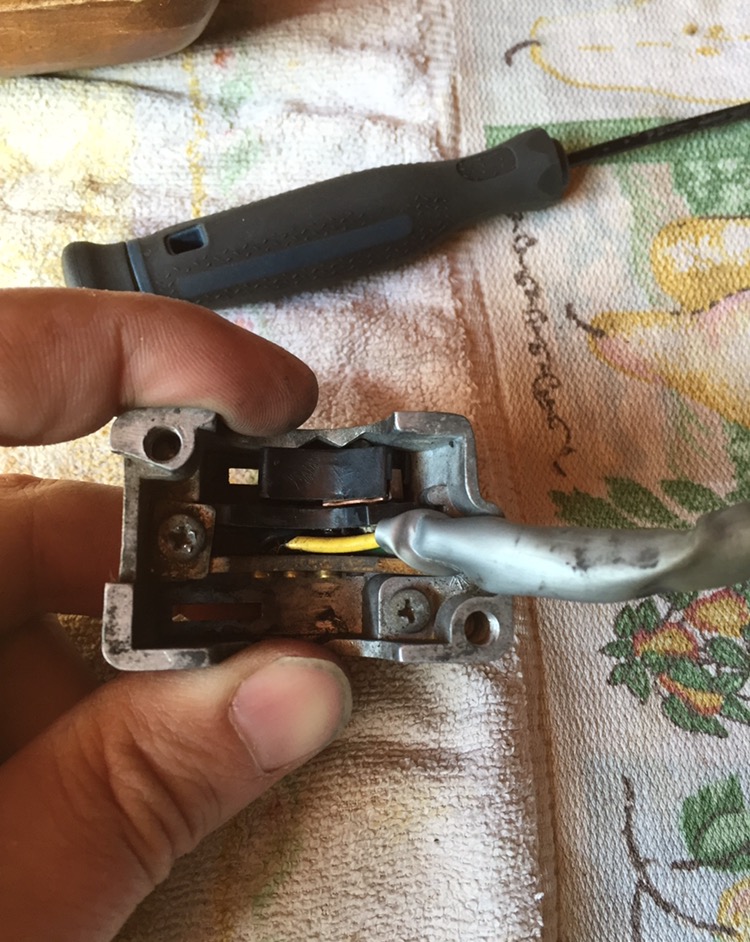
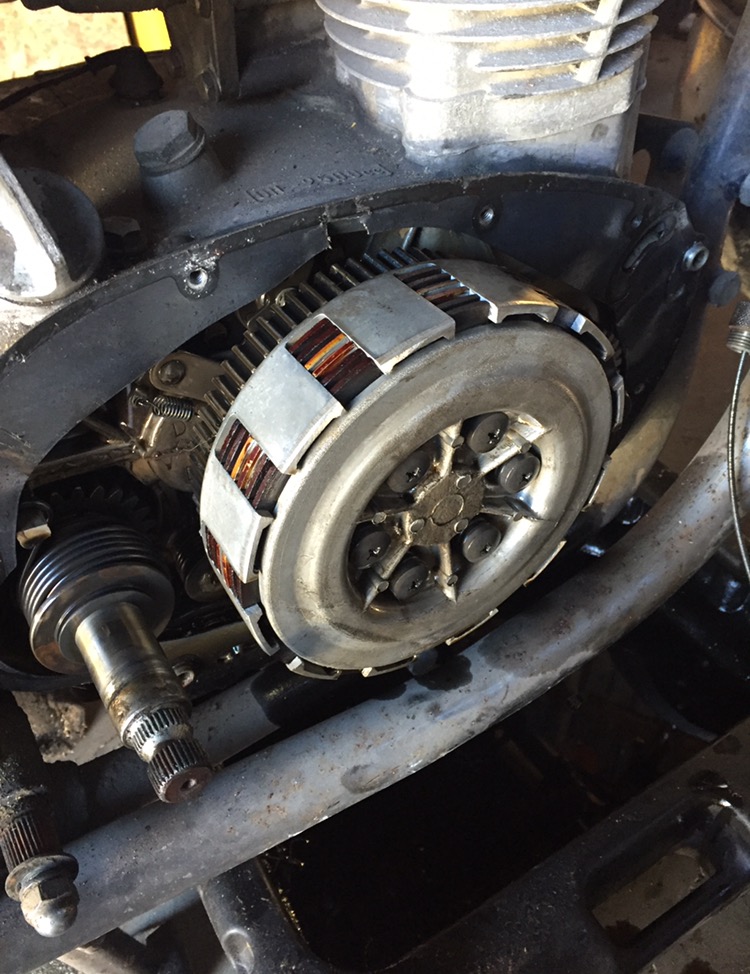
So this aft, I changed the clutch wire thinking it would resolve the issue with it being so damn stiff. Thought it was just the wire being old and rusty. (hopeful). But still... tough as nails to pull. - - -
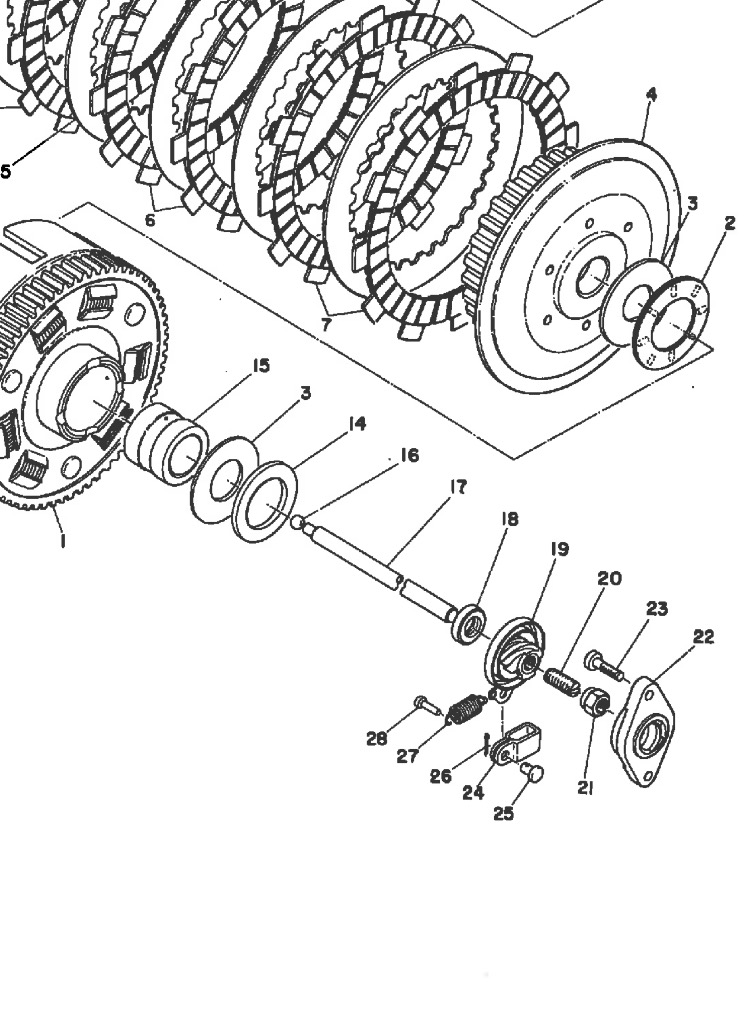
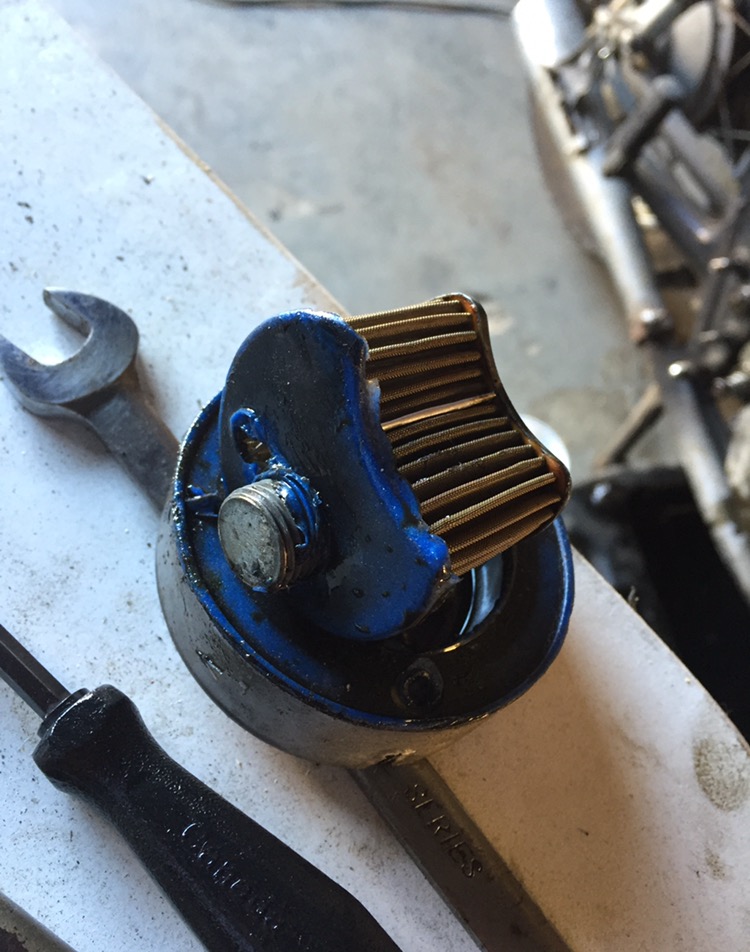
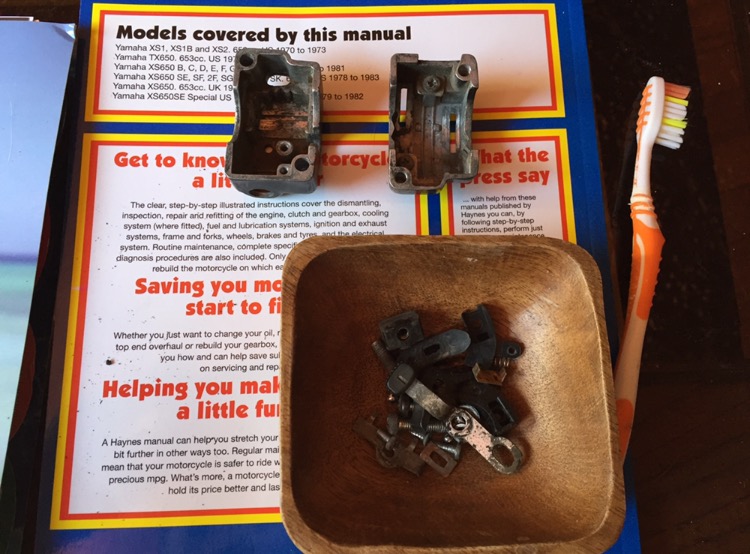
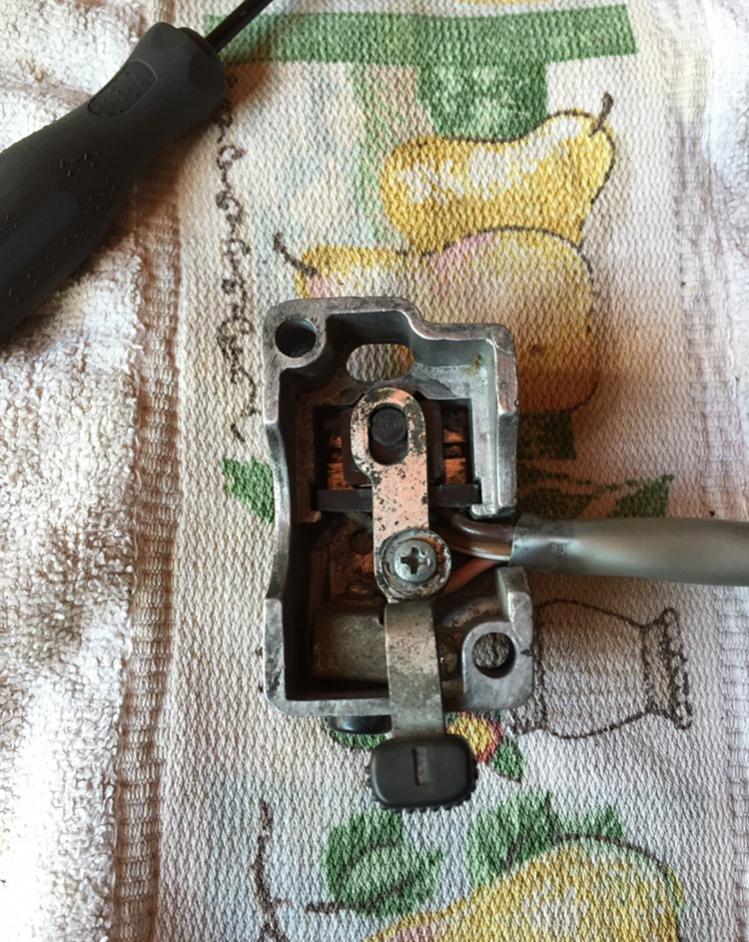
I've seen on later models that they use Allen (hex) type screws instead of philips. I wonder if i could swap theses out (?) What do you guys think?
Kinda thought the shrink tubing would fail in the gas. Thanks for testing. Check the worm gear for the clutch. Nice job on cleaning the parts. I have a set of 72 control halfs that have been bead blasted but are in Idaho. If you need replacements down the road let me know. We plan on moving there by August. There are a couple of threads on the site on modifying the clutch bolts for allens or you can buy aftermarket from Mikes.