Crabby's Build

Well it looks like I've screwed things up royally. I used Kerosene to flush out the bottom end and found blast media residue, as well i removed the clutch cover and there are traces inside. I guess I didn't mask it off as well as I thought i did. I'm assuming the engine has zero tolerance for glass bead:sick:

The beads seem so minuscule and prolific I can't imagine they can be safely rinsed out. Do you think there is any option other than taking apart the bottom end?

Thanks, Marc.:oops:
 
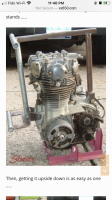
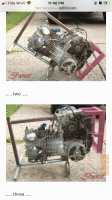
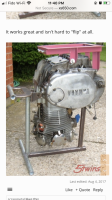
Hello. It's been a while. As I prepared to separate the XS's bottom end I found a post of 5twins that had an example of a brilliant engine stand for the job.

A1.png A2.png A3.png

But the garage was so cramped I didn't really have space for the job so I built a bike stand hoping to have more room to get at the bike.

A4.jpg

But it made it even more cramped. I needed to get the touring bike out.

A5.jpg

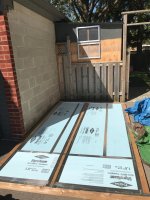
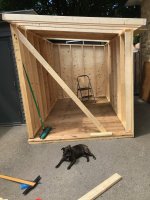
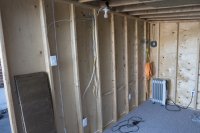
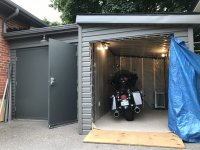
So I built a shed for it next to my garage.

A6.jpeg A9.jpeg A11.jpg A10.jpeg

Now I have a bit more space.

A12.jpeg

So I'm going to attempt to make 5twins engine stand. All the best.
 
Hello. It's been a while. As I prepared to separate the XS's bottom end I found a post of 5twins that had an example of a brilliant engine stand for the job.

View attachment 177258 View attachment 177260 View attachment 177261

But the garage was so cramped I didn't really have space for the job so I built a bike stand hoping to have more room to get at the bike.

View attachment 177268
But it made it even more cramped. I needed to get the touring bike out.

View attachment 177277
So I built a shed for it next to my garage.

View attachment 177280 View attachment 177281 View attachment 177282 View attachment 177283

Now I have a bit more space.

View attachment 177284
So I'm going to attempt to make 5twins engine stand. All the best.
Love the moonshine still on the wall, disguised as a musical instrument.
 
Love the moonshine still on the wall, disguised as a musical instrument.
Funny... I never really made the correlation before. But a still and a water separator both work the same way. pressurized air is passed through some copper tubing and the moisture condenses to the walls of the tubing where it can be drained off. In a still, alcohol steam is passed through some copper tubing and the alcohol condenses to the walls of the tubing where it can be drained off. Identical function... different mediums.
 
Hi thuban,
it's a very fine line to walk, you gotta be drunk enough to think it's a good idea and sober enough to keep your lips pursed.

It's a finer line than that! I'd have to try it when the ole lady wasn't around. She might think I was trying to kiss her! :laugh:

Edit: Sorry Crabby . Didn't mean to steal your thread. I really need a building like that!
 
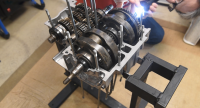
I finished my upside down engine stand and completed my first welding project.

I commandeered a neighbours trash.
IMG_1537.jpg


and was able to get enough material to make 2 stands. I screwed up one of the measurements but it seems strong enough.

Thanks to 5Twins for the design and DogBunny for the measurements.

I'm opening it tomorrow Hopefully.

min-24.jpg


min-25.jpg
 
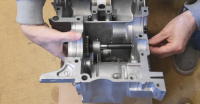
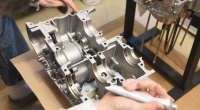
Something went smoothly for a change as I got the crankcase opened pretty easily, heat and a rubber mallet.

December 04, 2020-35.jpg
December 04, 2020-41.jpg


Everything looks pretty much as it should. The gears seem free of glass bead media, but I was going to remove the 4 bearings to clean with kerosene or brake cleaner.
the case bearing seats have a few scratches but no gouges.

December 04, 2020-43.jpg


When I opened the case I noticed that this circlip wasn't seated properly, hoping it doesn't mean anything?

December 04, 2020-63.jpg


I'm not removing the shift drum assembly. The shifting forks don't show much wear.

December 04, 2020-64.jpg
December 04, 2020-65.jpg


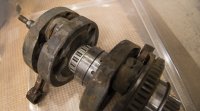
The crankshaft seems to having gotten the worst of the glass bead. the bearings appear a little caked. They seem to move freely on the shaft so I'm going to try to flush them out on the unit. The connecting rods don't appear to have more than 2mm play.

December 04, 2020-69.jpg


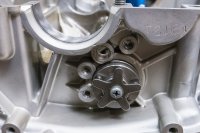
These 2 little extra oil passages caught me off gaurd when I ejected brake clean into the oil passage it shot out and I was sure I had cracks in the crankcase!

December 04, 2020-68.jpg


I was going to add a 5th OD gear but after reading several posts it doesn't seem worth the trouble. Unfortunately I hadn't removed the 4 bolts holding the cam chain guide while the engine was upright and now they won't budge, separating the crankcase was easier. Now i'm going to clean everything and reassemble.
 
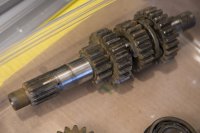
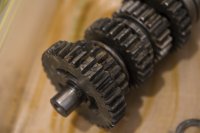
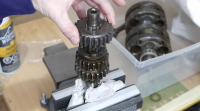
Got the transmission and crankshaft all cleaned up. A lot of glass media in the bearings. I sprayed the parts down with non-clorinated brake cleaner then ran them through a ultasonic cleaner first with a cleaning agent for 30min. then clean water for 60 mins. After I blew it dry there was no trace of any media, it immediately flash rusted but I coated with WD-40 and it looks beautiful.

I have 2 quick questions.
1. I would like to work on the chassis and engine simultaneously and since I have this extra engine is there any difference between a '78 engine and '76 in terms of sizing up the pipes and foot controls/rear brake set up?

2. Can an engine be built while it's sitting in the chassis?

Thanks!
 

Attachments

  • December 18, 2020-49.jpg
    December 18, 2020-49.jpg
    560.7 KB · Views: 118
  • December 18, 2020-54.jpg
    December 18, 2020-54.jpg
    474.5 KB · Views: 124
  • December 18, 2020-59.jpg
    December 18, 2020-59.jpg
    498.4 KB · Views: 108
I have 2 quick questions.
1. I would like to work on the chassis and engine simultaneously and since I have this extra engine is there any difference between a '78 engine and '76 in terms of sizing up the pipes and foot controls/rear brake set up?

2. Can an engine be built while it's sitting in the chassis?
No and No. My :twocents:
 
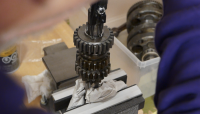
I decided to swap out the 5th gear. One circlip and drop it on, every little bit helps.

I also attempted to remove the Shift Assembly. I removed the stopper plate and Neutral detent. Removed the cam follower pins (on shift arm number 2 the access for the follower pin points downward and it was hard to remove, a bobby pin cut in half was a perfect pressure fit to get the pin out).

But I cannot get the Shift Cam to slide out!? Spins freely, I've put WD40, I've used heat. The videos i've seen online the shifting mechanism just slides out. Any tricks to getting it out? Could I use a drift and hammer to tap it out? It has a bit of glass media in it, I can hear it when I spin the cam. I can't find any posts where anyone mentions having trouble with this?

Thanks
 

Attachments

  • December 27, 2020-43.jpg
    December 27, 2020-43.jpg
    540.1 KB · Views: 122
  • Screen Shot 2020-12-28 at 8.07.33 PM.png
    Screen Shot 2020-12-28 at 8.07.33 PM.png
    1,016.2 KB · Views: 128
  • Screen Shot 2020-12-28 at 8.05.38 PM.png
    Screen Shot 2020-12-28 at 8.05.38 PM.png
    986.7 KB · Views: 126
  • Screen Shot 2020-12-28 at 8.16.56 PM.png
    Screen Shot 2020-12-28 at 8.16.56 PM.png
    868.8 KB · Views: 118
  • Screen Shot 2020-12-28 at 8.15.34 PM.png
    Screen Shot 2020-12-28 at 8.15.34 PM.png
    933.5 KB · Views: 117
  • December 27, 2020-16.jpg
    December 27, 2020-16.jpg
    639.4 KB · Views: 110
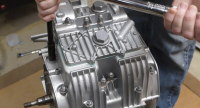
The engine is apart and everything is cleaned. It basically took 1 year to disassemble it but i'm glad I attempted it. Every last trace of media is gone. Maybe I'll just hang everything on my wall, looks so pretty.
December 31, 2020-1-2.jpg

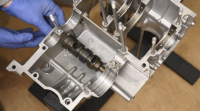
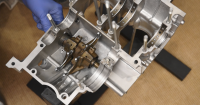
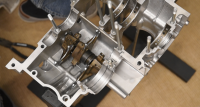
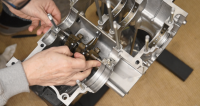
I got the the shift assembly out with a hammer and brass drift, the glass media had really jammed it in there. I also removed the 2 reduction gears. I cleaned all of the case holes with brake clean and a brass brush. Hopefully I can get it put back together faster than I took it apart.

Screen Shot 2020-12-31 at 2.04.10 PM.png
Screen Shot 2020-12-31 at 2.06.52 PM.png


Happy New Year to everyone and thanks again for all of your help!
 
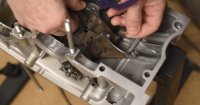
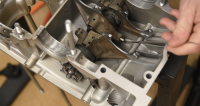
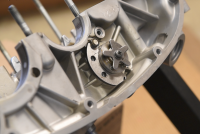
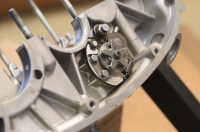
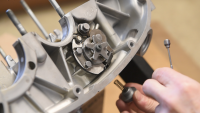
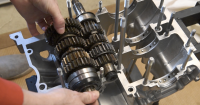
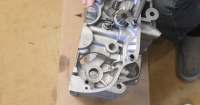
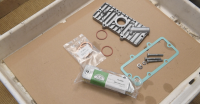
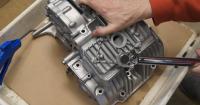
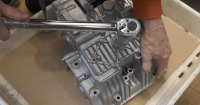
I reassembled the crankcase yesterday. It went pretty smoothly. I had bought a set of crowfoot adapters but unfortunately the 10 piece set had no 12mm! so I had to just use a regular spanner with no torque settings:( As well the gasket material I used said to apply to both mating surfaces but every video I found only applied to one surface so that's how I did it, hopefully it's good enough?

I included the steps I performed in pictures I'm sure this is redundant for most of you but I thought possibly it might help someone?

Anyone know if there is a torque setting for the 4 starter motor bolts? I can't find one on the torque specs sheet that is floating about?

Tomorrow the clutch.
 

Attachments

  • 1.png
    1.png
    1 MB · Views: 139
  • 2.png
    2.png
    987 KB · Views: 124
  • 3.png
    3.png
    987.3 KB · Views: 140
  • 4.png
    4.png
    979.7 KB · Views: 116
  • 5.png
    5.png
    1 MB · Views: 115
  • 6.png
    6.png
    1 MB · Views: 137
  • 7.png
    7.png
    927.4 KB · Views: 134
  • 8.png
    8.png
    1 MB · Views: 124
  • 9.png
    9.png
    1,016.1 KB · Views: 122
  • 10.png
    10.png
    828.9 KB · Views: 124
  • 11.png
    11.png
    803.7 KB · Views: 122
  • 12.png
    12.png
    959.9 KB · Views: 123
  • 13.png
    13.png
    987.1 KB · Views: 125
  • 14.png
    14.png
    916.3 KB · Views: 122
  • 15.png
    15.png
    1,013.1 KB · Views: 110
  • 16.png
    16.png
    1.1 MB · Views: 108
Back
Top