Crashomon
XS650 Enthusiast
Hey all, many thanks for the advice i've picked up from here. I love this forum and it has been two years since I first got this bike. It was a little rough, but it was complete. The goal here is to convert the bike but without permanent changes to frame. I kept the stock seat and rear pegs so I can still ride two up.
So, here is the latest update with before/after photos! Hopefully this inspires others.
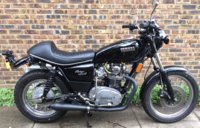
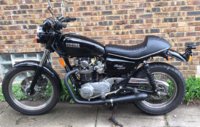
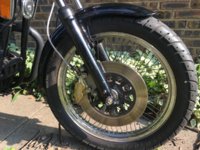
Purchased this 1982 Yamaha XS650 Heritage Special on April 28th, 2015, with 9200 miles and here's some pix of it today. Its been a long few years, but Black Betty IS beginning to be realized as a Cafe Style XS650. A few more things remain, such as tail light, rear signals and cleaning up wiring. But I CANNOT WAIT to have this out and about! #MarchMotoMadness.
Updated parts:
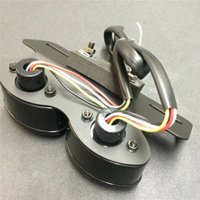
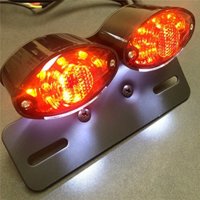
TO DO: rear taillight, possible 18" rear wheel conversion, paint job (yamaha speed block design, but white on black)
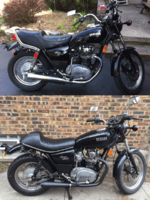
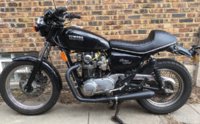
So, here is the latest update with before/after photos! Hopefully this inspires others.
Purchased this 1982 Yamaha XS650 Heritage Special on April 28th, 2015, with 9200 miles and here's some pix of it today. Its been a long few years, but Black Betty IS beginning to be realized as a Cafe Style XS650. A few more things remain, such as tail light, rear signals and cleaning up wiring. But I CANNOT WAIT to have this out and about! #MarchMotoMadness.
Updated parts:
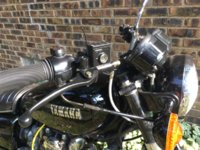
- Superbike style handlebars
- Progressive front fork springs (great improvement in handling!)
- Progressive rear shocks +2"
- Sudco Carb kit with individual Air Filters (Mikuni VM34 carbs)
- PMA charging system (from Hughes Handbuilt)
- Pingel petcock
- Hooligan Exhaust Pipe system (Omar's came unpainted, but had them 'bead blasted at Kiwi As, LLC, and then PowderCoated at Loko Coatings, Oak Lawn, IL)
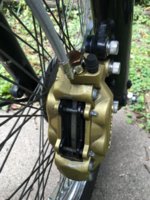
- Steel braided front brake line
- New clutch fiber plates
- Pamco High Output Standard Ignition Kit
- Carb Tuning and Engine work by Moto Mania, Inc (Chicago)
TO DO: rear taillight, possible 18" rear wheel conversion, paint job (yamaha speed block design, but white on black)


Last edited:


