6fittyspecial
XS650 Enthusiast
Hi guys,
So I have been searching for the past few days answers and still cant quite work it out. There isnt much that someone hasnt encountered and someone else hasnt already answered out there but for the life of me I am stuck on this one.
Please bare with me. This will be long but detailed so hopefully lead to some easy answers for you guys who are more in the know...
Ok background first.
The bike is an '81 XS650 Special (5A9 - ######) so I think from my research that makes it an (SH) model.
I have pulled the complete bike down and hardtailed it, full paint and rebuild on the engine and I have removed the starter motor to go kick only.
After a long bloody time I am finally up to wiring.
My thoughts were:
Get the bike running stock first with kick only and battery. Then follow the numerous threads and how-to's and go PMA and Pamco and lose the battery and replace the whole wiring with brand new stuff.
Im getting the bike running first to eliminate anything up until now as an issue for when i head in and start doing the PMA/Pamco conversion.
So now I am currently attempting to wire up the bike using the stock harness and battery to go for a kick only start (bare bones - no lights etc.).
OK here goes the questions:
1. I have accidentally sold the ignition with the tank , i was overcome with a feeling of goodwill and I figured hey he needs a key to open the tank mayswell chuck in the ignition for him too..
  didnt even think hmmm... maybe I need one later!
So I want to just bypass the key for now and I have read around and it seems connecting red to brown on the ignition plug should do the trick until i can sort a new switch. I plan to do this with a 25A fuse. But when I look for the 3 pin plug shown in the wiring diagrams and most pics I have seen, I dont have one.
I have this.
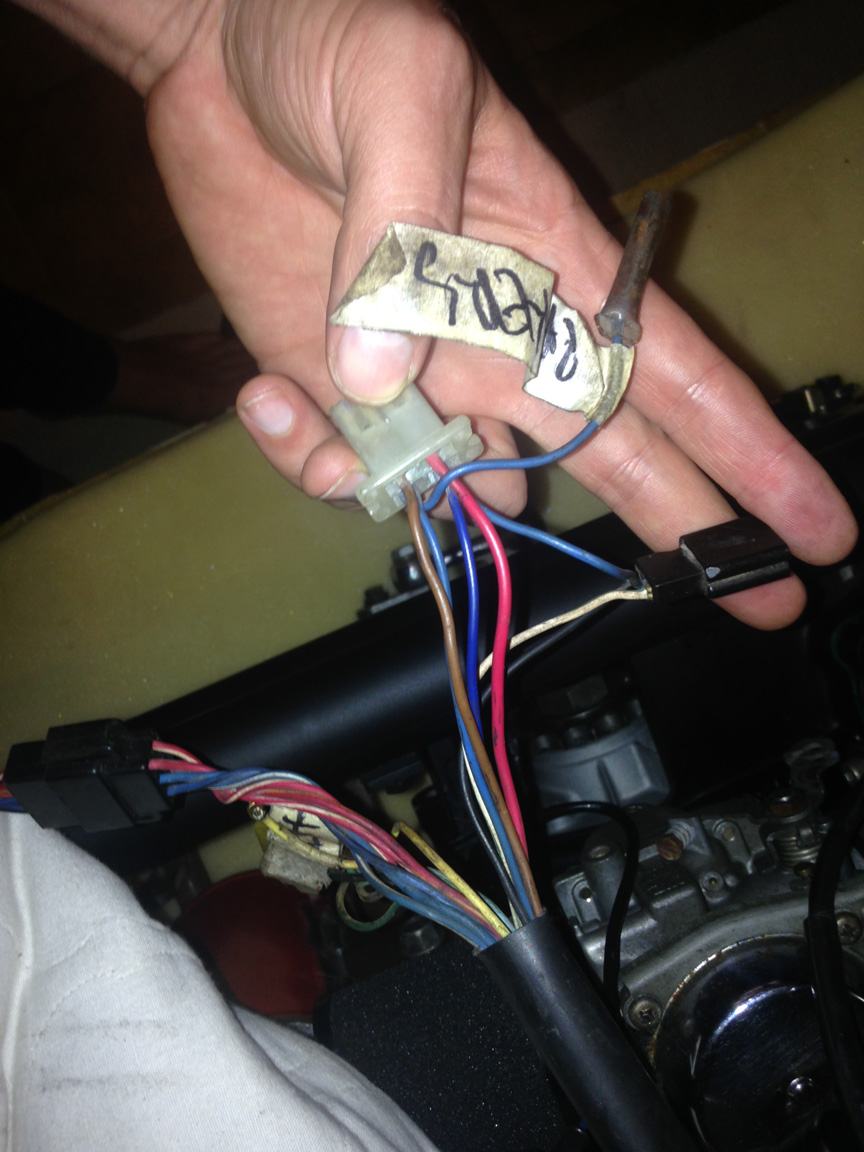
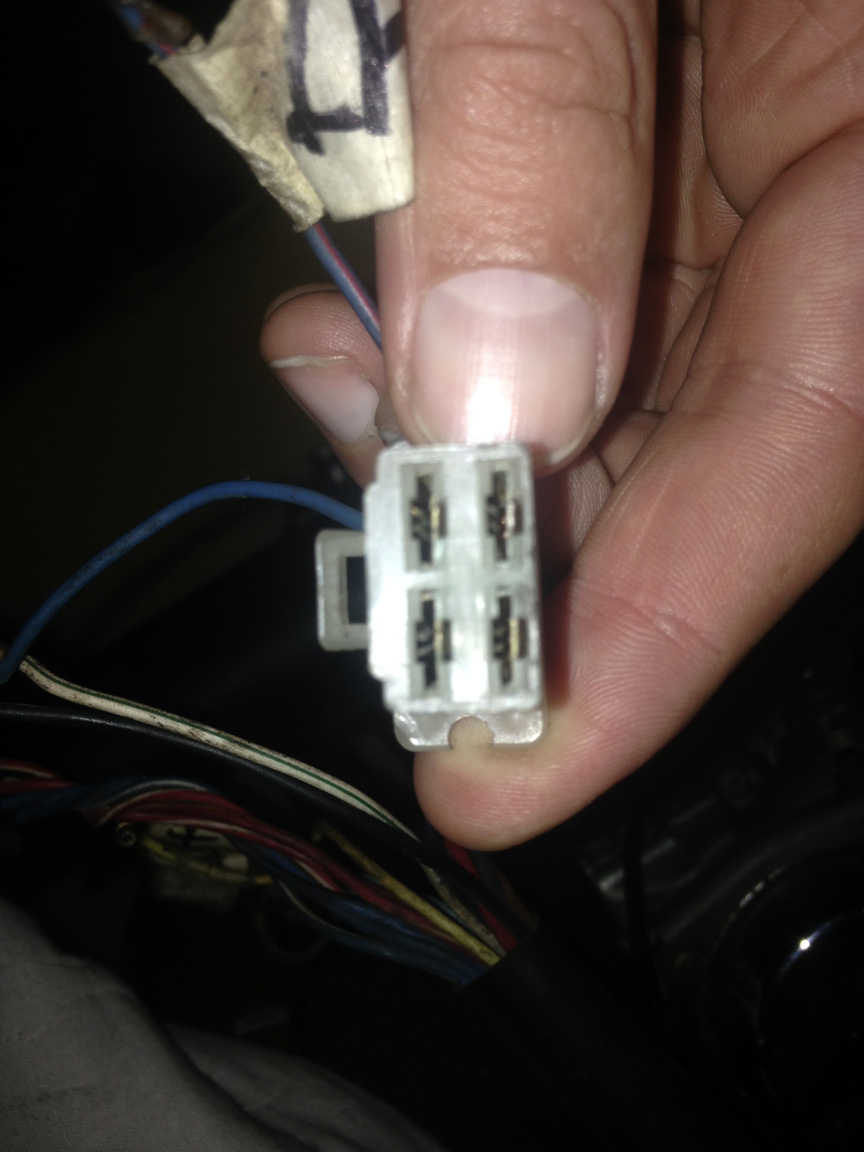
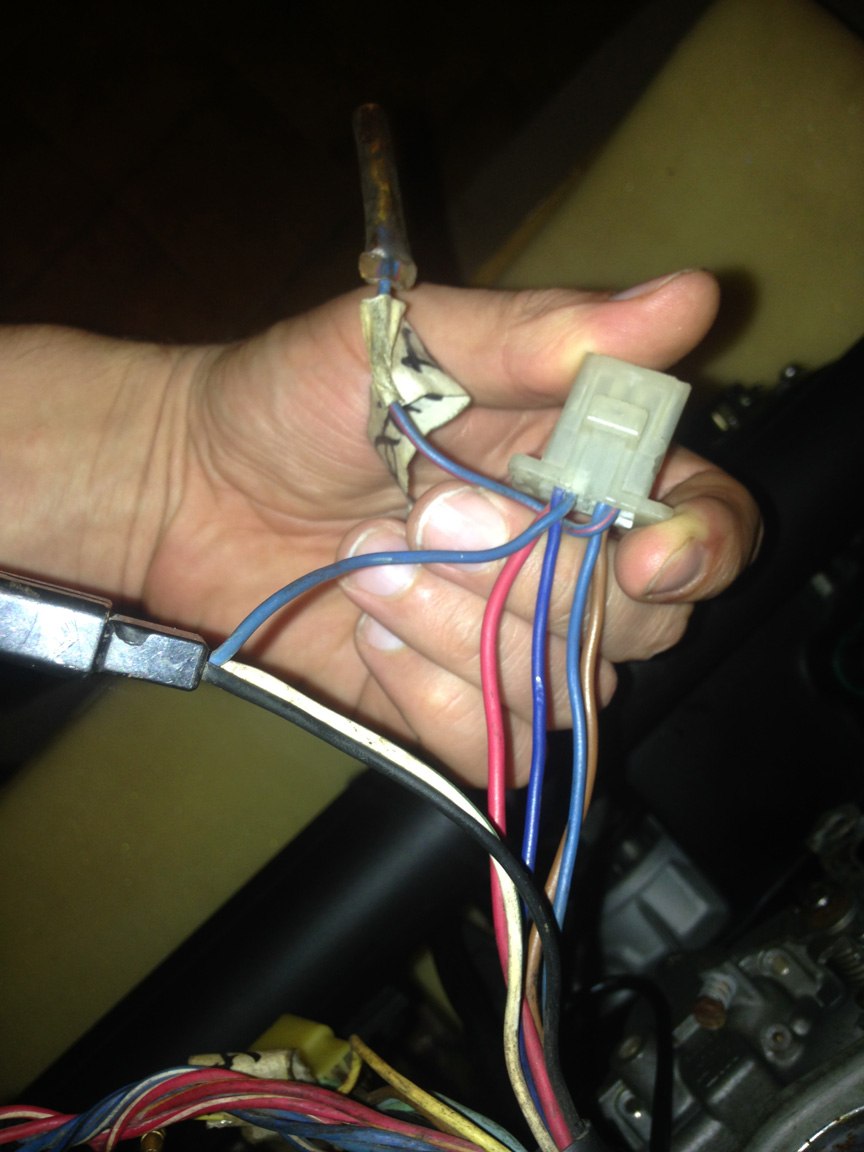
I am 99% sure that this is the ignition switch plug but I was wondering if anyone could confirm this. The extra blue wires seem to go to the pilot light, speedo and then what I assume is down to some other lights. But I dont get why when my old switch only had OFF, ON, PARK that there would be a four pin plug? any ideas? I also dont get why parts of my wiring although stock oem doesnt match the wiring diagram I have for my model bike.
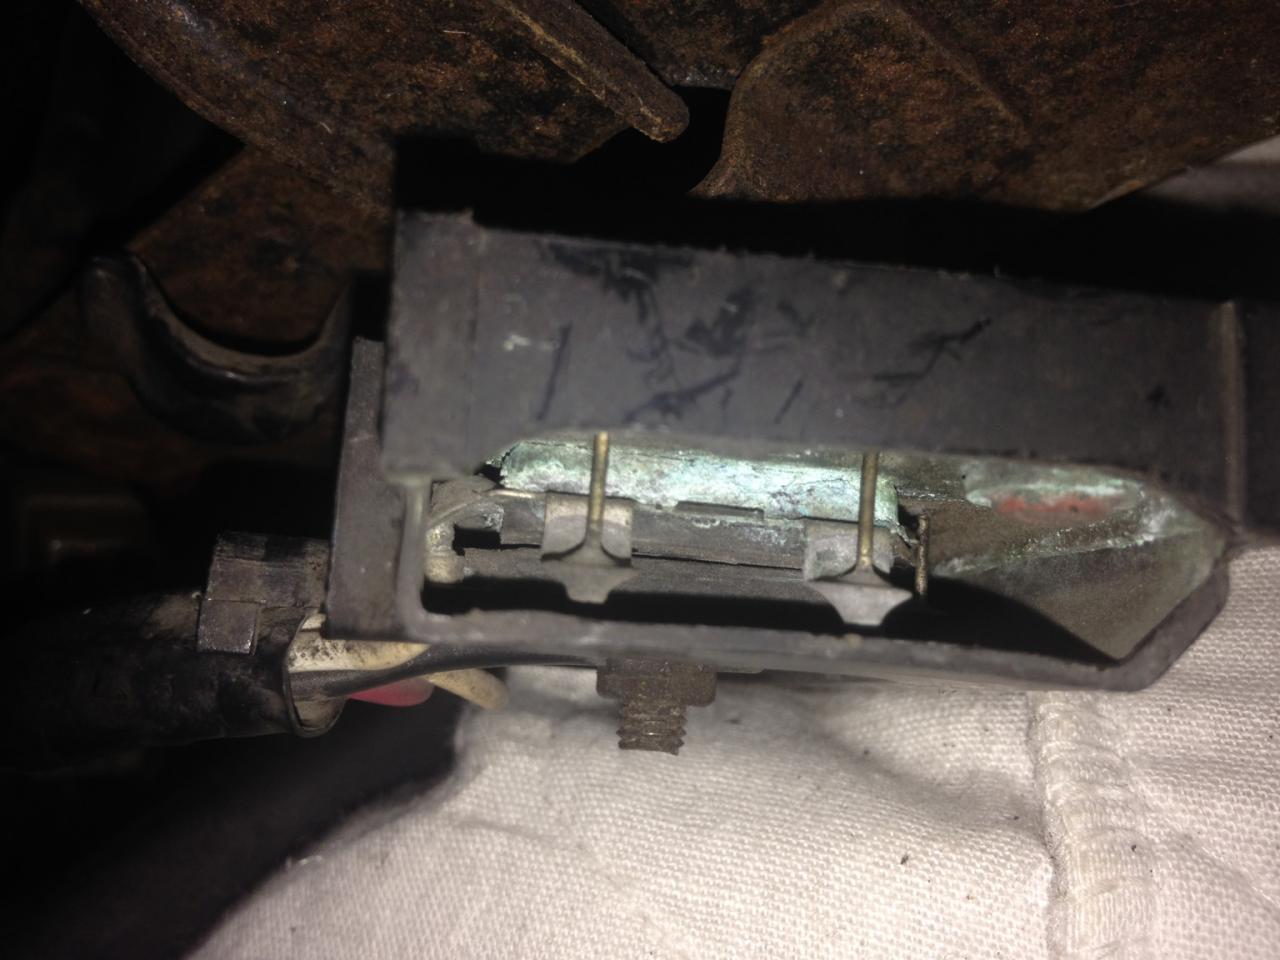
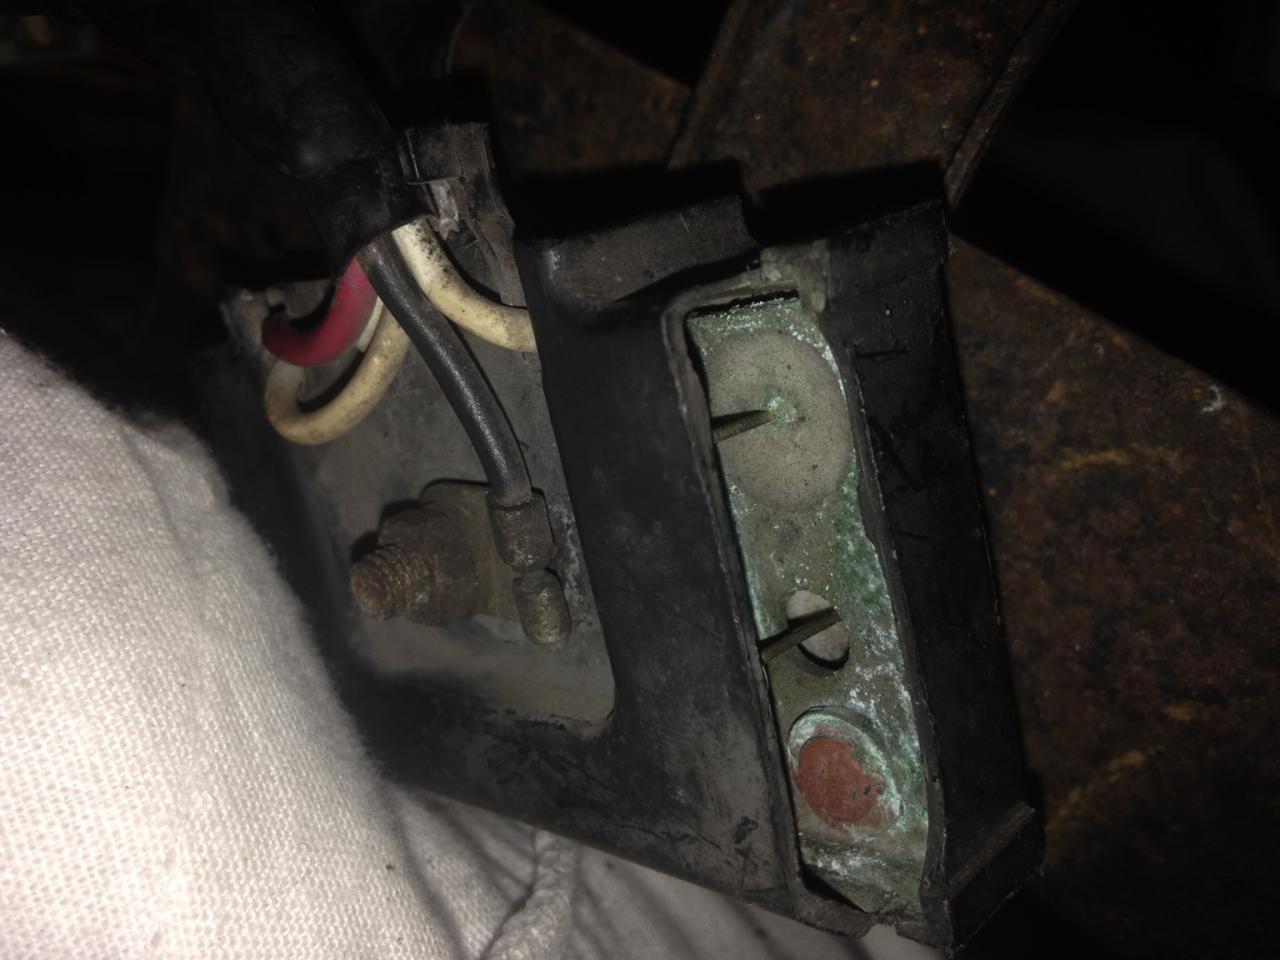
Question 2: As I mentioned I want to hook up the stock harness with stock parts (minus starter motor) and get the engine running. I have worked through and reckon I have everything I need. I have grounded the coil and will ground the condensor (pic 1 and 2). But I am not sure if I need to ground the old battery basket in order to ground the rectifier... well as far as i can tell its the rectifier (pics 3/4/5). Can someone tell me if the photo is showing the rectifier and if the basket needs to be ground to the frame? And also if there are any other bits I need to ground to the frame that I missed?
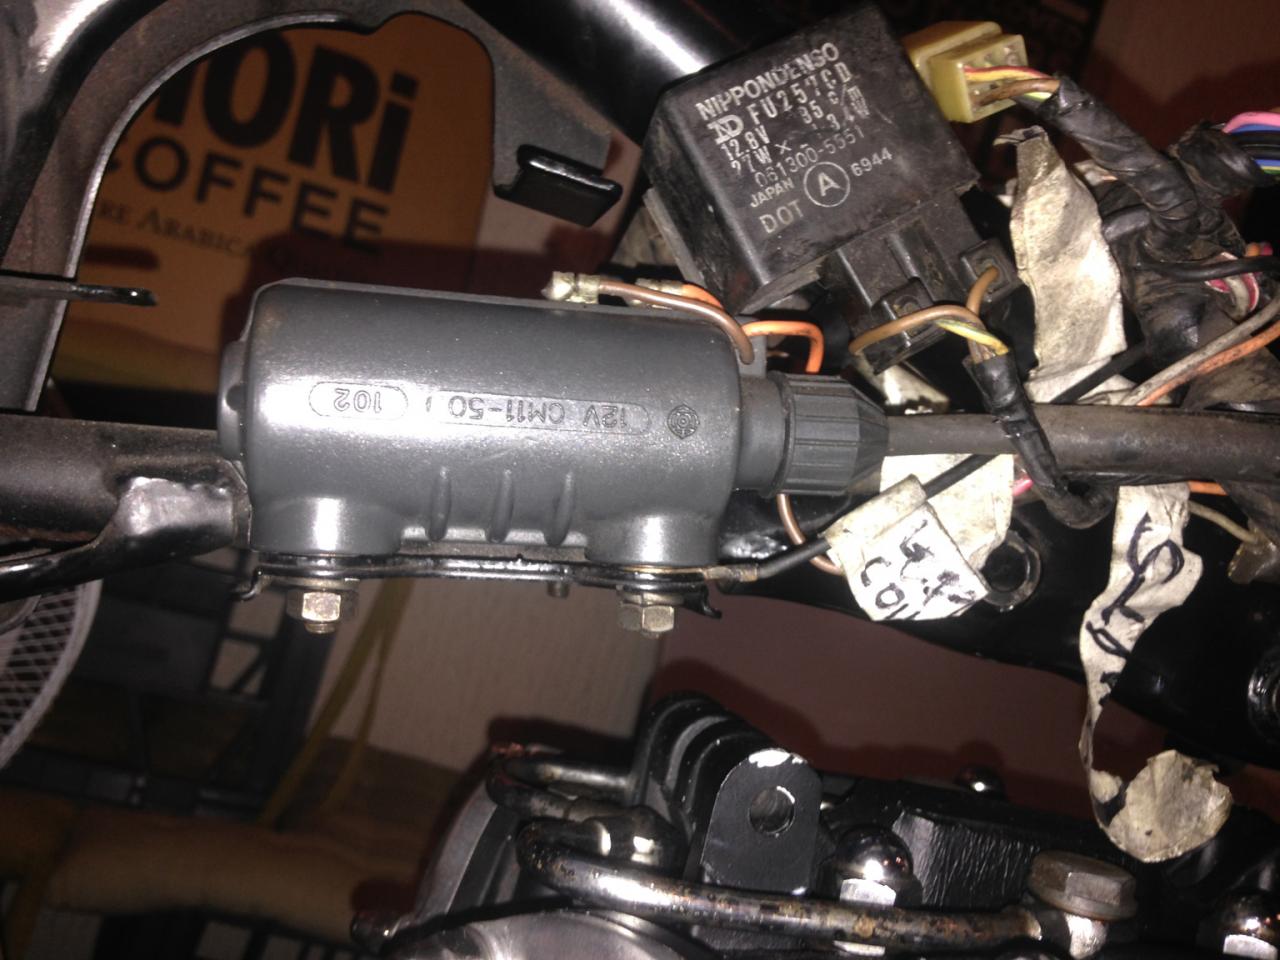
coil grounded to frame.
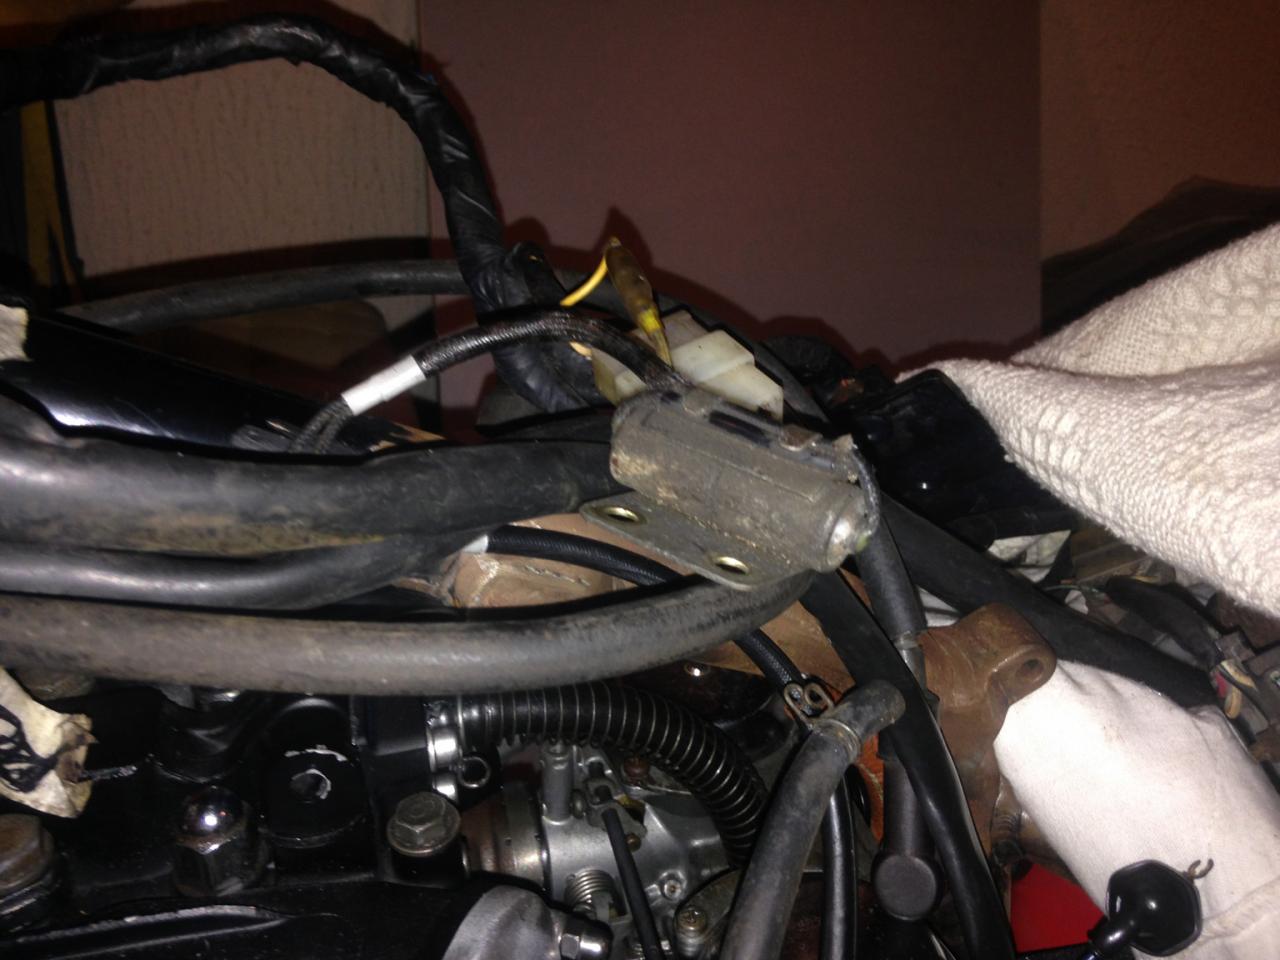
condensor to be ground at the same spot as coil.
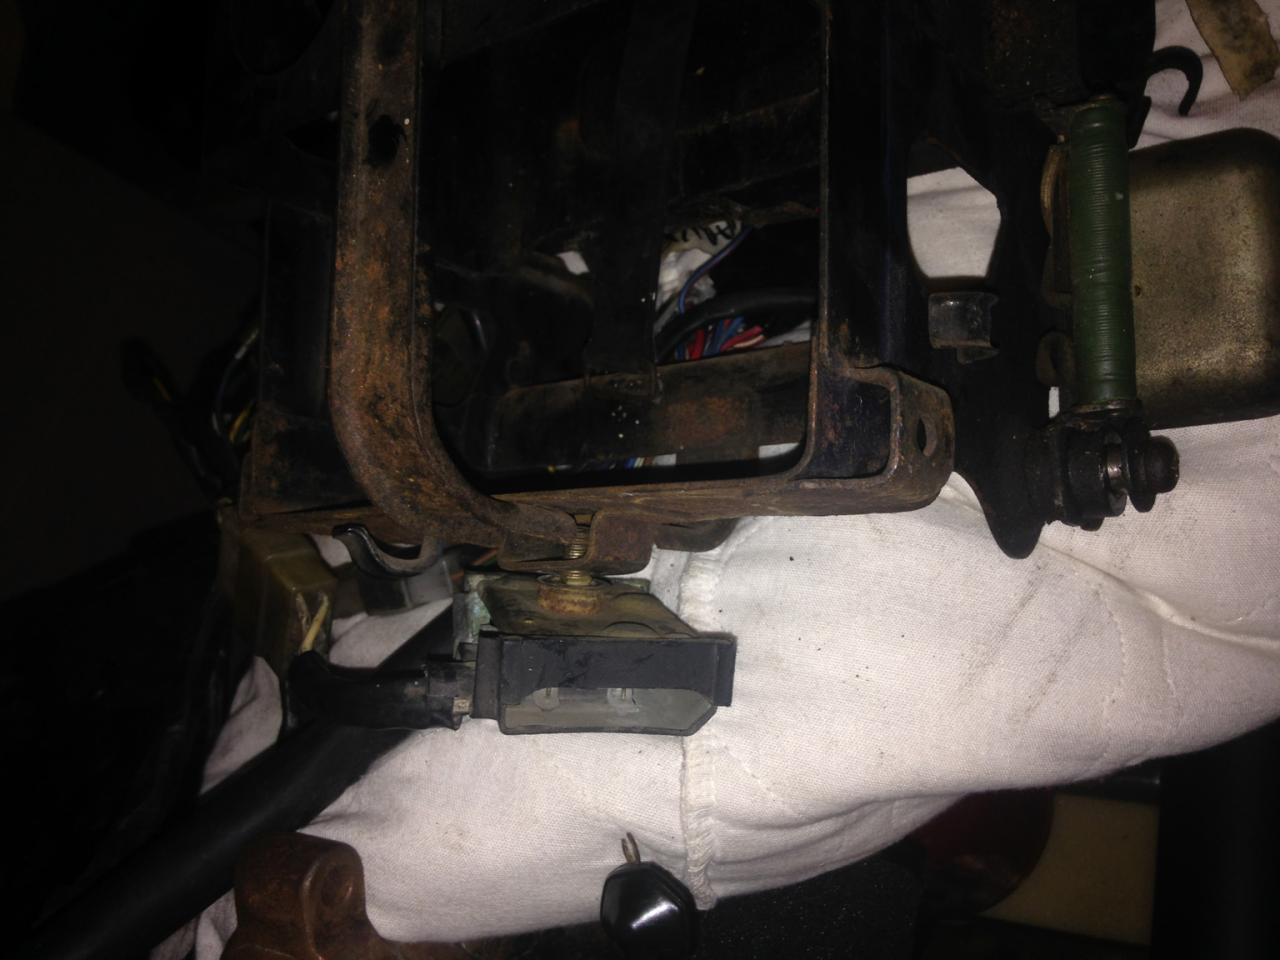
Rectifier attached to underside of basket (as per stock) needs a nut but thats the position.
Final Question: I bought a keyed switch to replace the ignition for later. I read around that cheap ignition switches can burn out, does that apply to something like I have bought? I only plan to splice into the power like the diagrams show so it wont act like a true ignition more like a inline isolation switch that will stop the bike being started when in the open position. I will be stopping the bike using the kill switch on the handle bars.
Thankyou for your help in advance.")
Please let me know if you need more info.
So I have been searching for the past few days answers and still cant quite work it out. There isnt much that someone hasnt encountered and someone else hasnt already answered out there but for the life of me I am stuck on this one.
Please bare with me. This will be long but detailed so hopefully lead to some easy answers for you guys who are more in the know...
Ok background first.
The bike is an '81 XS650 Special (5A9 - ######) so I think from my research that makes it an (SH) model.
I have pulled the complete bike down and hardtailed it, full paint and rebuild on the engine and I have removed the starter motor to go kick only.
After a long bloody time I am finally up to wiring.
My thoughts were:
Get the bike running stock first with kick only and battery. Then follow the numerous threads and how-to's and go PMA and Pamco and lose the battery and replace the whole wiring with brand new stuff.
Im getting the bike running first to eliminate anything up until now as an issue for when i head in and start doing the PMA/Pamco conversion.
So now I am currently attempting to wire up the bike using the stock harness and battery to go for a kick only start (bare bones - no lights etc.).
OK here goes the questions:
1. I have accidentally sold the ignition with the tank
, i was overcome with a feeling of goodwill and I figured hey he needs a key to open the tank mayswell chuck in the ignition for him too.. didnt even think hmmm... maybe I need one later! So I want to just bypass the key for now and I have read around and it seems connecting red to brown on the ignition plug should do the trick until i can sort a new switch. I plan to do this with a 25A fuse. But when I look for the 3 pin plug shown in the wiring diagrams and most pics I have seen, I dont have one.
I have this.
I am 99% sure that this is the ignition switch plug but I was wondering if anyone could confirm this. The extra blue wires seem to go to the pilot light, speedo and then what I assume is down to some other lights. But I dont get why when my old switch only had OFF, ON, PARK that there would be a four pin plug? any ideas? I also dont get why parts of my wiring although stock oem doesnt match the wiring diagram I have for my model bike.
Question 2: As I mentioned I want to hook up the stock harness with stock parts (minus starter motor) and get the engine running. I have worked through and reckon I have everything I need. I have grounded the coil and will ground the condensor (pic 1 and 2). But I am not sure if I need to ground the old battery basket in order to ground the rectifier... well as far as i can tell its the rectifier (pics 3/4/5). Can someone tell me if the photo is showing the rectifier and if the basket needs to be ground to the frame? And also if there are any other bits I need to ground to the frame that I missed?
coil grounded to frame.
condensor to be ground at the same spot as coil.
Rectifier attached to underside of basket (as per stock) needs a nut but thats the position.
Final Question: I bought a keyed switch to replace the ignition for later. I read around that cheap ignition switches can burn out, does that apply to something like I have bought? I only plan to splice into the power like the diagrams show so it wont act like a true ignition more like a inline isolation switch that will stop the bike being started when in the open position. I will be stopping the bike using the kill switch on the handle bars.
Thankyou for your help in advance.
Please let me know if you need more info.