Wow! Thanks for all of that!
Sure! It's not everyday that I can ramble in XS1 land. Still learning about this stuff myself.
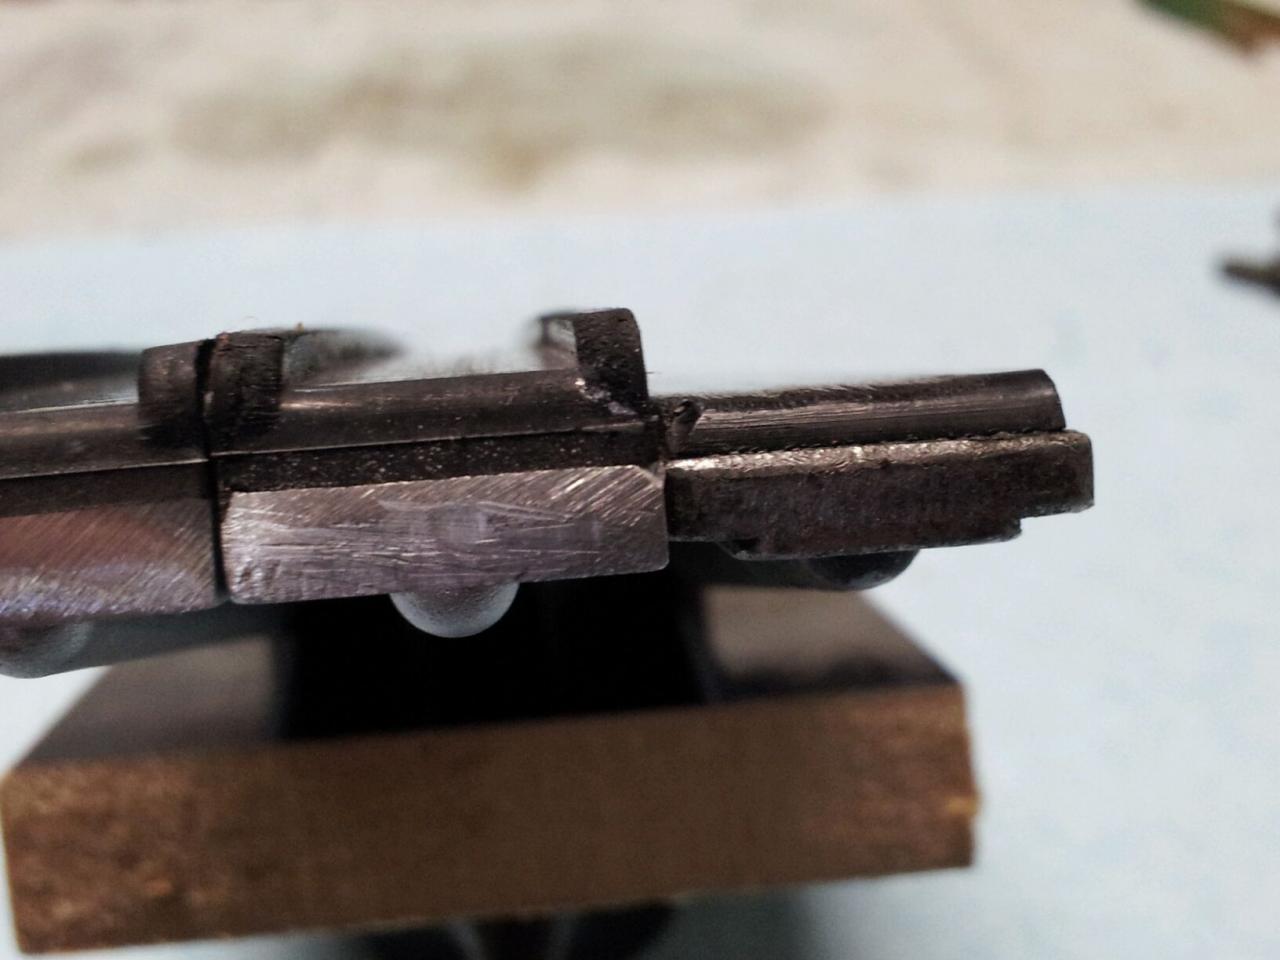
So maybe I really didn't need to pull the top end apart, bummer.
Well, look at it thisaway. (*Warning* - drifting off into mathland)
The center-to-center spacing of the 256 crank and cam is supposed to be the same as the later 447. What's different is the sprocket teeth counts, the chain pitch and link counts. We can try to calculate the effective straight-section chain lengths by removing the circumferential component of the chain path around the sprockets.
256 camchain = 102 links x 8mm (0.315") pitch = 816mm (32.126") total length
256 camdrive = 17T crank sprocket, 34T cam sprocket
8.5 + 17 = 25.5 links used by sprocket outer circumference,
Leaving 76.5 links in the vertical path = 612mm (24.094")
447 camchain = 106 links x 7.774mm (0.3061") pitch = 824mm (32.447") total length
447 camdrive = 18T crank sprocket, 36T cam sprocket
9 + 18 = 27 links used by sprocket outer circumference,
Leaving 79 links in the vertical path = 614mm (24.179")
So, there's supposedly an extra 2mm of chain in the vertical path (1mm per side) in the 447 engine, versus the 256 engine. Even with this extra length, 447 engine overhauls still incur tight camchain installation. So, your report of new camchain looseness seems odd.
What do you think about modifying the front guide, maybe it's doable? I could grind down the mounting boss until it matches the original... And I could get that damper for the tensioner or maybe just replace it. I found a few on ebay.
Totally clueless about your front guide. I have no idea of what interference you're talking about. If anything, the mount boss of the later arched guide is smaller than my rev -00 flatguide, and even much more smaller than your super-early version. Maybe you could clarify?