Heres an old thread on doing it. Clutch lever pivot bushing
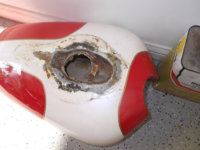
I didn't do great on getting the hole centered, like in yours they wear all to one side and the reamer I had ordered oversized the hole a bit. I have a different idea I will be trying this afternoon that should make things a bit better.
I didn't do great on getting the hole centered, like in yours they wear all to one side and the reamer I had ordered oversized the hole a bit. I have a different idea I will be trying this afternoon that should make things a bit better.