Very sharp Pete.
Pete
Pete
")
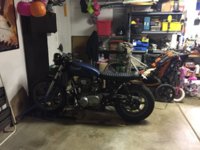
Clutch pushrod seal fixed finally.
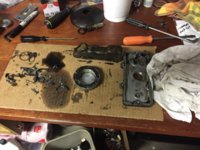
Decided to do a proper oil service while I was at it. Dump strainer was all jacked up. To the point where I don't think I can fix it, so I ordered another one.
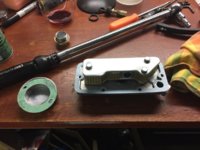
Now about the sump cover and oil filter cover... one of the POs liked sticky gasket stuff. It was on both as well as both drain plugs One on top of the crush washer and one instead of it altogether....
Anyway... what's a good way to dissolve old gaskets?