My '80 xs650 engine rebuild

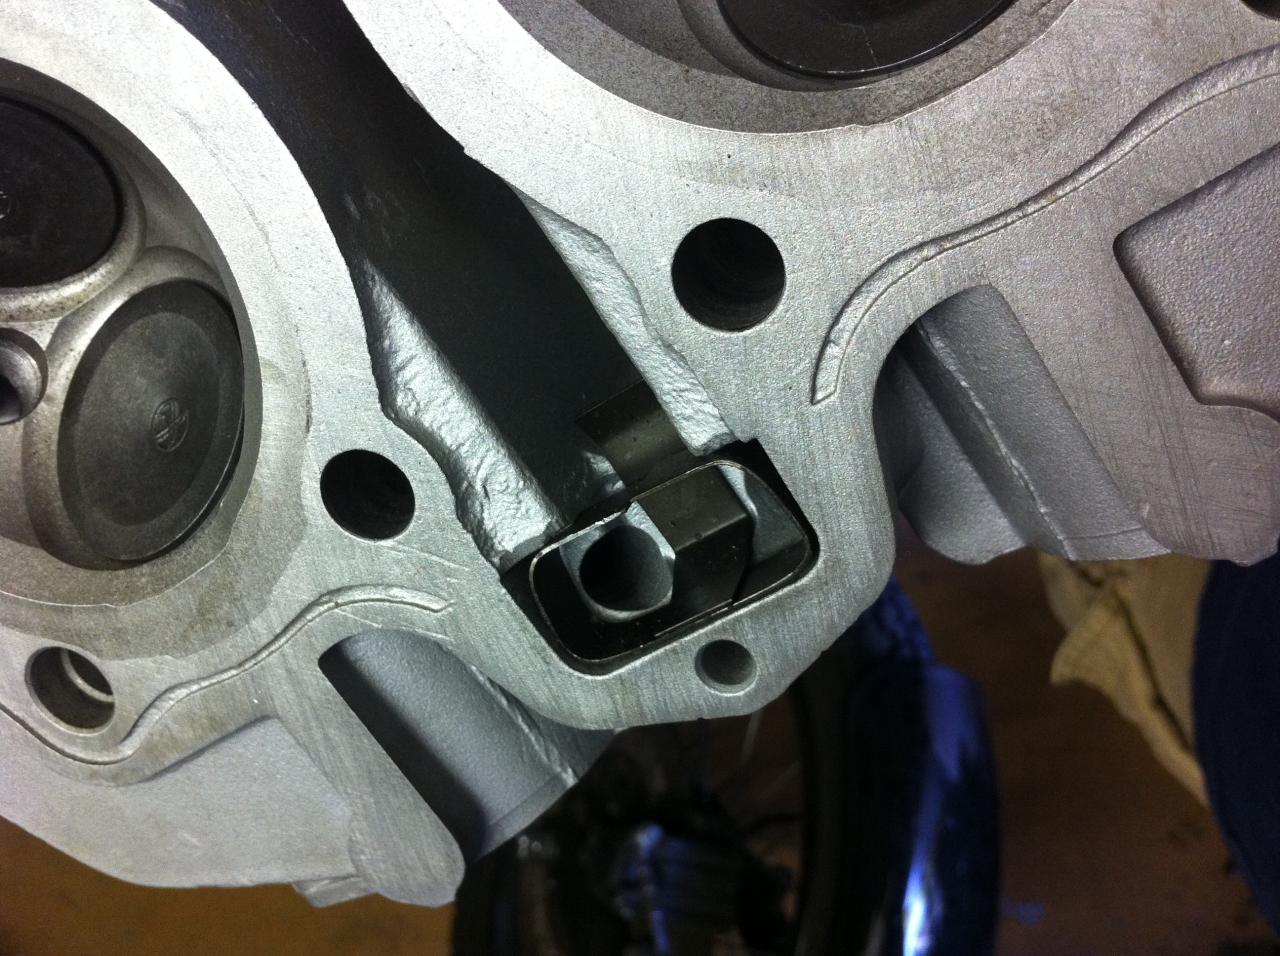
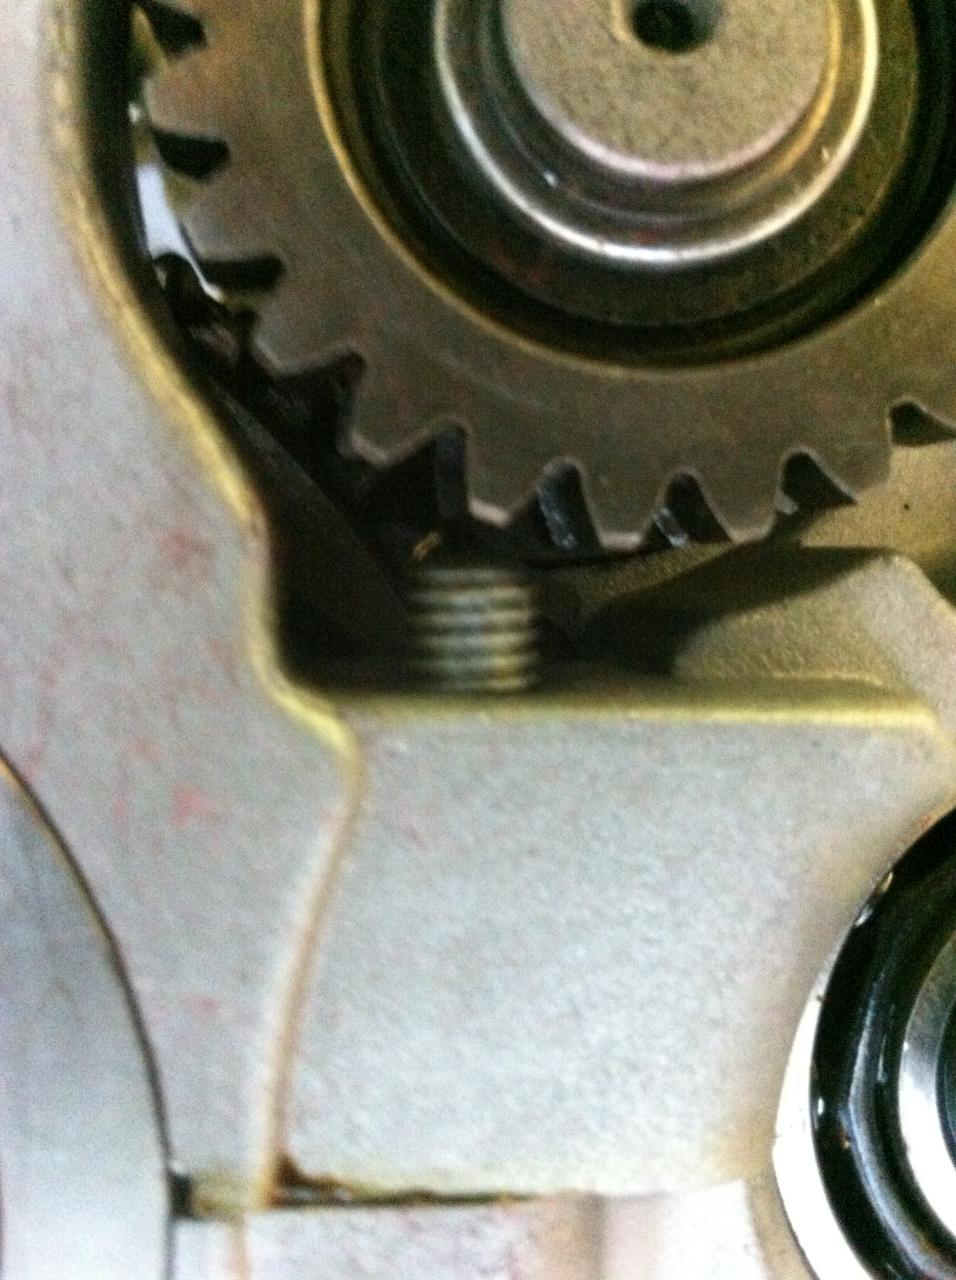
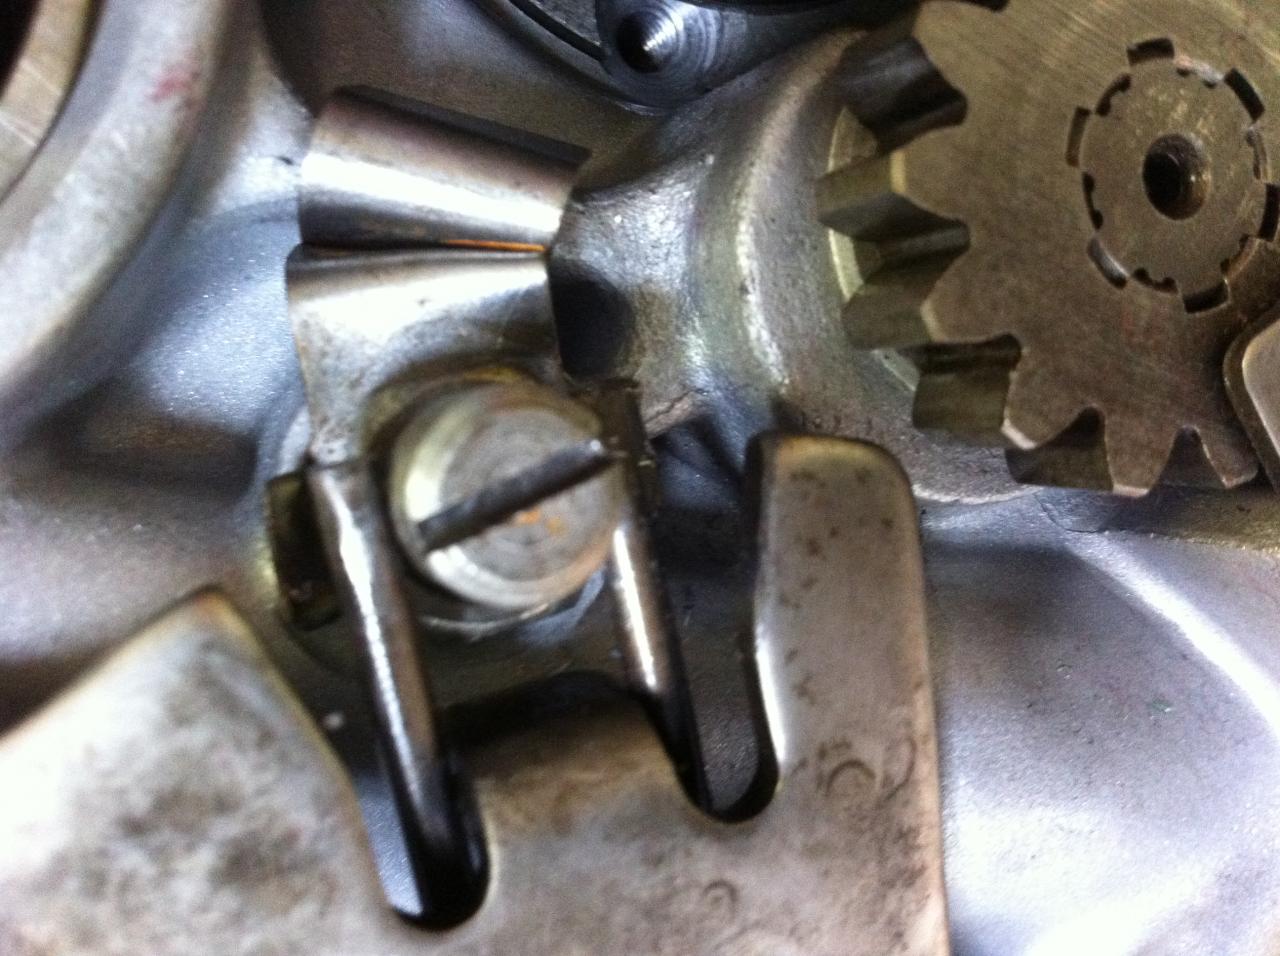
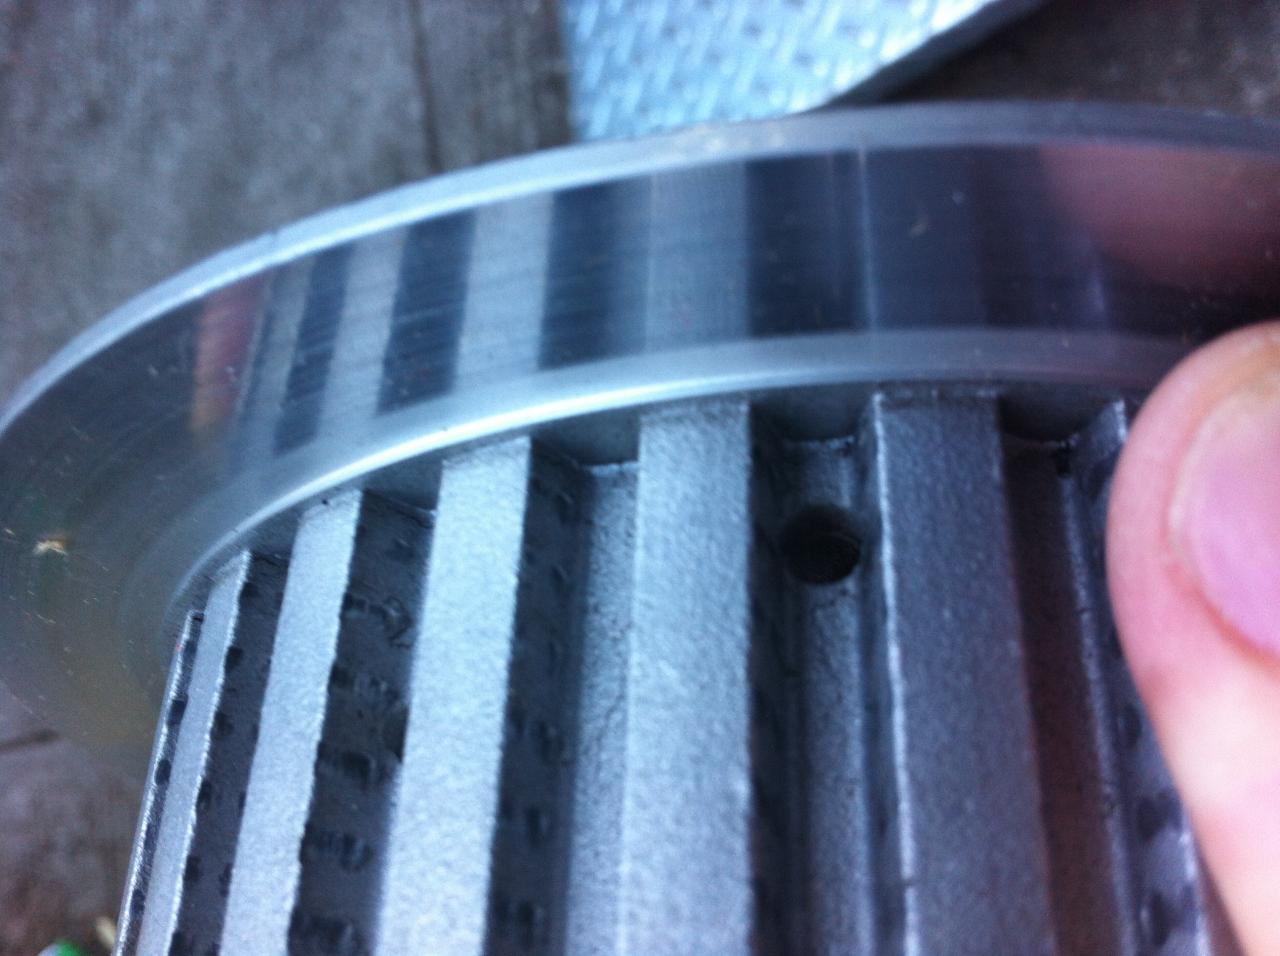
Yes, the wishbone shaped clip. It's a drag clip and slows the spinning of the #4 gear down so it will engage the crank gear better. When the clip gets weak, the #4 gear spins too fast and grinds against the crank gear instead of engaging it.

As far as the play in all your other gears, I don't know. It could be normal, it's been so long since I was in mine I don't remember. I'd look at some exploded parts diagrams to see if anything's missing like spacers or washers. There's some good ones here .....

http://www.boats.net/parts/search/Yamaha/Motorcycle/parts.html
 
Master chain? You mean the drive chain? If so this engine wasn't on a bike so I didn't have to. If you mean cam chain, since I was expecting to replace it, I used a chisel!
 
RAT FARTS! Guess what I forgot to buy? Yes, ALL of the oil seals. Mike has a kit for $44 and I think it contains everything I need. Nuts!!!

I was trying to get the crank to sit on the mounts and was looking EVERYWHERE for the other side to this circlip when I was all flustered about not having new oil seals. Anyway, having your book handy is important... there is only 1 of these.

full


Now, back to the issue of low-compression. Here's a picture of the one piston that warped out of shape and filed itself clean on my poor cylinders:

full


So, this is out of order, but I did get the transmission back together. There's a funny set up where the 3 shifter forks move along a track that's carved out of the shafts they're on. There's a small cylindrical plug that rides in the shaft, and the rest sticks back into the fork to guide it back and forth as you shift. There's a teeny cotter pin that holds the plug in and it's a bit of a trick just because it's so small. But, here's what it looks like in:

full
 
got a couple of hours to be in the garage this afternoon. I really struggled with the valve springs. I have a $10 compressor from Autozone but maybe now I know why people dunk $90 on the one from Mikes. Regardless, after a bunch of sweat and grunting (no, not the good kind), I actually got it together! Ok, now, if you're a beginner like me, one thing before you do these dumb springs: be sure you push the valve oil gaskets down all the way until they seat as far as they'll go. There is no way to do it once you've mounted the springs. Good thing I only did it once before I realized I had.

full


Here's the tappets all back together:

full


I have all the bottom nuts soaking in simple green and will get them cleaned up before I finally seal up the case.
 
Chase ALL the threads on ALL the bolts ad nuts before reassembly. Please, please do this. Also, it's looking pretty good so far!
 
ok, back from Ohio. Great vacation at our wonderful friend's farm in the middle of nowhere.

So, I'm back at this. I will run all the bolts today but would like to get the covers on and get moving.

However, as I try to spin the crank it moves about 97.6% smoothly, then seems to just barely bind and I can't see any reason that it'd be doing that. I have no guarantee that it wasn't doing that before I took it apart, and I have no idea if putting the two sides together won't just fix this issue. But since it's so important to have all ducks lined up before rejoining the sides, I kind of want to know if this problem needs to be better troubleshat (past tense of troubleshoot).

Thanks!
 
ok, well, the snaggy problem aside, I've moved on. My son pointed out that I'd not pictured him in the blog, so here he is helping me paint on yamabond after I cleaned up the mating surfaces with brake clean:

full


Here's a funny little how-do-you-do. #6 bolt on the bottom cover is just a bit inaccessible under one of the starter gears:

full


You have to take it off (outer and inner circlips is all it takes) then the bolt can be put on.

All together and torqued to 15 ft/pounds!

full


full


and, no more snaggy crank!!! woo hoo! Pistons tomorrow!
 
no, sorry. let me rephrase it. was your sprocket washer bent too? cause in my engine it was bent and some washer in my carbs too.. i was just wondering if its normal.
 
Oh! You know, this motor came sans sprocket so the washer was gone as well. I'd planned to swap out the one on my bike now that I have yet to see so not sure there either.
 
not a lot of engine building time today. I fussed around with the clutch advance mechanism. Fairly straight forward if the rod and arm aren't disassembled and the spring is already on it. There's a washer and circlip (the kind you have to manhandle on there instead of the happy kinds with two little holes that a circlip wrench makes such fast work) that hold it in across the body of the transmission.

The part that didn't make sense was trying to assemble adjustment screw. The 2D drawings in the manual (and boats.com) don't really do this area justice and I had to do some hit and miss here until I think I got it right. What's hard (at least for me) to conceptualize was the order that this goes back.

However, if you start with the little guide that bends to hold the bolt, and get it down far enough so that the 2 sides of the clutch return spring are resting on the eccentric screw head, you'll see what's supposed to be going on.

full


You'll turn the screw head until the distances (marked A and AA in the drawings) are equal. Then, get a 14 wrench in there to tighten down the bolt (like a jam nut). Then, bend up the sides of the guide along the sides of that bolt. In the picture I hadn't yet bent back the flaps around the bolt.
 
RAT FARTS MOTHER F$(%&@!!!)!?!?! DAMMIT HALITOSIS CRAP CRAP CRAP!!!!!!!!!!!!!!

I'm sure it's not the last piece i'll ever break :doh:
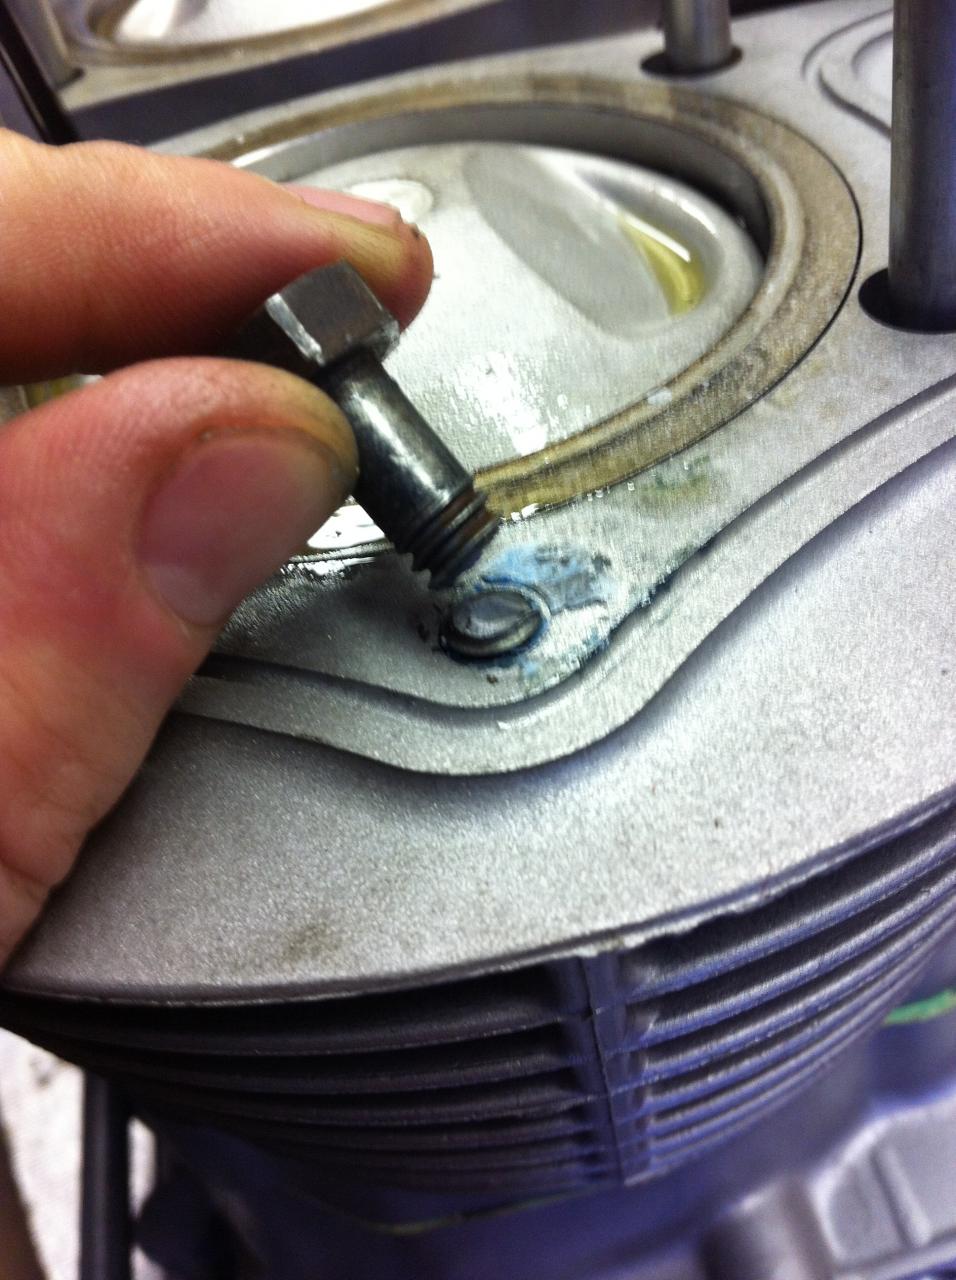
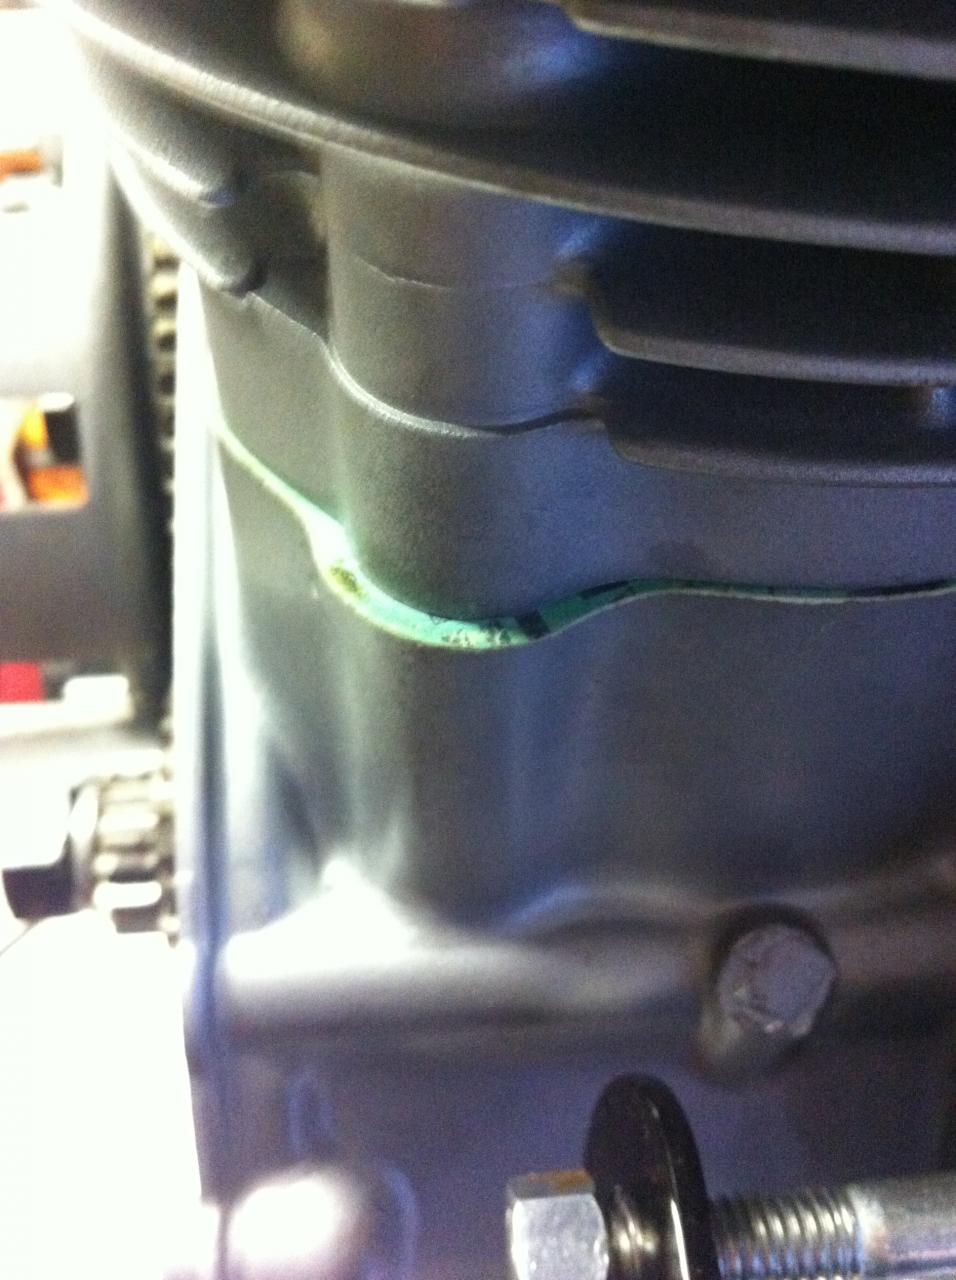
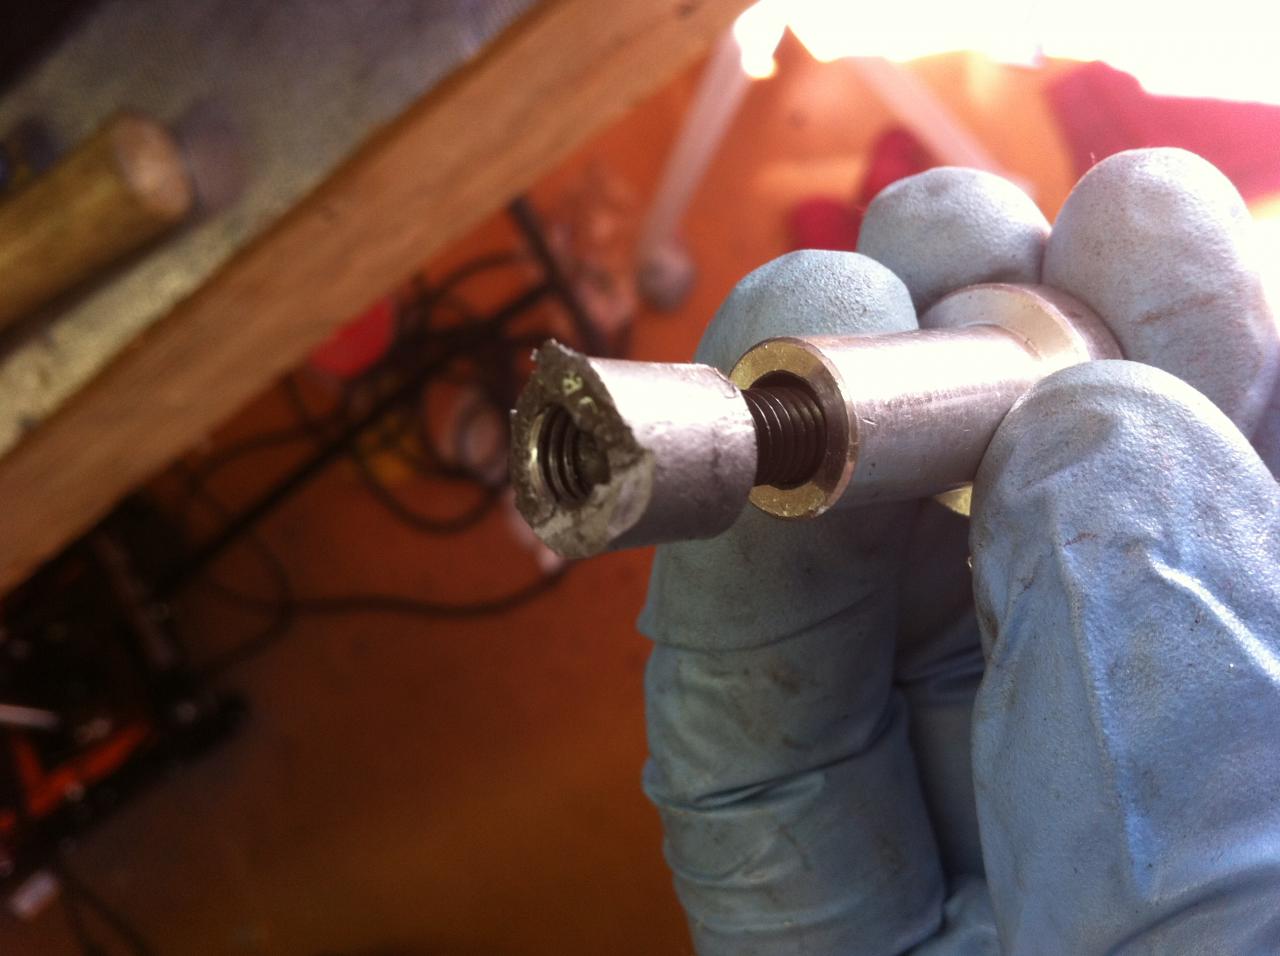
, but why did it have to be clutch boss? Of course I had it all together and was just about to start torquing the fancy new clutch screws I got from Mikes:

full


full


Found a clutch boss on Ebay for $80. Doesn't seem that Mikes has any? l:banghead:
 
I can hook you up for $20 and I am planing on a trip to Portland before the end of the week. PM me if you like.
 
I was up last night at 4:00am found this post and immediately hit up Craigs List in search of a donor bike and I was lucky enough to find a broken down bike same year as mine. I think I'm going to atteempt to follow your lead and rebuild an engine for the POS bike I bought from G&L Choppers and try to get it running correctly. I'll keep you guys posted for when I get the engine ripped out.
 
1 step forward, 1.74 steps backward.

Ok, so I got some great offers and should have a new boss here in a few days. I know there's an excellent write up on clutches in the Tech section that I've read back and forth a few times, but missed the subtle difference that exists in the design from the 70's and early 80's version. Here's a close up of what I have:

full


and this is the old style. note, no spring and, you can't tell this part, it's a bit thicker to accommodate a an additional clutch plate:

full
kjl

Now, back to reassembly:

I used Nightflyer12345's video http://api.viglink.com/api/click?format=go&key=57794247816f5a0d18aec760cae5766d&loc=http%3A%2F%2Fwww.xs650.com%2Fforum%2Fshowthread.php%3Ft%3D20470&v=1&libid=1344113824618&out=http%3A%2F%2Fwww.youtube.com%2Fwatch%3Fv%3DFsBCwEPvgVg&ref=http%3A%2F%2Fwww.xs650.com%2F&title=July%202012%20XSOTM%20%22Daily%20Rider%22%20voting%20and%20discussion%20-%20XS650%20Forum&txt=http%3A%2F%2Fwww.youtube.com%2Fwatch%3Fv%3DFsBCwEPvgVg&jsonp=vglnk_jsonp_13441138897311 to learn a trick using a Popsicle stick to get the rings in which worked great.

Here they are at TDC:

full


Then, while looking around I saw my shiny new still-in-the-package cam chain tentioner. :yikes: 
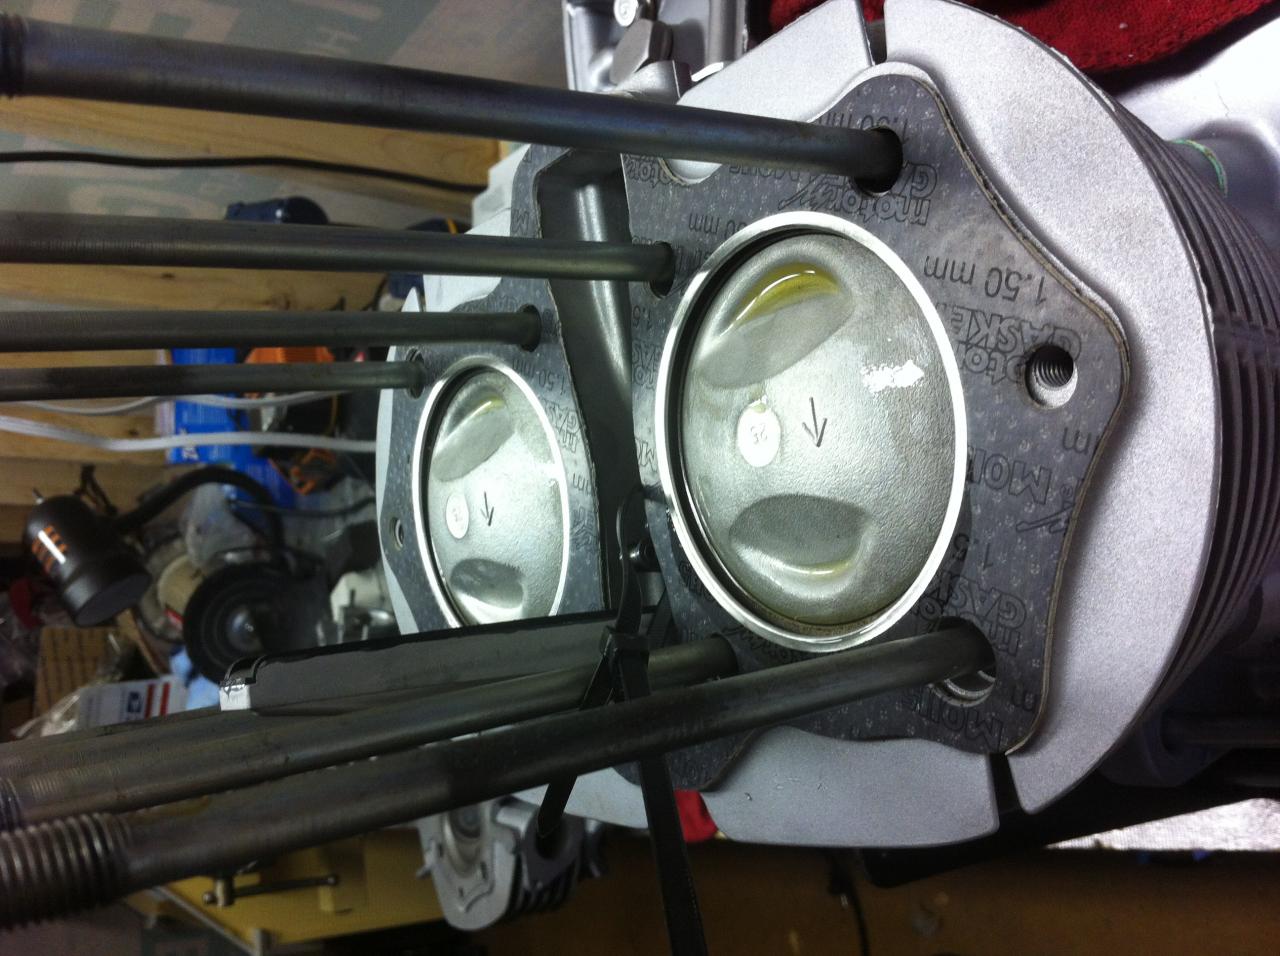
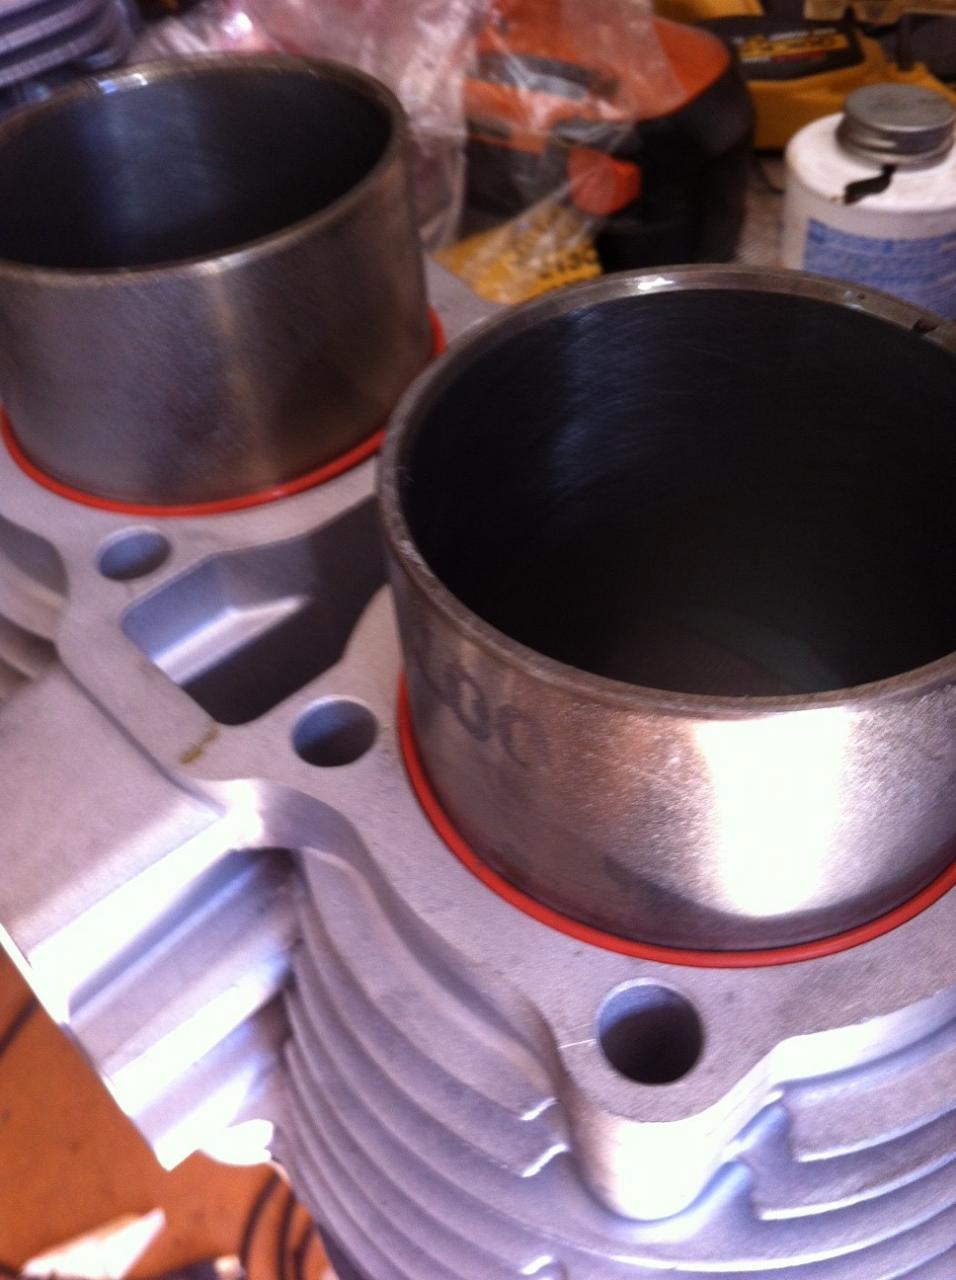
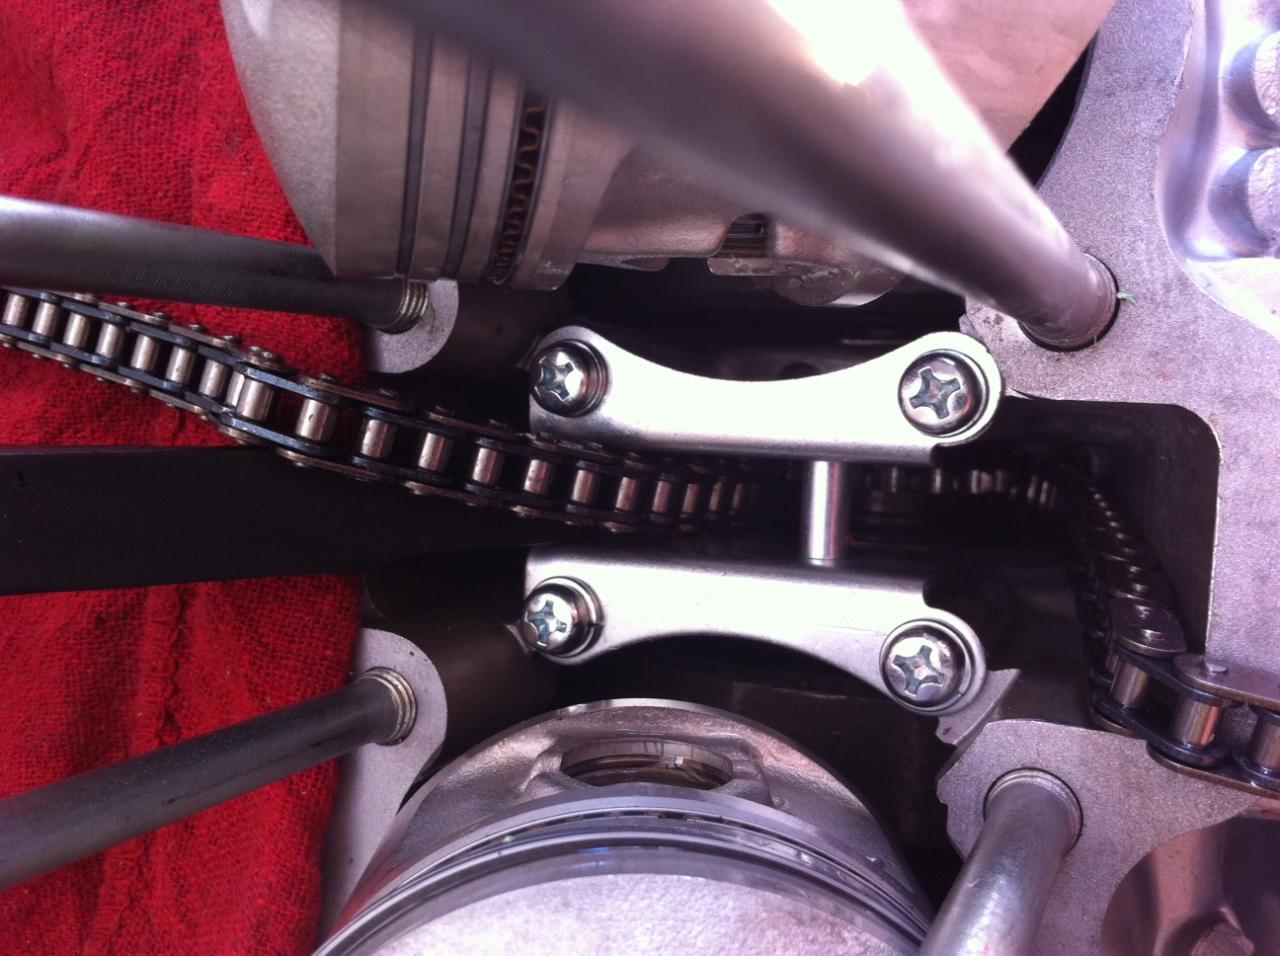
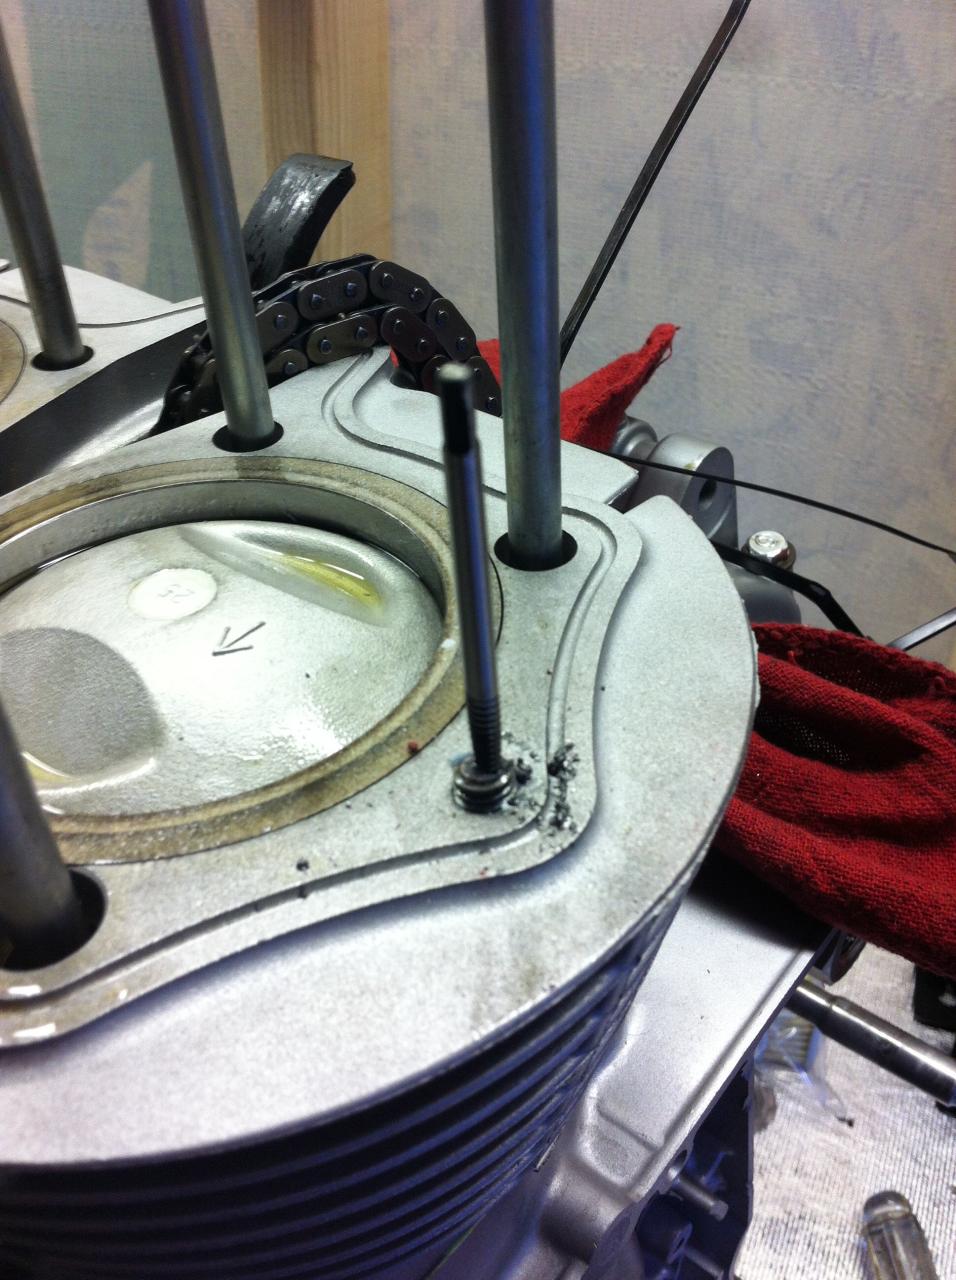
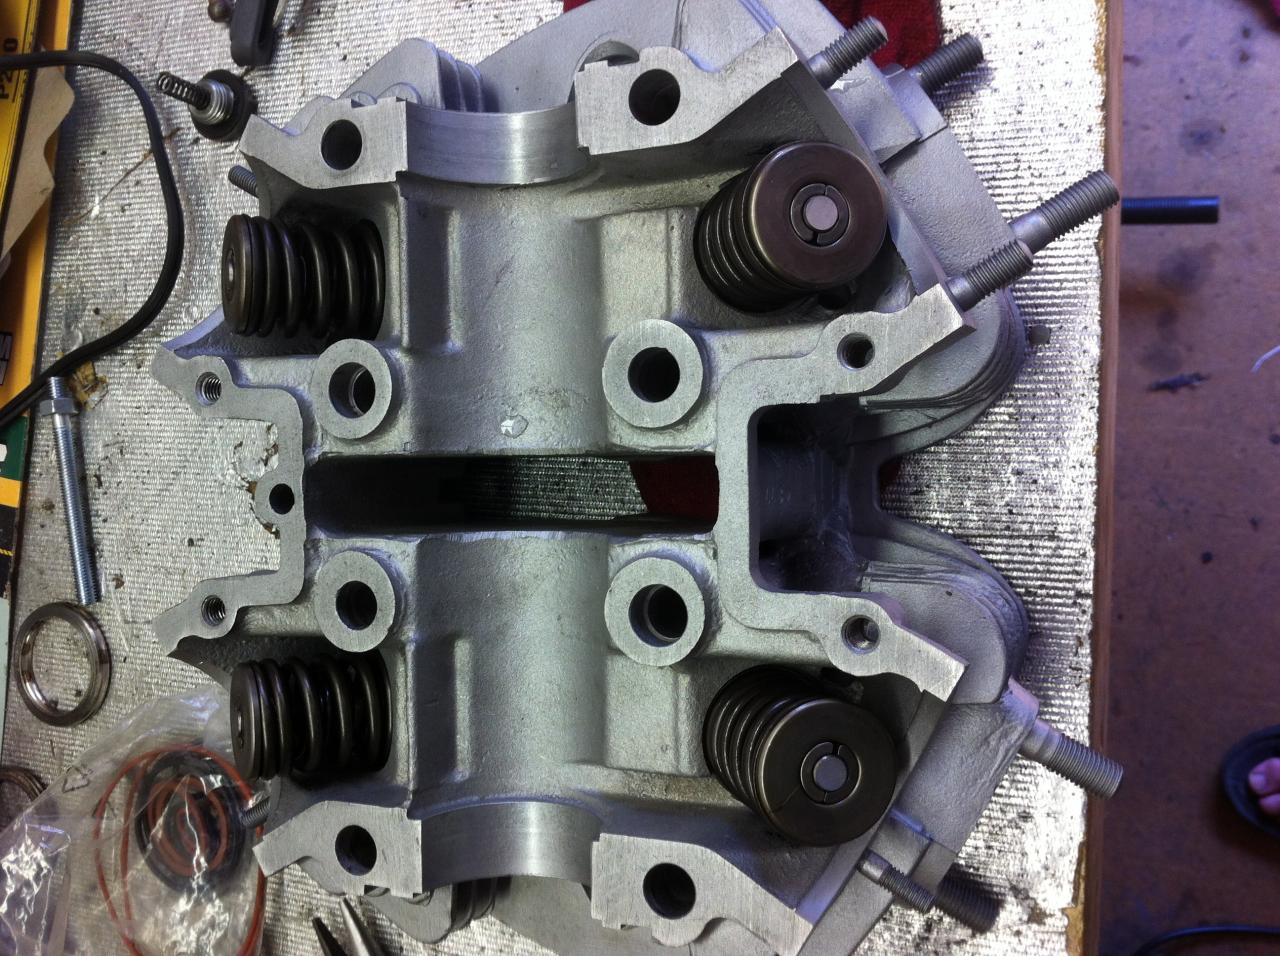
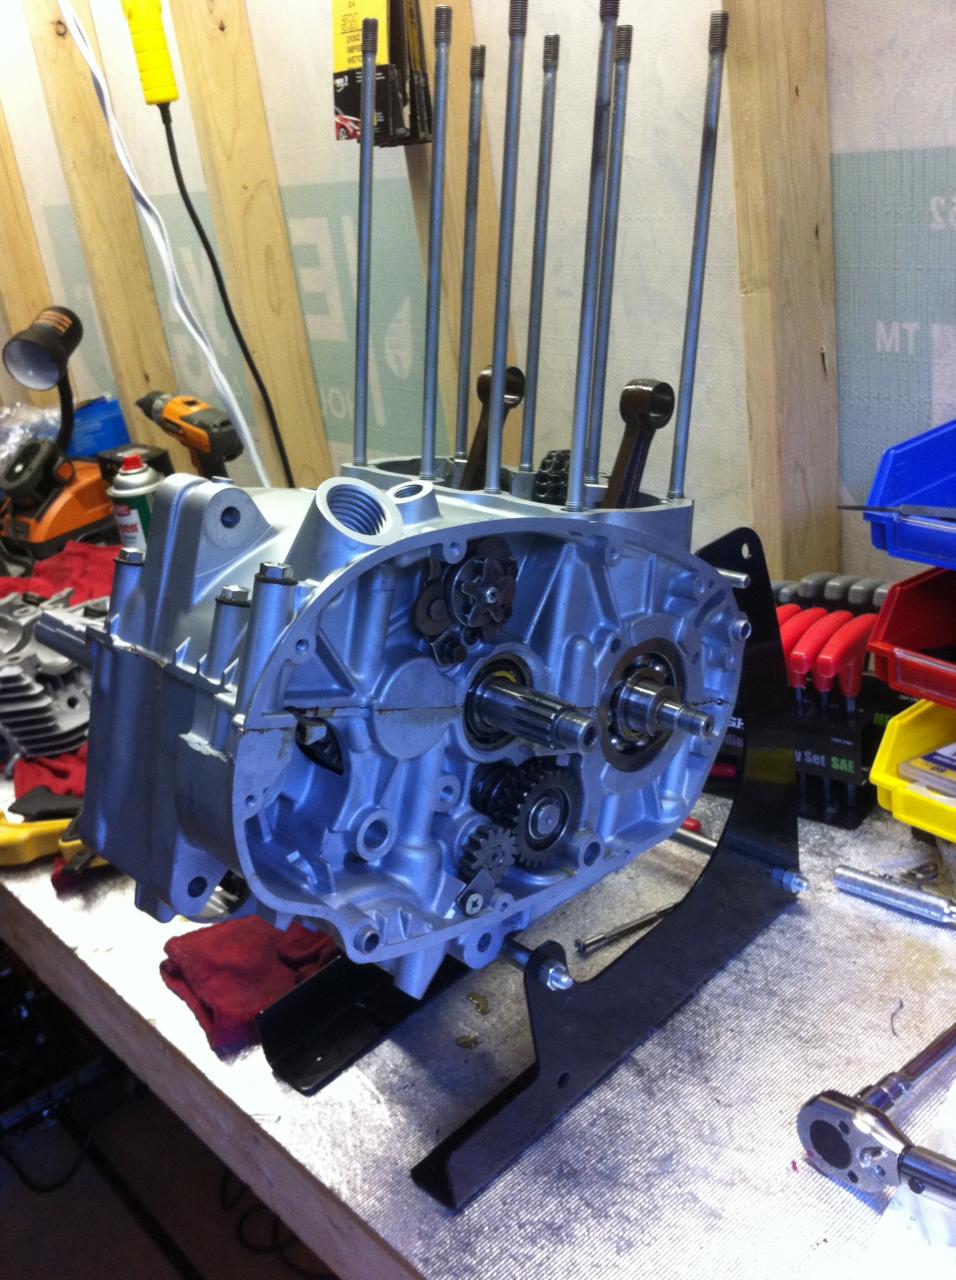
I do blame myself in terms of never done this before, but I also think this is where the maintenance guide gets really thin. It gives like 8 pages of detail on the clutch and transmission, but for this it says, "use a generous amount of oil and install the pistons." then, basically start it up. Ok, not that bad, but... no reminders about cam chain tentioners.

If you lift the cylinders up a little you can see where it's supposed to go deep in the crank case beneath the stupid gasket:

full


I have tried a couple of times to see if I can install it with the pistons in the jugs elevated up as high as they'll go. But then, saw, there on my work bench, still in the bag, my two fancy clean new o-rings that go around the base of each cylinder. :banghead:

So, no need to figure out how to install the tensioner. I have to take the pistons out of the jugs to do the o-rings. :doh:
 
some good, some doh:

I took the jugs off, put on the o-rings,

full


and screwed the base of the cam chain tentioner to the crank case.

full


It was 105F here in Portland today! my little tube of lock-tite blew up, so I had to run out and get another bottle. That stuff costs a lot!

I also remembered to put the little baffle in the cylinder cover, so I was happy to have all that stuff together and I didn't even lose the cam chain.

full


So, then, I *thought* I read in the guide that the 3 bolts that hold the cylinder cover to the cylinder need to be torqued to 27 ft-lbs. However -- SNAP :eek:

full


Now, by the time I took that picture, I'd already taken off the other 2 bolts and removed the cylinder cover. I thought I was sunk because I'd used lock-tite on that bolt.

However, with some oil, and a small bit, I was able to get a nice core drilled out, then, using a screw remover bit, got it out!!

full


I got it out so I'm really happy I don't have to take it down to a machine shop or something. I guess I'll have to look more carefully at what those 3 bolts are supposed to be torqued. Maybe it was just an old bolt?

So, a finesse question: what do you do about the little tags of gasket that stick out from some places?

full
 
I trim them off with an Xacto blade. Wait until you fire the engine up and run it a bit. The base gasket may push out a bit more. Then do the trimming. Those small bolts at the sides of the cylinder are M8s and only get torqued to 14-16 ft/lbs.

CylinderHeadTorque.jpg
 
Back
Top