Polishing made easy - Tip

gentlemanjim

More Wrenchin than Ridin
Messages
1,203
Reaction score
58
Points
48
Location
South Florida
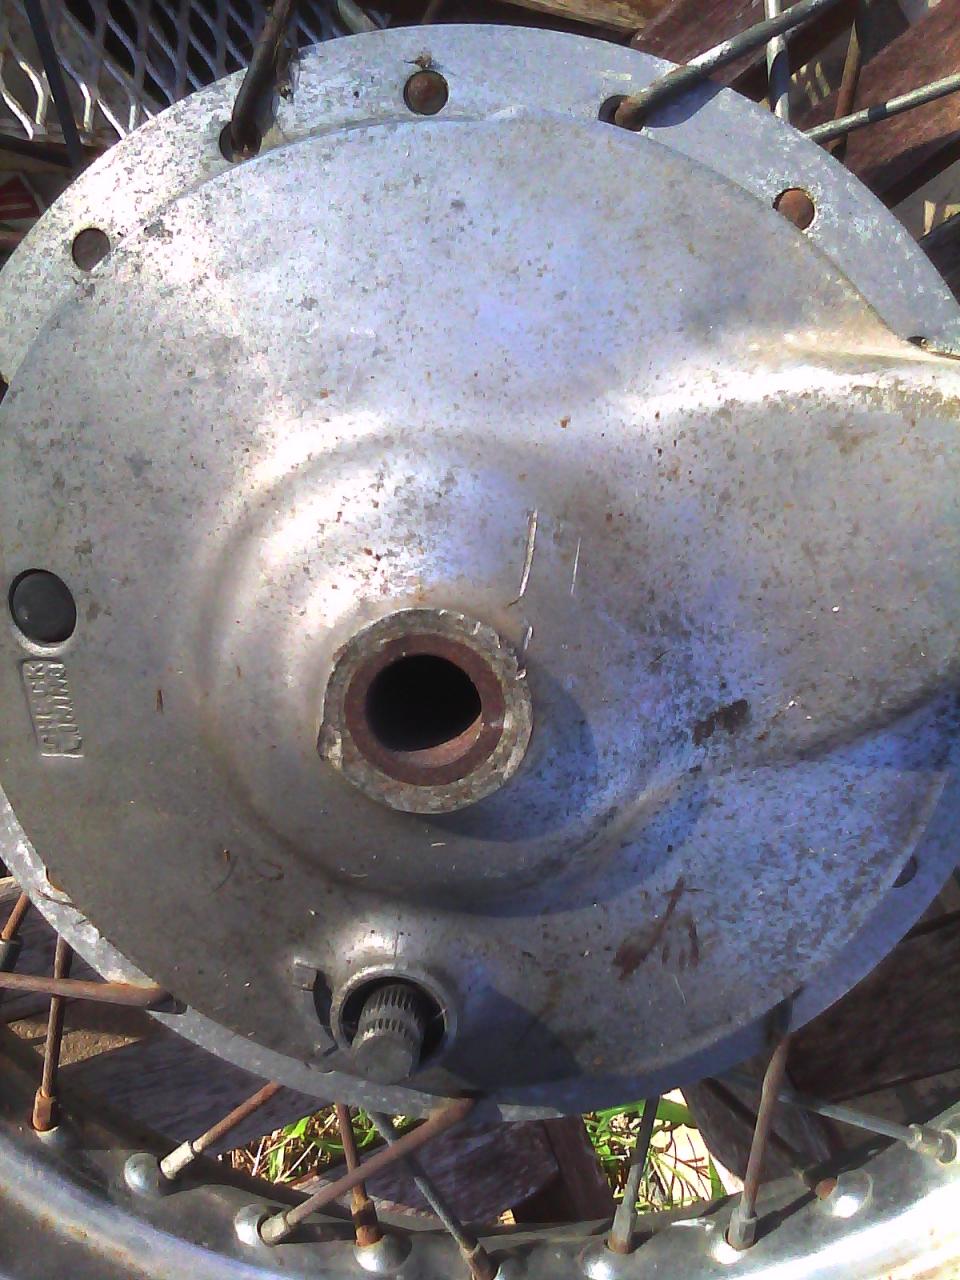
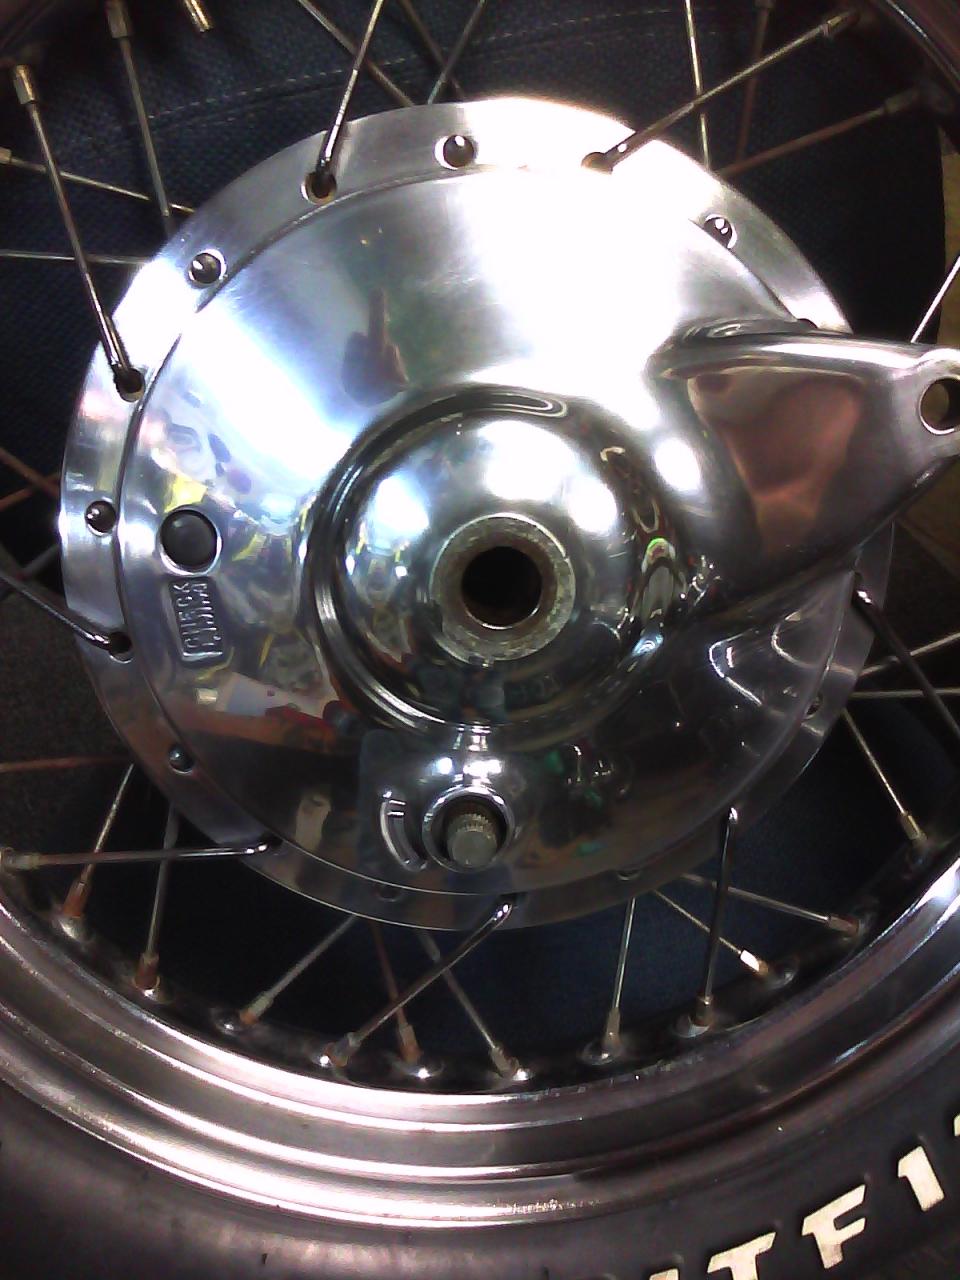
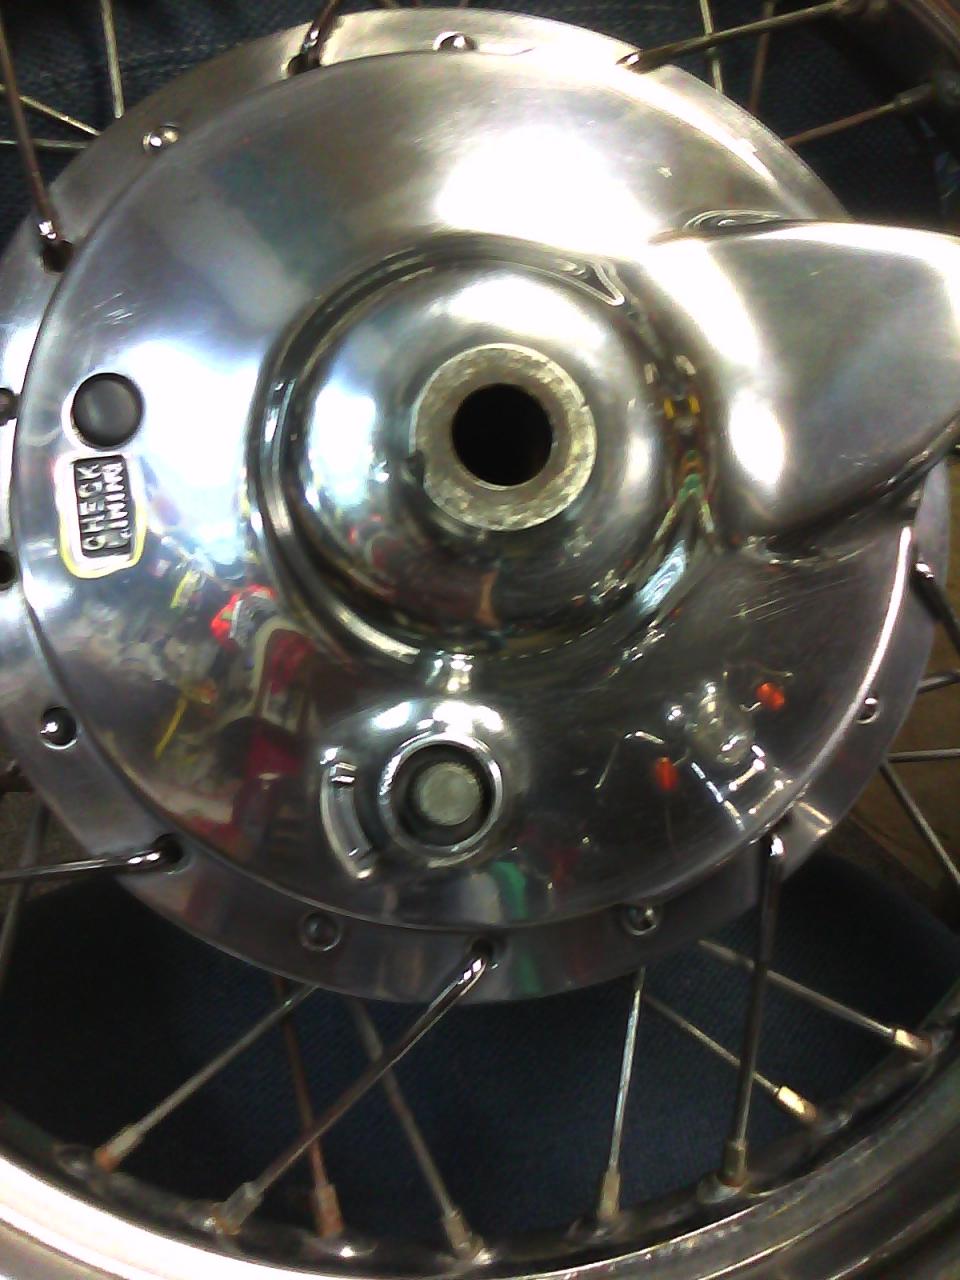
We've all struggled trying to polish our bikes aluminum bits, I've just discovered the perfect fast and easy method from Caswell. After stripping off the clear coat use this greaseless abrasive paste on a buffing wheel to sand down to the desired finish and then use black and then brown/tripoli buffing compound and different clean wheels of course for the perfect luster.

See the attached and the kit at the bottom of the page, 80 - 600 grit for only $45.00 - awesome.

Their website has a wealth of information about parts finishing, plating, powdercoating, etc all for the hobbyist .

http://www.caswellplating.com/buffs/buffing.htm
 
Instead of buying the kit for $50 and then shining it myself I would rather pay someone $50 to shine it for me.
 
Yea polishing does suck. I did these back in the day and it took 40 hours to look somewhat decent. Wetsanding and buffing like mentioned above.
SDC10021.jpg
 
oh ya, i got about 20 hours into my engine covers and forks - they don't look near that nice. i'm starting to think oxidation is a good look for aluminum...
 
Instead of buying the kit for $50 and then shining it myself I would rather pay someone $50 to shine it for me.

That's fine when you have one part to polish, but what if you have 20? Polishing is soo much easier when you have a buffing wheel that spins at the right rpm. I tired using a kit that you put in your drill, but the drill I was using didn't spin near fast enough.
 
I use the Sisal wheels along with the black bar. Works fast. Sometimes I don't even remove the coating before I start.
 
A little tip: I use spray-on gasket remover to take off factory coating off of the aluminum parts. It wrinkles within a few minutes and then I just remove the goop with a plastic scraper and a nylon brush. Works like a charm. It will melt your rubber or silicone gloves though.

Then I wet sand (depending on amount of oxidization and mapping) from as low as 400 to 600 to 1000 to 1500 grit, using WD-40 as lube, then I wash the part with detergent so I don't contaminate my buffing wheels with oil... then buff to a bling...

A bench grinder turned buffer makes the job WAY easier than a drill. I find once you have everything leveled with the 1000 or 1500 grit paper, it buffs up really quickly. I used to spend hours on the wheel before I started wet sanding. I use brown, then white compound, both spiral sewn wheels.

Here's a shot of my cover... Kind of blurry though

9abe7793-1.jpg


This is what the engine looked like before (well, that side still does. I don't have a shot of the same side, but was the same)...

f5dac42a-1.jpg


and after about an hour from sanding to buffing (ignore the mess) :) ...

02a619dd-1.jpg


I got me a powder coater recently, so I want to start experimenting with coating polished parts with brilliant clears etc. Anybody gone down that road yet?

But yeah... that Caswell guide is great though.
 
Then I wet sand (depending on amount of oxidization and mapping) from as low as 400 to 600 to 1000 to 1500 grit, using WD-40 as lube, then I wash the part with detergent so I don't contaminate my buffing wheels with oil... then buff to a bling...

A bench grinder turned buffer makes the job WAY easier than a drill. I find once you have everything leveled with the 1000 or 1500 grit paper, it buffs up really quickly. I used to spend hours on the wheel before I started wet sanding. I use brown, then white compound, both spiral sewn wheels.

+1 on the wet sanding. I start with 220 and do it in the basement sink with a slow trickle of water running over it.

The brown compound is commonly called Tripoli and will cut through the fine scratches from wet sanding. Next clean the part of all the Tripoli residue left behind. Then buff with white or green compound for the final brilliant shine. It's amazing how much difference this third step makes. Don't use the same wheel for the Tripoli and the white.
 
Anyone come up with a way to sand in the alloy wheel 'grooves"? The nylon abrasive wheels or a buffing wheel even the coarsest one leaves a "pebbly" finish. There must be a sanding wheel that I can get in there to "even out" the aluminum before I start buffing?
I am up to 3) 2 wheel grinders and an 8" 2 wheel buffer, a conversion kit for my 7" angle grinder and various drill adapters. about 10 buffing wheels and 2 caswell jumbo bar kits. I had slowly pieced together what I needed THEN the 8" buffer showed up on craigslist with all the extras DOH! None of it does a thing unless I am out there using it though.
 
great info jim. have no luck with black or red sticks. depends on the condtion of the part , sometimes i start with 220 sometimes 40 grit paper, work my way up to some wet 1500. then buff with high speed drill with some white. a wheel rake is imposable to find so i made one screwed about 10 sharp screws thou a 1x4 cleans the heak out of it. i lost the steps pics but good before and after, took about 25-30 hours


full


full


full


full
 
Here's an after. It had a bracket for the brake lining warning light wire when I started amazing what some buffing can do!

radian swingarm 008.JPG

Hack saw, rasp, file, 40 grit down to 600 grit black on sisal and white on sewn spiral about 2 hours. If you look closely you can see some porosity in the casting where the bracket was. It looked about like WACOBRIANS at the start.
 
Both your stuff looks great guys!……….I can't imagine spending 3-4 Days polishing just one part though. Think I would go insane!……….Guess i will find out at some stage though!

Do you guys wax them when finished to keep the condition longer?
 
GJ I finally figured out what you meant about the greaseless compound. What grits are you using?
 
Back
Top