Vlad
XS650 Enthusiast
Hi everyone! I figured I would introduce myself to the community by starting a progress thread on the restoration of this bike. I found her when I was working in the Fox Valley of Wisconsin. A friend of mine got wind of one of his friends wanting to sell his bike so I went to have a look. 1980 XS650 Special (SG?). Previous owner said it was sitting for 15 years, has 10k original miles and "don't need nothin'". He wanted $300 for the bike. I knew I was going to have to do all of the maintenances ever so I walked on that deal, plus I knew he really wanted it out of his barn. He calls me the next day and offers the bike AND a three-wheeler, both for $250. Boom, deal. 3-wheeler flipped for 80 bucks, so the bike ended up being a whopping $170! Clean title.
Sadly though, my life was occupied with other things then and it sat for another 3 years. I moved the bike back to Chicago with me and I am reviving the effort to restore it by this season.
Here is what I've done so far:
Here are the short term plans to get the engine running
Long term plans to get bike on the road
This is my first restoration, so I would be very grateful for any tips and advice! I do have a few questions though. Hope someone might be able to help! I'll be lurking these forums too, so perhaps I'll find the answers myself sooner or later.
And most importantly, the pics:
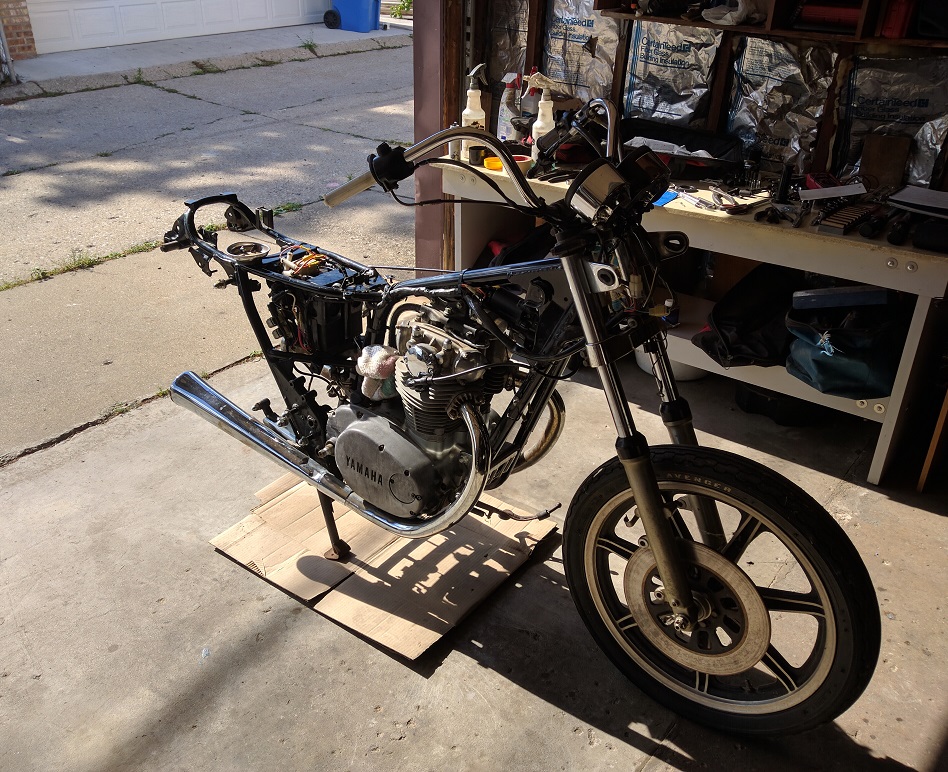
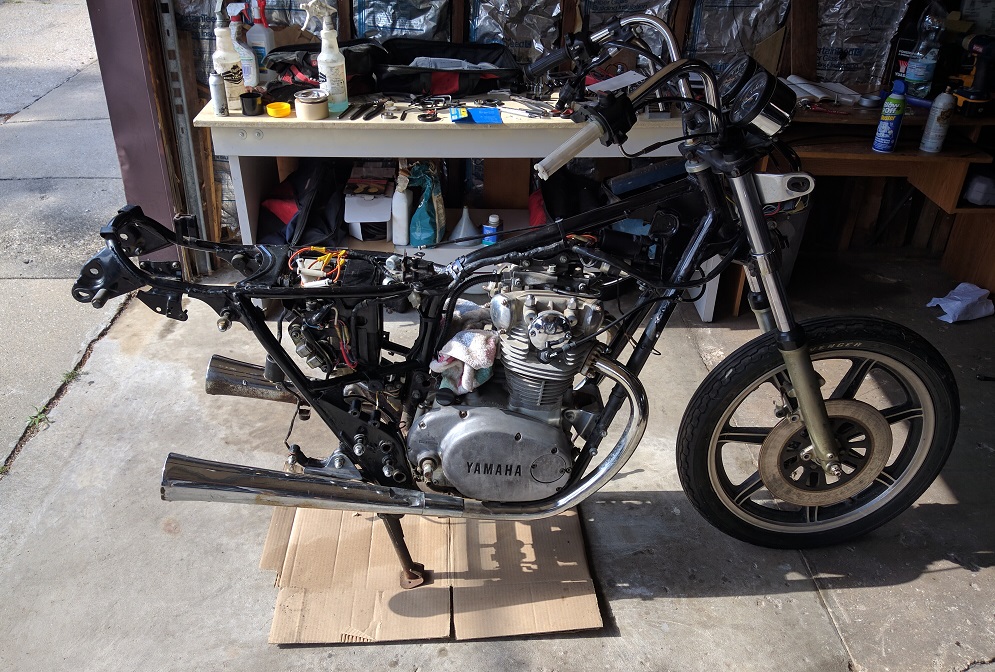
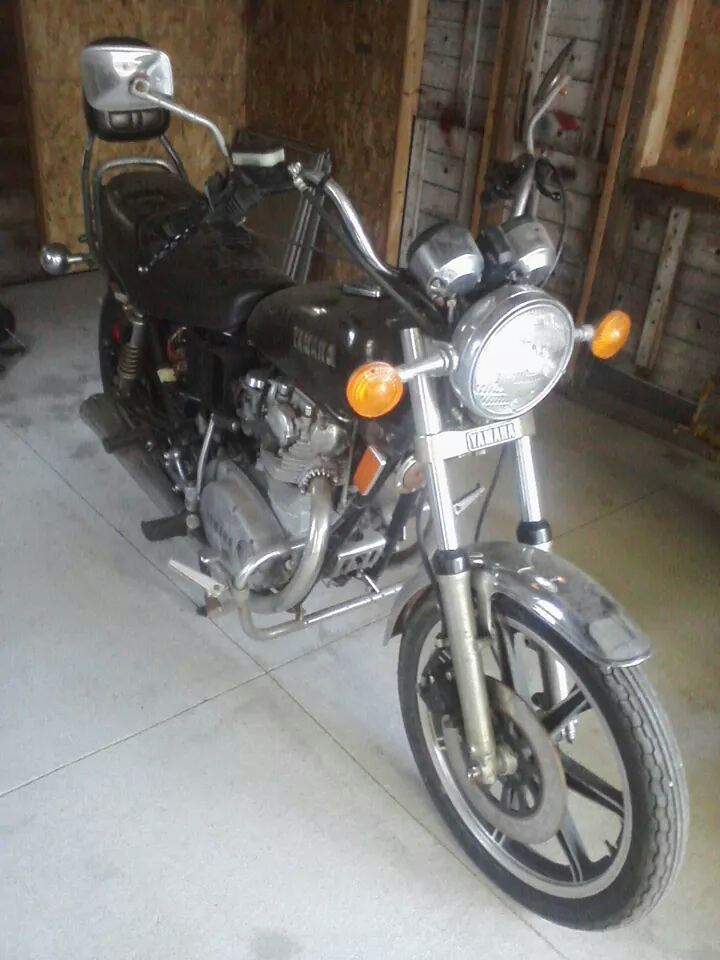
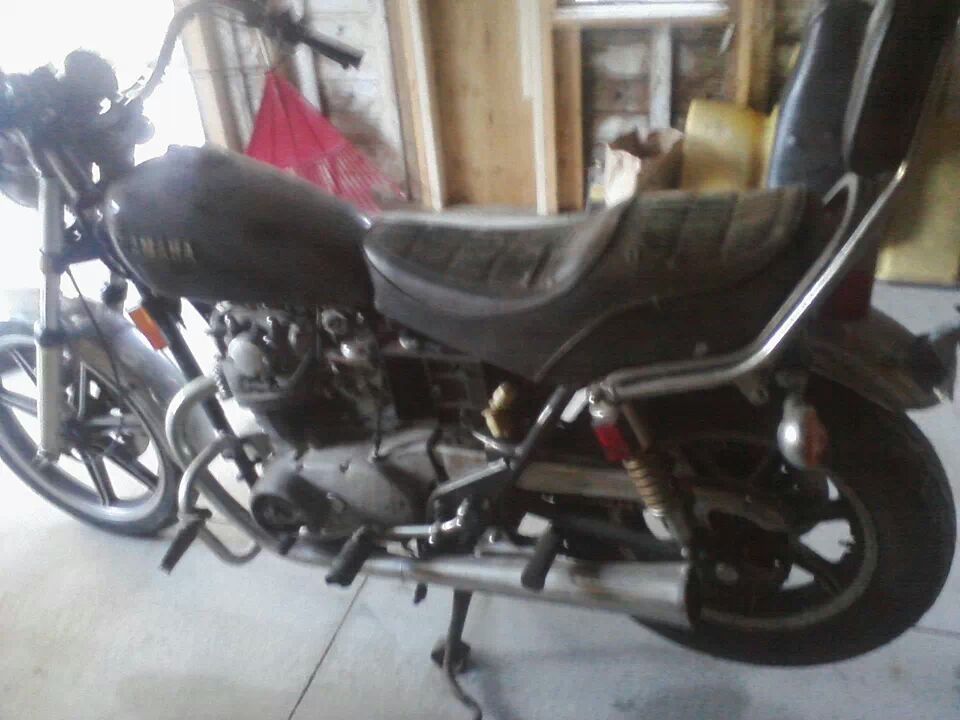
This is what she looked like when I first got her.
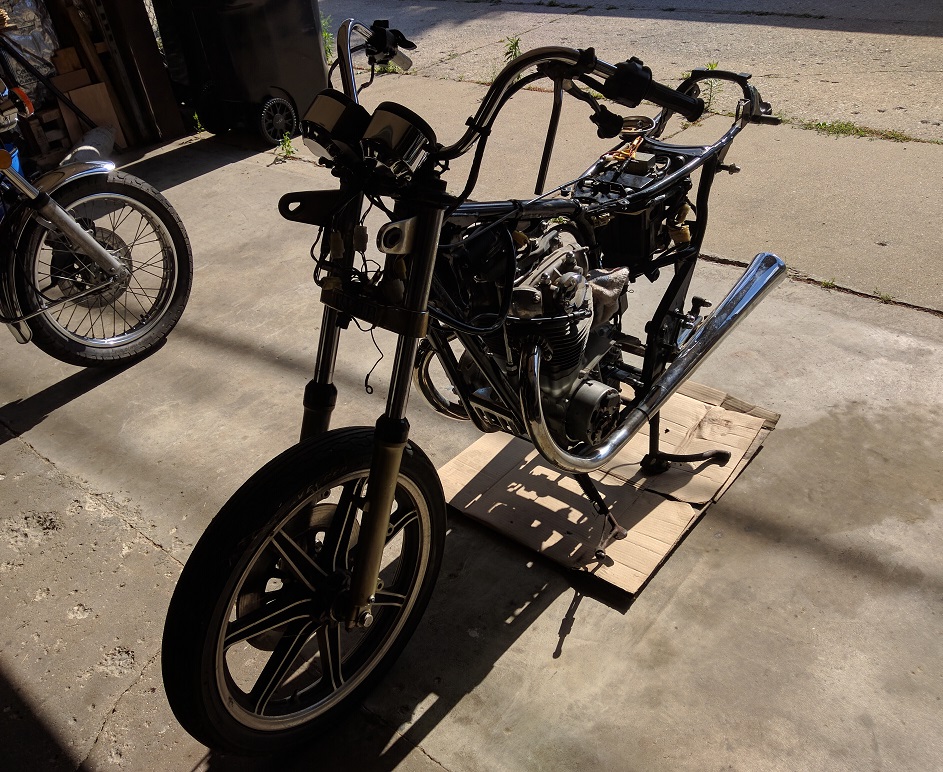
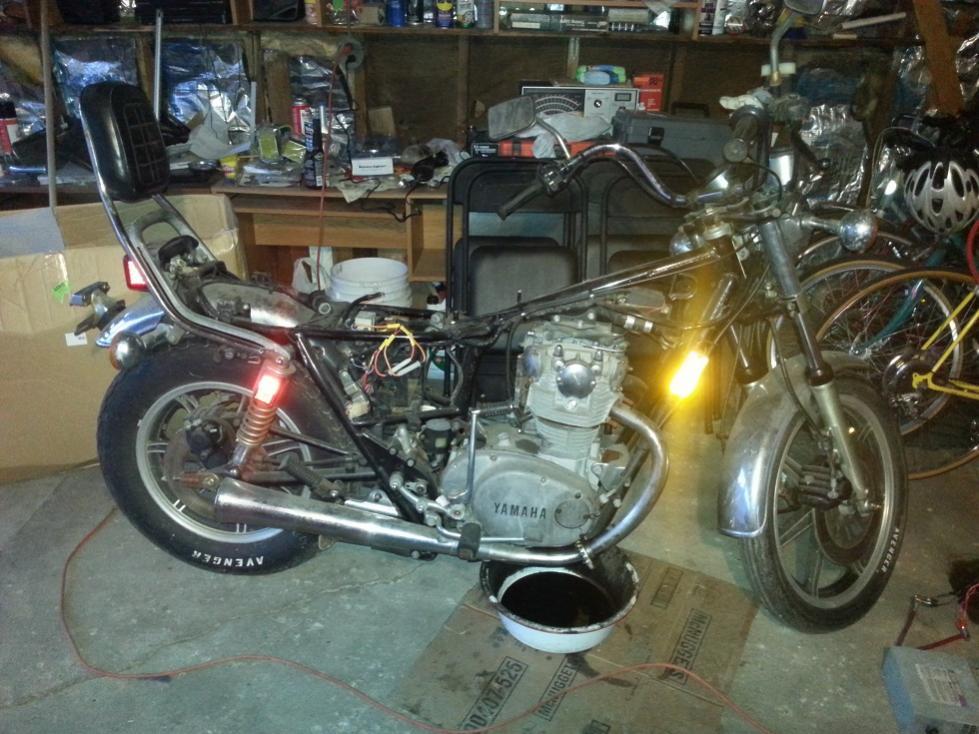
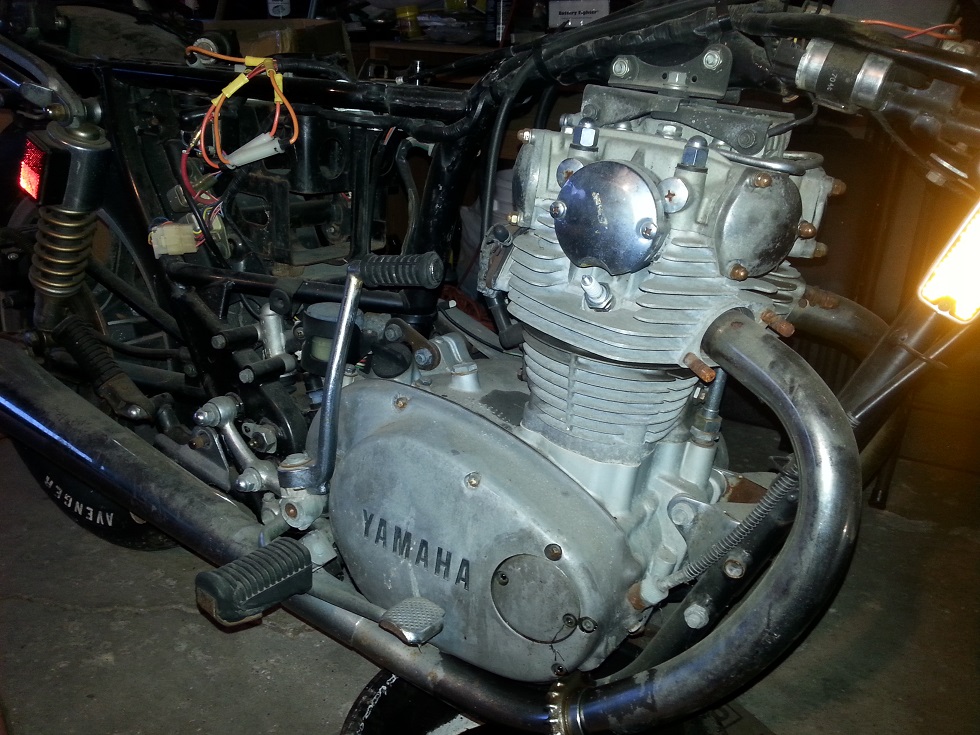
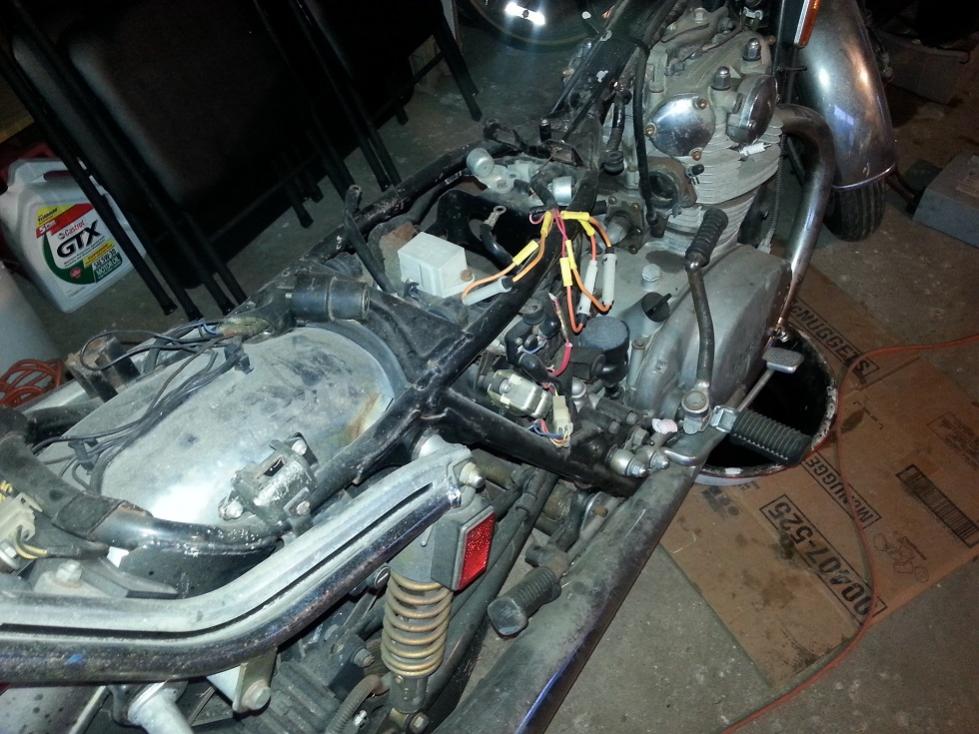
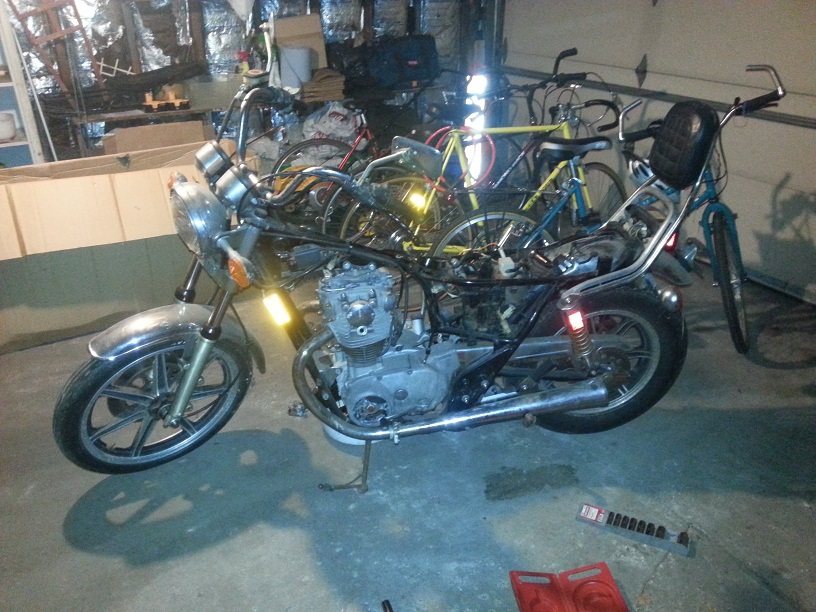
And now
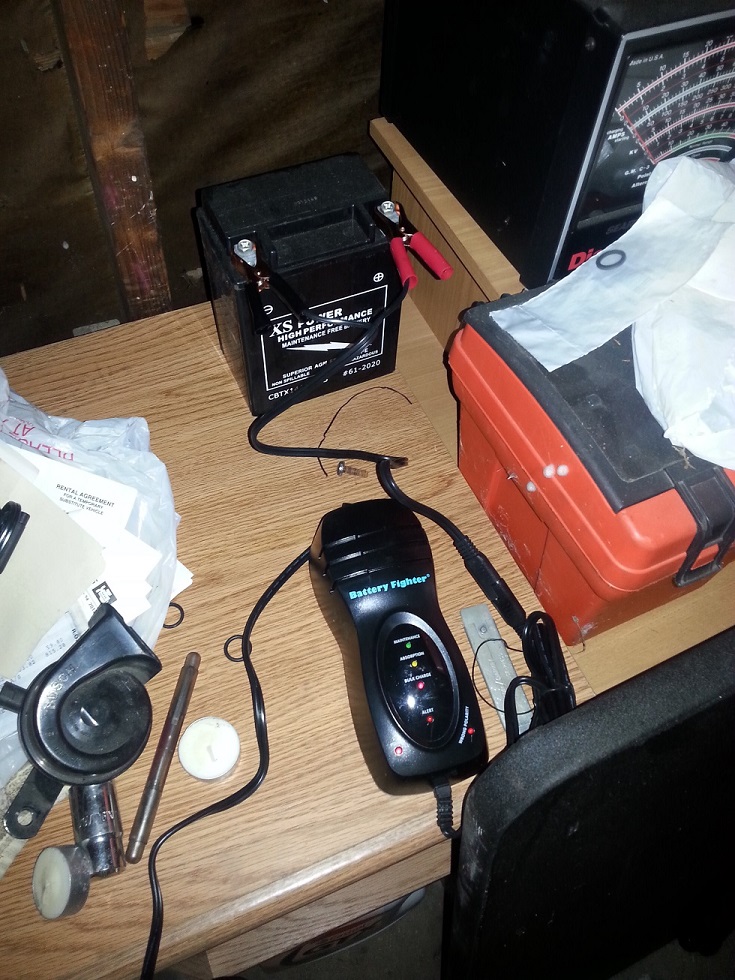
Got one of these bad boys
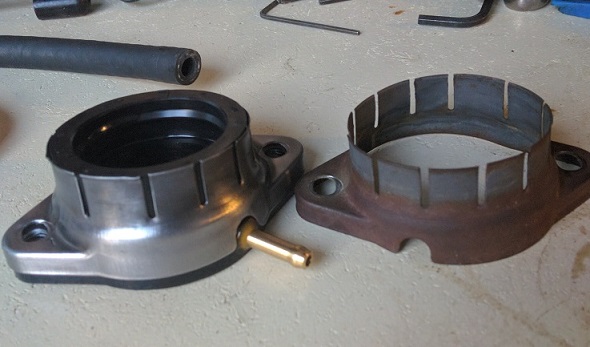
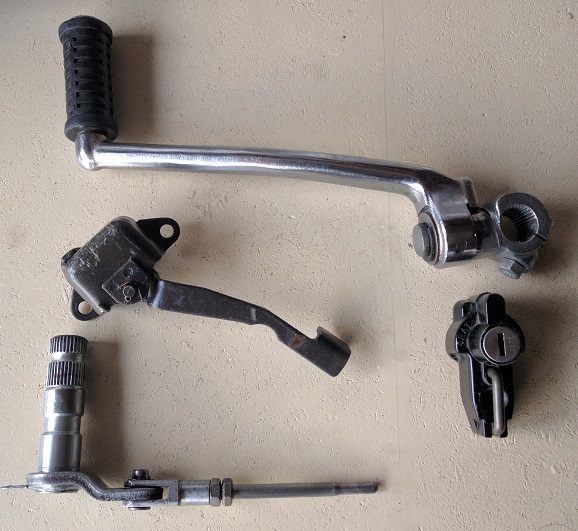
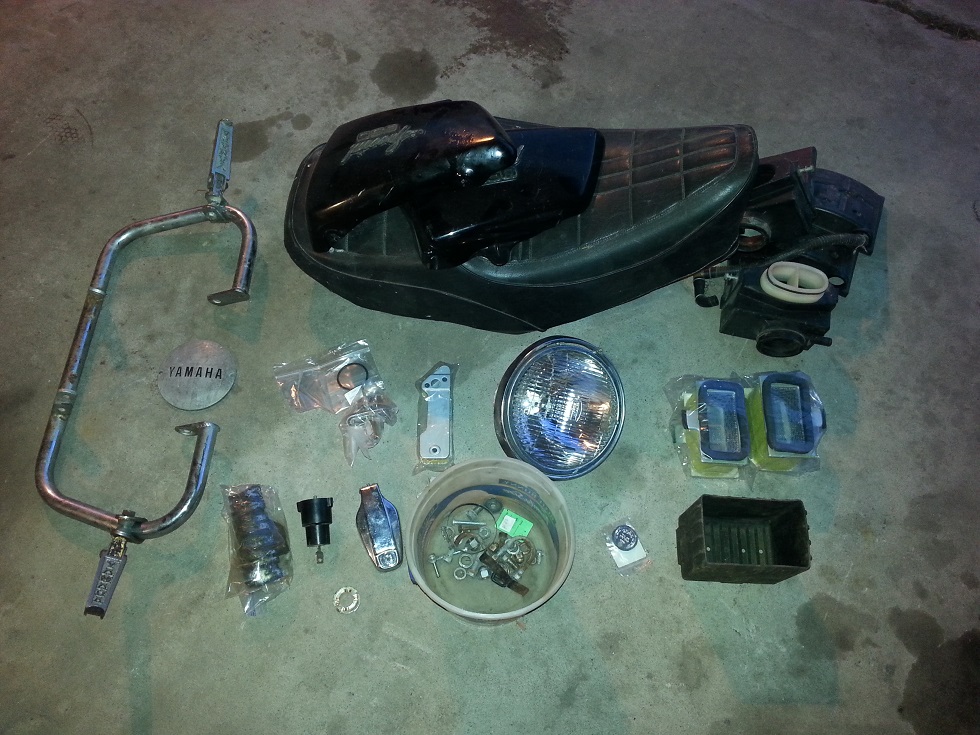
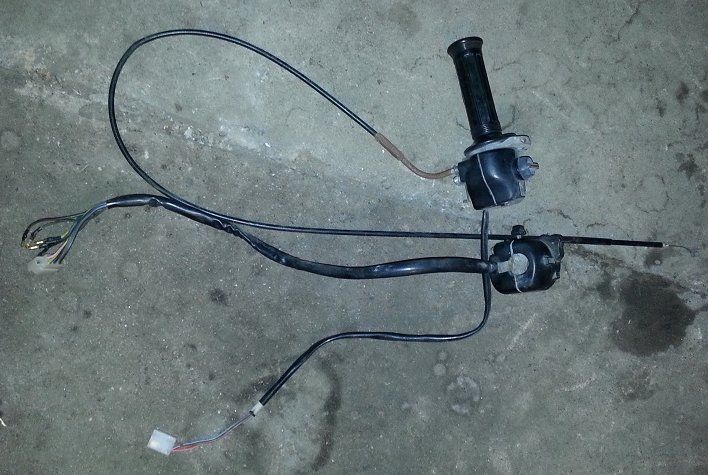
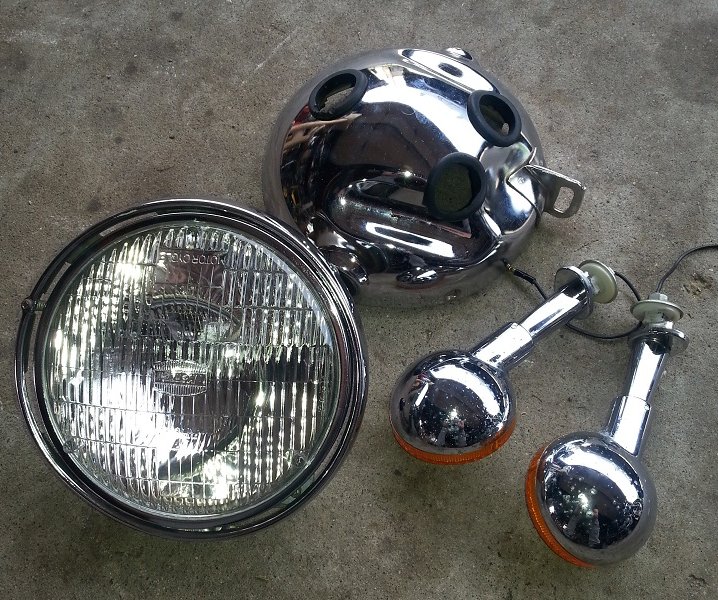
Here are all the parts off the bike, new air filters, fuel valve, sump filter, and some spares
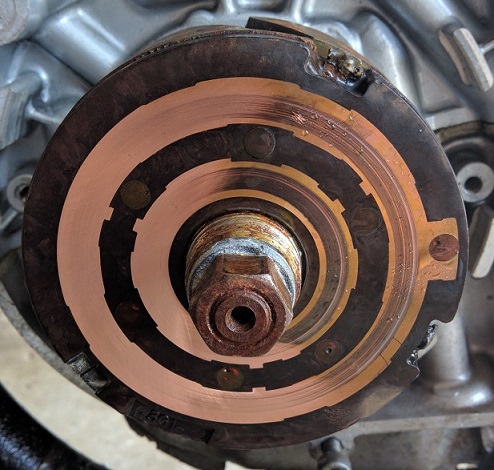
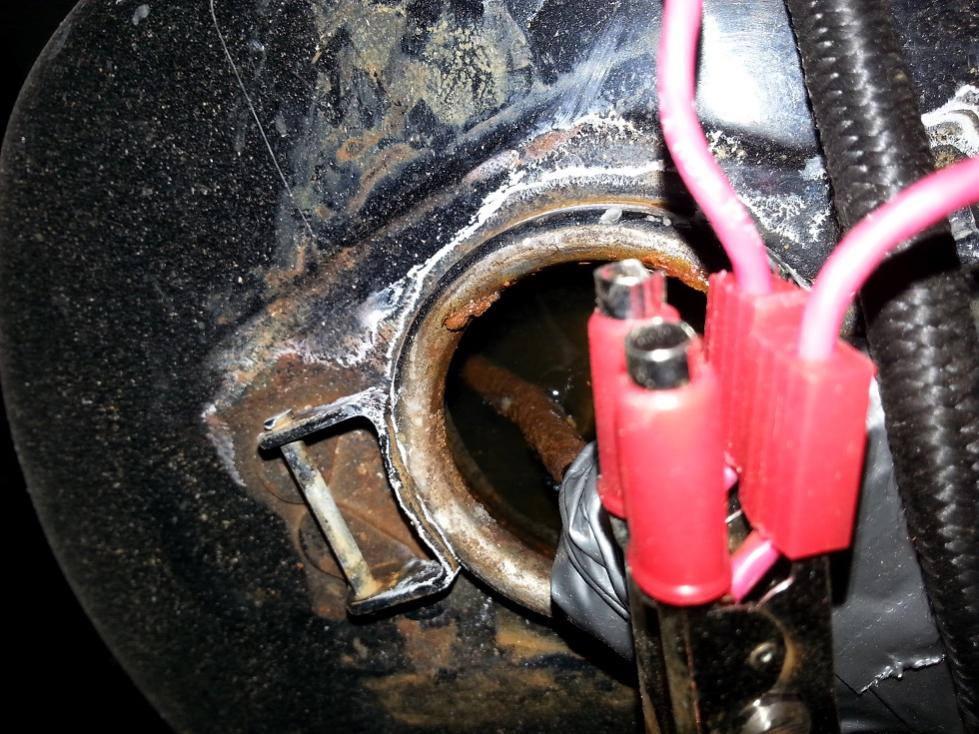
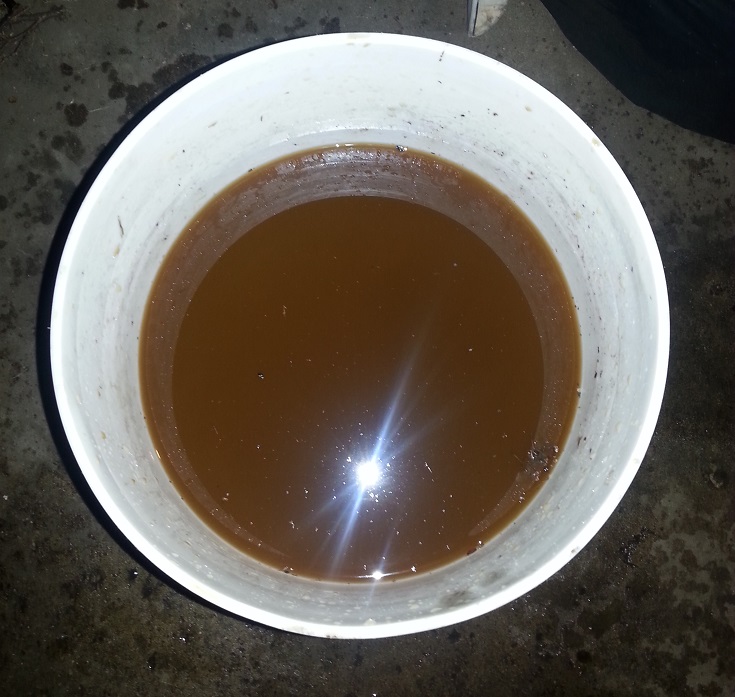
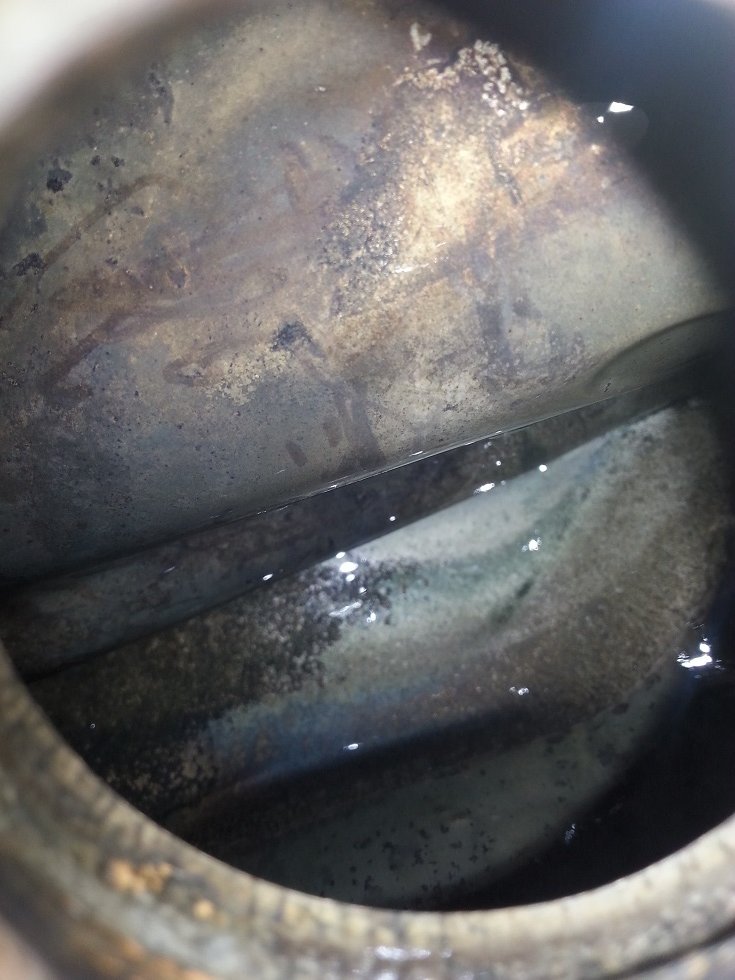
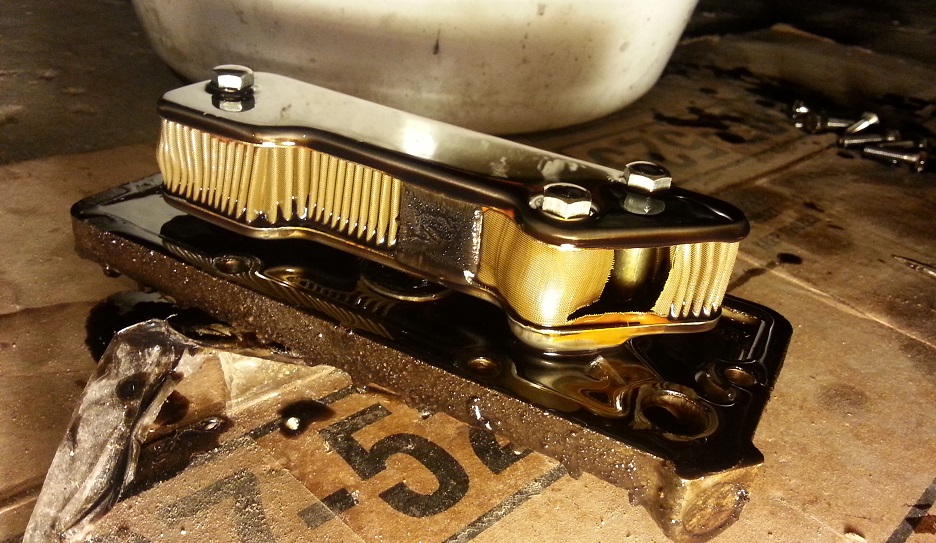
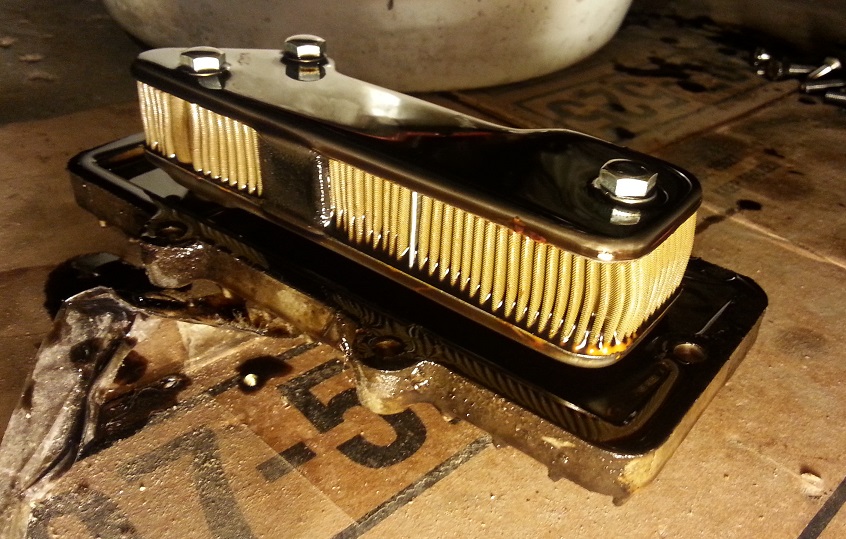
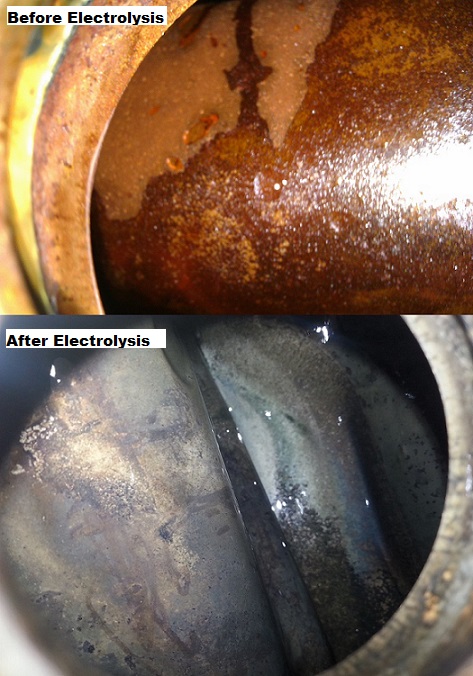
This is what the electrolysis looks like


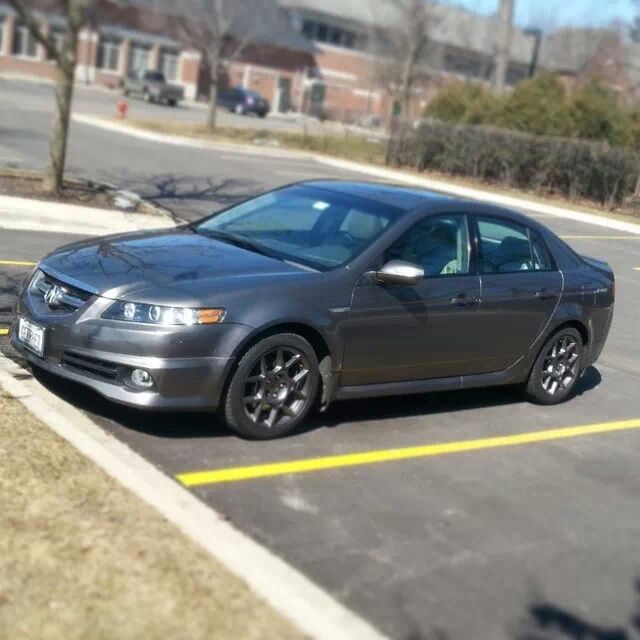
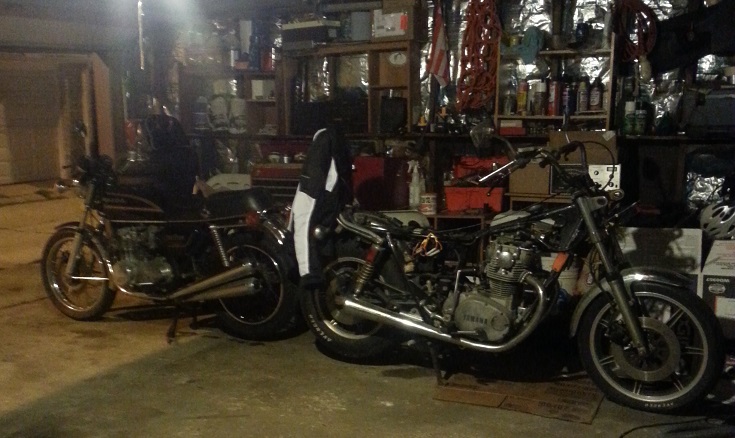
This is one of my other hobbies:
Thanks everyone! I'm very excited to get this thing back on the road!!!
Cheers!
Sadly though, my life was occupied with other things then and it sat for another 3 years. I moved the bike back to Chicago with me and I am reviving the effort to restore it by this season.
Here is what I've done so far:
- Compression test: good! ~165 PSI on both cylinders
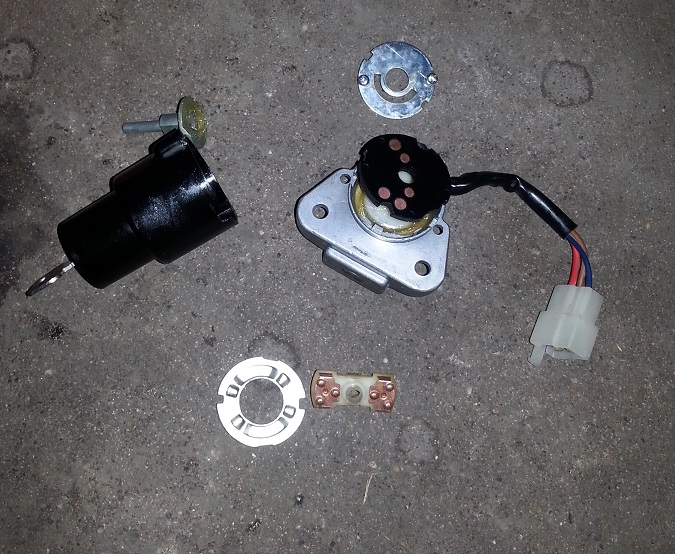
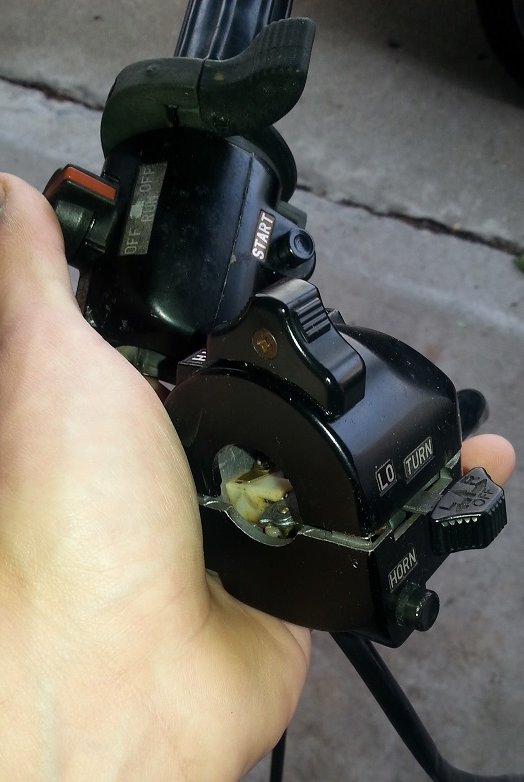
- Rebuilt broken ignition switch, tested good
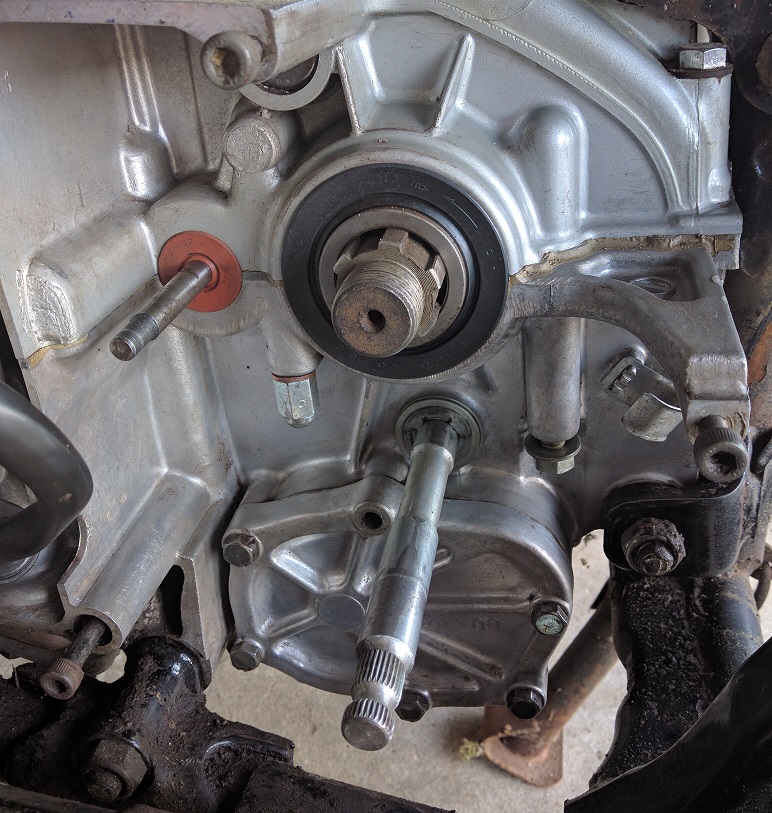
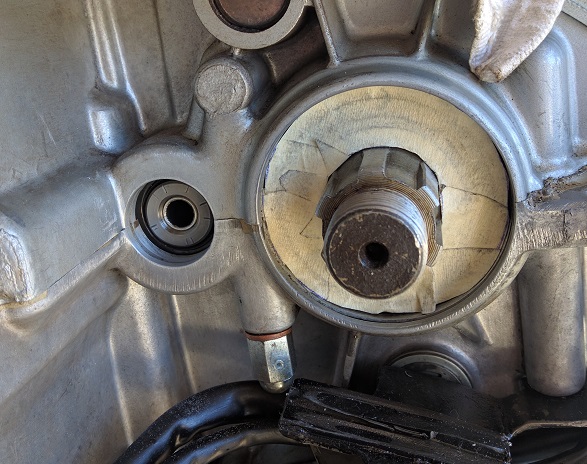
- carbs almost done being cleaned: one of the housings was damaged, pending potential repair, may need to replace completely
- electrolysis on fuel tank, almost done, need to tip upside down yet
- replaced fuel valve/petcock with manual non-vacuum type
- replaced fuel tank cap seal
Here are the short term plans to get the engine running
- Test ignition system
- Complete fuel tank electrolysis rust removal
- Complete carb cleaning
- Reassemble cabs and airbox with new OEM filters
- Install inline fuel filter
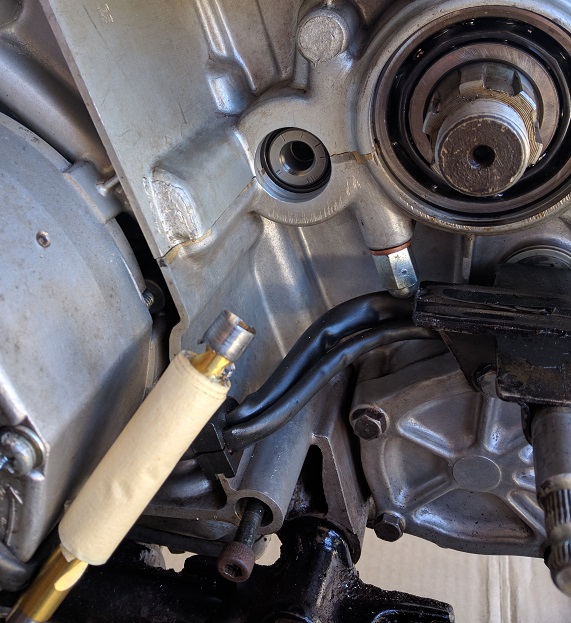
- Replace oil filter and sump filter, and gaskets for those
- Change oil
Long term plans to get bike on the road
- Service front and rear suspension
- Service front and rear brakes (both are disk)
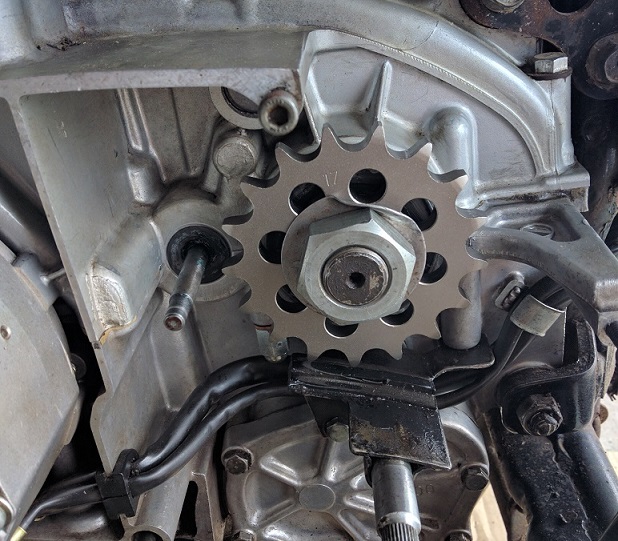
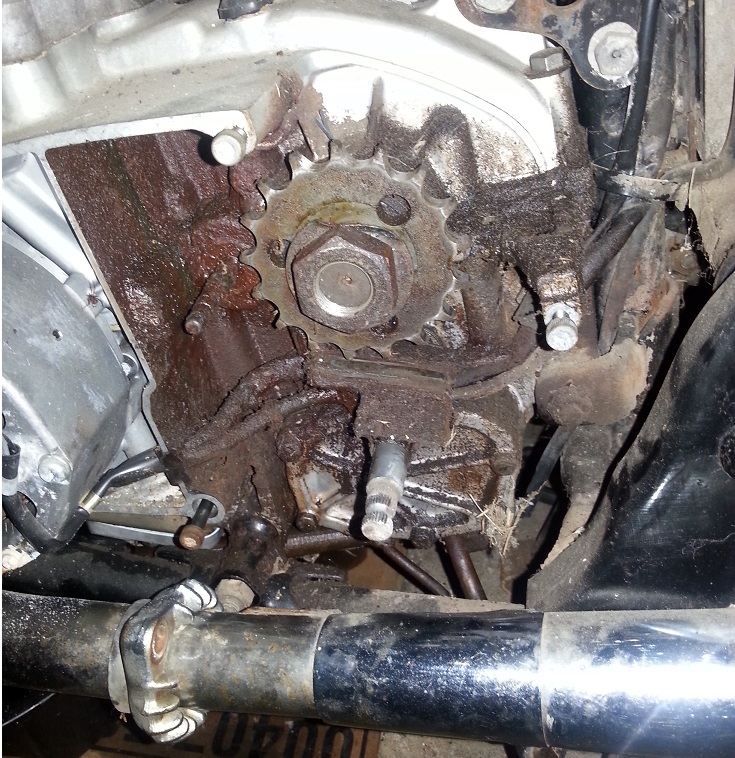
- Replace chain and sprockets
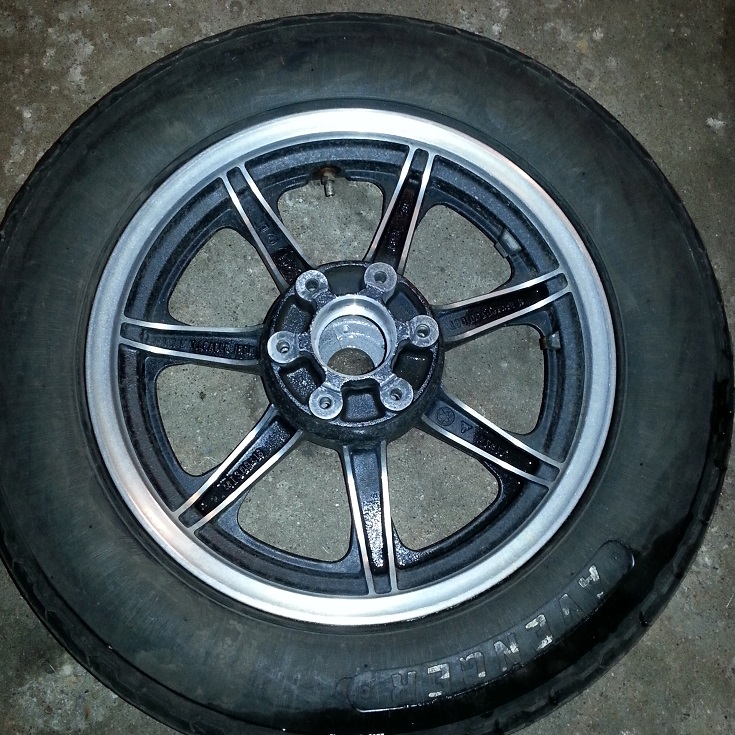
- New Tires
- test/service/repair all electronics
- basically, every item in the maintenance section of Haynes
This is my first restoration, so I would be very grateful for any tips and advice! I do have a few questions though. Hope someone might be able to help!
I'll be lurking these forums too, so perhaps I'll find the answers myself sooner or later.- Is there anything missing from my list?
- Besides Clymer and Haynes, are there any other service manuals for this bike? I would prefer one from Yamaha if it's available.
- It seems that between mikesxs, 650central, and ebay, I should be able to find every part I'll ever need. Are there any other places I should know about?
- What kind of oil should I be running?
- Should I go with a 520 chain/sprockets instead of a 530 type? I was planning on getting the 530 x 104 IZUMI O-ring chain from mikesxs.
And most importantly, the pics:
This is what she looked like when I first got her.
And now
Got one of these bad boys
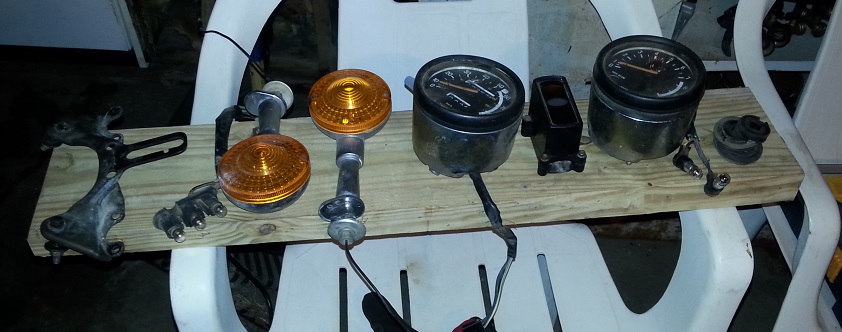
Here are all the parts off the bike, new air filters, fuel valve, sump filter, and some spares
This is what the electrolysis looks like
This is one of my other hobbies:
Thanks everyone! I'm very excited to get this thing back on the road!!!
Cheers!

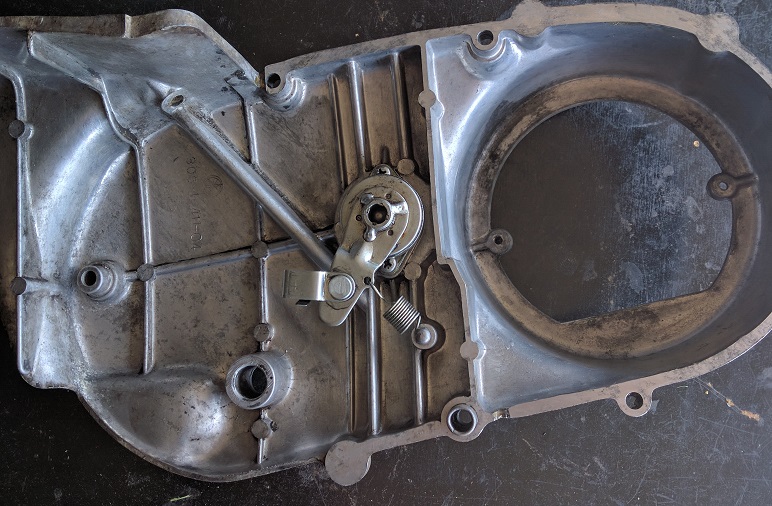
 Hopefully I can find it, otherwise I'll have to come up with a clever way to hold that together.

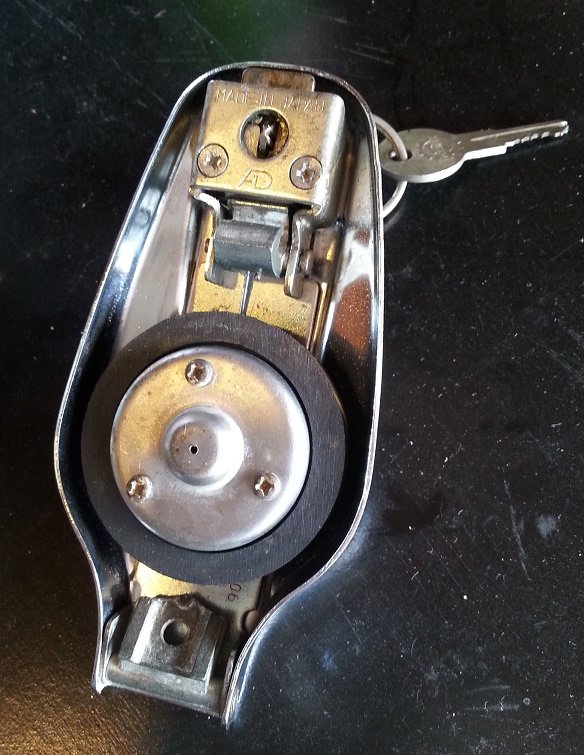


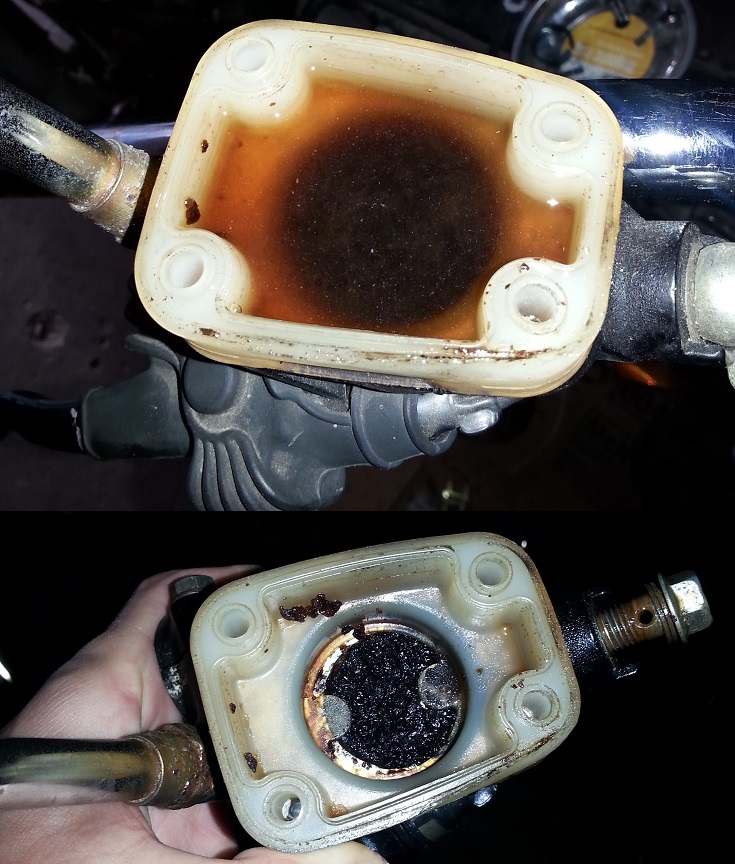
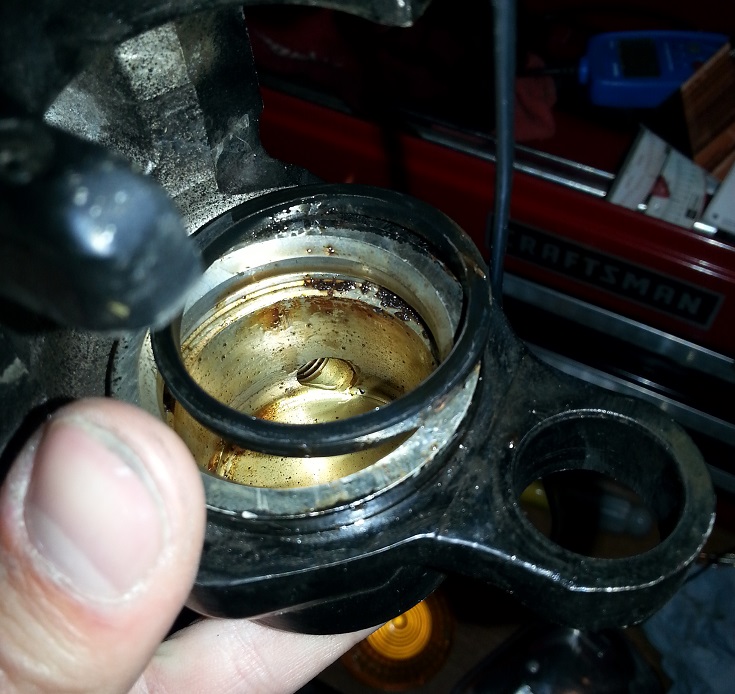
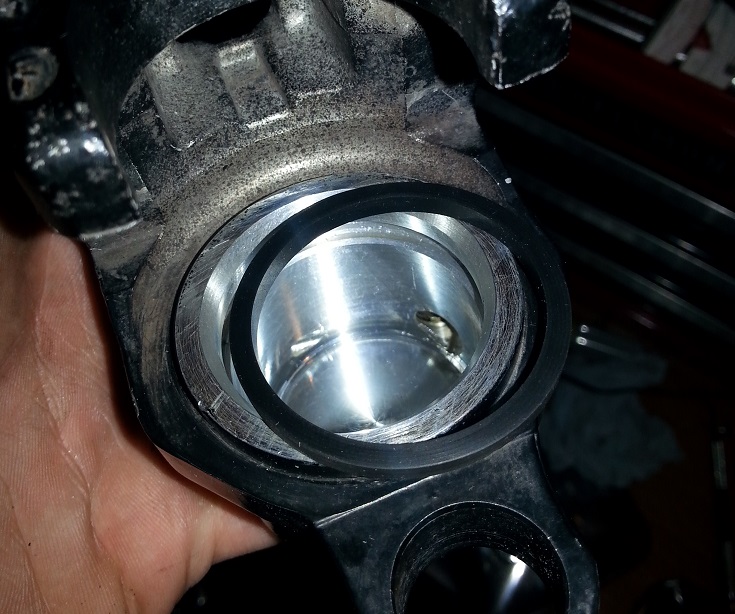
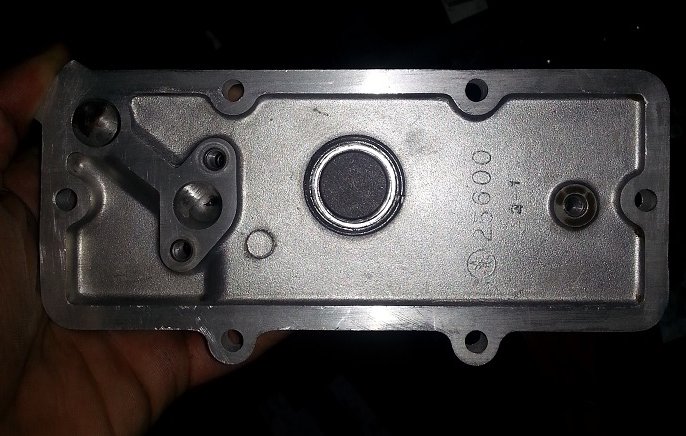
 Should have just tried my luck on ebay for a new housing. We'll see what happens with this...