XS Choppers are dead…

livingdeadmc

XS650 Junkie
Messages
937
Reaction score
56
Points
28
Location
East Lansing Michigan
IMG_9257.jpeg


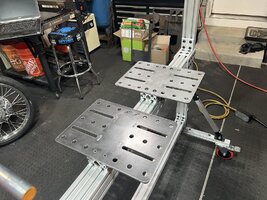
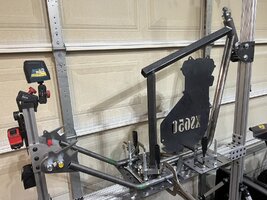
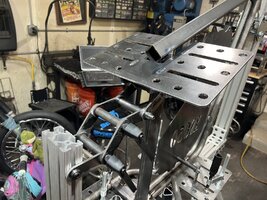
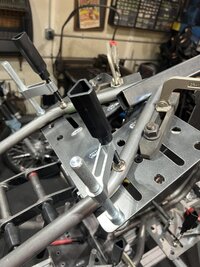
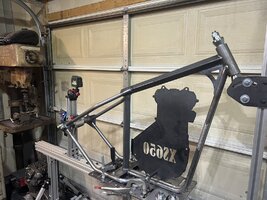
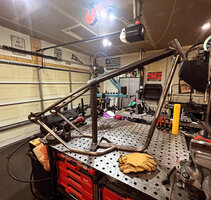
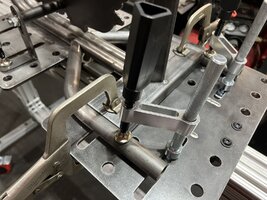
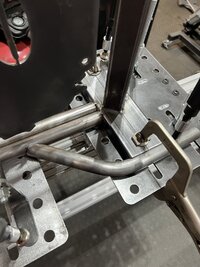
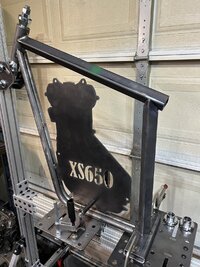
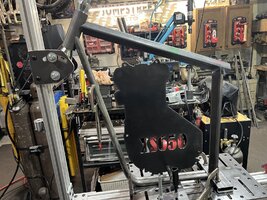
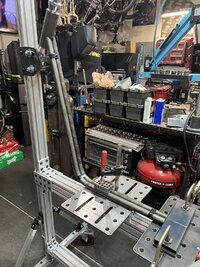
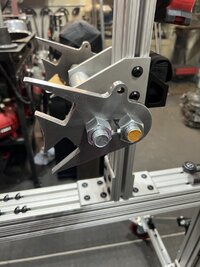
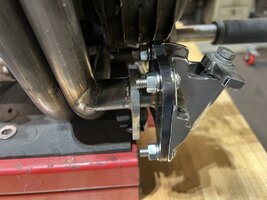
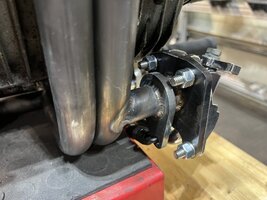
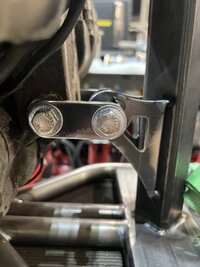
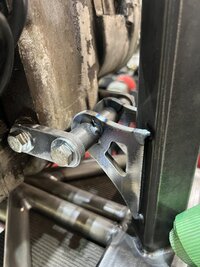
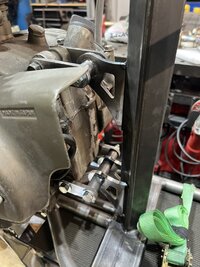
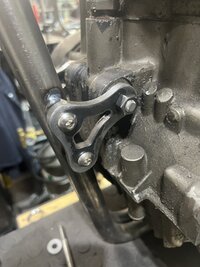
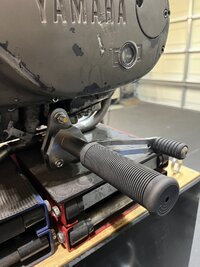
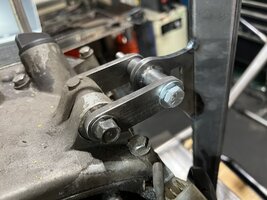
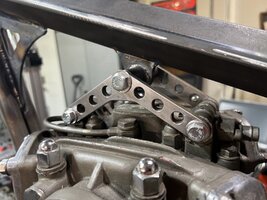
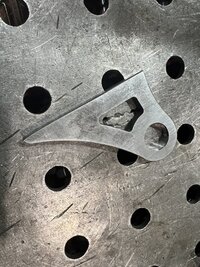
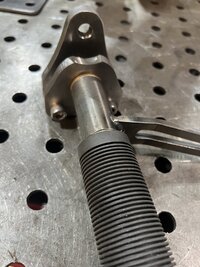
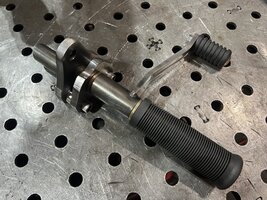
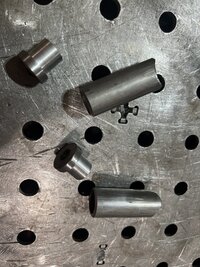
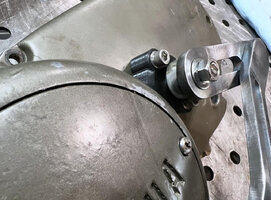
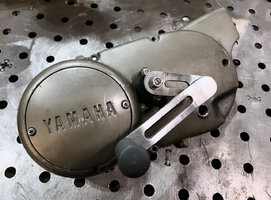
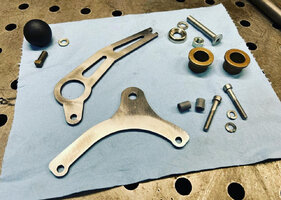
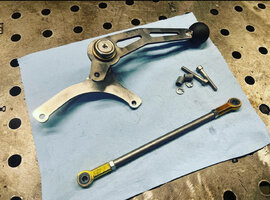
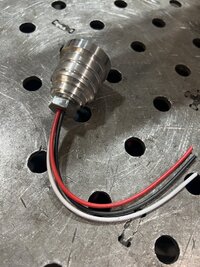
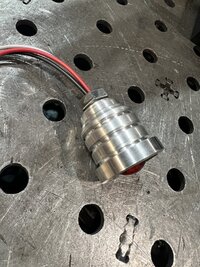
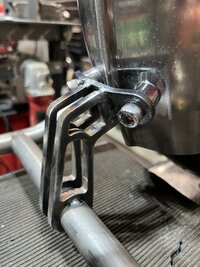
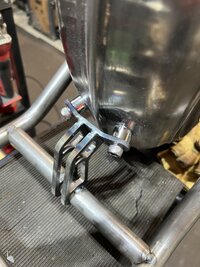
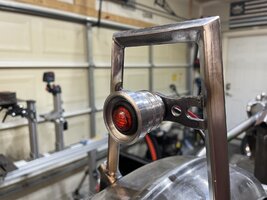
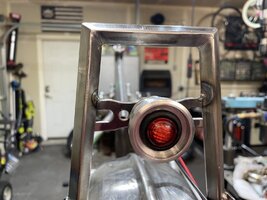
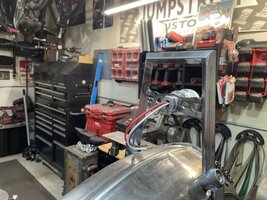
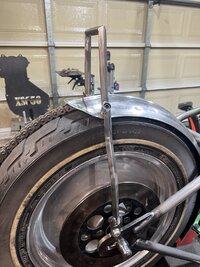
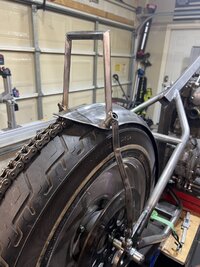
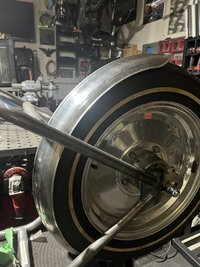
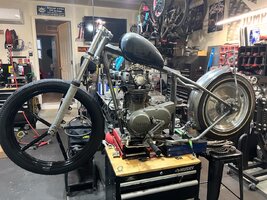
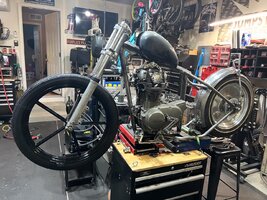
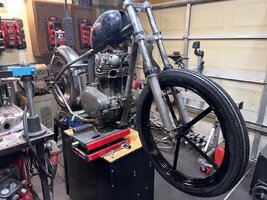
I haven’t built an XS650 in years. I’ve been building parts for them for a decade and a half and they’ve always had a place in my heart but over the past five to six years I’ve been focusing on Harley’s. Six months ago I had a friend reach out and ask if I wanted this XS650 that’s been sitting in his garage. I was there the next day picking it up. I was going to leave it as is and just use it for R&D. The following day I ordered a VooDoo vintage hardtail for it and things began to spiral out of control shortly after that.
 
Last edited:
IMG_9259.jpeg


I mounted the fender, made a sissy bar and seat pan for it as well as whipped up an electronics box to mount under the seat. Then it sat like this for a bit. Shortly after getting to this point I was selected to be a builder for the 2024 Smoke Out Rally. The other builders were all building Harley’s and as much as I wanted to build a Shovel I thought it would be fun to show people what can be done with the XS platform.
 
IMG_9260.jpeg


Since I was now going to be showing this bike off to people other than my neighbors I figured I might as well really build this thing. I decided to nix the Voodoo hardtail and build the whole frame. I started that project by building my dream frame jig. I owned the Chop Source jig for years and built many frames and bikes on it. It was great but lacked some things that I really wanted. My buddy Mike at Chop N’ Weld used this 15 series aluminum T track for his jig and I’ve always drooled over it. I put my lathe, Cnc plasma table, TIG welder and 3D printer to work to make my new frame jig come to life.
 

Attachments

  • IMG_8734.jpeg
    IMG_8734.jpeg
    259.6 KB · Views: 14
  • IMG_8733.jpeg
    IMG_8733.jpeg
    417.1 KB · Views: 11
  • IMG_8706.jpeg
    IMG_8706.jpeg
    243.1 KB · Views: 13
  • IMG_8705.jpeg
    IMG_8705.jpeg
    252.5 KB · Views: 12
  • IMG_8574.jpeg
    IMG_8574.jpeg
    304.3 KB · Views: 11
  • IMG_8571.jpeg
    IMG_8571.jpeg
    245.4 KB · Views: 13
  • IMG_8619.jpeg
    IMG_8619.jpeg
    317.1 KB · Views: 11
  • IMG_8620.jpeg
    IMG_8620.jpeg
    235.7 KB · Views: 13
  • IMG_8629.jpeg
    IMG_8629.jpeg
    410.8 KB · Views: 13
95190D40-D86E-4A32-8A42-3B862AAF2C06.jpeg

Now that I had the frame jig knocked out it was time to move on to the frame. I started by machining an HD style neck. Then I drew up a 1:1 scale motor profile to build around aka no more lugging that heavy XS motor on and off of my jig. I wanted to do something different with this frame and landed on using square tube for the backbone and seat tube with a shotgun style down tube. The frame specs are zero stretch, two inches up in the front, three inch drop and 28° rake. I designed and cut the axle plates in house as well as the neck gusset. The tube on the frame is one inch .120 wall DOM tube.
 

Attachments

  • IMG_8774.jpeg
    IMG_8774.jpeg
    427.9 KB · Views: 13
  • IMG_8806.jpeg
    IMG_8806.jpeg
    380.8 KB · Views: 13
  • IMG_8847.jpeg
    IMG_8847.jpeg
    323.4 KB · Views: 12
  • IMG_8885.jpeg
    IMG_8885.jpeg
    420.4 KB · Views: 17
  • F401B5E7-9961-4864-A3F2-34F00AA28372.jpeg
    F401B5E7-9961-4864-A3F2-34F00AA28372.jpeg
    633.7 KB · Views: 14
  • IMG_8763.jpeg
    IMG_8763.jpeg
    364.4 KB · Views: 14
  • IMG_8764.jpeg
    IMG_8764.jpeg
    321.3 KB · Views: 14
  • IMG_8741.jpeg
    IMG_8741.jpeg
    449.9 KB · Views: 15
  • IMG_8738.jpeg
    IMG_8738.jpeg
    290 KB · Views: 16
  • IMG_8735.jpeg
    IMG_8735.jpeg
    453.5 KB · Views: 16
  • IMG_8706.jpeg
    IMG_8706.jpeg
    243.1 KB · Views: 13
  • IMG_8708.jpeg
    IMG_8708.jpeg
    382.5 KB · Views: 14
  • IMG_8712.jpeg
    IMG_8712.jpeg
    231.2 KB · Views: 14
  • IMG_8710.jpeg
    IMG_8710.jpeg
    479.2 KB · Views: 14
  • IMG_8730.jpeg
    IMG_8730.jpeg
    261.9 KB · Views: 13
  • IMG_8732.jpeg
    IMG_8732.jpeg
    389.4 KB · Views: 18
IMG_8903.jpeg


Next on the list were my motor mounts, mid controls and kickstand. All of these parts were designed in CAD and cut on my plasma table. I’ll be running a Tokico disc brake in the rear as well as a foot clutch and hand shifter.
 

Attachments

  • IMG_9024.jpeg
    IMG_9024.jpeg
    238.4 KB · Views: 7
  • IMG_9023.jpeg
    IMG_9023.jpeg
    267.4 KB · Views: 6
  • IMG_9012.jpeg
    IMG_9012.jpeg
    245.2 KB · Views: 9
  • IMG_9013.jpeg
    IMG_9013.jpeg
    333.4 KB · Views: 7
  • IMG_9014.jpeg
    IMG_9014.jpeg
    324.2 KB · Views: 7
  • IMG_9007.jpeg
    IMG_9007.jpeg
    306.3 KB · Views: 8
  • IMG_8913.jpeg
    IMG_8913.jpeg
    286.4 KB · Views: 8
  • IMG_8912.jpeg
    IMG_8912.jpeg
    308.9 KB · Views: 9
  • IMG_8911.jpeg
    IMG_8911.jpeg
    306.5 KB · Views: 10
  • IMG_8909.jpeg
    IMG_8909.jpeg
    622.1 KB · Views: 9
  • IMG_8907.jpeg
    IMG_8907.jpeg
    347.8 KB · Views: 10
  • IMG_8906.jpeg
    IMG_8906.jpeg
    348.6 KB · Views: 10
  • IMG_8905.jpeg
    IMG_8905.jpeg
    548.3 KB · Views: 9
  • IMG_8898.jpeg
    IMG_8898.jpeg
    547.9 KB · Views: 9
IMG_9263.jpeg


I’ll be using one of my XS handshifters that I created and sell on my web site along with a new foot clutch design that I’ve been working. The foot clutch lever is still a work in progress and the foot clutch hub pictured here is 3D printed. The final hub will be machined out of aluminum.
 

Attachments

  • IMG_9262.jpeg
    IMG_9262.jpeg
    869.4 KB · Views: 7
  • IMG_9261.jpeg
    IMG_9261.jpeg
    896 KB · Views: 7
  • IMG_9263.jpeg
    IMG_9263.jpeg
    1,006.9 KB · Views: 8
  • IMG_9264.jpeg
    IMG_9264.jpeg
    1.1 MB · Views: 4
IMG_9265.jpeg


Moving on to the rear of the bike. I found this CCi solid aluminum 16” wheel to run and that will be fitted with an XS to HD sprocket that I had Rebel Gears make. Then I mounted a Sting-Rey fender from Low Brow. Sticking with the square tube theme I bent up this square stock sissy bar and spun up a small tail light to mount to the sissy bar.
 

Attachments

  • IMG_8984.jpeg
    IMG_8984.jpeg
    556.1 KB · Views: 9
  • IMG_8982.jpeg
    IMG_8982.jpeg
    491.8 KB · Views: 9
  • IMG_8983.jpeg
    IMG_8983.jpeg
    551.5 KB · Views: 10
  • IMG_9095.jpeg
    IMG_9095.jpeg
    326.1 KB · Views: 12
  • IMG_9096.jpeg
    IMG_9096.jpeg
    329.3 KB · Views: 8
  • IMG_9092.jpeg
    IMG_9092.jpeg
    613.2 KB · Views: 10
  • IMG_0616.jpeg
    IMG_0616.jpeg
    261.9 KB · Views: 12
  • IMG_0617.jpeg
    IMG_0617.jpeg
    265.7 KB · Views: 10
  • IMG_0618.jpeg
    IMG_0618.jpeg
    323.6 KB · Views: 10
  • IMG_9071.jpeg
    IMG_9071.jpeg
    381.8 KB · Views: 9
  • IMG_9070.jpeg
    IMG_9070.jpeg
    333 KB · Views: 8
  • IMG_9038.jpeg
    IMG_9038.jpeg
    327.2 KB · Views: 13
IMG_9135.jpeg


The front of the bike features ultra narrow trees from TwinCity in Italy the front forks pictured are just a place holder until my 39mm HD forks come in. LED Sled is a sponsor for the Smoke Out Rally and they sent me this beautiful 21” invader to use for my build. I wrapped that in a Shinko 270 tire. The tank pictured is also a temp. A good friend of mine is building me a wassell style tank with a tunnel made to fit the square back bone. Cult Classics reached out to me to see if they could donate a paint job for the tins so the fender and tank will be sent off to them once done.
 

Attachments

  • E48349F7-C2C2-46BC-8A80-3B21531A2494.jpeg
    E48349F7-C2C2-46BC-8A80-3B21531A2494.jpeg
    477.1 KB · Views: 16
  • 9248D0A5-2FB9-4263-88E4-F3AC1424E53D.jpeg
    9248D0A5-2FB9-4263-88E4-F3AC1424E53D.jpeg
    472.1 KB · Views: 17
  • 947CEBB7-7C86-4BC7-B21A-A0F8AC8E701B.jpeg
    947CEBB7-7C86-4BC7-B21A-A0F8AC8E701B.jpeg
    437.6 KB · Views: 15
Last edited:
IMG_9226.jpeg


Last weekend I was able to knock out the seat pan. Welding the uber thin fender to the .125” thick base kicked my butt….luckily it’ll be covered by foam and leather lol. The front channel was bent on my break and the rest of the seat was cut by hand and shaped on my 2x72 grinder. I’m hoping this weekend to get the front seat mount done so I can get this thing sent off to be covered.
 
Back
Top