XS650 No Theme Build

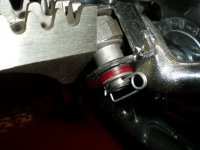
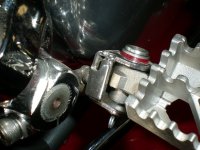
Drilled and slotted the alternator cover and polished it. On the fence about using this?:shrug: Looked at it a little closer and decided it needs different (lower) foot pegs. Maybe??
polished cover 005.JPG polished cover 004.JPG polished cover 003.JPG
 
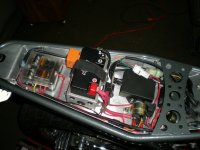
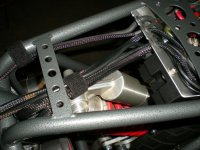
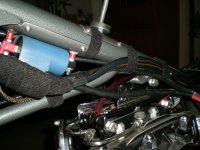
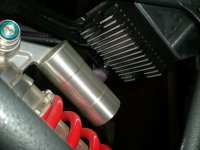
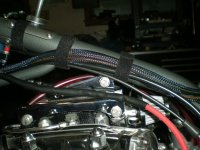
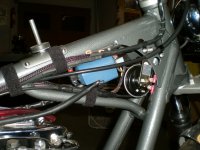
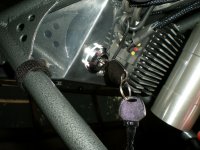
Wiring is for the most part sorta finished. Velcro wrap on the terminals is just temporary. There is some kind of wire loom wrap that is not very sticky. What is that?? Everything worked, no burnt wire smell, even the Chinky Crap I used all works (for the moment anyway) and the HHB CDI has Mega Spark! Should be done??:rolleyes: by the end of the month.:thumbsup:
Wiring 002.JPG Wiring 003.JPG Wiring 004.JPG Wiring 005.JPG Wiring 006.JPG Wiring 008.JPG Wiring 009.JPG
 
Thanks. This is not my "A" game by any means but it will have to do for now. Keep in mind I`m that guy with the VCR still flashing 12:00 Sunday and I had to have the 9 year old neighbor kid change the 2 AA batteries in the remote.:shrug:
 
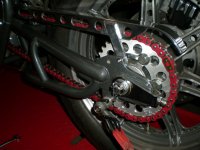
Today I knocked out a crude little chain guard. Not quite done polishing it yet but this is the result.:shrug: Just had to sit the tank and seat on it for inspiration.:thumbsup:
P.S. My friend Marty welded the mounting tab. StarGold is $90 a bottle and that`s not in this weeks budget.:(
chain guard 001.JPG chain guard 002.JPG chain guard 003.JPG chain guard 004.JPG chain guard 005.JPG chain guard 007.JPG chain guard 009.JPG chain guard 011.JPG chain guard 012.JPG chain guard 013.JPG chain guard 014.JPG
 
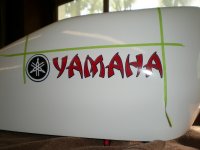
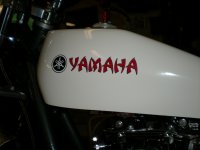
Today the sigh shop emailed this work up of my tank decals. The only change I made was to have the red letters Yamaha outlined in black. Looks like everything but the seat pad will be completed this week.:thumbsup:
upload_2019-6-10_12-28-3.png
 
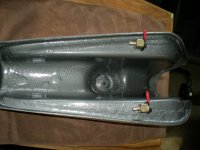
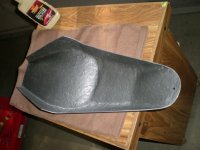
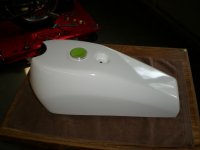
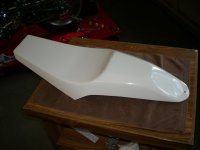
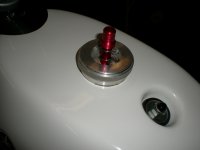
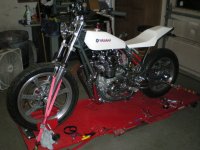
This week I painted the bottom`s of the tank and seat, Installed Chinky bling chain (might make it around the block?), Got the palm buffer out of retirement and buffed the tank and seat, fitted the new decals. hooked up the fuel lines and filters, mounted the tank and fuel cap breather. The seat pad is all that`s left (I hope) I`ll make a seat pan/seat mount this weekend. Maybe:shrug:
finishing up 001.JPG finishing up 002.JPG finishing up 003.JPG finishing up 005.JPG finishing up 006.JPG finishing up 008.JPG finishing up 009.JPG finishing up 010.JPG finishing up 011.JPG finishing up 013.JPG finishing up 014.JPG finishing up 016.JPG
 
This week I painted the bottom`s of the tank and seat, Installed Chinky bling chain (might make it around the block?), Got the palm buffer out of retirement and buffed the tank and seat, fitted the new decals. hooked up the fuel lines and filters, mounted the tank and fuel cap breather. The seat pad is all that`s left (I hope) I`ll make a seat pan/seat mount this weekend. Maybe:shrug:
View attachment 143009 View attachment 143010 View attachment 143011 View attachment 143012 View attachment 143013 View attachment 143014 View attachment 143015 View attachment 143016 View attachment 143017 View attachment 143018 View attachment 143019 View attachment 143020

Lookin sharp! I really like all the little pops of red, it gives it a cohesive look that runs through the bike.
All of your gas tanks are fiberglass right? Have you ever had any problem with fuel softening them?
 
My tracker and resto-mod have been drained. The scrambler has Shell no alcohol premium. Haven`t seen any problems yet. None of the tanks are lined. Fingers crossed!
 
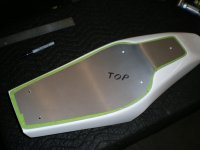
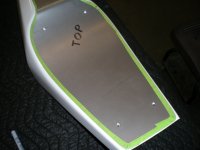
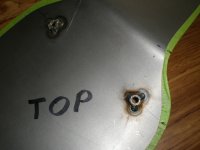
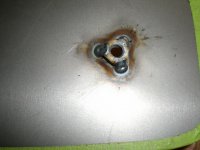
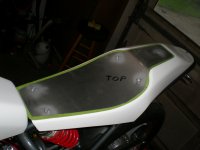
I took a day off from my rental house ass kicking this week and made the seat pan. I cut the 18ga steel out on the band saw (forgot to take pics) and then smoothed the edges and bent to fit the contour of the Champion tail section. Tack welded jam nuts to mount to the tail section and frame rail cross braces. Most Champion seat pads extend beyond the front of the tail section. I can`t go that rout so I shortened it up even with the front and added a small pillion pad to the rear of the cushion. All I have to do is make a profile template for the actual seat cushion itself and ship it off to Wes at CounterBalance Cycles where he will wave his magic wand over it and send it back to me.:thumbsup: "Can`t Wait":) This should be the final task on this build. That is unless I think of something else??:umm:
Seat Pan 001.JPG Seat Pan 002.JPG Seat Pan 003.JPG Seat Pan 004.JPG Seat Pan 005.JPG
 
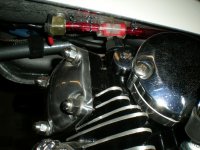
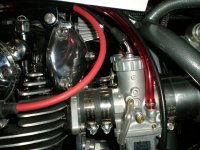
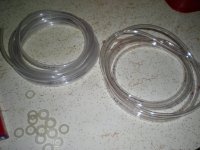
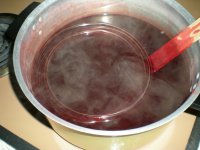
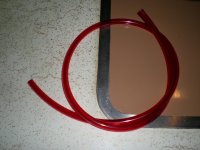
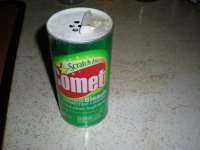
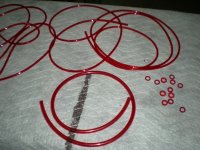
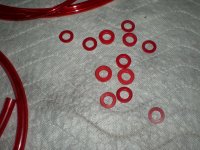
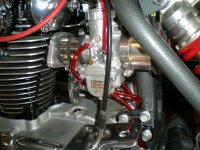
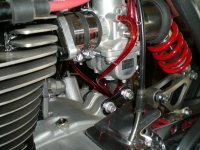
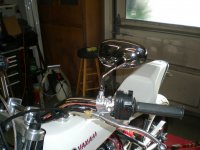
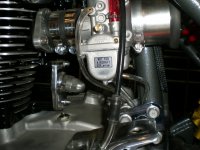
Last week I noticed what I would call a Major Crisis with my build. The carburator vent lines did not match the fuel lines. No way I could live with that!:yikes: Got on eBait and found some of the original sodium chloride based RIT dye. The new environmentally friendly formula won`t work. It barely stains your fingers.:thumbsdown: I bought some clear line and nylon washers at the local ACE hdw. I use the stove top method and it takes about 6 min to get the right color (longer for the washers). Had a piece of the factory tinted fuel line for reference as to color match and a can of Comet cleanser on stand by just in case. Don`t want to stain that 50`s Gold Fleck Formica counter top.:thumbsup: Rinse, dry, cut to length and install. Crisis Averted! The washers were used to take up slack on the foot peg pins. I did install a mirror which really sucks so it`s on the way out (off). The seat pan is at CounterBalance awaiting it`s turn. Getting really close.
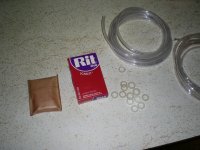
vent lines 009.JPG vent lines 001.JPG vent lines 002.JPG vent lines 004.JPG vent lines 005.JPG vent lines 006.JPG vent lines 007.JPG vent lines 008.JPG vent lines 010.JPG vent lines 011.JPG vent lines 014.JPG vent lines 015.JPG vent lines 013.JPG
 
Back
Top