Good work YamTech, will be nice to see how this all plays out for you..

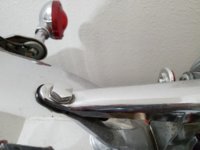
True ! Attention to detail shows how particular your bike is together. In my own case, it's a chrome affliction. Too lazy to polish much but surprise bling everywhere.Little details like this really stand out though in my opinion


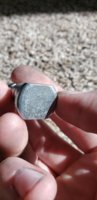
To sand out those scratches, you'll need 400 and 600. You'll still be at it next year with 1000, lol.
Only way to fix it now is go over 'em with 220, then 320, 400, 600, 800 then a 1000. In other words, deep scratches require progressively finer grits.


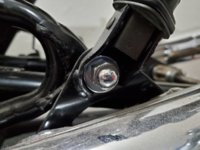
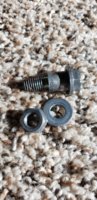
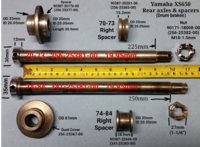
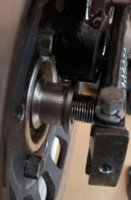
Yes. Go back and read my post where I offered you one....there's a thinner right side rear wheel spacers for disc brakes correct?