thats a lot of work ........well done.
")
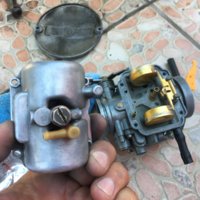
Re the carbs overflowing the only thing that I would say is ....looking at your pics the tang is at too much of an oblique angle for ideal operation.
These floats ,like most replacement parts these days , are thrown together in some Far Eastern Country with little or no quality control procedures and requires the user to work them into a useable condition.
In your image the carb is inverted so the floats are practically in their final resting place for shutting off the fuel supply . If you look at the float tang it is set at almost a 45 degree angle in relation to the float needle valve. The problem with this is that the tang will be applying pressure on the needle valve from one side and the needle valve is likely to bind on the wall of the valve chamber on that side due to unequal pressure .
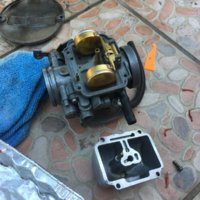
Ideally you need to adjust the tang so that when the needle valve is in the closed position against the valve seat , the tang is perpendicular to the valve needle so that there will be a uniform friction between the needlle valve and the valve chamber walls.
The other thing you need to check is that the float and float pivots don't have too much play or the float setting will be inaccurate
I explain how to achieve this in this video but it takes great patience and care not to break the floats .

.JPG")
.JPG")