Toro
XS650 Member
I’m posting this in hopes to get some guidance on the matter at hand. I’ve disassembled the whole top end and am slowly getting to everything (boring and installing oversize pistons, checking head and valves for spec/lapping, new cam chain etc etc). The whole shebang.
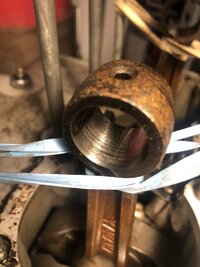
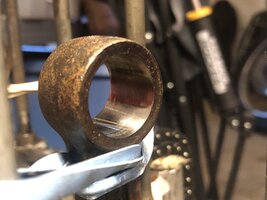
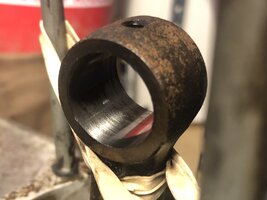
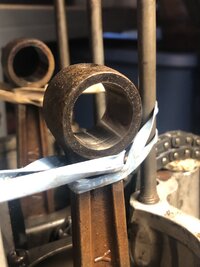
Anyways, while I have it all apart the machinist I go to for top end work made a comment about the connecting rods and making sure they were in spec. I went home and checked them against my Clymer manual.
Slide clearance on the big end is a tight 0.55mm on each one and the book calls for 0.3 - 0.6mm. For play at the small end of the con rods I’m seeing about 1.5mm of movement on each when the manual calls for 1mm - 2mm.
What are other peoples recommendations for this? I know the con rods are within spec, but they seem to be on the worn side. I’ve never split the cases before on a motorcycle and I would really love not to, but I know since I’m already in this far maybe I should. It’s like a can of worms though and one day I think I’m going to stop here, but then find something else and keep going further. Where’s a good spot to call it and do the work I need to and rebuild? I’m not trying to make the worlds fastest or best engine, but I do want something I can rely on for the foreseeable future.
Any advice, knowledge or past experience will be greatly appreciated. Thanks you.

 as far as bottom end rebuilds go.. where do you stop? It’s a 50 year old engine, so I get it owes nothing at this point, but the further I look in the more there is to be done and replaced. Where is a general point of stopping without rebuilding the whole engine? Sometimes it feels like I’ll be putting more into it than it’s actually worth.