XS650D
XS650 Junkie
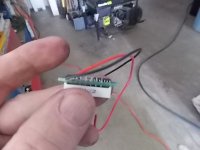
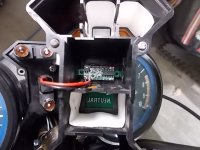
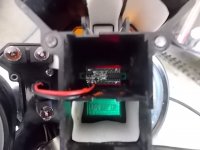
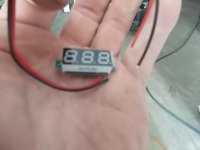
I got my Voltage meter today and installed. Ran the wire thru to the headlight bucket.
For those that have a 76/77 model year (5T I think u may have the Canadian electrical for this year)
I need to install power /positive on a switched wire preferably of the Ignition wires I guess. I have Mikesxs Ignition Switch
and it states that power is FED OUT from the 2 brown wires and 1 Red wire with yellow strip or tracer.
What would be the preferred wires to attach my red voltage meter wire to for the positive hookup or does it matter. PS:: Thx to all for the guidance on purchasing this LED,it fit perfect behind the red lense thats no longer used on my bike.Clear Epoxy worked great. Did not have to cut of file of the tabs on the ends of the Voltage meter, it fit perfect. I ended up with 4 additional meters as I had to buy 5 but it was only $13 Cdn shipped and had in 1 week, amazing as it stated it was coming from Asia. For those doing this must have mod I pulled the Gage cluster brake light bulb and housing out as its not used (I have an LED rear brake light bulb) and ran the wires thru there, was pretty strait forward. I really like the idea of knowing whats going on with the charging at a glance especially with this bike!


