View attachment 240042View attachment 240043
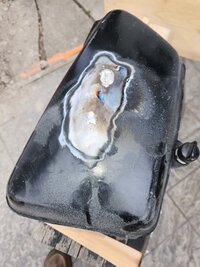
$100 Dollar Dent in a $25 Dollar Tank
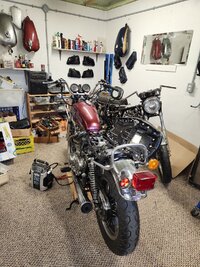
A pal had this tank in the way so I got it as sometimes I have delusions that I can do body work and a spare tank can have experimental colors applied to it just for fun.
I had a suction cup on a slide hammer that did nothing, so then thought of applying pressure from inside. Crow bars and such items weren't doing much ither than marking the tank opening, so I tried a tube shoved inside and inflated. Showing promise, but I think I need a much smaller inflatable bladder to do the trick like maybe a wheelbarrow tube.
Set it in the sun to see what pops.


")