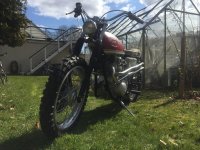
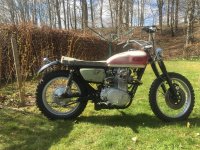
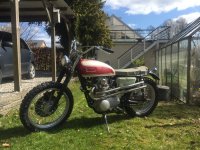
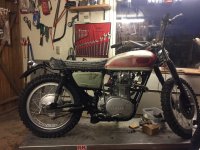
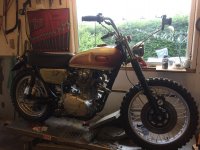
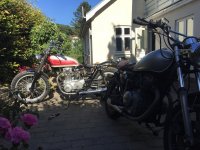
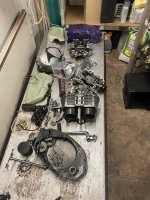
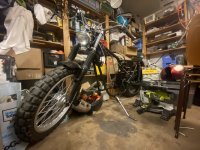
The new life of a 72' XS II - Build thread

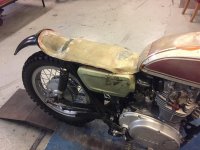
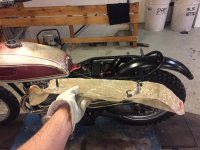
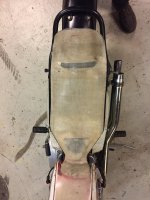
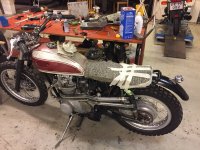
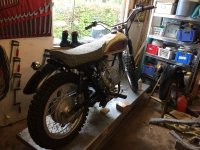
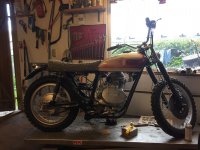
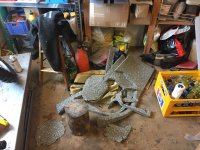
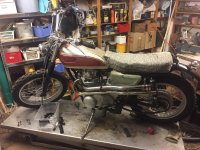
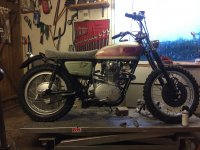
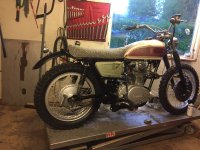
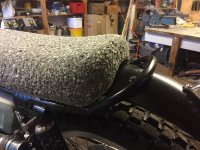
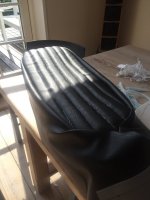
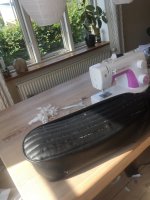
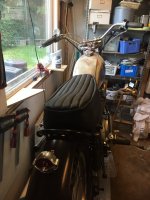
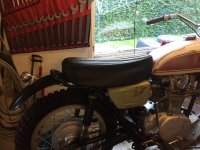
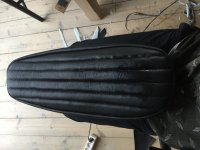
Did a rough cut on the seat pan today, bloody exciting! Can’t fucking wait to finish the bike!!
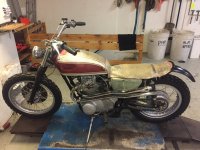
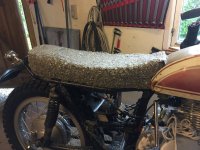
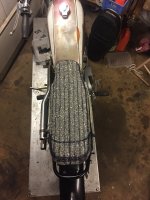
DB23BD7A-94D3-4653-8BC0-A80A1EC86C96.jpeg 0A956B3E-FEF6-4C01-860E-7EB9FFF33B86.jpeg B0408286-3E36-4CF2-8745-53175BA00D06.jpeg
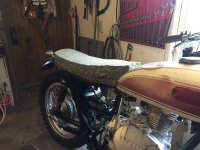
The seat will be a bit shorter than this, to match the length of the tank, but the idea is there. An exciting part is the custom seat latch works like it’s supposed to.
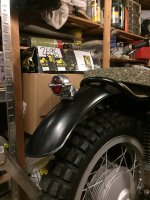
I’m out of money for now though, so the seat will have to wait a while, but hopefully it’ll be done before summer. The small things like hooking up the led controls I made, bleeding the brakes and mounting the stop light will be next, till I can afford foam, vinyl and other stuff to finish it.
My xs400 scrambler will be sold soon as well, to finance the build - In case anyone here is located in Denmark and need an extra bike, let me know ;)
 
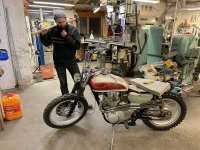
Not much new happening on the build - I spent the weekend getting my xs400 running and fine tuning it, I only managed to mount the taillight, neutral switch new kickstart and some other small bits today - still pretty satisfied that both my bikes run, took both for a quick ride which was obviously amazing
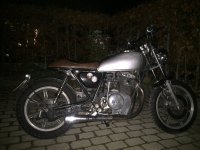
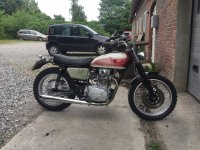
The xs400
9713A751-A94D-4491-9CD9-6D7577A573B6.jpeg
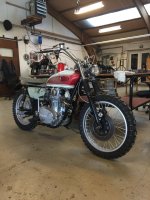
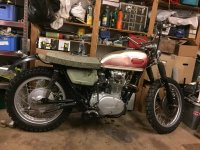
And the xs2
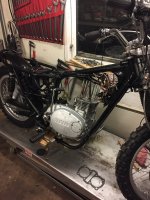
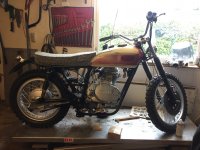
35A21E2A-BEF7-491F-9BD8-FD052F43F47F.jpeg 6CC0233B-DD70-4C62-9EB2-AF11D94DB7EC.jpeg 5D8A5DE3-E3A6-4E6D-885A-B40FD12E07A6.jpeg
 
Did a bunch of small stuff today;
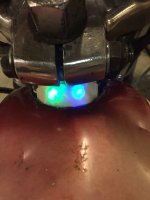
Glued the led panel I made to the frame, and included them into the wiring loop.
07160AF3-5083-4E98-B787-12AC0F3DA012.jpeg
There’s tape over to hold it down, while the glue hardens.
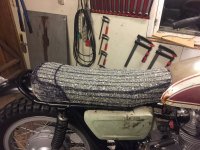
I did the final adjustments to the seat latch mechanism, cut the pan to fit and glued foam to the seat pan and tied it down.
3E957E22-D290-450A-A576-88BCBDFEB6C8.jpeg
05947ED9-BC69-4C40-85D3-A3ACB1F0AB43.jpeg
I might have ditched the 2-1 exhaust, so I made two 24 cm dB-killer, as I couldn’t find one which was long enough. Tested it out and it seems to work okay, but some exhaust cloth will quiet it down the last bit.
FEFA31DE-AB6F-4F69-88F9-9B4B36CE9BB5.jpeg
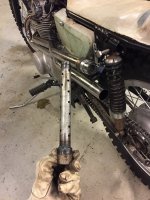
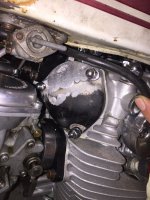
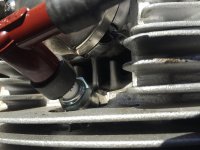
Unfortunately I fucked up.. I didn’t tighten the valve adjustment screw enough on the right intlet valve, so it unscrewed and cracked the valve cover.. ffs.. I’ll have to order some new, as well as a new front brake master cylinder valve. But again, money is tight so it will have to wait.
Anyway I saw the funny part of it, and used the opportunity to practice my non existent aluminium tig welding skills.
376C8D63-63C7-4CF3-A6CD-E85B2E2E4C39.jpeg
Slow but steady progress, after a long day.
7C98C3A4-5046-4ECD-9241-72C74EFA3C17.jpeg
 
Unfortunately I fucked up.. I didn’t tighten the valve adjustment screw enough on the right intlet valve, so it unscrewed and cracked the valve cover.. ffs.. I’ll have to order some new,
Heinz, I'd offer to send you a valve cover, but I'm afraid the shipping would cost almost as much as buying a complete used motor!

Here's a tip, get something like this and use it to put a dab of paint on each fastener after adjusting and tightening the nut.
https://www.zoro.com/markal-industr...m-tip-orange-tip-size-18-in-96824/i/G0226335/

I used them when working on diesel quarry equipment, handy when boss comes in half way through a job and needs you to run and fix something else.

haha I appreciate it, I'm guessing you're in the states or down under.
I'm sure I'll find some new covers eventually, would be sweet with some all new valve covers and crankcase covers.

Is the paint marker to inspect if it loosens or whether you did fasten it in the first place?
 
haha I appreciate it, I'm guessing you're in the states or down under.
I'm sure I'll find some new covers eventually, would be sweet with some all new valve covers and crankcase covers.

Is the paint marker to inspect if it loosens or whether you did fasten it in the first place?

Yes in the states, New York to be exact.

Mainly to mark it so you know you did that adjustment or torque, like I said very handy if you get called away in the middle of a job. We did use it on things like main and rod bearing bolts as well as valve and injector settings. But it might also be handy to be able to see if there has been movement if paint was cracked or not lined up when checking at a latter date.
 
Tidied up a few things, adjusted valves again and took the bike for a quick ride - boy does she ride nicely! Bunch of power ready at any time, corners great and sounds amazing
2ACBD09C-D5A7-41EF-A417-1BBBFDB3EEBE.jpeg
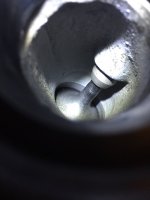
I’ve yet to order the new valve covers, but the ghetto fix will do till I do. She still has oil coming out of right hand cylinder exhaust, and after looking through the sparkplug hole and at the exhaust valve through the exhaust hole, I’m hoping it might just be a broken head gasket (I know hadn’t tightened down the bolts well enough when I first started her, might be the course for this) as there’s no obvious leak from the exhaust valve.
I really hope it’s just the gasket, I’m kinda ruling out the piston rings as she has good compression, but it might still be it..

So the last main things yet to do:
Finish the seat
Order new valve covers
Fix the goddamn oil problem..
Order new shocks (thinking either falcons or njb ultimate)
Tank sealer and possibly repaint in original colors
29BFE7E7-48D3-48F5-B2AB-C3DF8CF33531.jpeg 39B69402-61E3-4CAF-BDA0-8DBA392E4FEA.jpeg
 
Time to figure out what the oil problem is all about.

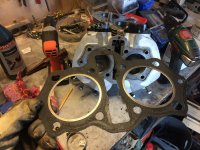
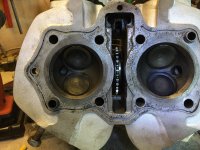
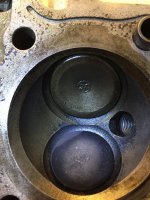
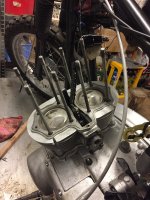
Pulled the head off hoping it would just be the head gasket, but nope... all good (will obviously still replace it.
B3118952-4BBD-422E-99E4-99DA14D665FF.jpeg
There’s a possibility it might come from the inlet valve? It was a bit oily at the inlet valve while the exhaust valve was all sodded from burnt oil..
769B26A8-29AF-4BCB-BDD1-EF50840D83F5.jpeg C3482F58-09D9-4002-8032-321ACCC6B2BB.jpeg
hhmm - but I just replaced the valve seals because I thought they might be the cause last time
214DDD2F-CF26-45ED-B9D0-6F5D930705AD.jpeg
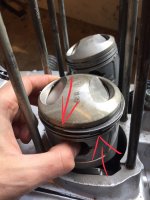
One obvious difference between the right and left cylinder was that the opening on the piston rings were opposite on the left (not burning oil) while the right side, had the openings really close to each other, could it be that this simple mistake was the course of my frustrations??
 
Yes, that might be possible. When assembling, you're supposed to offset the ring gaps like 120° to each other.
 
I was taught as a kid that the longest distance around the piston is 180° out from each other. So I put the oil rail ring gaps 180° opposite each other with the spreader gap 90° to them. I'll put middle ring gap 90° to the top rail ring and the top ring 180° to that. Any blowby from the top ring has to go 180° around the piston before it reaches the middle ring gap... then reverse direction and go 90° to the top oil ring, reverse again and go 180° to reach the bottom ring gap. That should slow it down some... :sneaky:
 
I did as Jim suggested.
I was taught as a kid that the longest distance around the piston is 180° out from each other. So I put the oil rail ring gaps 180° opposite each other with the spreader gap 90° to them. I'll put middle ring gap 90° to the top rail ring and the top ring 180° to that. Any blowby from the top ring has to go 180° around the piston before it reaches the middle ring gap... then reverse direction and go 90° to the top oil ring, reverse again and go 180° to reach the bottom ring gap. That should slow it down some... :sneaky:

All new gasket all around, hopefully this head against the wall stupid mistake was all there was wrong. Noted that all the valve stems were dry, so I’m having a hard time figuring out what else could have coursed the oil.
B814F84E-04E7-49A5-B0F7-06D69D5B0ADB.jpeg
Even the lower rings were almost aligned with the other.. christ I must have had my head up in someone’s butt while inserting the right piston, but not the left ‍♂️
I’ll put the head on tomorrow.
BC91616C-2520-47EA-A8E6-DF2120B509C6.jpeg F63190E2-849A-498D-9676-D1F92D78ACF1.jpeg

Oh and I bought new foam for the seat, hopefully I’ll get to shape the seat next week.
 
I was a bit of a nut when I took the head off, and dissembled the camchain instead of the electronic ignition, so i'm waiting for a new master link.. all good, I had time to get further with the seat.
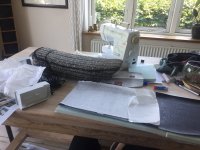
IMG_9884.JPG IMG_9885.JPG IMG_9886.JPG
Started out just adding a shit load of foam, and then cut it down to the preferred shape.
IMG_9888.JPG IMG_9889.JPG IMG_9890.JPG
I'm trying to reach the perfect compromise between comfort and looks, as this bike will see thousands and thousands of kilometers, both on and off road (rather a bit on the fat side than a sore butt).
Still a lot of work to do with the seat, but hopefully it wont be too long before she hits the road - I'll upgrade my bike license for the final time some day in the coming weeks, in order to actually register it in my name (Europe has the weird A1, A2 & A categories, and I haven't upgraded yet for whatever reason)
I have trip planned this summer to Åland, where I would love to ride the xs2 instead of the xs400.

I also ordered a front brake master cylinder repair kit - hopefully the last "part" I'll need to buy. (apart from front mudguard)
 
I've apparently been close to someone who has corona, som i'm in isolation with my motorcycles.. actually pretty stoked to get some extra time for the bikes.
MasterlinkS (bought a spare) arrived - engine assembled again, ignition adjusted again, valves adjusted again and stuff mounted again - new brake master cylinder piston kit thingy thing should arrive this or next week.
IMG_9974.JPG
The seat needs some love
 
Aahh buggers..
B8C4CBB3-FFE7-47E8-8D07-F04968C890C1.jpeg 0E3308FD-C2D0-40DD-BCF2-15CFE3B4BB91.jpeg
Prepped her - she runs beautifully with lots of power BUT after a long few days struggling to get hold of different papers, and finally achieving them getting the go for inspection everything goes to hell..
looks like the head gasket is gone on the left this time, with a bit of white smoke and bit of oil on spark plugs...
255E3683-976E-4D86-8B76-C6DAD6115AEE.jpeg
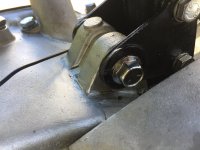
oil leaking from the electronic ignition AND a crack in the case! (Look closely)
3532871B-6DF7-471A-AD82-0BD7B2086AA0.jpeg
I was supposed to ride it to Åland tomorrow, but all this happening all at once has put a stick in my wheel seeing my plans tumbling. I’m going to cover up the stuff, get an inspection tomorrow morning, park the bike and fix when I get back - good thing I didn’t sell my xs400
 
That rear mount boss looks suspiciously like it was already cracked, J B Welded and painted over. Be interesting to see what you find. Fwiw, that's a fairly common point of failure on the early motors.... I have an XS1 case cracked in the same place. While it sucks to have to pull it all back apart, a competent welder can repair it. Been done many times before.
 
I did in fact get a welder to fix it a few years ago, but I think I’ve know for a while he didn’t do a good enough job, but chose to ignore it. I’ll take the engine apart after summer, and get a different welder to fix it proper and add some extra material (I’ve seen some XS racers add a block of alu and weld in to distribute the stress - might do this)
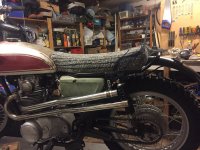
I’ve chosen to focus on checking my 400 through, and wait with the inspection till the bike can actually ride
Quite depressing, but I’m sure it’s the best solution, and I’ve taken the engine apart a few times by now, so hopefully it won’t take more than a few weeks to fix it once I get back.
 
Summer came and summer passed. I rode my xs400 through Scandinavia and worked all summer while my bike attracted a lot of attention on the island I worked at - eventually I accepted one of the offers and sold it to a fellow from Sweden .
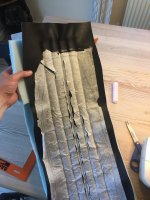
5FD401A2-4DE6-4598-9F19-853ABD288CF1.jpeg 9F34D38C-380D-4397-9836-BC772A1539E8.jpeg 7358B98D-CCA7-48C7-98FC-551902440413.jpeg
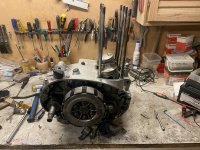
I’ve only just begun taking the engine apart again, with a goal of having it welded and assembled by the end of January as spare time is scarce. So this is pretty much just an update to say I’m working on it again and a promise to myself to finish it as soon as possible.
 
Back
Top