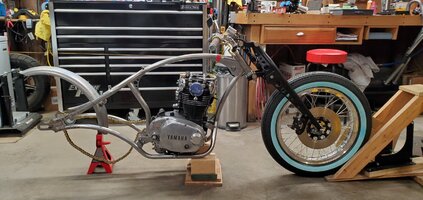
I often “update” builds after completion – making improvements – this, though, was a needed fix on the exhaust.
One issue was the Cerakote began flaking-off the pipes after the first good heat-cycle. It was the first time I had used their air-cure “C Series” (rated 1800F), but I don’t know that it’s the fault of the coating. I degreased thoroughly, but did not vapor blast the raw steel prior to coating.
View attachment 224237View attachment 224238
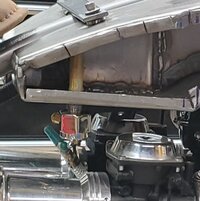
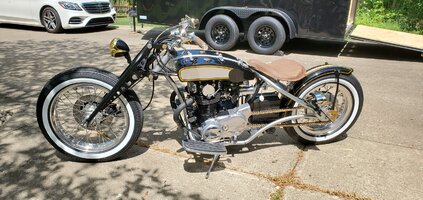
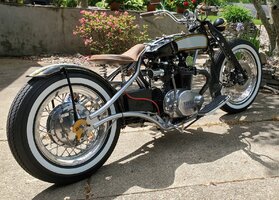
The next issue needing fixed was the Pandemonium “Double D’s” pipes were dumping soot on my nice frame. I’m too much of a “priss” to let that slide, so 3” extensions were needed to get the gases beyond the frame.
View attachment 224239View attachment 224240
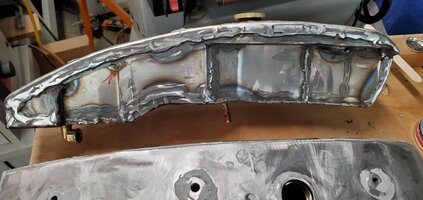
I ain’t no pipe-fitter, but here they are welded-up, vapor blasted and ready for a new finish. This time, using Cerakote “V Series”: also rated @ 1800F, but an oven-cured product. I’ve used oven-cure E & H Series stuff before in lower temp. applications with no problems.
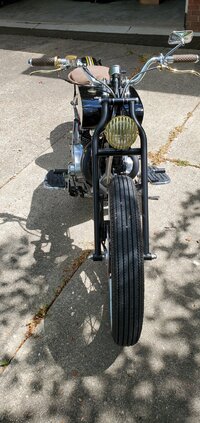
View attachment 224241
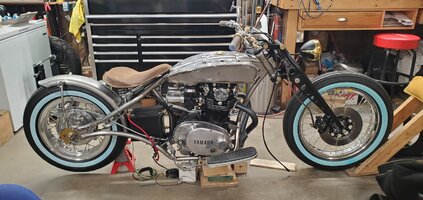
And here they are coated, cured and re-mounted. Stay tuned, if my toes now get too warm, we’ll be back with more pipe and a 90* bend.
View attachment 224242View attachment 224243
") My question answered.
My question answered.