If you can see metal flakes in the oil, it's most likely aluminum. If it were steel (or iron) it'd be stuck to the magnets, not suspended in the oil.
You'll likely still see 'em after you change the oil. What you want to see is less of 'em... and at every oil change until they're gone.
You'll likely still see 'em after you change the oil. What you want to see is less of 'em... and at every oil change until they're gone.
 I also can't imagine the kill switch wiring melting a brake line
 : it normally would be the R/W wire on its own 10amp fuse, the switch wired in series between fuse block and coils.
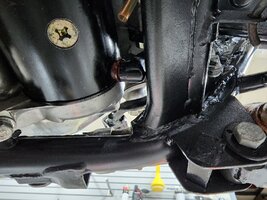
")


