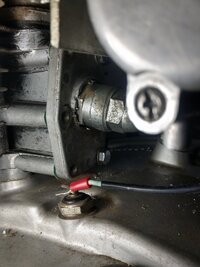
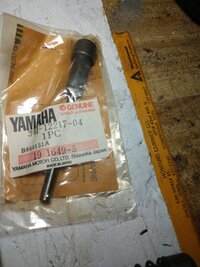
I was honestly going to start a build thread but when I went to take the cam chain adjuster cover so I could get the carbs out to put a helicoil to fix a missing stud
I saw this
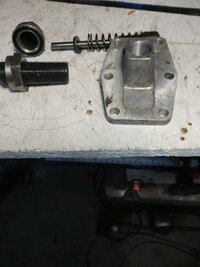
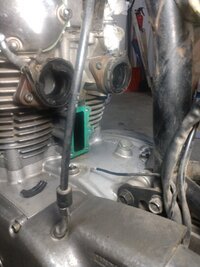
I take it I can remove the 6 bolts and pull that housing of and no big surprises
I think I may ? have another assembly
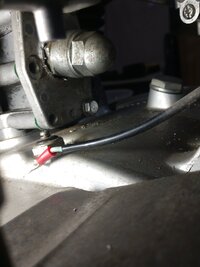
I saw this
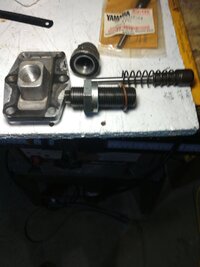
I take it I can remove the 6 bolts and pull that housing of and no big surprises
I think I may ? have another assembly