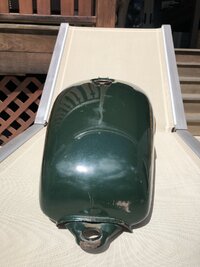
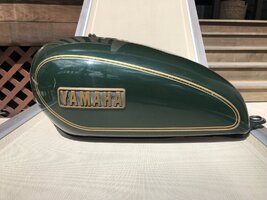
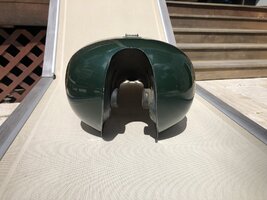
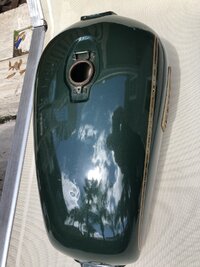
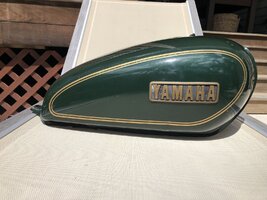
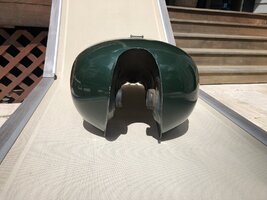
Anyone tried to sand and clear coat original paint ? Have a couple of spruce green tanks that are a little dull from the years gone by, I would like them to look shiny again and I don’t think I can even consider matching the color. Or should I just live with it ")