Cross Drilling Rotors

dougmuise

XS650 Enthusiast
Messages
36
Reaction score
17
Points
8
Location
Marin, CA
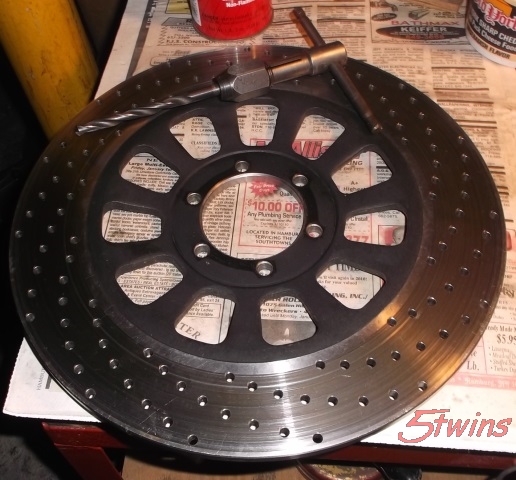
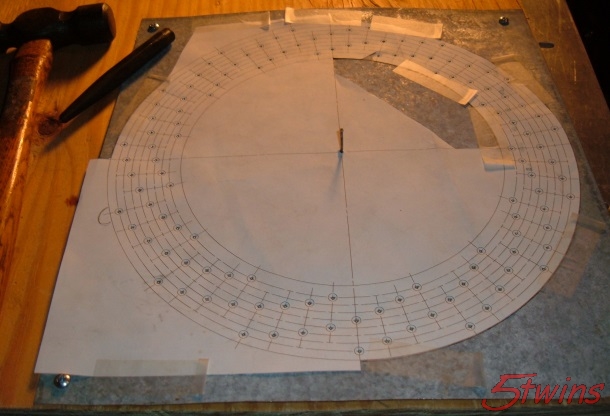
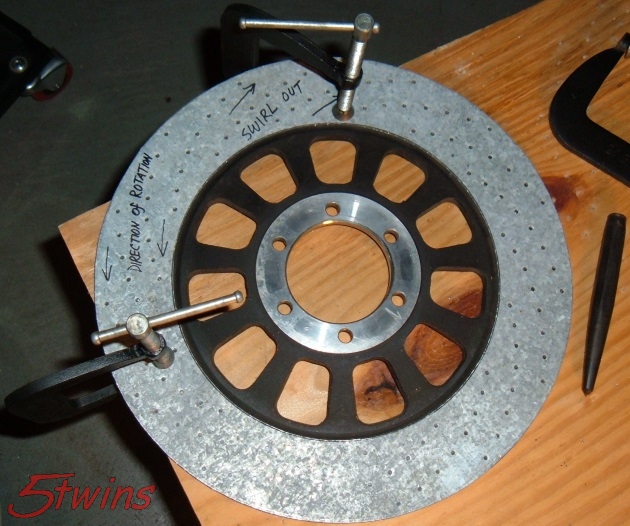
I'm setting up a dual-disc front end & want to cross drill the rotors before I do the install. Anyone know of a machine shop in No California (or in the Western US) that does cross drilling? I don't own a drill press or I would do myself.

thanks,
Doug
San Francisco
 
Sorry, Doug, I'm on the other side of the planet (north/central New York), but I was planning on doing the cross-drilling on mine. I have a HFT cheapy bench-top drill press. The lowest speed is still way too fast to do anything other than burn bits, so I got a router speed controller to try with the press. If it works, I'll use one of the patterns from the "Tech" section and do them myself. It's not that hard to do, just takes time.... Best of luck, and Merry Christmas!
 
Sharp, high quality bits, and a good cutting oil is required. For a 5/16" or 8 mm drill bit, 500 rpm should be slow enough. The other thing is to push hard enough for the bit to cut as it should. A handheld electric drill in a cheap stand should do it. I drilled my RD350 disc that way, and it was hard too.
 
I've done several on my $49 HF benchtop drill press. I've had no issues with it running too fast or burning up drill bits. After center-punching my pattern onto the disc, I start each hole dry so I can see what I'm doing, just until the hole gets started and centered on the punch mark. Then I add a drop of oil and continue. The first pattern I used had 6 swirls and holes about 1/4" .....

full


Eventually, I started using a revised pattern with many more swirls and smaller 3/16" holes. Even though there are lots more holes, the smaller size is easier to drill .....

full


I like this new pattern so much, I went through the trouble of transferring it from paper to sheet metal so I had a more permanent pattern to use. The paper ones are only good for a couple of uses .....

full


full


full
 
Definitely
Milling machine and rotary table. You'll never go back to a drill press.
The ideal solution, given money, space and skills to do so. But for a pretty simple task like drilling brake discs, a bench top drill press is more than sufficient. Like I said in my earlier post, I drilled my RD350A disc using an electric hand drill, and a drill stand/press with a 30 mm column, that I made myself in shop class back in 81.
 
CNC milling machine, disc fixture, and a program is on my list of things to do.
5twins swirl pattern is appealing and likely very functional. I remember a more simple Kaw KZ pattern looked period correct too.
I've accumulated a stack of descent rotors aside with intentions to create a program..
"One of these days" when a machine at work is open.
233188-675x450-stack-of-pancakes.jpg
 
I actually don't clamp the disc to the drill press table. With so many holes to drill, it would be a ton of extra work to align and clamp it for every hole. Letting it "float" also allows the drill to self center itself on each center punch mark.
 
Yes, good technique for manual machining.
With a fixture in a CNC machine, the rotor would just be loaded. The center of the mount hole could be the "origin" and found easily with an indicator just once. Then, multiple discs could be drilled one at a time after just a re-load. Many could be drilled pretty quickly. It's just a matter of machine set up, fixture cutting, programming etc.
And the biggie, Machine time
 
If your doing dual front discs be sure to align the hub mounting holes so that the spokes of the disc are even on both sides and mark the mounting holes, then find a starting point for the pattern. I always start the pattern with the inside hole of the arch in the center of a spoke. clamp the rotors together and drill a small pilot hole through both rotors and start the pattern from there. Be sure the arch is going in the same direction on both rotors. When you bolt the rotors to the hub make sure the marked mounting holes are opposite each other. The spokes should be lined up and the holes will be the same on both sides.:thumbsup:
Look at Jim`s SG build thread. It`s pictured there I think. It starts around post #1879.
calendar stuff 014.JPG
 
Last edited:
That's fine, if you have money out the wazoo, or you're machining stuff all the time (like, as a job), but to do it once or twice, in the "stone age garage", with no budget, I'll just have to slug it out with what I have. That's how grampa did it, that's how America does it, and it's been working pretty good ever since... :rock:
 
Yikes! :yikes: Expensive stuff (on this side of the pond). Seems like we oughta be able to find something close (enough) locally, though....
 
Yikes! :yikes: Expensive stuff (on this side of the pond). Seems like we oughta be able to find something close (enough) locally, though....
Rocol may be a bit expensive, but really works well, even on fairly difficult materials like 316L and various Duplex stainless steels. Spending a bit on cutting oil may save some $$ on drill bits, taps and dies. Tapping in SS is normally a right pain in the behind, but with Rocol and good taps it is fairly easy.
CRC Supercut is also something I have used quite a lot, and it is not even half as good as Rocol.
 
I read on the web some years back that it's best to keep the hole size at or less than the thickness of the disc so you don't lose surface area. Larger holes remove more surface area on the front and back sides of the disc than the sides of the holes through the disc create. Less surface area means less cooling. I don't know if the theory is true or not, but it makes sense to me and is the one I follow. That's why I used smaller 3/16" holes when drilling my 5mm thick SR500 disc. 1/4" holes are fine for the 7mm thick stock 650 disc.
 
Back
Top