Yes, the starter sounds pretty normal to me too. Hey, at least it's not popping out of engagement or grinding like many of them do, lol.
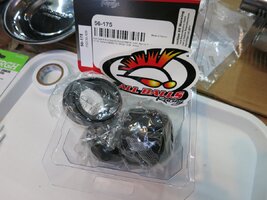
I replace those fork dust seals with gaiters. I like the "look" and they offer more protection for the seals and tubes. Also, they are very reasonably priced if you use the boots made for truck shocks .....


I replace those fork dust seals with gaiters. I like the "look" and they offer more protection for the seals and tubes. Also, they are very reasonably priced if you use the boots made for truck shocks .....
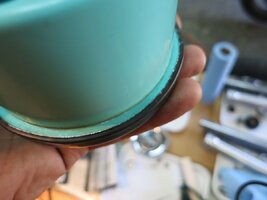
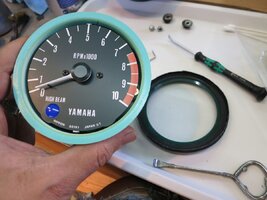
 . Just need the new seals to show up in the mail. Removing the old seals involved more swearing than I anticipated. Ended up making a bit of a dog's breakfast of them, but got them out and that is all that really matters. Also waiting for a tool to undo the crimp on the tach in the background of the shot.
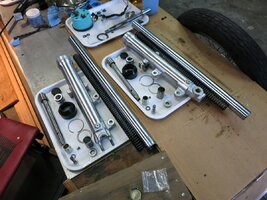

 Often the ring is no longer as beautiful after it has been opened, but this should largely prevent this. However, the ring usually can't stand this more than once, the second time it tears quickly or at least you'll see deformations. Depending on what you want to do to the instruments, there is also a method that is gentler on the visible parts:
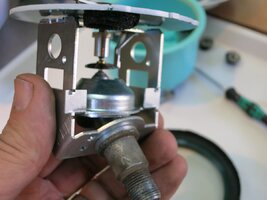
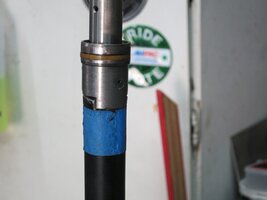
 ). i cleaned it all as good as I could with acetone on q-tips and I think it is working now. The first pic is what I came up with to hold the fork damper when reassembly time comes. I didn't have a pipe of the right diameter to do the oval'ed pipe method, but by ovaling this one and cutting notches out of the curved ends it will act sort of like the 17mm socket method.
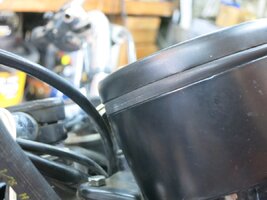
 .
.