TeknoRob
XS650 Enthusiast
Hey fellas!
New round these parts, newish to riding in general actually...
Got my riding yellows back in Feb 2012 with a gn250 to scoot around on. Knew nothing about anything mechanical or even owned a screwdriver.
Got bored of looking like a dork, so I did the plunge and pulled my bike apart, rattied her up with new paint, clean hardware, new shiny things, and pirate skulls yarrrr. Once I put her back together I noticed I'd caught some kind of addiction.
My cousin and a bunch of his mates were making a club at the time "Slob bobbers", each of them building their own xs650 bobber(some are up on xs650 chopper). I had to get in on that, and so one day last August I hovering around on Ebay when I saw a running xs650 for a great price about 170km away. So I called the guy up, and we arranged for me to get it for the current bid as long as no one out bid me by the time I got there..
That night I got my mates trailer and sped down. Got there no problems and owned an xs650 that night

She was rough and tough. The guy before me treated her well in his own way.
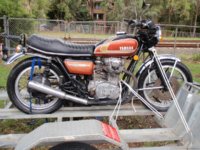
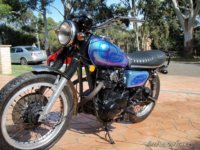
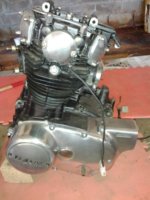
The carbs were new mikuni vm34 round slides, the tank he personally and beautifully painted a harlequin blue/purple, spoked rims, a running engine, and a solid frame. Oh and new bearings and bushings, and tonnes of spares.
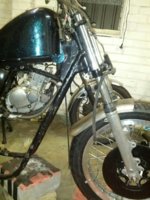
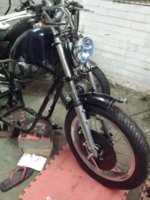
Turned out the guy was posting about this very bike during his build, so I found some pics of the gal:
So the journey began and I quickly realized that having no tools other than the socket set and Phillips head I bought for my gn250 posed a problem to the build. Rather than go and spend heaps, I bought tools as I needed them. Now I have a wicked garage full of to do most anything.
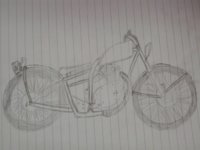
I drew my goal on paper and off I went.
The first thing to restore was the wheels
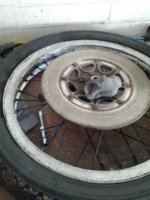
Yuck. Both wheels were in similar condition.
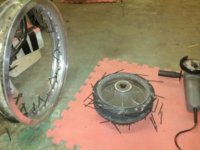
Chucked a wire wheel in the drill and roughed up the inside of the rim. Loved how it looked so I decided to leave it like that.
Used an orbital sander initially to destroy that to layer of muck. Quickly changed back to hand though to prevent doing too much damage.
I sanded with 280 grit, working my way slowly up to 1500. worked on a quarter at a time and then a second or third pass over the whole side of a rim.
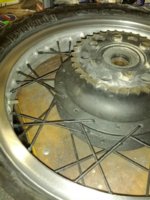
Once they finally reflected well enough, out came the polish. Mothers Al and mag polish, nothing shines like it. It says so on the can!
Gave em a rub, and it came up great!
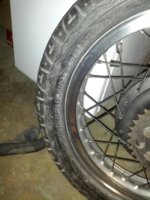

That's what she said.
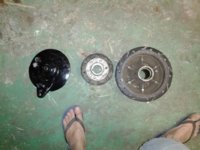
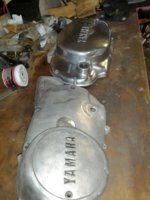
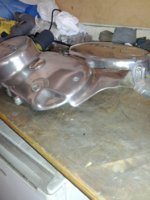
Next those point covers were black for some reason, so undid that with a similar method to the wheels. Dunked them in spirits for a while and sanded to 1500, polished and done..
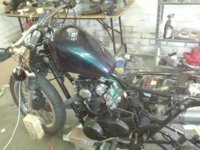
Ordered a heap of new parts in from Mikes xs, and TC bros... Shipping was bitch expensive but totally worth it.
Also got a visual impact brat kit, pipe bomb ignition, and a seat from a guy in Melbourne.
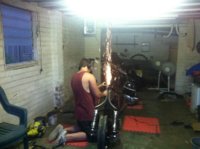
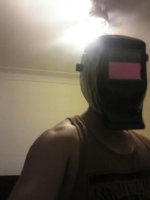
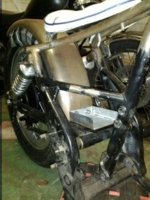
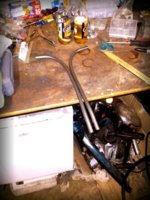
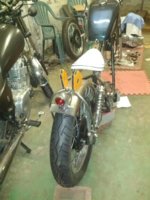
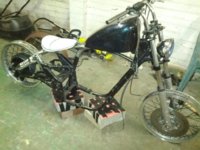
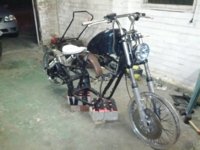
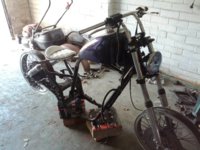
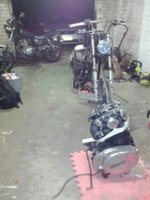
So I needed to chop and weld the kit on. There goes her arse, and almost mine. Spot the safety risks...
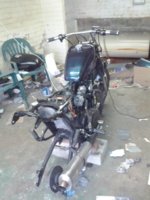
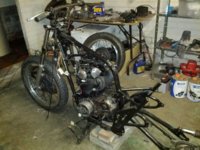
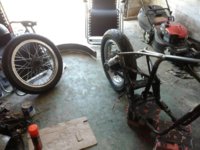
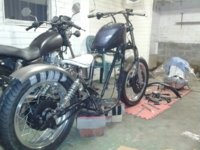
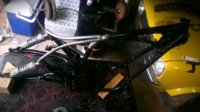
I'm no welder, so I enlisted help from the club. We set the kit up like an Atari symbol. Love it.
New round these parts, newish to riding in general actually...
Got my riding yellows back in Feb 2012 with a gn250 to scoot around on. Knew nothing about anything mechanical or even owned a screwdriver.
Got bored of looking like a dork, so I did the plunge and pulled my bike apart, rattied her up with new paint, clean hardware, new shiny things, and pirate skulls yarrrr. Once I put her back together I noticed I'd caught some kind of addiction.
My cousin and a bunch of his mates were making a club at the time "Slob bobbers", each of them building their own xs650 bobber(some are up on xs650 chopper). I had to get in on that, and so one day last August I hovering around on Ebay when I saw a running xs650 for a great price about 170km away. So I called the guy up, and we arranged for me to get it for the current bid as long as no one out bid me by the time I got there..
That night I got my mates trailer and sped down. Got there no problems and owned an xs650 that night


She was rough and tough. The guy before me treated her well in his own way.
The carbs were new mikuni vm34 round slides, the tank he personally and beautifully painted a harlequin blue/purple, spoked rims, a running engine, and a solid frame. Oh and new bearings and bushings, and tonnes of spares.
Turned out the guy was posting about this very bike during his build, so I found some pics of the gal:


So the journey began and I quickly realized that having no tools other than the socket set and Phillips head I bought for my gn250 posed a problem to the build. Rather than go and spend heaps, I bought tools as I needed them. Now I have a wicked garage full of to do most anything.
I drew my goal on paper and off I went.

The first thing to restore was the wheels

Yuck. Both wheels were in similar condition.
Chucked a wire wheel in the drill and roughed up the inside of the rim. Loved how it looked so I decided to leave it like that.
Used an orbital sander initially to destroy that to layer of muck. Quickly changed back to hand though to prevent doing too much damage.
I sanded with 280 grit, working my way slowly up to 1500. worked on a quarter at a time and then a second or third pass over the whole side of a rim.

Once they finally reflected well enough, out came the polish. Mothers Al and mag polish, nothing shines like it. It says so on the can!
Gave em a rub, and it came up great!


That's what she said.
Next those point covers were black for some reason, so undid that with a similar method to the wheels. Dunked them in spirits for a while and sanded to 1500, polished and done..

Ordered a heap of new parts in from Mikes xs, and TC bros... Shipping was bitch expensive but totally worth it.
Also got a visual impact brat kit, pipe bomb ignition, and a seat from a guy in Melbourne.
So I needed to chop and weld the kit on. There goes her arse, and almost mine. Spot the safety risks...


I'm no welder, so I enlisted help from the club. We set the kit up like an Atari symbol. Love it.

Last edited:

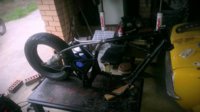

 The rails are rotated in 90 degrees. Hmmm... I never would have thought about doing it that way! Different look. I'm interested to see what it looks like after the seat gets mounted. It deffinitely changes the profile and the lines of the bike. I think that is what confused me.
 I like the look and I'm looking forward to watching this come together!