Racerxnico
XS650 Enthusiast
Good to know. Pressing one down after they were back together, i thought they felt a bit soft. I tried to get the 168cc / 5.7oz listed in the manual, but it's hard to be that precise so I tried to go a bit over and used a fork oil tool with a syringe to make sure they were each at the same level. I don't want to pull the forks off again, but I can just pull the caps and just add 1oz more to each leg. That should get me close to the 7oz number.These forks work much better with slightly more than the stock amount of oil (about 5.7oz.) in them. I go about 6.5 oz., 7 if the forks were stripped and totally cleaned out (really, truly empty). Or you can use the old tried and true method of setting the oil level 6" from the tops of the tubes with the springs out, forks fully compressed. That will result in about 6.75 oz. of oil in there.


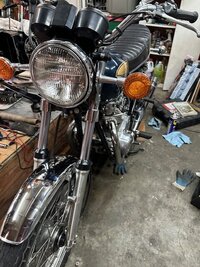
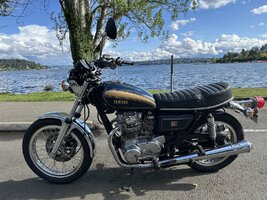
 . I think when I was in the headlight bucket, I must have rotated it just enough to loosen the nut and it was vibrating off. After I got back I tried to adjust the rear view mirror and it doesn't seem to want to secure in spite of the nut being tight. I suspect that someone overtightened it previously as the little collar that the mirror rod is supposed to tighten against has two saddles pressed into it and the end against the handle bars has a bit of a split. I kind of hate this style of mirror and if this was my bike, I'd probably get some nice bar ends, but that will be for its future owner to decide.