lidirtrider
XS650 Addict
I'm not quite as creative a writer as some other folks on here, so I'll just give a straightforward, step-by-step of how I installed the new Hugh's Handbuilt Fork Brace on my 34mm forks.
Please understand, that I am not saying that this is how it will work with every 34mm fork. This only to show others that it is possible, and that I was able to make it work for me. These forks have had all the miscellany tabs cut off, except for the fender mounts, and right side caliper mounts. You may need to perform other modifications to the fork and/or the brace.
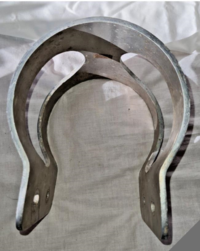
With that being said, this thing is RAD, and it fits...well, it fits like it was made to be there.
So here's how I did it, and the tools you will need.
A SHARP flat file
Padded clamps. I used Irwin quick clamps
6mm Allen Wrench
Locktite. I used Red, because it's all I had.
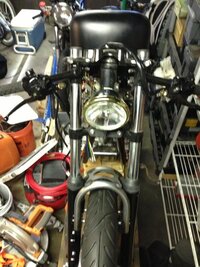
First, you have to remove the front wheel. You should know how to do this by now so I won't go into detail about that.
I don't have a front brake caliper on this bike yet, but it would certainly be easier if you remove it as well. You don't have to take off the line, just unbolt the caliper from the fork leg.
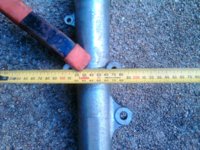
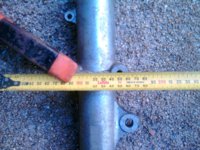
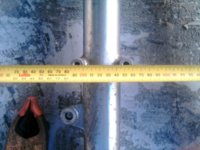
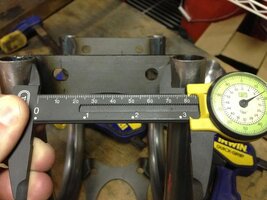
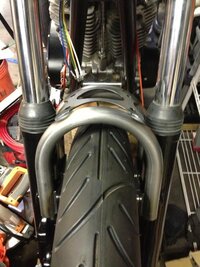
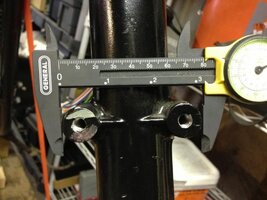
Before I even tried to put the brace on, I took a few measurements to see if there would be any obvious clearance issues. The only spot I could see was the distance between the front and rear tubes of the brace and the outer edges of the fender mount tabs on the forks. Both measured right at 81mm.
[/URL][/IMG]
[/URL][/IMG]
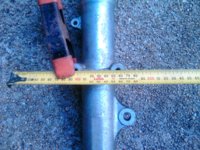
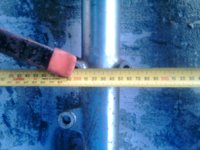
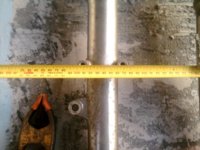
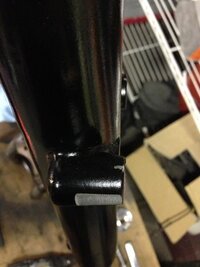
However, the mounts have a slightly increasing taper from inside to outside, making it too thick for the brace to slide around.
[/URL][/IMG]
[/URL][/IMG]
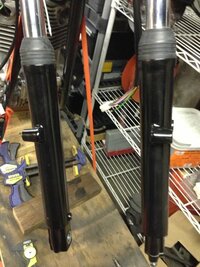
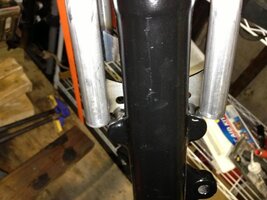
In order to gain the clearance I needed, I decide to file down the sides of the mounting tabs. I didn't go nuts taking any measurements here. I simply held the brace above the mounts, made a pencil mark, and went nice and slow with a sharp file until I was able slip the brace in place. I only ended up taking off about 1 millimeter from each fender mount.
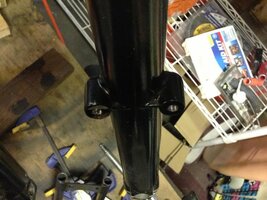
If you do it right, the brace will fit right in, and will cover the flats you just filed.
GO SLOW. TAKE YOUR TIME.
[/URL][/IMG]
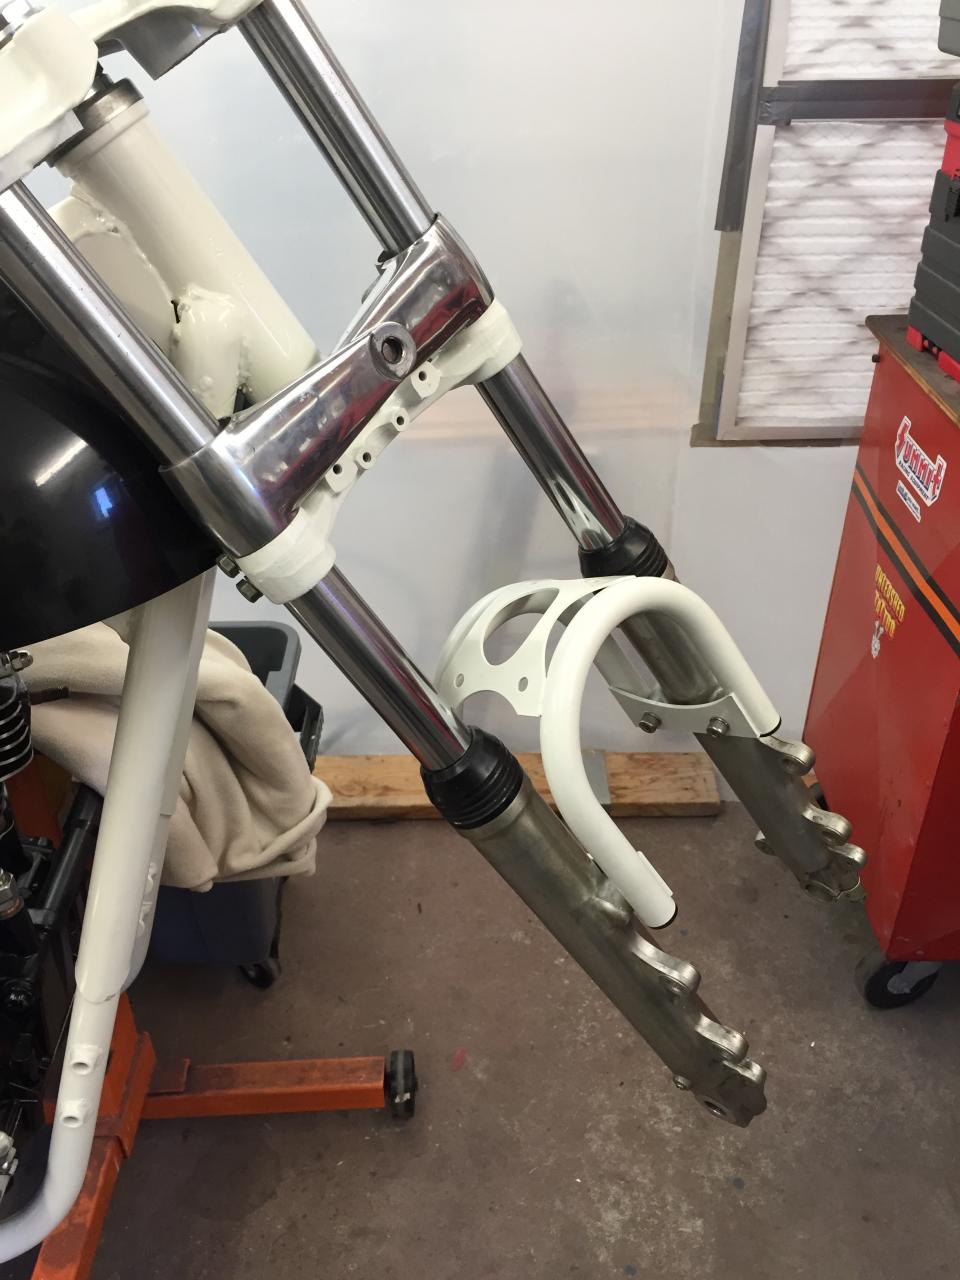
Once you get the mounts filed down so the brace fits, you can wiggle the brace into place.
To do it, you will have to start with the lower fork legs rotated outwards.
[/URL][/IMG]
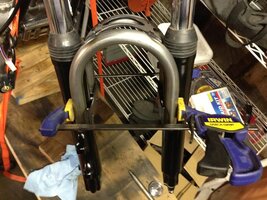
I positioned the brace so the oblong holes were to the rear, slid it up into the forks rotating the legs as needed to clear the drain hole screws. (Sorry no pics of that. I was working alone, and ran out of hands.) Slide the brace up above the fender mount tabs and then rotate the legs to their normal position, then lower the brace and line up the mounting holes. Remember, this brace is made to be stiff. It may not drop right into place. I had to clamp the brace from both sides and squeeze it to get it into place.
DO NOT REMOVE THE CLAMPS UNTIL YOU INSTALL THE BOLTS
[/URL][/IMG]
Put a drop of loctite on each bolt, and put them in finger tight before you remove the clamps. It is just easier if you need to reposition the brace. After all the bolts are in, remove the clamps and tighten the bolts with a 6mm Allen wrench. You don't have to go crazy, just tight.
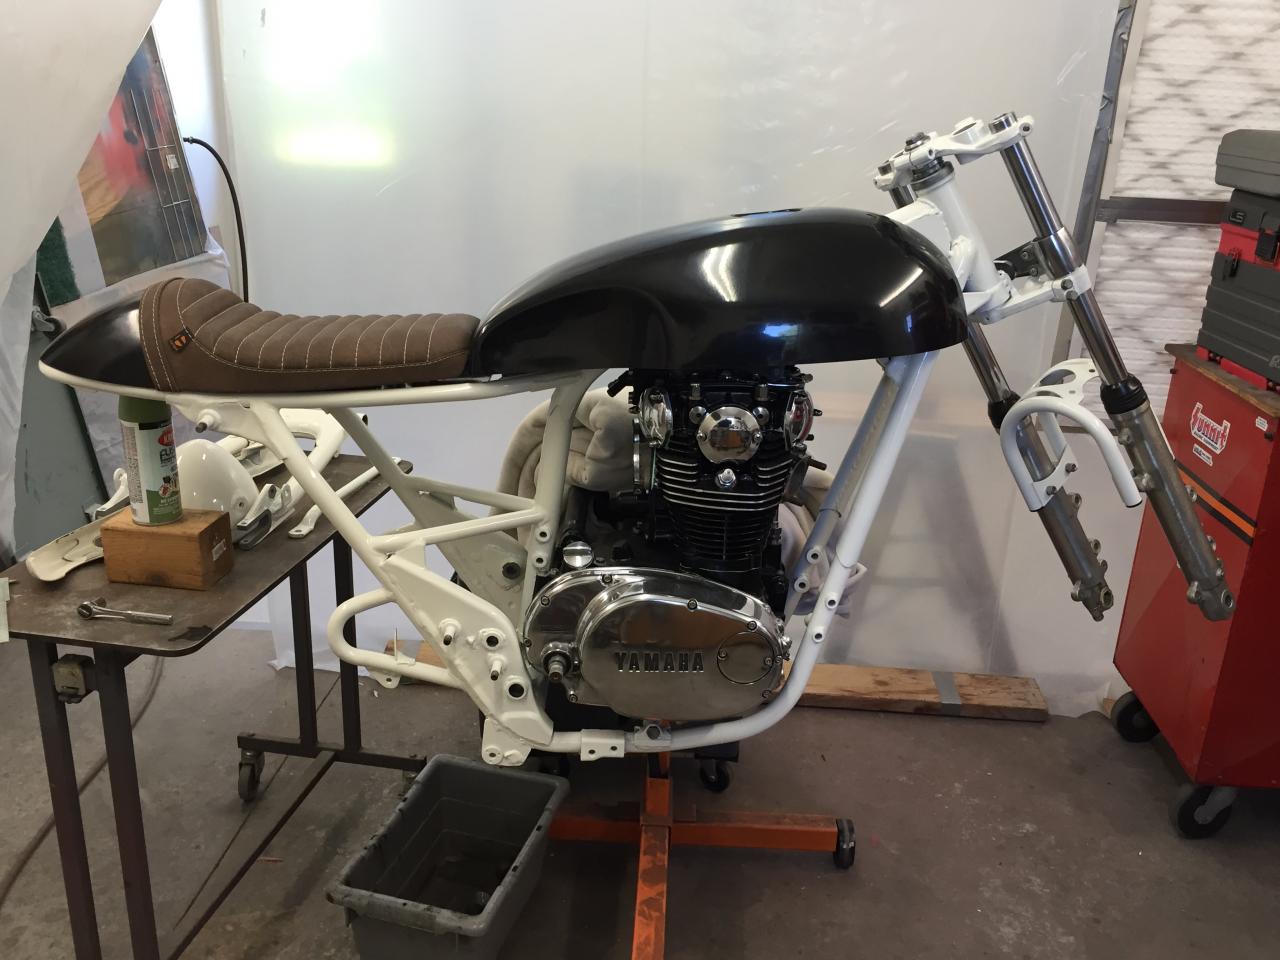
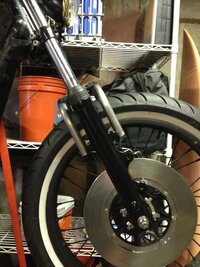
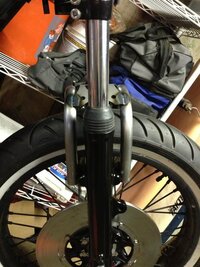
Reinstall your caliper and wheel, and show your friends how cool you are now that you have a genuine Hugh's Handbuilt Fork Brace on your 650.
[/URL][/IMG]
[/URL][/IMG]
[/URL][/IMG]
[/URL][/IMG]
Please understand, that I am not saying that this is how it will work with every 34mm fork. This only to show others that it is possible, and that I was able to make it work for me. These forks have had all the miscellany tabs cut off, except for the fender mounts, and right side caliper mounts. You may need to perform other modifications to the fork and/or the brace.
With that being said, this thing is RAD, and it fits...well, it fits like it was made to be there.
So here's how I did it, and the tools you will need.
A SHARP flat file
Padded clamps. I used Irwin quick clamps
6mm Allen Wrench
Locktite. I used Red, because it's all I had.
First, you have to remove the front wheel. You should know how to do this by now so I won't go into detail about that.
I don't have a front brake caliper on this bike yet, but it would certainly be easier if you remove it as well. You don't have to take off the line, just unbolt the caliper from the fork leg.
Before I even tried to put the brace on, I took a few measurements to see if there would be any obvious clearance issues. The only spot I could see was the distance between the front and rear tubes of the brace and the outer edges of the fender mount tabs on the forks. Both measured right at 81mm.
[/URL][/IMG]
[/URL][/IMG]
However, the mounts have a slightly increasing taper from inside to outside, making it too thick for the brace to slide around.
[/URL][/IMG]
[/URL][/IMG]
In order to gain the clearance I needed, I decide to file down the sides of the mounting tabs. I didn't go nuts taking any measurements here. I simply held the brace above the mounts, made a pencil mark, and went nice and slow with a sharp file until I was able slip the brace in place. I only ended up taking off about 1 millimeter from each fender mount.
If you do it right, the brace will fit right in, and will cover the flats you just filed.
GO SLOW. TAKE YOUR TIME.
[/URL][/IMG]
Once you get the mounts filed down so the brace fits, you can wiggle the brace into place.
To do it, you will have to start with the lower fork legs rotated outwards.
[/URL][/IMG]
I positioned the brace so the oblong holes were to the rear, slid it up into the forks rotating the legs as needed to clear the drain hole screws. (Sorry no pics of that. I was working alone, and ran out of hands.) Slide the brace up above the fender mount tabs and then rotate the legs to their normal position, then lower the brace and line up the mounting holes. Remember, this brace is made to be stiff. It may not drop right into place. I had to clamp the brace from both sides and squeeze it to get it into place.
DO NOT REMOVE THE CLAMPS UNTIL YOU INSTALL THE BOLTS
[/URL][/IMG]
Put a drop of loctite on each bolt, and put them in finger tight before you remove the clamps. It is just easier if you need to reposition the brace. After all the bolts are in, remove the clamps and tighten the bolts with a 6mm Allen wrench. You don't have to go crazy, just tight.
Reinstall your caliper and wheel, and show your friends how cool you are now that you have a genuine Hugh's Handbuilt Fork Brace on your 650.
[/URL][/IMG]
[/URL][/IMG]
[/URL][/IMG]
[/URL][/IMG]
Attachments
-
 1_zps8e7fe2e1.jpg61.3 KB · Views: 20
 -
 14_zpsa4952b4a.jpg79.1 KB · Views: 18
 -
 13_zps68da4809.jpg81.7 KB · Views: 18
 -
 12_zps6cf5946a.jpg87.1 KB · Views: 18
 -
 11_zps57b236ac.jpg79.2 KB · Views: 19
 -
 8_zps70b61c03.jpg88.7 KB · Views: 21
 -
 7_zpse1ecf2be.jpg81 KB · Views: 17
 -
 5_zps34c097c0.jpg50.7 KB · Views: 17
 -
 4_zps7019bdbe.jpg55.8 KB · Views: 21
 -
 3_zps34adfcef.jpg66.3 KB · Views: 17
 -
 2_zps9ebca2e3.jpg63.3 KB · Views: 14