Going to repost this from my Project Build thread with a separate title. Came across a broken float post and after a unsuccessful attempt at a solder, found success in the process below. The sleeve is what really holds it in place once the bowl is put back on but the epoxy was just some added insurance. For what its worth the epoxy that I used sticks to this metal extremely well. Hitting the finished arrangement with a hammer did no damage. May be useful to someone.
Re-Post from thread:
http://www.xs650.com/threads/project-canuck-84-xs650-project-build.52613/
Well I could not leave well enough alone (another bad trait of mine). I was not going to let this thing beat me....and I didn't.
Ended up fabing up a brass sleeve from a piece of brass piping nipple at Home Depot. Together with some high strength chemcial resistant 5 minute epoxy, problem solved.
To prep the broken pieces, I chamfered the edges of both halves being careful not to grind the middle of the broken piece as that is what set the height and orientation of the final fit. I then cut a slot with my grinder in both halves to grip the epoxy in the sleeve. This will ensure it does not move.


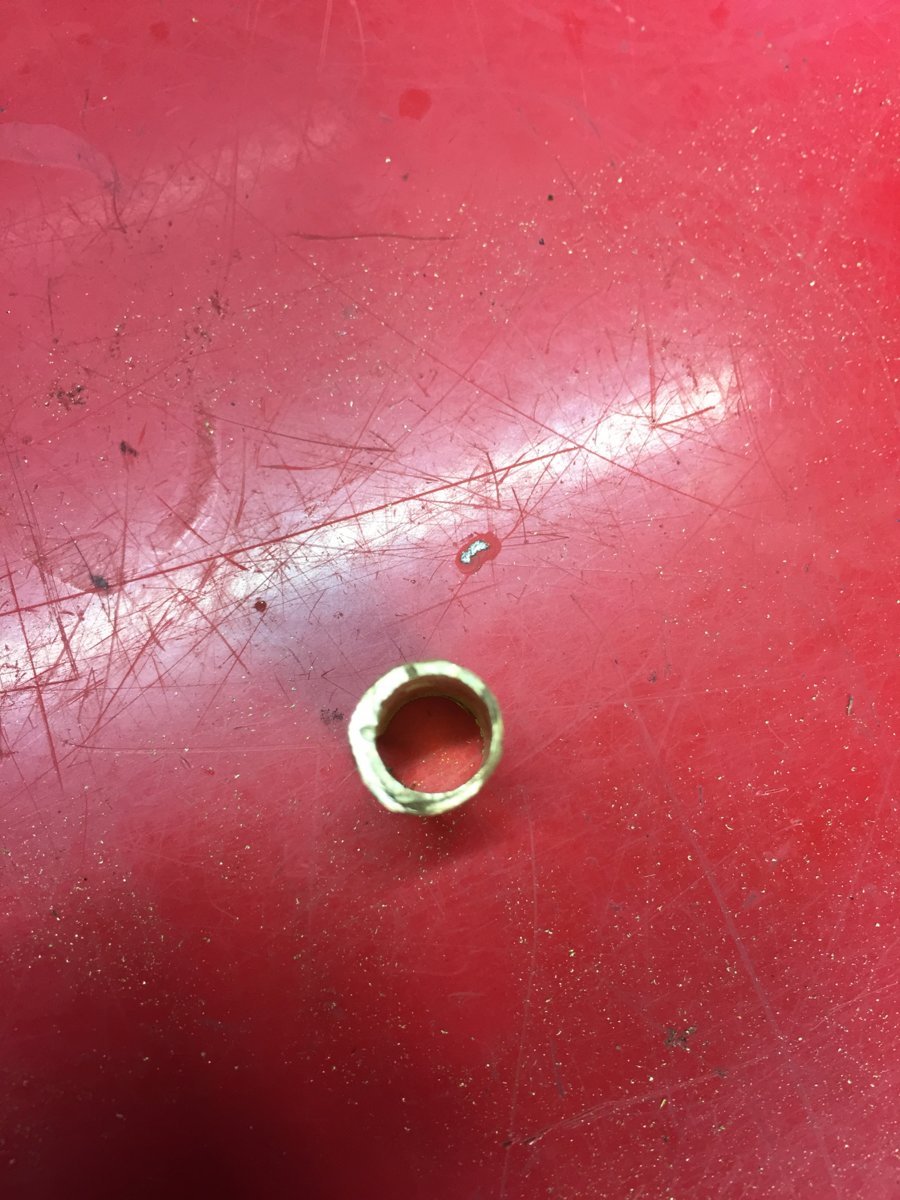
Cut a length of pipe and then used my Dremel to cut out a slot to accept the gusset in the casting. It was a 1/8" brass pipe nipple that I used. The OD was 0.4" and ID was 0.275. Cut the length enough to accept the broken piece with about an 1/8" reveal on top so the epoxy can exit and fill the top .

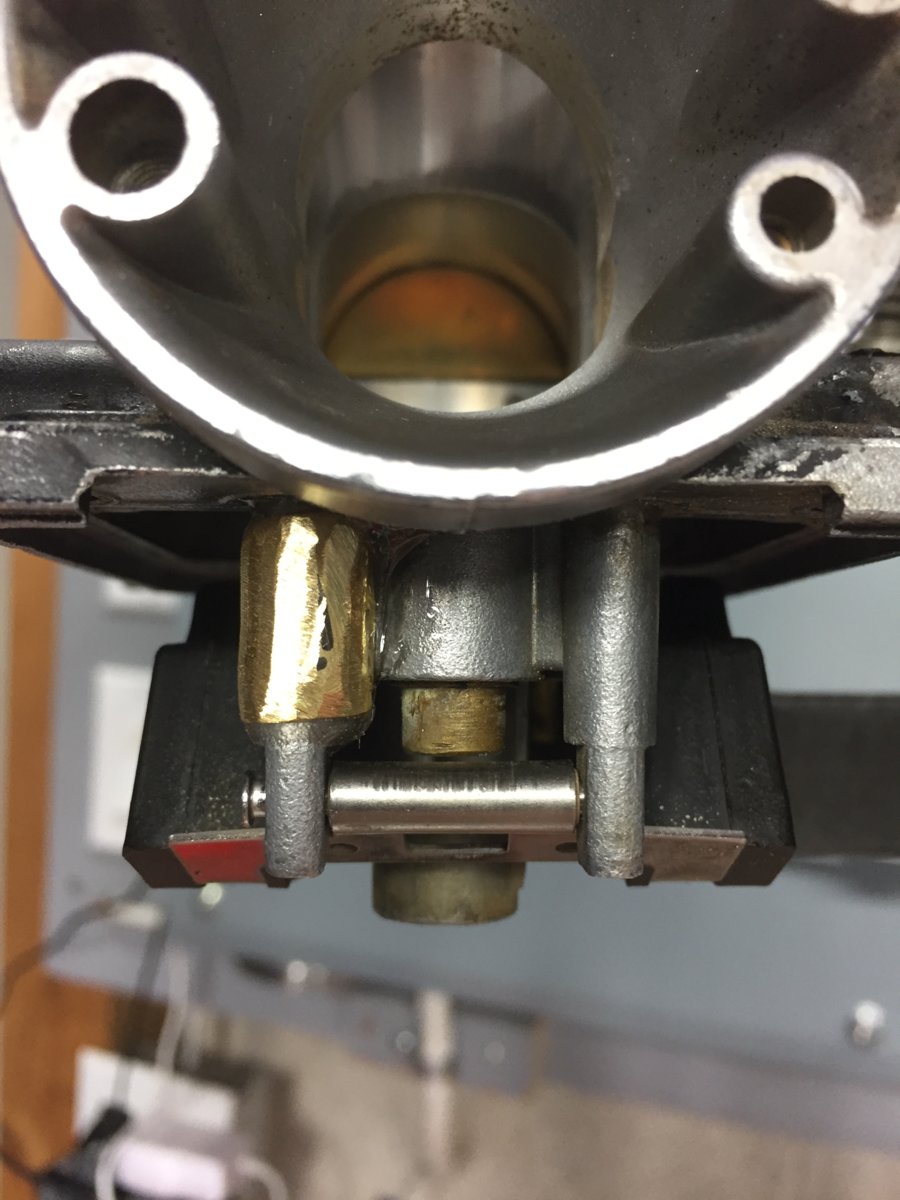
The trick was that the pipe needs to be very thin on one side as you can see in the picture. This is so the bowl can fit back on. I just kept grinding, marking and fitting until the bowl went on without any issues.
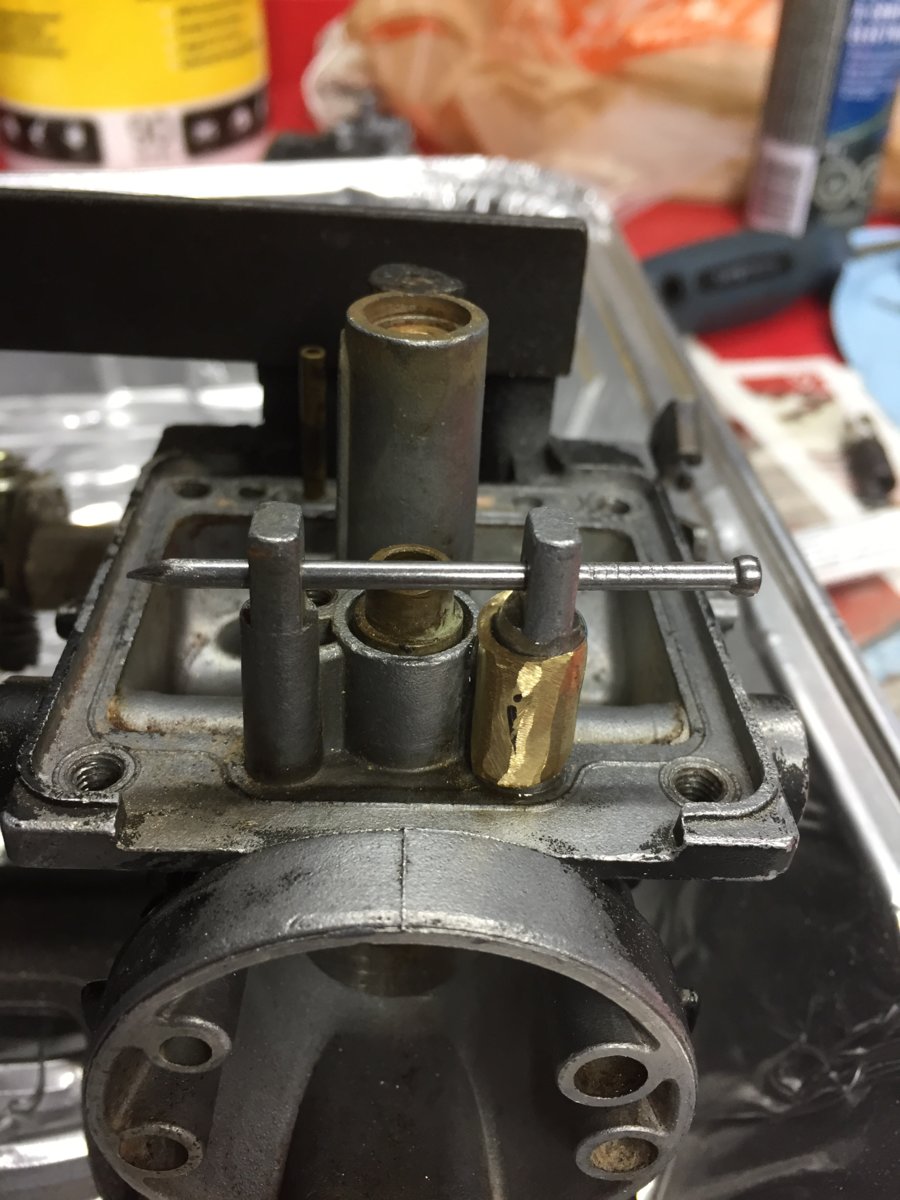
I then cleaned everything with contact cleaner to get rid of any oil or flux from my previous attempt. Did a final dry fit to make sure everything would line up properly before the epoxy. Turns out an 8p finishing nail is the perfect fit. Used it because it was longer and allowed me to get a better hold of things until they set.
Filled the notch in the bottom half with epoxy and a bit around the post and then set the sleeve. Then filled the sleeve half way with epoxy and inserted the broken section using the nail to keep every thing lines up properly. Added a bit of epoxy to the gusset area to hold the sleeve. Turns out the epoxy I used sticks very well to this metal. ( LePage Instant Mix Speed Set Epoxy)
Strong as hell. Literally tried to move the post and it did not budge. The epoxy is really just some added insurance. With just the sleeve the post stays in place since the bowl somewhat holds it in place.

Float moves freely and no apparent issues. Will re-assemble and give it a go.
Re-Post from thread:
http://www.xs650.com/threads/project-canuck-84-xs650-project-build.52613/
Well I could not leave well enough alone (another bad trait of mine). I was not going to let this thing beat me....and I didn't.
Ended up fabing up a brass sleeve from a piece of brass piping nipple at Home Depot. Together with some high strength chemcial resistant 5 minute epoxy, problem solved.
To prep the broken pieces, I chamfered the edges of both halves being careful not to grind the middle of the broken piece as that is what set the height and orientation of the final fit. I then cut a slot with my grinder in both halves to grip the epoxy in the sleeve. This will ensure it does not move.
Cut a length of pipe and then used my Dremel to cut out a slot to accept the gusset in the casting. It was a 1/8" brass pipe nipple that I used. The OD was 0.4" and ID was 0.275. Cut the length enough to accept the broken piece with about an 1/8" reveal on top so the epoxy can exit and fill the top .
The trick was that the pipe needs to be very thin on one side as you can see in the picture. This is so the bowl can fit back on. I just kept grinding, marking and fitting until the bowl went on without any issues.
I then cleaned everything with contact cleaner to get rid of any oil or flux from my previous attempt. Did a final dry fit to make sure everything would line up properly before the epoxy. Turns out an 8p finishing nail is the perfect fit. Used it because it was longer and allowed me to get a better hold of things until they set.
Filled the notch in the bottom half with epoxy and a bit around the post and then set the sleeve. Then filled the sleeve half way with epoxy and inserted the broken section using the nail to keep every thing lines up properly. Added a bit of epoxy to the gusset area to hold the sleeve. Turns out the epoxy I used sticks very well to this metal. ( LePage Instant Mix Speed Set Epoxy)
Strong as hell. Literally tried to move the post and it did not budge. The epoxy is really just some added insurance. With just the sleeve the post stays in place since the bowl somewhat holds it in place.
Float moves freely and no apparent issues. Will re-assemble and give it a go.

