Here's a how-to I used when I recovered my H1 seat.
http://kawtriple.com/mraxl/tips/seatcover/seatcover.htm
http://kawtriple.com/mraxl/tips/seatcover/seatcover.htm
Here's a how-to I used when I recovered my H1 seat.
http://kawtriple.com/mraxl/tips/seatcover/seatcover.htm
 All seriousness aside, the weight of the engine is relative. If you were a big fat guy, (like me
  ) that engine would represent a lesser percentage of your body weight. But really, I had a buddy to help me get my engine onto a stand. Consider the beer/brother idea next time... Back injuries are no joke. They come back to haunt you when you get old....
Back injuries are no joke. They come back to haunt you when you get old....
Be careful though, you’ve still got your whole life in front of you and you only get one back. 


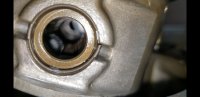
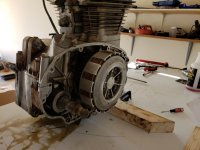
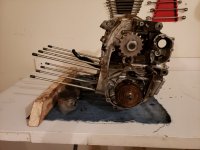
Only safe way to do it is to remove the cover. On the bottom of the worm gear shaft is a shim washer. The only way to know for sure the shaft went through it instead of knocking it down into the sump is to actually look at it while you install the shaft. Anything else is "I think I got it."I messed up though guys... My curiosity gets me in trouble a lot. Tonight was no exception. How do I get the worm gear for the tachometer back into the motor!?!?
How do I get the worm gear for the tachometer back into the motor!?!?
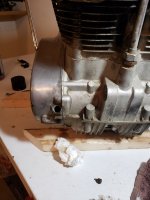
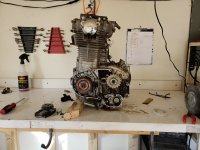
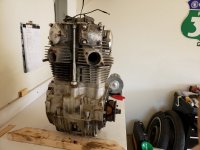
I lifted the motor onto my workbench all by myself. Which was a feat.
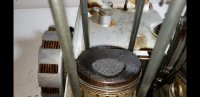
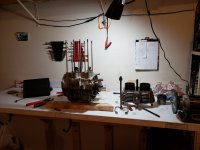
Paper absorbs moisture... that brings rust. Open them bags back up and squirt a fair bit of motor oil in there.I wrapped all the parts in paper/shop towels ($$$) and bagged them and boxed them. Labeled of course. It seems like a very simple top end.
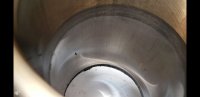
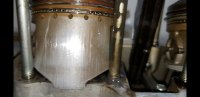
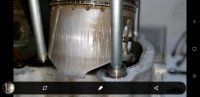
... Am I supposed to be able to move them back and forth by hand? If I nestle my thumb and index finger in the grooves for the valves, and move from front of motor, to back of motor, I get a good bit of "wiggle" I'm betting there was a good bit of piston slappage because they're scored a good bit...