Tmills
XS650 Member
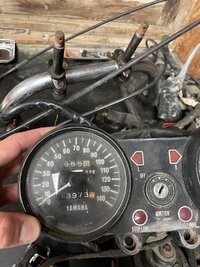
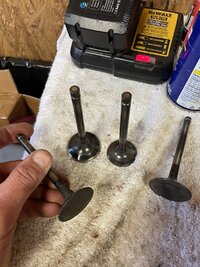
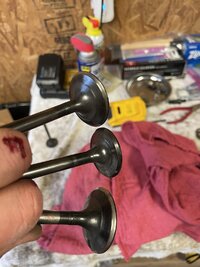
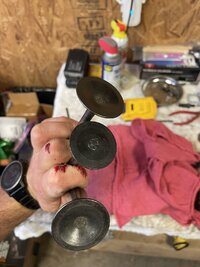
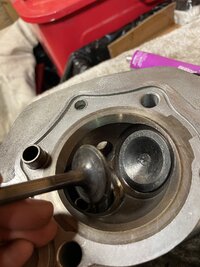
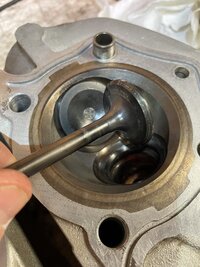
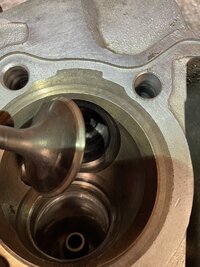
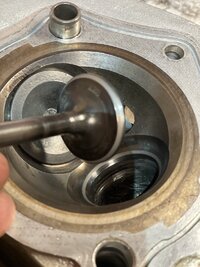
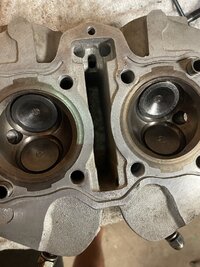
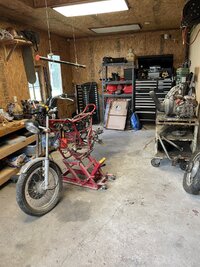
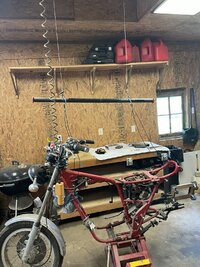
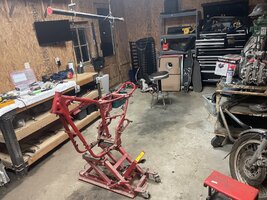
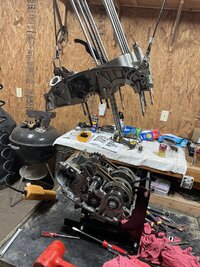
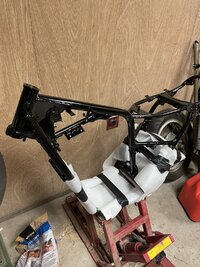
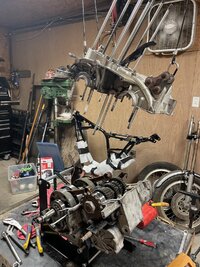
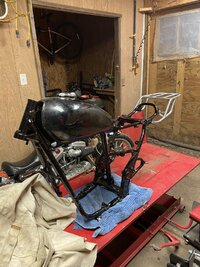
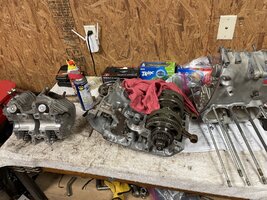
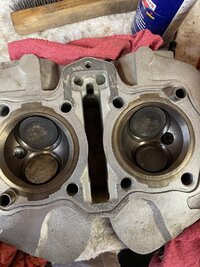
That being said, I got the frame powder coated and yanked the motor. Split everything down and now it’s time for reassembly. I’m trying to clean/replace parts as I go. I think I need new valves but what to y’all think? All 4 are still in spec as well as the springs. Maybe just some lapping? Thanks in advance and I’m glad I found this forum!!!
Attachments
-
 IMG_5123.jpeg548.6 KB · Views: 48
 -
 IMG_5125.jpeg514.9 KB · Views: 44
 -
 IMG_5158.jpeg501.9 KB · Views: 45
 -
 IMG_5383.jpeg495.2 KB · Views: 48
 -
 IMG_5385.jpeg487.6 KB · Views: 46
 -
 IMG_5382.jpeg491.5 KB · Views: 52
 -
 IMG_5384.jpeg464.9 KB · Views: 56
 -
 IMG_5791.jpeg462.6 KB · Views: 51
 -
 IMG_5792.jpeg602.9 KB · Views: 50
 -
 IMG_5795.jpeg523.7 KB · Views: 48