littlebill31
Smells of Raw Fuel
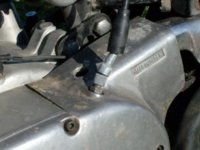
It's creeping forward in 1st with the clutch pulled in. I've adjusted the worm and perch correctly, but after my bike is good and warm I'm still having problems and I'm running out of perch screw.
So, can I adjust the worm to compensate? And, if so, would I tighten or loosen the worm?
It's adjusted to drag, then out a 1/4 turn.
Any ideas?
I'd like to get an idea of what to do before I loose my mind.....again.
Thanks all
So, can I adjust the worm to compensate? And, if so, would I tighten or loosen the worm?
It's adjusted to drag, then out a 1/4 turn.
Any ideas?
I'd like to get an idea of what to do before I loose my mind.....again.
Thanks all
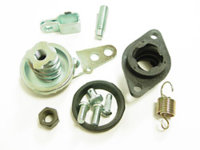
") While I was waiting on a new cable. You can put a new end on them if you want.
While I was waiting on a new cable. You can put a new end on them if you want.