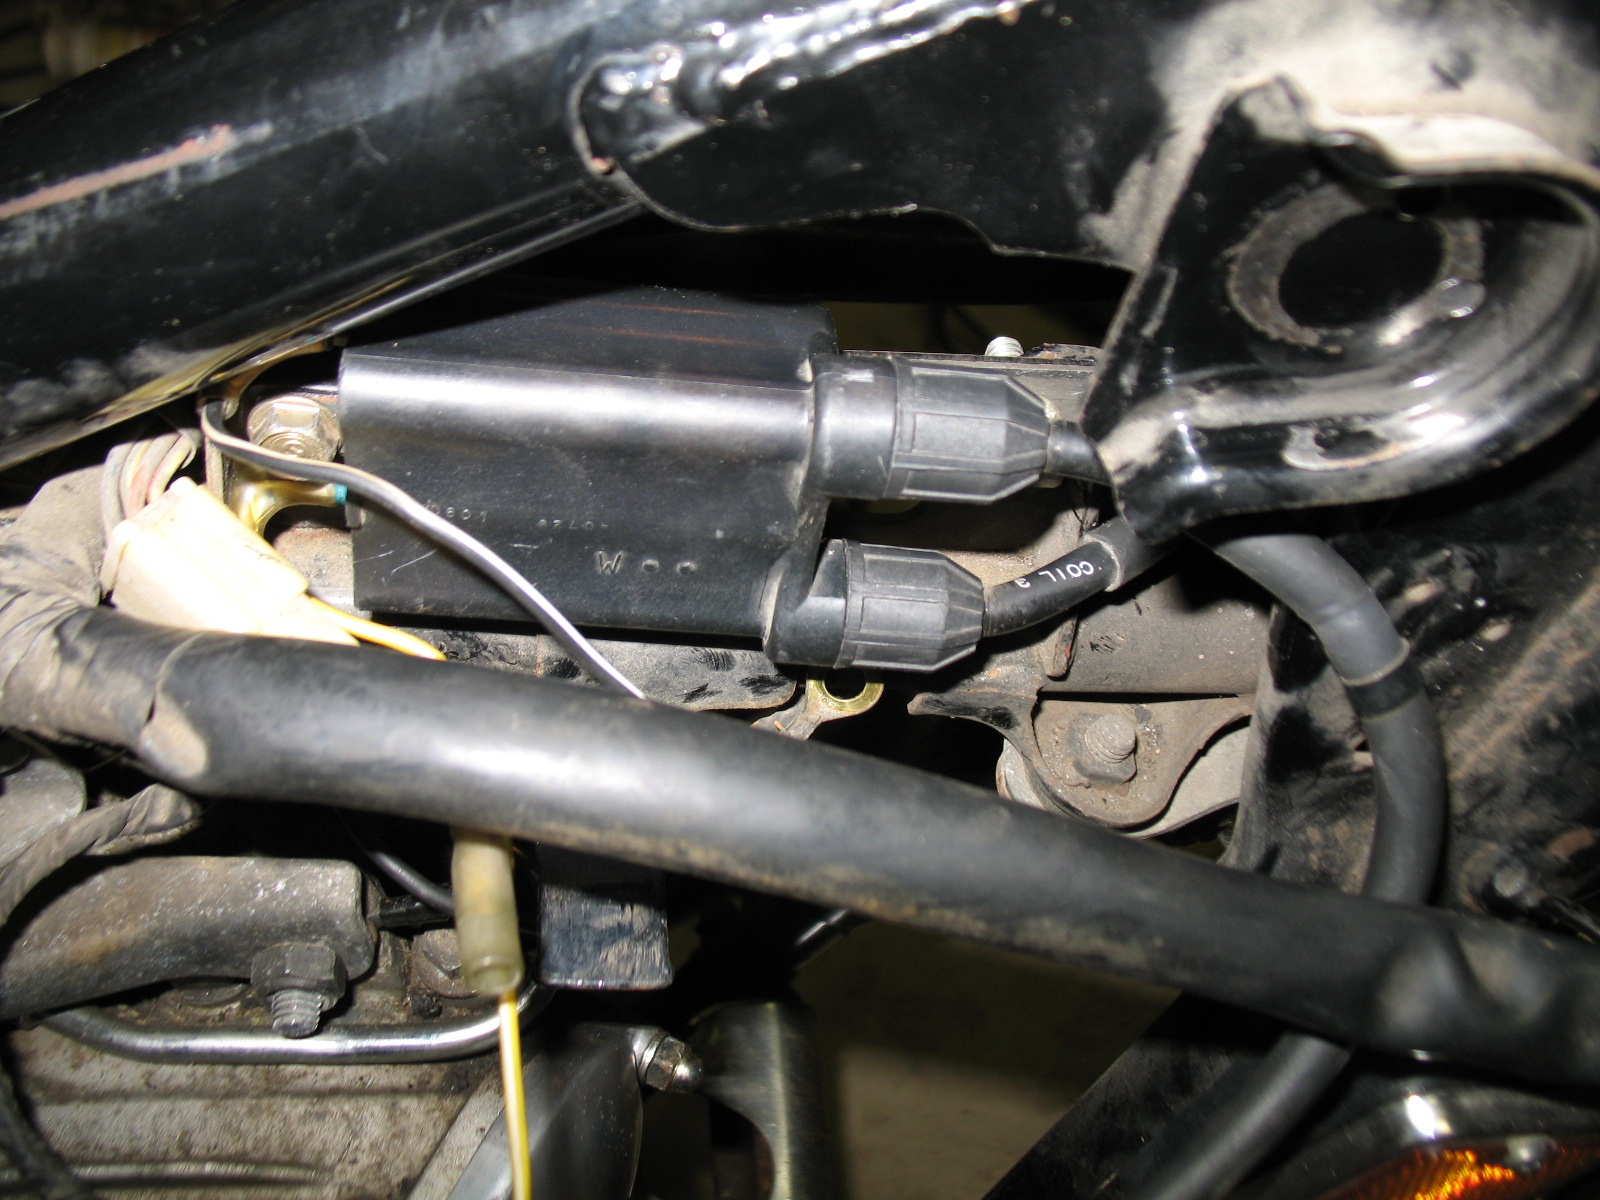
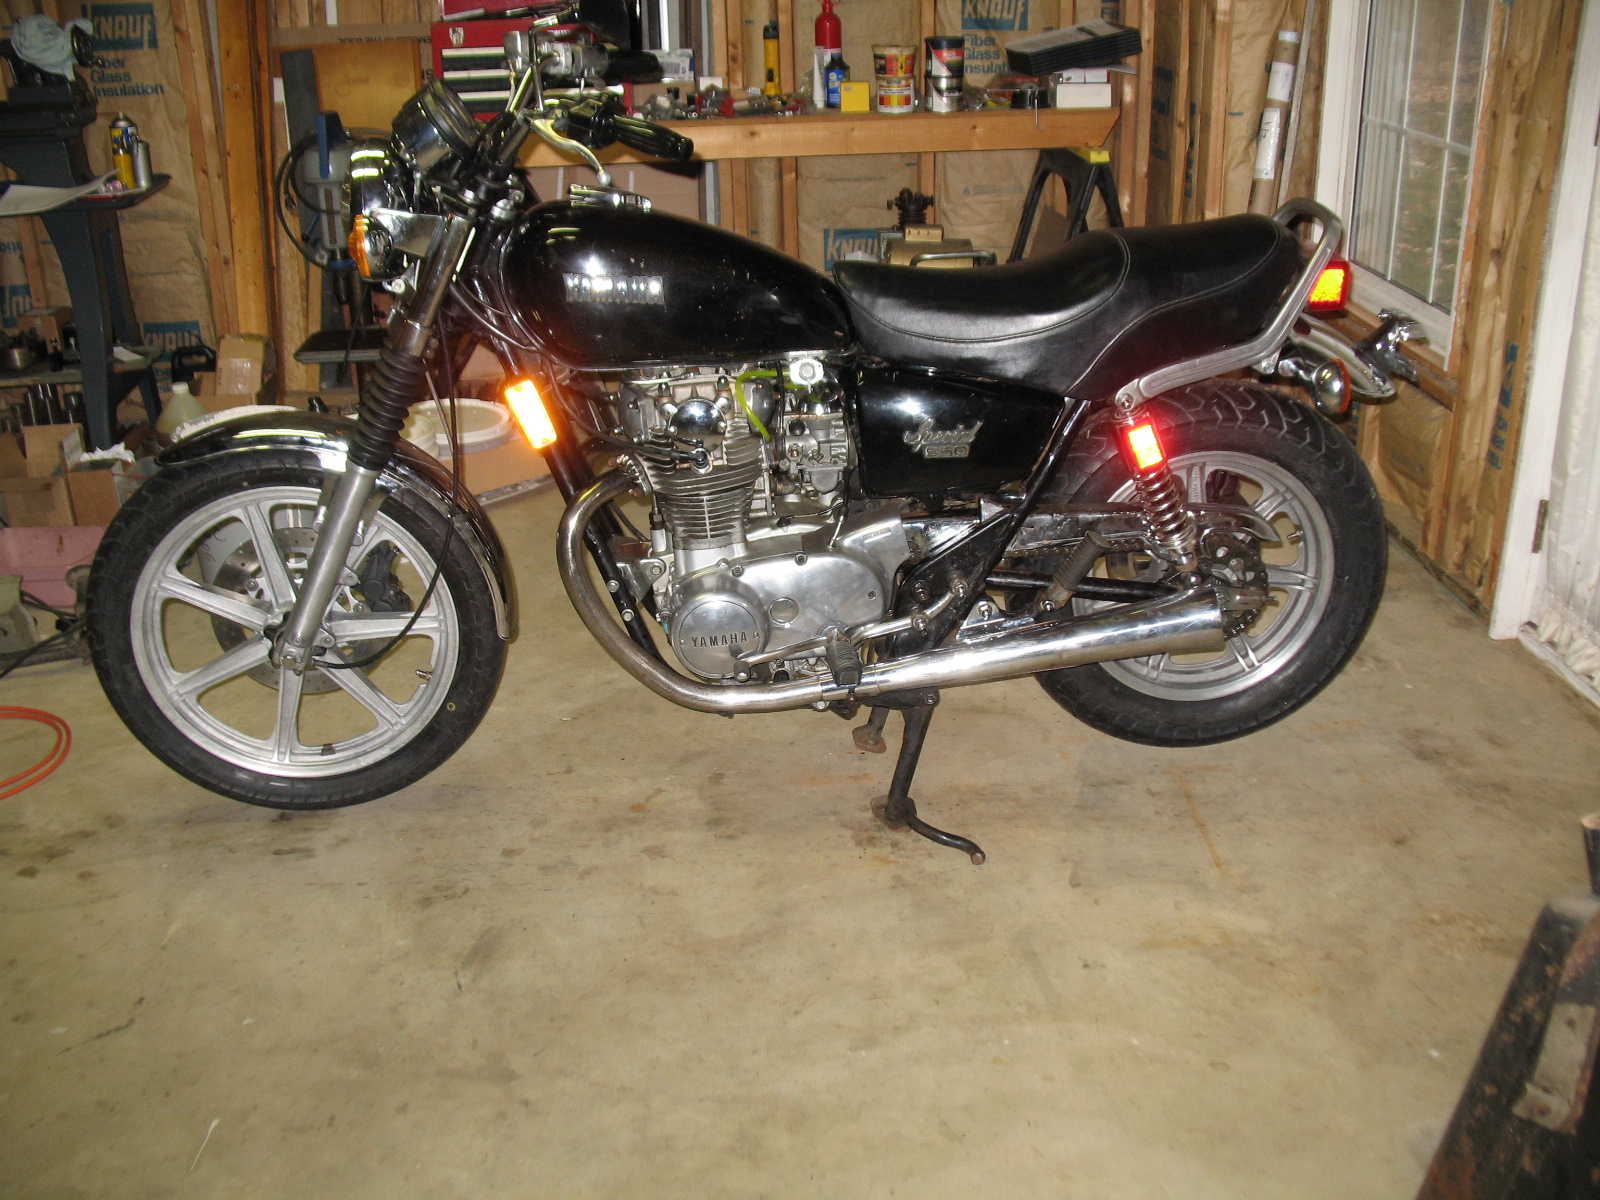
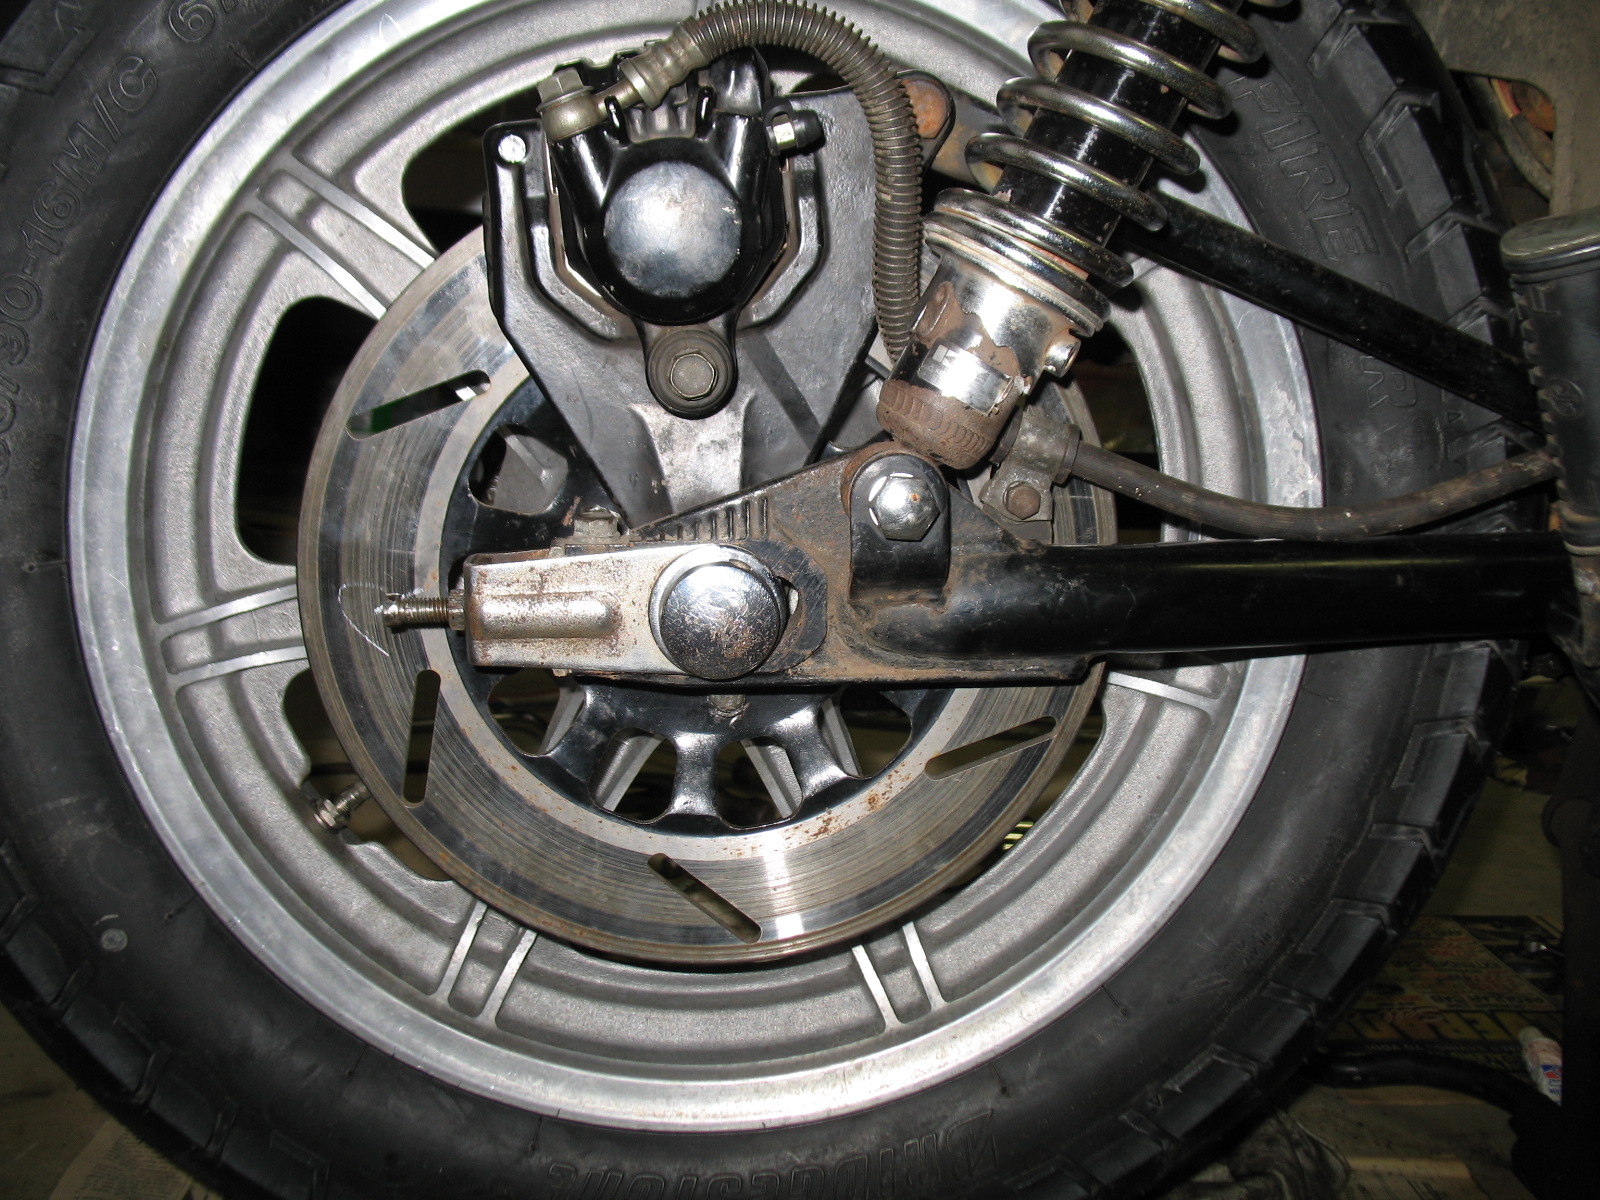
Now the fun part! I never cared for the stock front brake and since everything was toast anyway I decided to do the FZR rotor and blue spot caliper conversion and replace the MC with an 11mm unit from a Honda.(Thank you eBay for all the parts.) I mocked everything up to determine the correct disk spacer thickness to center the rotor in the caliper, I think it was 0.515” IIRC, as I didn’t want to use spacers in the bracket. MotoLana has a 10mm spacer that would have saved a bunch of time making the spacer but would have required additional spacers (I needed 13mm total) and I wanted to use my recently refurbished lathe.
For those who like machine tools. It’s a 1946 Logan Model 820 10x24 I found on Craigslist. It was pretty tired but in decent shape. I figured I could pay someone for the spacers or make them myself and learn how to use a lathe in the process.(never used one before) I’m also thinking of replacing the rear wheel with an 18” XS400 wheel because I like the look of the 18, in which case I will need more spacers. Here’s how it looked when I picked it up.

I tore it down and stripped it to bare metal. It had probably 6 or 8 coats of old paint.

Then repainted it the original color.

A few parts were broken and some of the bronze bushings worn out so I repaired or replaced all the dodgy parts and got it humming again. The hardest part was cleaning all the crud out of the headstock bearing. Replacements are expensive and by all accounts not as good as the originals so after much soaking/cleaning/soaking/cleaning it finally ran smooth. Here it is finally "done". Not really done as I still need to repair the original half-nuts so I currently can't cut threads on it.

The above is the real color, the one above makes it look more blue.
For those who like machine tools. It’s a 1946 Logan Model 820 10x24 I found on Craigslist. It was pretty tired but in decent shape. I figured I could pay someone for the spacers or make them myself and learn how to use a lathe in the process.(never used one before) I’m also thinking of replacing the rear wheel with an 18” XS400 wheel because I like the look of the 18, in which case I will need more spacers. Here’s how it looked when I picked it up.
I tore it down and stripped it to bare metal. It had probably 6 or 8 coats of old paint.
Then repainted it the original color.
A few parts were broken and some of the bronze bushings worn out so I repaired or replaced all the dodgy parts and got it humming again. The hardest part was cleaning all the crud out of the headstock bearing. Replacements are expensive and by all accounts not as good as the originals so after much soaking/cleaning/soaking/cleaning it finally ran smooth. Here it is finally "done". Not really done as I still need to repair the original half-nuts so I currently can't cut threads on it.
The above is the real color, the one above makes it look more blue.
Last edited:


")