Cafe Build #1, 1975 XS650

ScooterMagoo

XS650 Addict
Messages
103
Reaction score
66
Points
28
Location
Algoma, Wisconsin
Hey all,
I thought I would post a few pictures of my build progress.
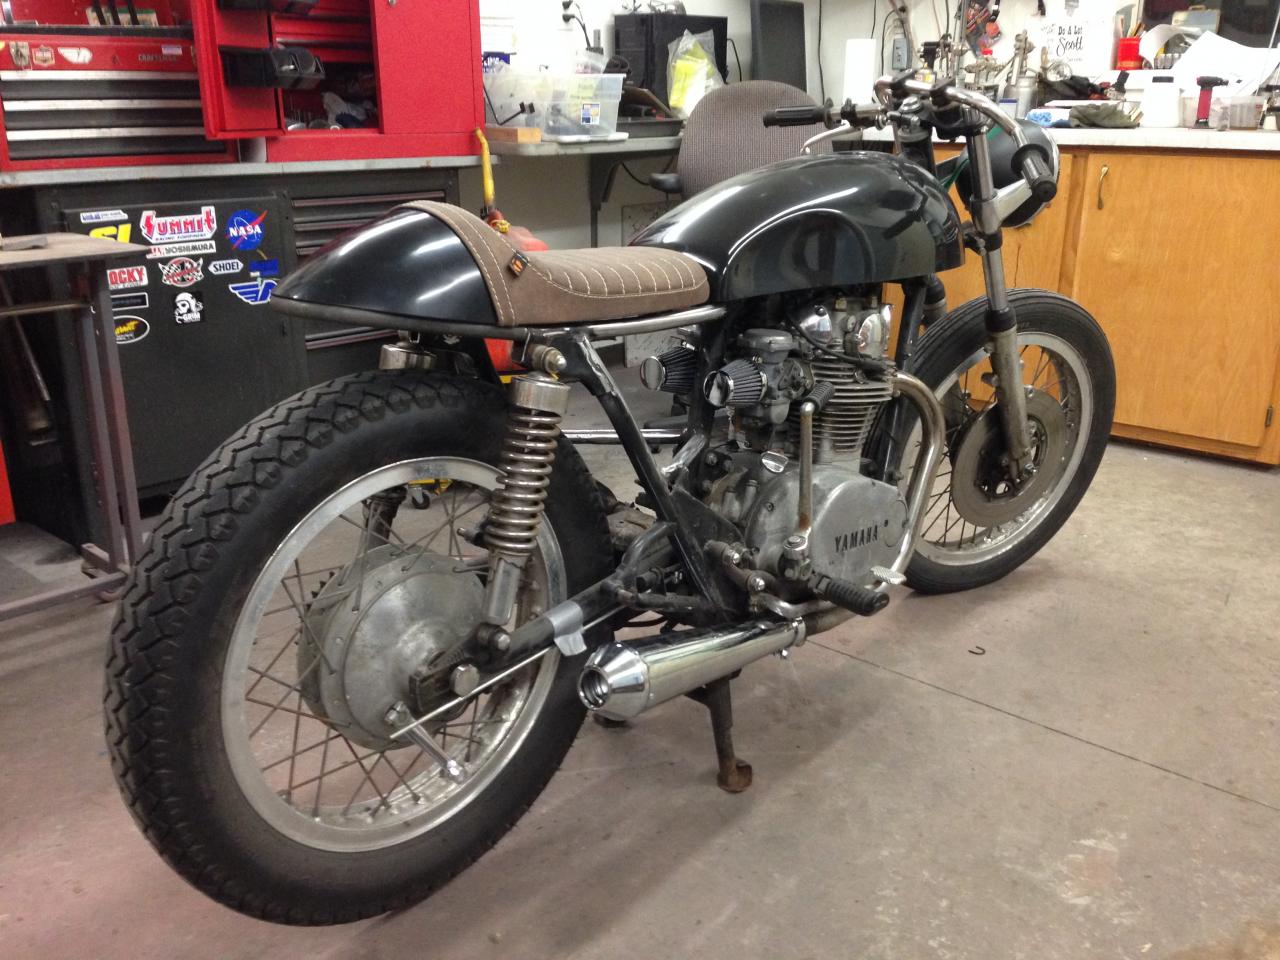
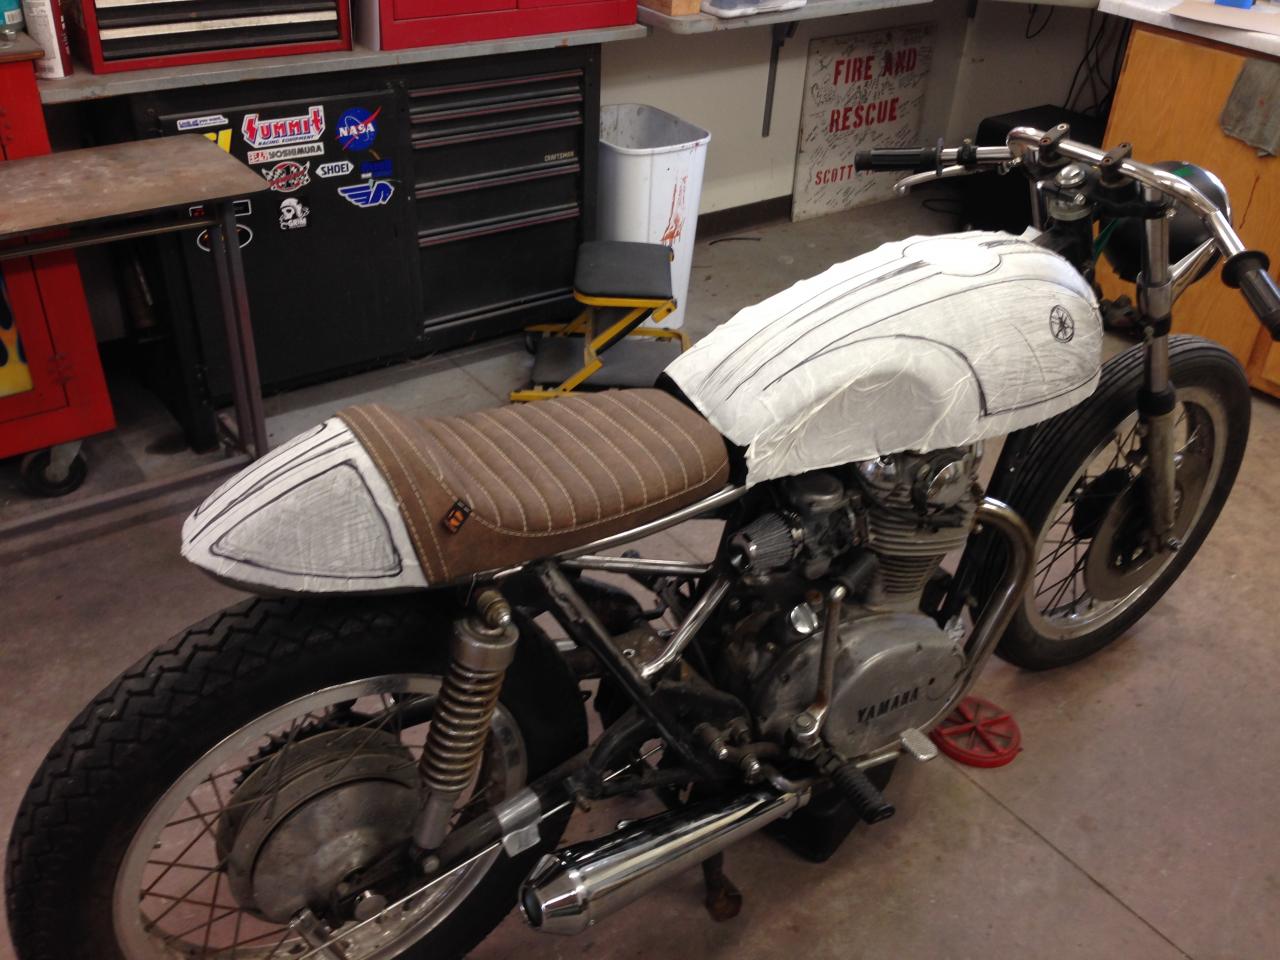
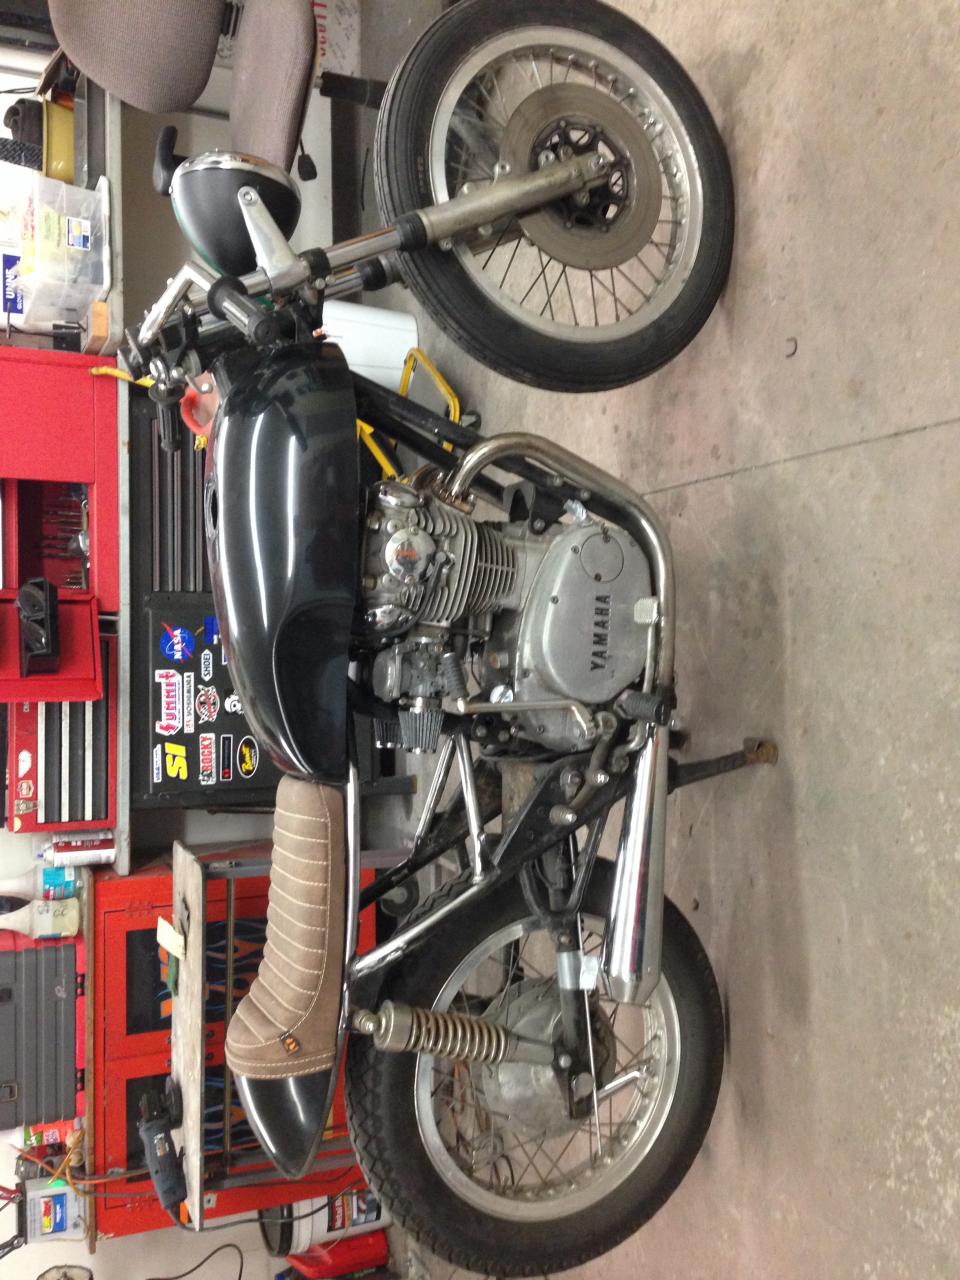
First, though, I will give a rundown of what my goal is. My goal is for a vintage looking ride....... clean, classic, and minimalistic. I have already cleaned up the frame by shaving off all unnecessary brackets and barbs. I have fitted up the tank and seat, obtained from Legendary Motorcycles and Tuffside respectively. The modified frame, swing arm, wheels and miscellaneous parts will be powder coated. I will be using plenty of Motogadget products, including the M-unit and Motoscope Pro, to keep the electronics and gauges miniaturized. The bike will have a Hugh's Hand Build PMA and all electronics will be under the seat. I also intend to have Hugh rephrase my crank and cam at some point. Lighting will be all LED, including the headlight, using a Trucklite unit. I fully intend this bike to be a daily driver, but show worthy at the same time.
Anyways, here is the progress:
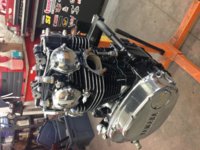
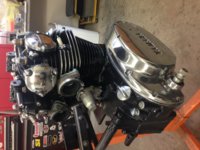
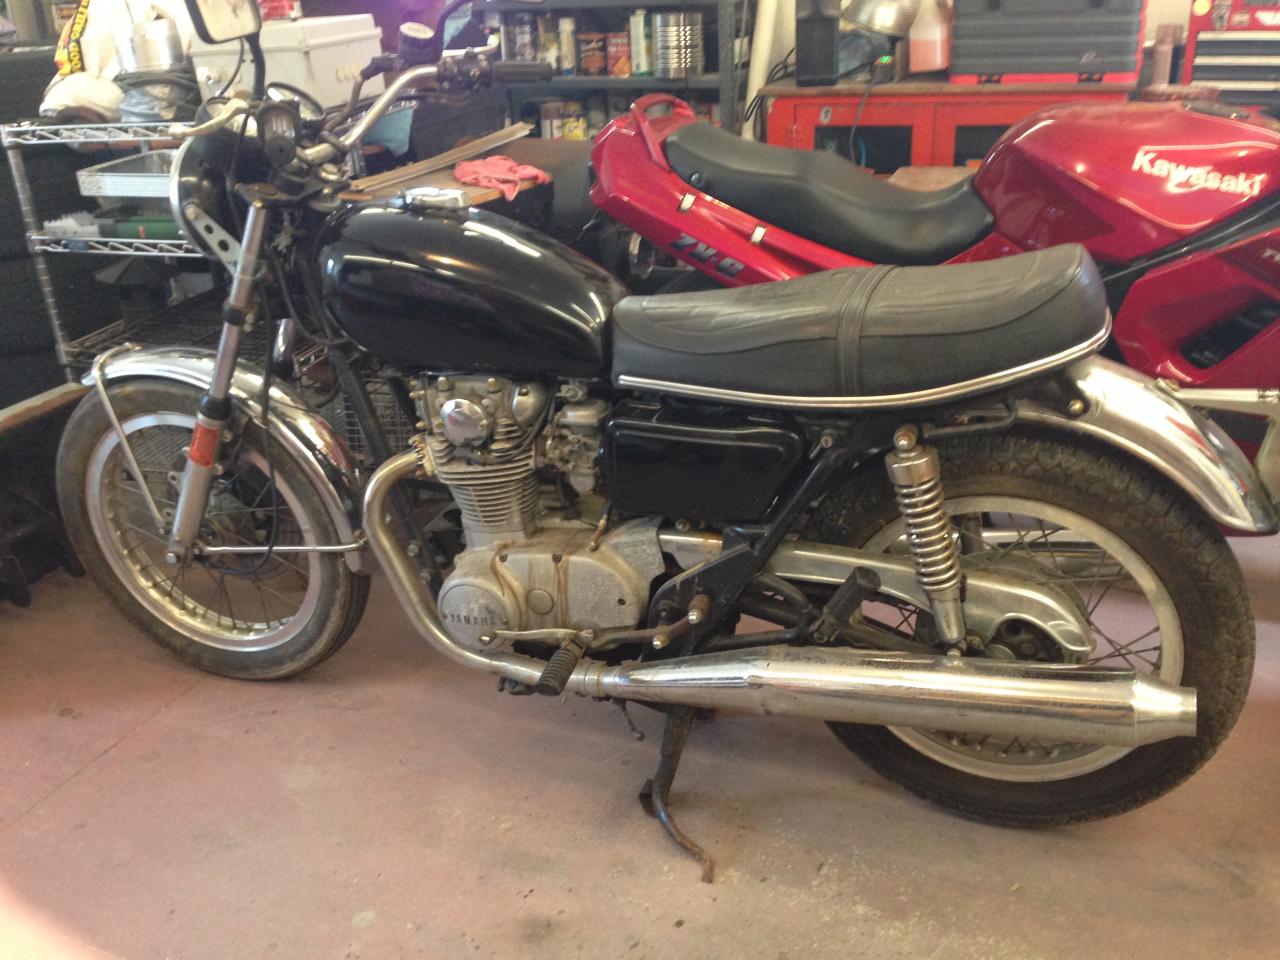
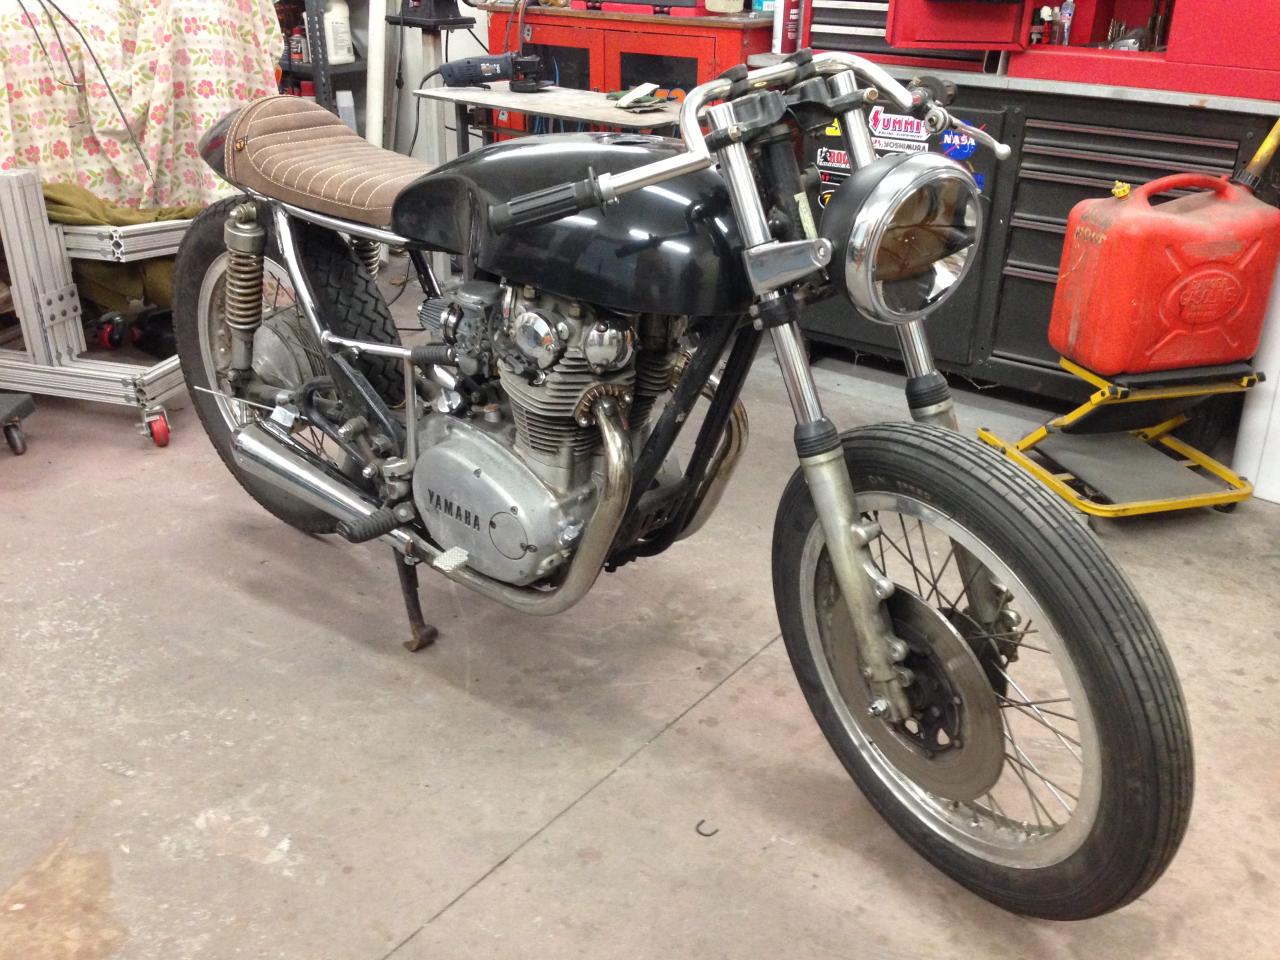
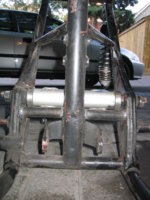
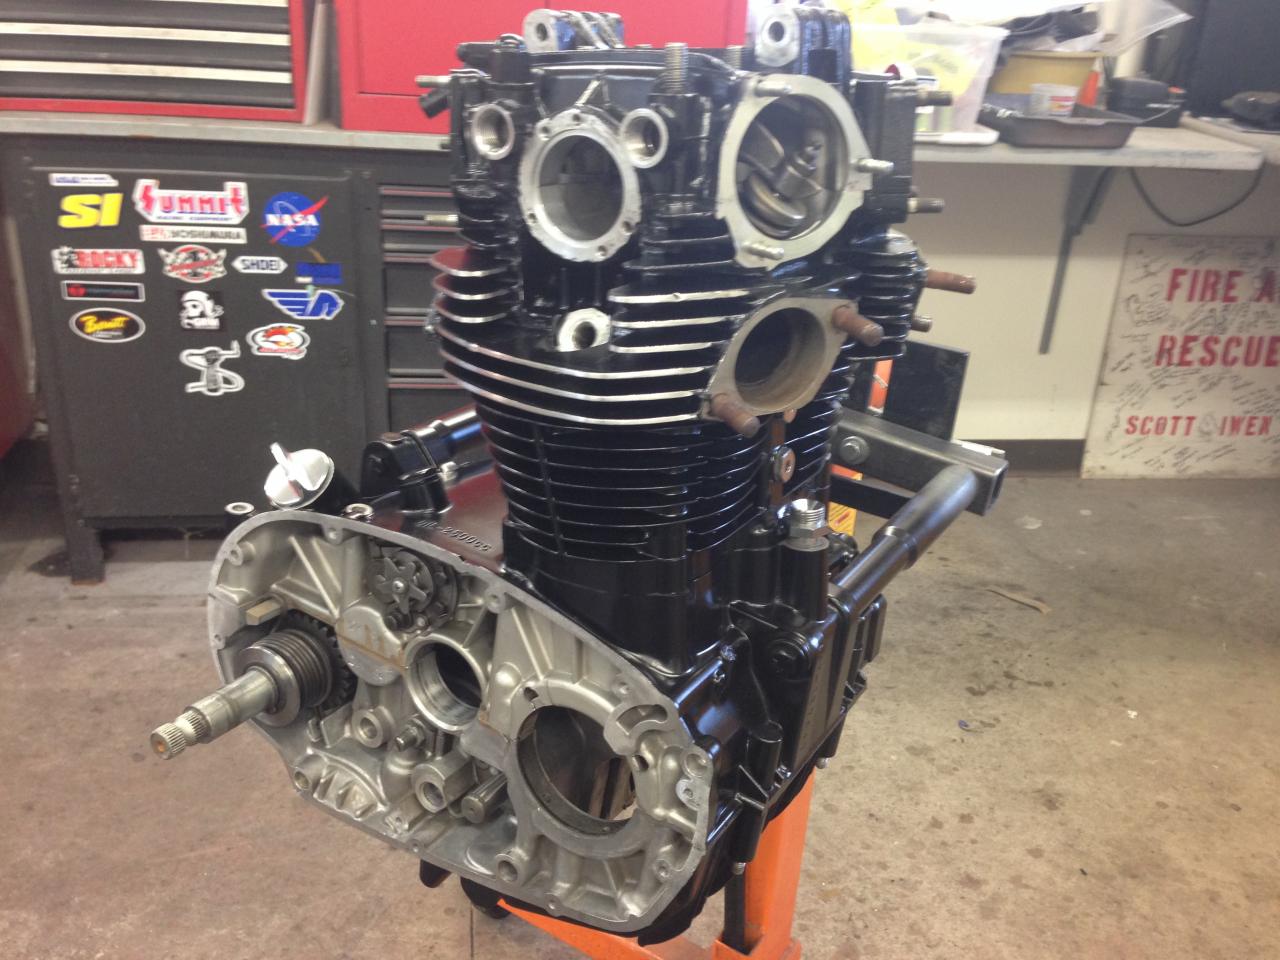
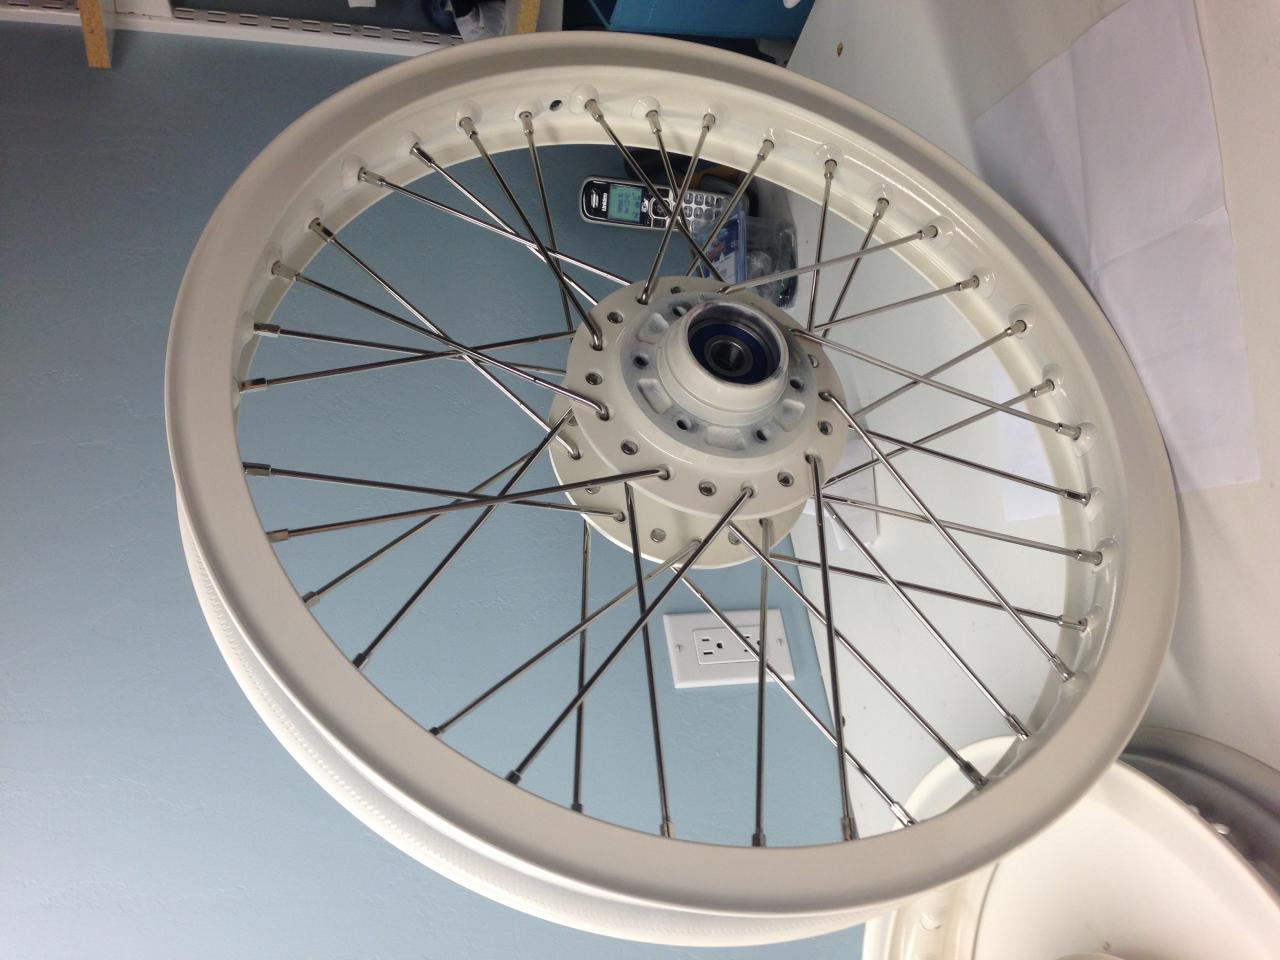
The first pic is of the bike fresh off my truck from Cycle Warehouse in Butler, PA. The following pics are of the progress. At this point, not pictured, the bike is completely disassembled for final welding. I also got the wheels disassembled for powder coating and to relace with stainless spokes.
full

full

full

full

full
 
That's looking very good. I'm glad you elected to keep the centerstand, every bike needs one. Just one little heads up - you're going to need/want to replace those air filters for several reasons. First, they're physically too small to flow enough. Second, they're tapered and CV carbs don't like that. Third, and most important, they are the pleated element K&N style. These CV carbs don't work well with that type of pod filter. The pleats cause turbulence in the air flow which messes with the slide lift. That can give you stumbles or dead spots in various RPM ranges that you will attribute to improper jetting, but it's really the filters causing it.
 
Hi scooter,
nice build. I'd suggest:-
Drilling the front brake disk full of holes and upgrading to stainless brake lines to improve braking.
Fitting a TKAT fork brace to replace the fork stiffness you lost by removing the front fender.
And the really important thing about pods is to be sure that they don't block the small air intakes around the carb main inlet.
 
Last edited:
That's looking very good. I'm glad you elected to keep the centerstand, every bike needs one. Just one little heads up - you're going to need/want to replace those air filters for several reasons. (cut section) can give you stumbles or dead spots in various RPM ranges that you will attribute to improper jetting, but it's really the filters causing it.

First, the bike looks great. Second having experienced this very issue I would highly suggest ditching those pods. I tried all the mods you can do to cutting out the restrictions and rubber cementing them back together, and frankly nothing works as well as changing to a different filter. I used Mikes XS pods to some sucess, but most users here recommend Uni filters, and with the price, I'm giving them the nod myself. It'll go well with the look your trying to achieve anyway. I don't see where you have anything to lose from changing that one detail.
 
Nice bike looks cool, great build process your going through. Myself I'm using big K/N filters for my build and they look Alot like the unipods I think could be an alternative.

Look forward seeing more. ;)
 
Thanks everybody for all the good pointers. I had no idea that the carbs were that sensitive to the filters. Thanks again and duly noted! I am having a battle with whether I should do clip-ons or clubmans. A reason I chose clubmans were comfort. They seem to place that hands just a touch higher than clip-ons and will also allow me to hide all the wiring inside the bars. But to your point, clip-ons would look a little nicer, keeping it nice and narrow by the upper triple clamp. And finally, the center stand. Another battle I am having. I really want to keep it installed. So many bike builders remove them, but I love the convenience of it (wheel removal, chain tensioning, etc.). I chose to keep it because I will be able to kind of hide it behind the mufflers, being they are mounted low. And I plan on painting it and its mounting points black to help hide it.
More to come. At this point it is completely disassembled. This is really a fun project!
 
While you're in the midst of modding things, you should apply a few to the centerstand. First, brace the tang, they have a nasty habit of breaking off. Apparently Yamaha was aware of the problem as they added a brace to the last couple model years. A little triangle shaped piece of plate will do the trick .....

BrokenTang.jpg


BracedStand.jpg


Then add some grease fittings to the pivot tubes. It's amazing how much easier the bike goes up on the stand with the pivot bolts greased. You can really tell the difference .....

CenterstandGreaseNipples.jpg
 
UPDATE!!
The bike is stripped down to its individual parts. Frame is getting prepped for powder coating. I soda blasted the old paint off and polished the original hand control button housings:

full


The engine has been disassembled. The crank and cam are at HHB getting rephased. The engine has been painted:

full


I removed the starter and its gear train within the engine cavity and did the freeze plug block off thing. Worked great, looks good:

full


I and my oldest son powder coated the hoops and hubs and I relaced them with polished stainless spokes. They are the same color the frame is going to be. Turned out pretty sweet:

full

full


More to come. It's not getting done fast enough, time is at a premium! Summer is coming!
 
Seriously love the progress! (Can't wait to see it all come together).

I didn't know the stock bar switches could look that great when polished...makes me want to get mine stripped and polished...but then again...that's a lot of work...and...ya, maybe not. Ha ha. Perhaps next winter. :)

What color are you doing the tank/paint scheme? I like the rim/spoke combo...it's nice seeing something other than black (Although I love black rims too...)

Nice work!

I was surprised about the control housings as well. I originally thought that they were some sort of hard plastic, but saw from disassembling them that they were die cast aluminum. "Hmmm, let's see what we can do with that", I said. Side note: Japanese bikes get a bad rap for being mostly plastic..........bullshit. Every damn part on this bike is metal of some sort. And I think we all know what type of biker makes this statement..........you know the type.........the SHEEPLE type. Anywho, first I gently pried off the METAL nameplates and then soda blasted the housings with a cheap Harbor Freight spot blaster and grocery store baking soda. I sanded them with progressively higher grits of paper and polished with buffing wheels. I finished by contact cementing the nameplates back on. And yes, it was a fair amount of work but the results speak for themselves.

As far as the paint scheme, if you look back at the original posting, there is a photo with the bike mocked up and the tank and tail have premask material with scribble on them. Well, for the majority, they will match the frame and wheels, a nice creamy off white. There will be inset panels of candy rootbeer over a medium size metal flake. And while I hate revealing too many secret plans, what I would like to do is get an argyle pattern in the candy, just to be weird. You've all seen argyle socks and whatnot, I like the pattern, it's just a matter of how to execute it. Secondly, it will be bordered by gold leaf stripes and engravers type flourishes with the gold leaf. That will go well with the engraving I want done on the engine covers. I'm sure everybody has seen, at some point, guns that have had elaborate engraving done on them. To me, that is some of the most beautiful, exquisite artwork out there. It's like the most manly artwork, right? It's metal work. You get dirty. Its hard to do and represents the ultimate in craftsmanship. I just absolutely love that stuff. It's one of those thing where you take a second look at the bike and go "WOW!".:yikes: I am hoping that the paint and style of the bike will represent everything I love about what I consider "custom".

These finer details are not going to be done this year. It's an evolving project. I want to have a buddy weld up a stainless exhaust and there is bunch of other things. Right now, my goal is to get this bike on the road. Tick Tock. Summer is coming soon, and we only get 3 months here in Wisconsin. Seriously, I gotta move!
 
Last edited:
That's a really nice vision for your build...i think the engraving, if done well is going to be fantastic!! Paint should look good, and plenty stylish to compliment the whole theme.

Thanks for the details on the control switches, I was wondering about the lettering...i see this happening in my future.

As far as clip/ons or clubmans...i was in the same boat, and was convinced I would go with Clip ons...i still may, but I've grown fond of the clubman look...feels nostalgic to me, and more retro. either will look good on yours, but being so custom, clip-ons will help clean up the front a bit. I also think if you do Clip ons, then consider motolanna's polished triple-tree without bar risers...I think they look awesome, especially with your newly polished control switches.

I was surprised about the control housings as well. I originally thought that they were some sort of hard plastic, but saw from disassembling then that they were die cast aluminum. "Hmmm, let's see what we can do with that", I said. Side note: Japanese bikes get a bad rap for being mostly plastic..........bullshit. Every damn part on this bike is metal of some sort. And I think we all know what type of biker makes this statement..........you know the type.........the SHEEPLE type. Anywho, first I gently pried off the METAL nameplates and then soda blasted the housings with a cheap Harbor Freight spot blaster and grocery store baking soda. I sanded them with progressively higher grits of paper and polished with buffing wheels. I finished by contact cementing the nameplates back on. And yes, it was a fair amount of work but the results speak for themselves.

As far as the pain scheme, if you look back at the original posting, there is a photo with the bike mocked up and the tank and tail have premask material with scribble on them. Well, for the majority, they will match the frame and wheels, a nice creamy off white. There will be inset panels of candy rootbeer over a medium size metal flake. And while I hate revealing too many secret plans, what I would like to do is get an argyle pattern in the candy, just to be weird. You've all seen argyle socks and whatnot, I like the pattern, it's just a matter of how to execute it. Secondly, it will be bordered by gold leaf stripes and engravers type flourishes with the gold leaf. That will go well with the engraving I want done on the engine covers. I'm sure everybody has seen, at some point, guns that have had elaborate engraving done on them. To me, that is some of the most beautiful, exquisite artwork out there. It's like the most manly artwork, right? It's metal work. You get dirty. Its hard to do and represents the ultimate in craftsmanship. I just absolutely love that stuff. It's one of those thing where you take a second look at the bike and go "WOW!".:yikes: I am hoping that the paint and style of the bike will represent everything I love about what I consider "custom".

These finer details are not going to be done this year. It's an evolving project. I want to have a buddy weld up a stainless exhaust and there is bunch of other things. Right now, my goal is to get this bike on the road. Tick Tock. Summer is coming soon, and we only get 3 months here in Wisconsin. Seriously, I gotta move!
 
on the center stand, taking it off for day to day riding is ok just don't cut off the mounts. When you want it for service it only takes a minute or two to slip it back on with just the bolts. Don't need the spring. When service is done just pull the bolts.
Leo
 
on the center stand, taking it off for day to day riding is ok just don't cut off the mounts. When you want it for service it only takes a minute or two to slip it back on with just the bolts. Don't need the spring. When service is done just pull the bolts.
Leo

Wish i had read this before cutting off my mounts :doh:
Nice build ScooterMagoo .
 
Back
Top