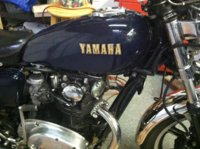
Painting Badges / Emblems
I discovered an easy way to restore side cover badges. You can buy repro badges, but you get two right side ones.
1. Clean the badge with dish soap and a brush, let dry. Don't do any sanding.
2. Spray the whole badge with gloss black lacquer. Let dry for an hour or two.
3. Wet sand with about 400 grit to remove paint from the top of the letters and roughen the surface there. Rinse and let dry.
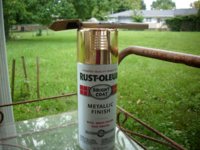
4. Load a foam paintbrush real good with gold lacquer paint. Just spray it on the brush.
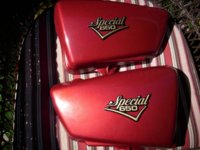
5. Breakthrough step here - hold the badge upside down and paint the letters as if you were painting a ceiling. Upside down keeps paint from running onto the black. After half a minute the paint will thicken enough that you can turn the badge right side up to do touch up.
6. Do final touch up if necessary with a trimmed down artist's brush.
I discovered an easy way to restore side cover badges. You can buy repro badges, but you get two right side ones.
1. Clean the badge with dish soap and a brush, let dry. Don't do any sanding.
2. Spray the whole badge with gloss black lacquer. Let dry for an hour or two.
3. Wet sand with about 400 grit to remove paint from the top of the letters and roughen the surface there. Rinse and let dry.
4. Load a foam paintbrush real good with gold lacquer paint. Just spray it on the brush.
5. Breakthrough step here - hold the badge upside down and paint the letters as if you were painting a ceiling. Upside down keeps paint from running onto the black. After half a minute the paint will thicken enough that you can turn the badge right side up to do touch up.
6. Do final touch up if necessary with a trimmed down artist's brush.
Attachments
Last edited:
") It's easy to do. Experiment. But like I said if you mess up just wait 30 min and try again. As long as it's lacquer.
It's easy to do. Experiment. But like I said if you mess up just wait 30 min and try again. As long as it's lacquer.