paint stripper is best but acetone cuts the clear pretty well then Nylox wheels, they come in gray orange and blue coarse to fine if the corrosion isn't deep start with the fine/blue the others make pretty deep scratches better not to have to get them out. I jump from there to black compound on a sisal wheel then white on cotton, done for a daily rider. Wire wheels are a real no no on aluminum for many reasons.Thank you Marty. Guess it's time to go shopping. I've tried polishing the side covers before but with the clear coat it never looks good. That's why I started with the grab handle. I've seen a lot on eBay if this one goes south.
-
Enjoy XS650.com? Consider making a donation to help support the site.
XS650.com receives a small share of sales from some links on this page, but direct donations have a much greater impact on keeping this site going.
You are using an out of date browser. It may not display this or other websites correctly.
You should upgrade or use an alternative browser.
You should upgrade or use an alternative browser.
What have you done to your XS today?
- Thread starter I am Carbon
- Start date
-
- Tags
- maintenance
djdiablo
XS650 Member
Pretty much just hit them with metal polish and a high speed air tool and buffing pads, takes way too long and I questioned myself as to why I was doing this a few times. Thanks for the compliment, enjoy your ride!Hi djdiablo, I can do the bowl polish, but the body is a different story, please, can you explain a little more in Australian as to what you did ha!
Even pm me if you wish, they certainly look great......
pckopp
XS650 Addict
How did you get the carbs cleaned? Mine look like crap.....
Soaked in heated carb cleaner. I use an aquarium heater. Then Shout and several size brushes. They weren't AWFUL to start, tho.
wrenchjohns
XS650 Addict
Gathering parts for the XS1; correct rear fender (polished up nicely), correct tail light lens, NOS fender mount speedo and brake cable bracket, NOS grey clutch cable, grey tach cable still enroute.
For the Road King; led projector headlight, led spot lights. The XS1 has priority for updates this weekend.
For the Road King; led projector headlight, led spot lights. The XS1 has priority for updates this weekend.
Doug79
XS650 Addict
Got my 2-1 intake about 1/2 built and tacked together. have all of the parts made but want to wait until the carb gets here to set the proper mounting location. If I can't get this to fit in the space available, this will have been a lot of thinking and work for nothing. Will know in the next eek or so.
Replaced the plastic bushings in the s/a of my 77D. Be sure when reinstalling to loop your chain through it if still intact, and have the centre stand down out of the way. This will prevent having to put it back on twice. Also took each shoulder bolt out from the centre stand individually and cleaned and greased both it and the bolt hole one at a time. That means you do not have to dismount and reattach that big spring.
Something I've been wanting to do for a long time. Polish the wear surfaces of the shiftdrum stopper.
The stopper confines lateral movement of the shiftdrum, and the shiftdrum wants to shift to the right in reaction to a 1st -> neutral shift. The only thing that stops the shiftdrum's rightward shift is a narrow contact ring on the backside of the stopper, seen as the narrow wear ring on the inside arc of the left picture. During a difficult 1st -> neutral shift, the shiftdrum is bearing pretty hard against that stopper. I figure polishing that wear area couldn't hurt.
Not shown: After polishing.
pckopp
XS650 Addict
Cleaned the front hub, new bearings, seals, and speedo drive thingy. Next up - the rear.


Doug79
XS650 Addict
Got my VM36-4 carb today. way sooner than I thought I would get it. I can now finish the intake manifold. It looks like the carb is going to land right where the down tube will be removed. That may give me throttle cable and slide removal problems. Guess I'll deal with that issue when I can no longer kick it down the road.
uncle meat
XS650 Addict
Got the front rim laced up.
UM
UM
After spending a lot of time i finally designed a decent wiring diagram for my '78 special. I tried to lay it out as I have the items placed on the bike. I also re-used most of the wires from the stock harness to help match their factory uses. I came up a little short and had to sub a piece or two, but that's ok. I'm now finally in the wiring stages and hope to finish it as time permits.
OEM Alt. - Pamco - E-Start - Rect/Reg unit - Turn Signals (stock hand controls)
OEM Alt. - Pamco - E-Start - Rect/Reg unit - Turn Signals (stock hand controls)
Attachments
pckopp
XS650 Addict
Re-torqed the heads. Doing that with the engine in the frame is a bit tricky. Not a lot of clearance for some of the smaller outer head bolts.
Mounted the now clean and shiny breather assy on the top rear of the cylinder head.
Polished up the valve adjust covers while I waited for the Metal Rescue to do what it does.
Mounted the now clean and shiny cam chain adjuster plate and giant crown nut.
Slow but sure
Mounted the now clean and shiny breather assy on the top rear of the cylinder head.
Polished up the valve adjust covers while I waited for the Metal Rescue to do what it does.
Mounted the now clean and shiny cam chain adjuster plate and giant crown nut.
Slow but sure
Stopped at the gas station on the way home from work and when I kicked it over I backfired one of the carbs loose. I have replaced almost every bolt on this bike with allen heads since I built it, but not the stripped out phillips screw clamps holding the carbs. Anyone happen to know, off hand, what the size and pitch is for the clamp screws? Maybe I can narrow the tool kit down to a couple of things hidden in the handle bars.
Mine are M6.0-1.0mm x 25mm...
Thanks, Two Many.Mine are M6.0-1.0mm x 25mm...


Got the rig entered in an antique bike display this Sunday and as that's coincidentally my birthday I thought I'd better clean the thing.
Just as well I didn't wait until tomorrow.
Checking the rear tire squeak that I heard when I pushed the rig outside I found it's rubbing on the right side of the swingarm.
A mere adjustment will fix that.
Slacking off the rear axle put my eyes close enough to the chainguard to see it's rear attachment bolt had gone AWOL and the bolt holes didn't line up any more.
Now, a good thing! With the rear wheel removed I can see the shiny patch on the swingarm that verifies where the tire squeak came from.
And a bad thing! Pulling the rear wheel to access the chainguard led me to heave on the swingarm to see that the swingarm pivot has movement.
If the throughbolt needs to be tightened, no problem. If the bushings are worn the re-bushing job can wait until winter.
(It's only 15 years ago I replaced the plastic bushings with bronze ones, too! Things don't last as long as they used to, eh?)
And the chainguard is binding against the alternator cover casting.
Had to remove the leftside footpeg and the gearshift lever to slacken off the cover screws to pull the cover out just a tad to get the chainguard back into line.
Pulling the shift lever showed me it'd gone all wobbly on it's spline again. Did my rollpin fix not work? Yes, but only until the rollpin fell out. I got another one though! Re-drill deeper, pound in harder, I WILL prevail!
Conclusions:-
It's amazing how well an XS650 will survive shoddy maintenance.
If you clean it more frequently you'll notice problems sooner.
And if I get the thing back together today perhaps I'll clean it tomorrow.
[Later]
Got it all back together just in time to fling a pizza in the oven for supper.
Took the evening off. Son dropped the dog off muttering about his wife's effin' relatives proving incapable of getting a family supper organized on time. Gave him the left over pizza to tide him over.
Chainguard re-bolted, rear wheel re-installed and not rubbing the swingarm any more, shift pedal rollpin hole drilled right through and a replacement rollpin installed. Tightened the swingarm throughbolt's nut until I ran out of grunt (perhaps a full turn) which did fix the swingarm's movement problem.
If it don't rain tomorrow afternoon it's still got a chance of being cleaned for Sunday's show.
Last edited:
XSsex50
XS650 Enthusiast
Got my motor painted!!
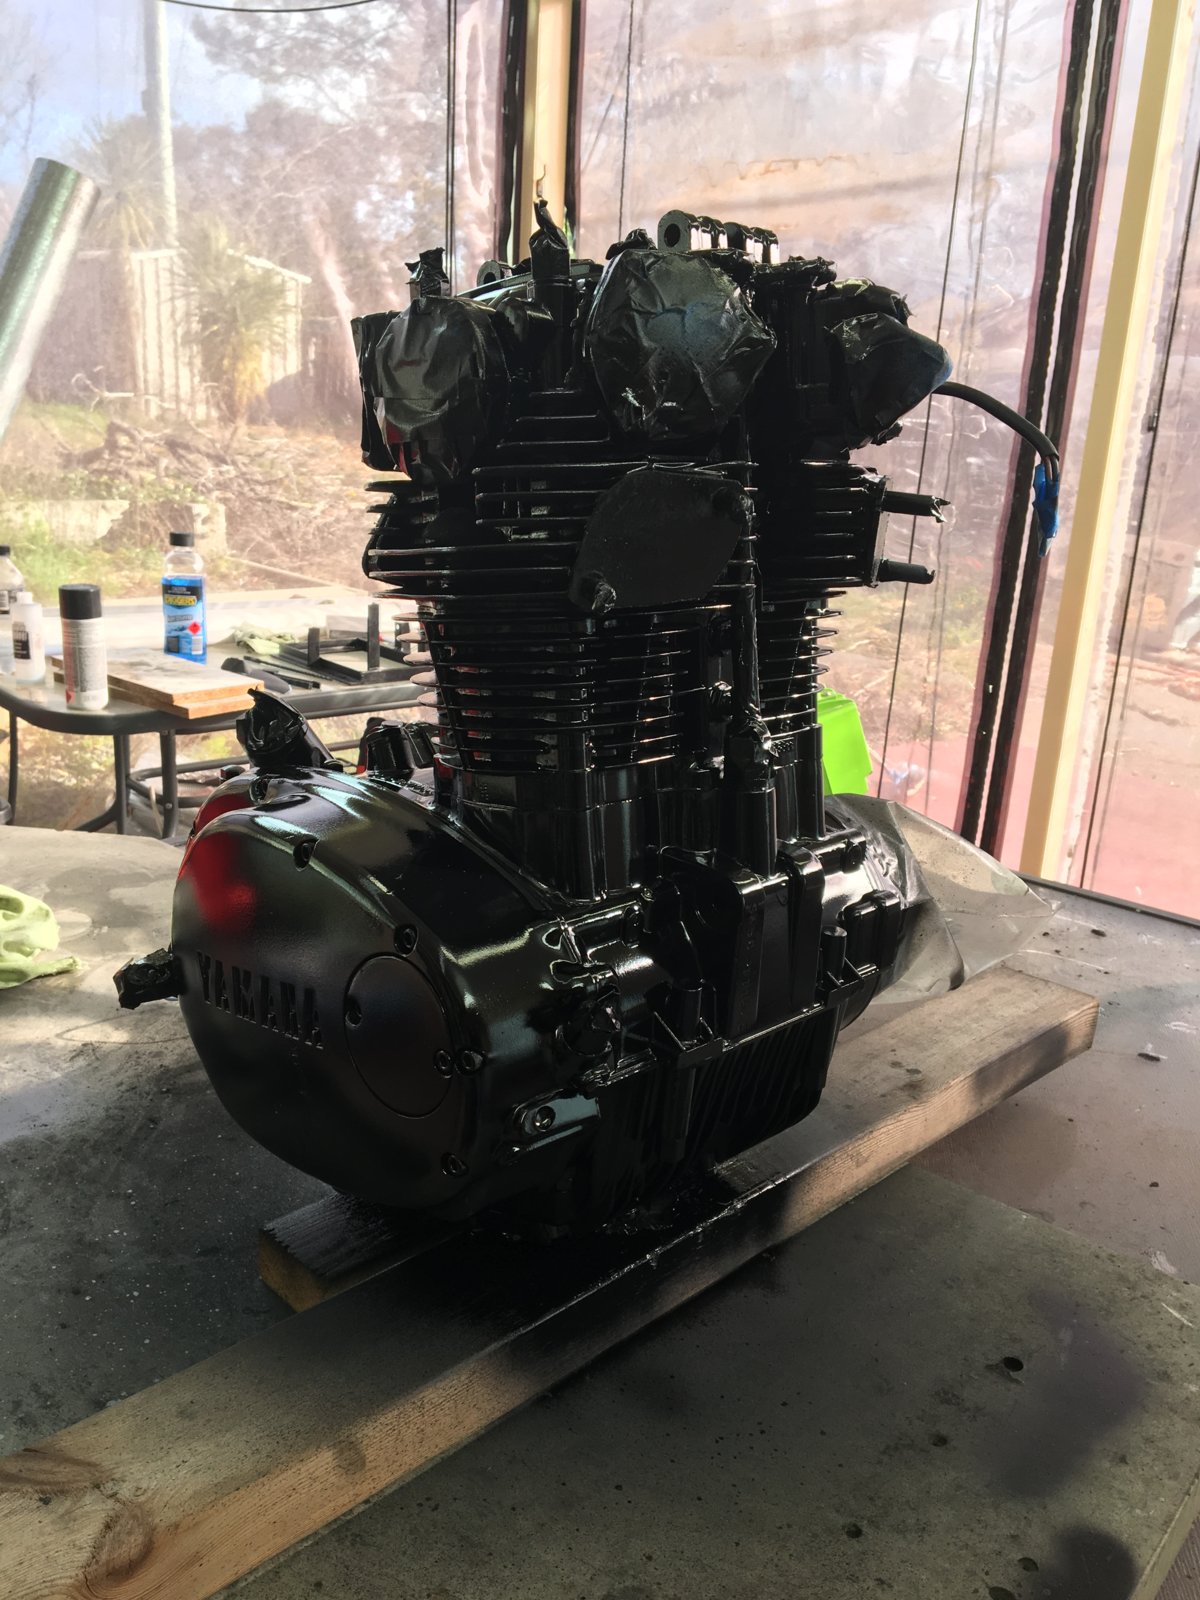
My 77D bitsa came with a Special exhaust system on it and I have an '81 (the first one I bought when I came up with this retirement activity idea/obsession/hoarding mania) waiting for my attention that had a Standard system or at least an aftermarket reasonable approximation thereof, so today instead of cleaning the carbs, I did something a bit less challenging and switched over the exhaust systems.
Now to those carbs.
Now to those carbs.
Attachments

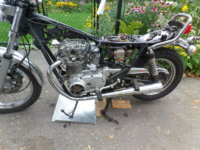
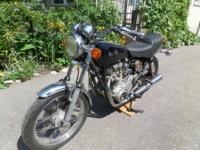
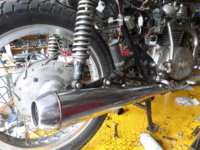
Looks like my mufflers are Dunstall reproductions, hope I like the sound, look nice with the slight cant upward. They have seen a lot of use, the slots for the captive bolt heads have only about an inch or so of sort of undamaged area, so I put the bolt in and then ran on a washer and nut on so it is stronger, leaving enough thread to mount into the footpeg bracket, lucky that there was enough play in the rest of the mounting system to get them lined up and even.
Similar threads
- Replies
- 32
- Views
- 1K