RockingThePartyDJ
XS650 Obsessed
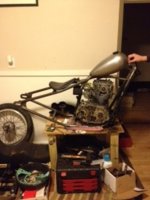
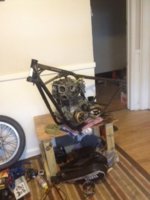
Damn where did Feb go oops forgot to post update, I guess you'll see what i'm up to this month
 so if someone wants to grab my shirt and send it to Milwaukee haha. Hoping I can get off but with the house and pto, and the fact that I haven't gotten my frame back from the guy I gave it to THE DAY BEFORE THANKSGIVING! WTF...looks like everyone elses toys are coming along nicely.
Here is the custom tail light I made for the build-off bike.
View attachment 40983View attachment 40984


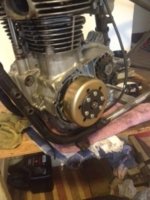
Good one.This is exhausting work. Both sides are now cut and just about ready for weld.
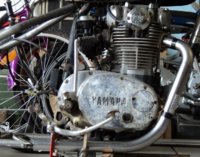
 Pipes look nice. Source?
Summit Racing sells 1 5/8" diameter, 16 gage mandrel bends. Here is what I got: HOK-12311HKR (6" U-bend for $19) and (Qty 2) SCH-016216J (2 1/2" J-bend for $13 ea).
They also have bends in stainless. I can provide the cut dimensions if interested, but you can make anything you want. I'm going with 3/8" plates at the head because I think 1/4" is a bit light.
Good one.