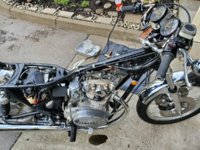
I guess you're gonna do what you're gonna do, like putting high bars on a so-called "cafe"
"RestoCustom" , what cafe lol. Thread title change here...

I guess you're gonna do what you're gonna do, like putting high bars on a so-called "cafe"

")

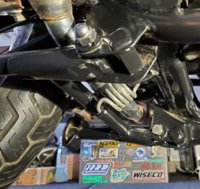
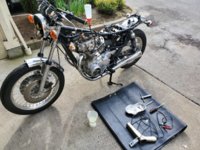
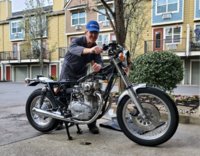
Yes, I'm getting close to a driveway test fire ! That will be the day of "made it"You’re gonna have this bike wrapped up soon! Gonna have to find the next project.
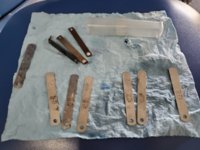
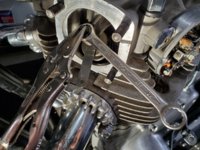
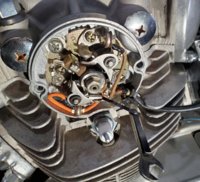
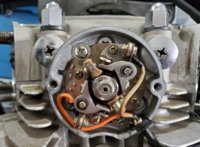
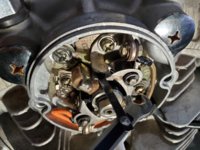


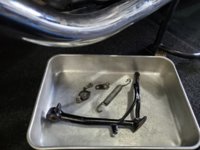
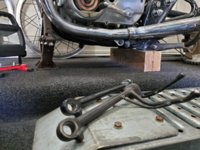
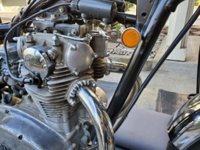
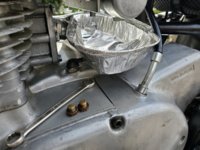
As long as we’re talking about valve adjustments, I have to say I really like my Virago tappet screws. They’re a little bit shorter, but long enough.
Mailman I agree with your Virago allen head adjusters. I can see how a trim and narrow Allen wrench would help there.Not exactly on topic, but
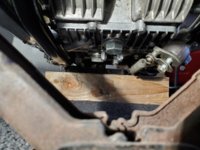
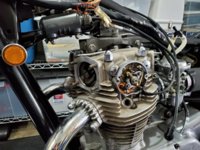
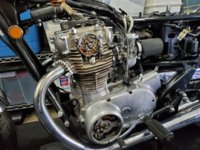
FWIW, the best valve clearance adjuster I have ever laid hands on, was used on 70s and 80s 4 and 6 cyl sohc BMW car engines