My '80 xs650 engine rebuild

sseres

XS650 Junkie
Messages
512
Reaction score
12
Points
18
Location
Portland, OR
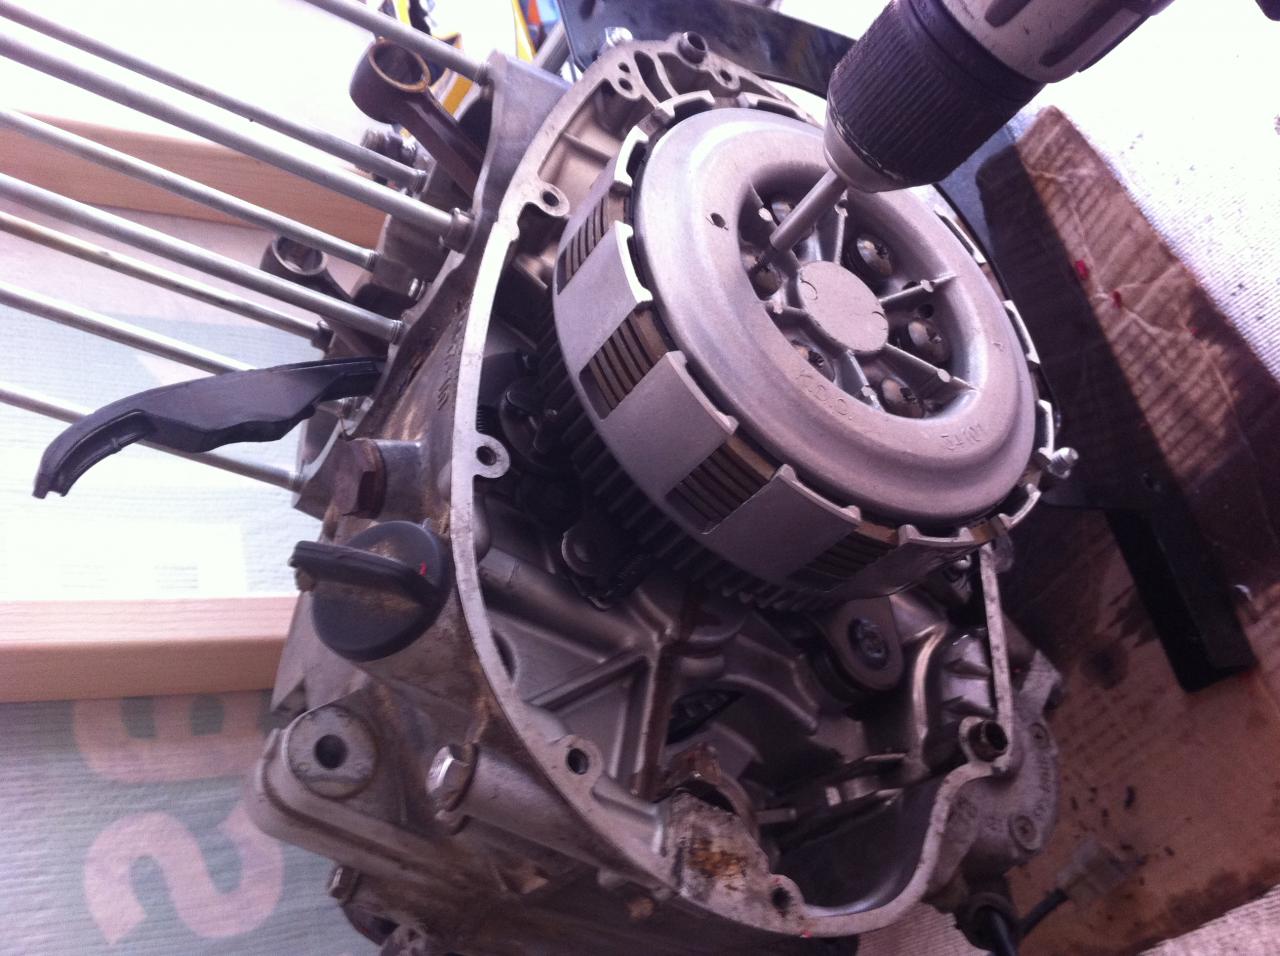
after having been talked down from disassembling my working engine, a friend talked me into finding a dead engine to go nuts on. This is my first attempt at ever rebuilding anything bigger than my son's Star Wars Legos.

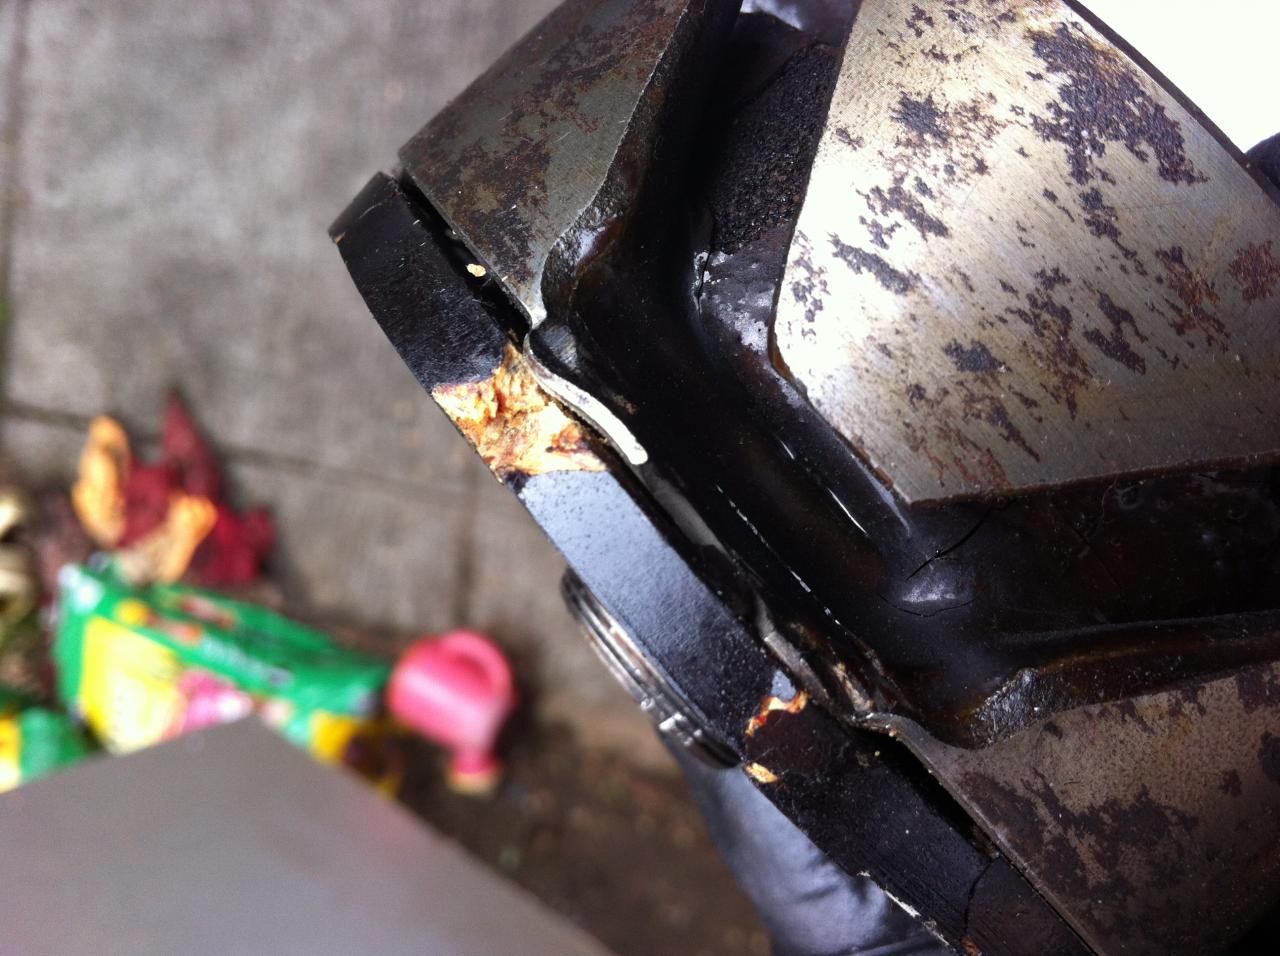
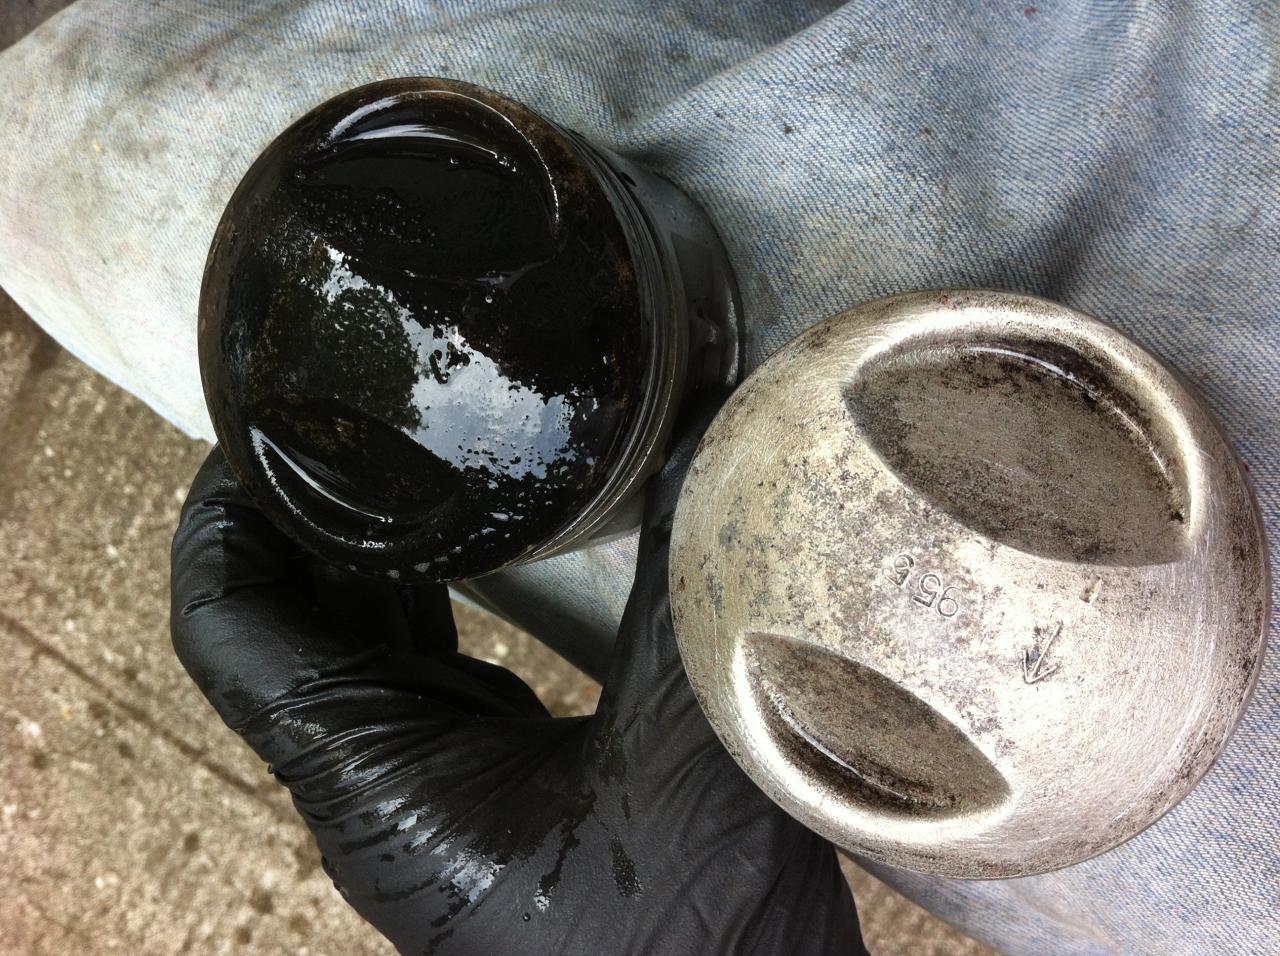
Within 1 hour of posting a wanted here in the forum, I got a note from someone not too far from here with what I was looking for. 100psi compression and dirtier than you can imagine. Very nice guy with amazing land and a hoist in his garage. Now that's an awesome tool!

So, anyway, here's the goal, and then I'll swap it out with the engine in my bike (the one that runs):

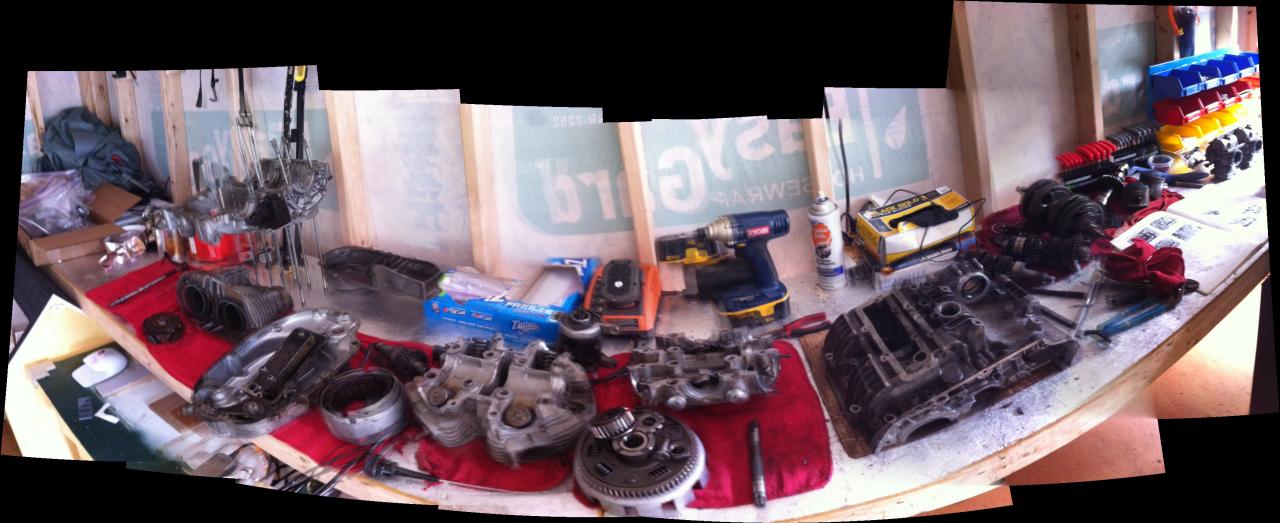
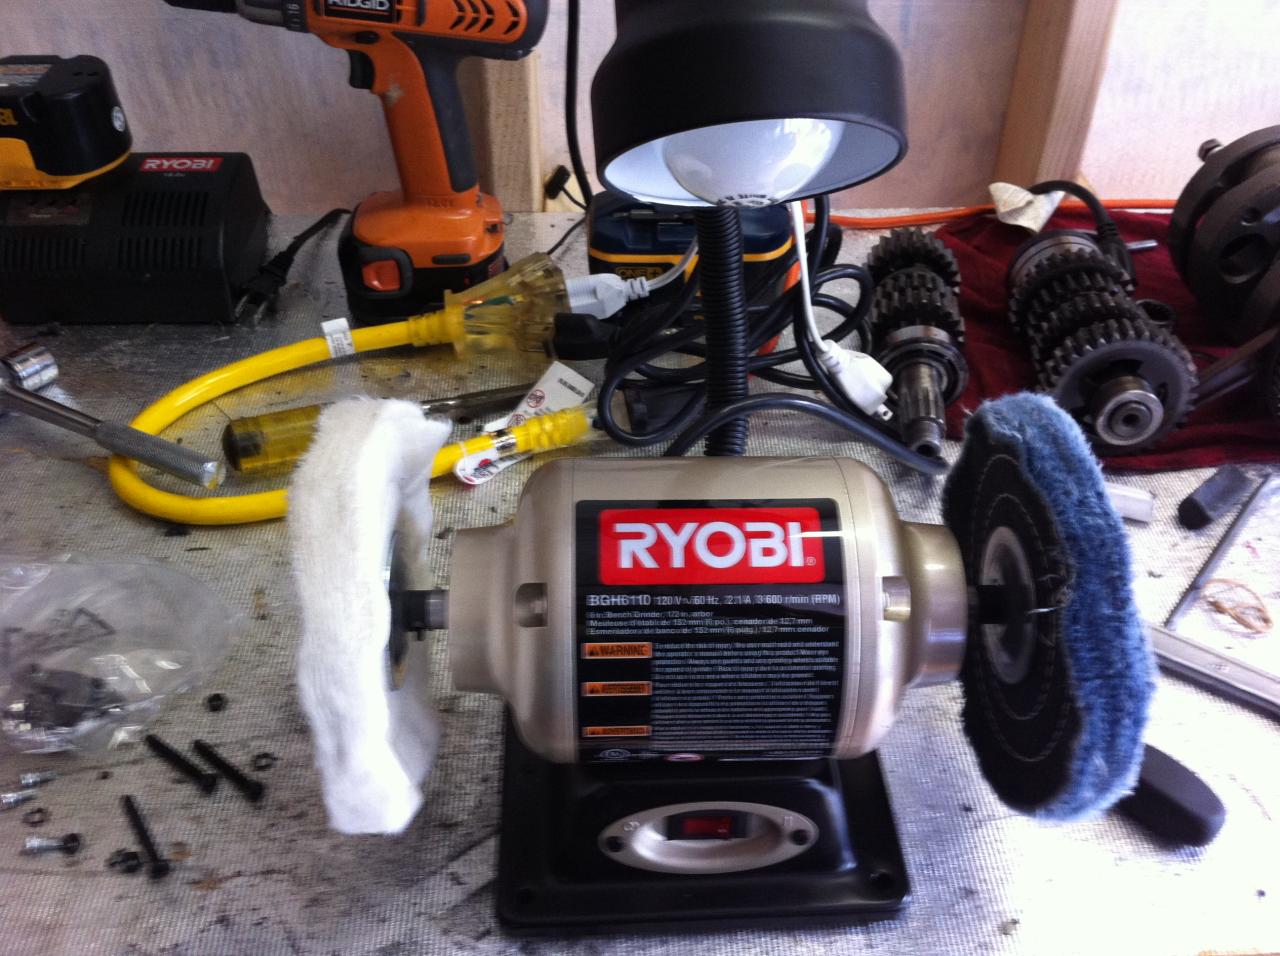
Clean, clean, clean, get it blasted then maybe paint?
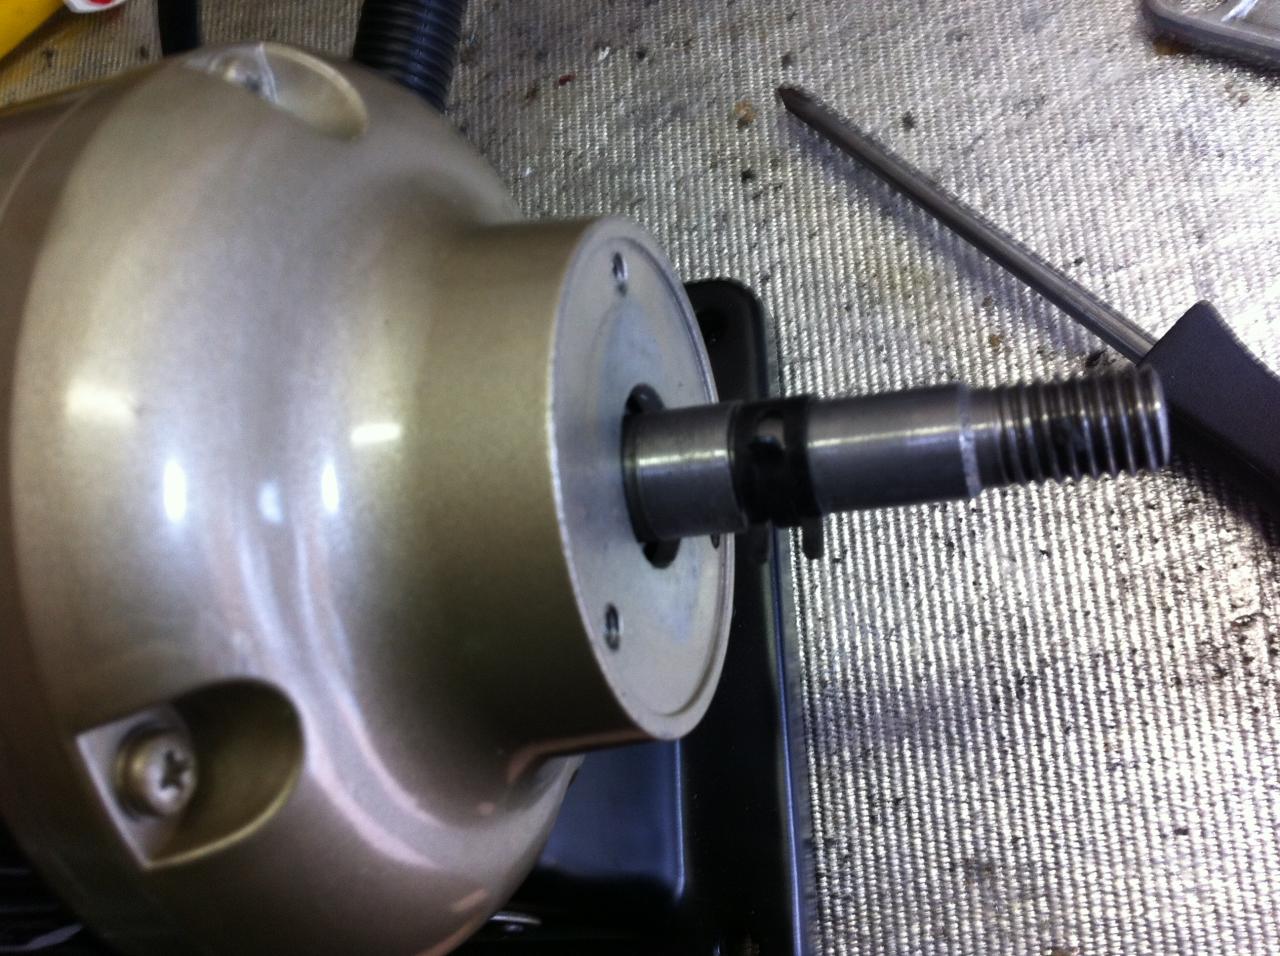
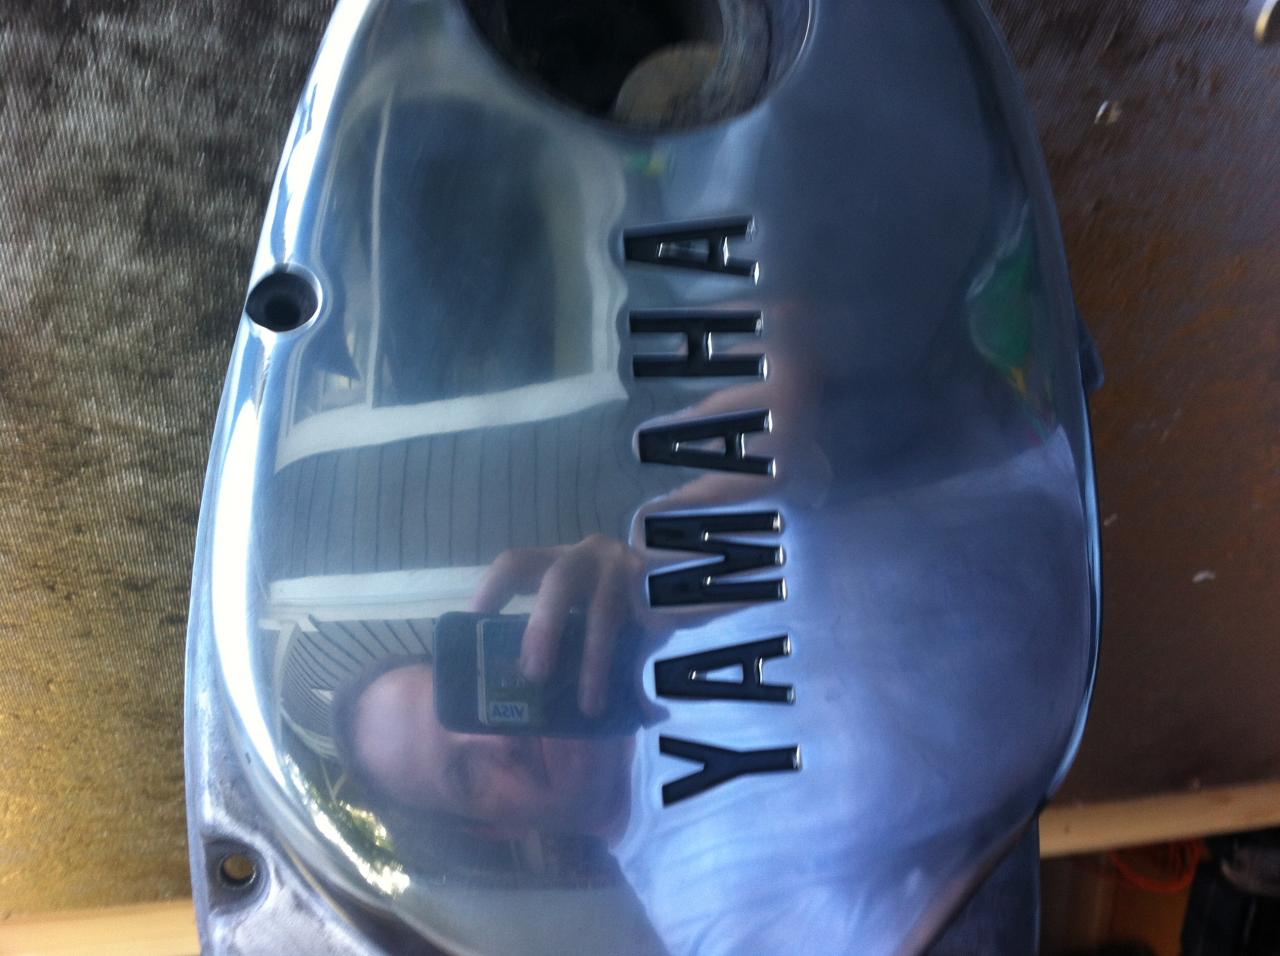
polish up covers
new gaskets, rings and anything wornout looking.
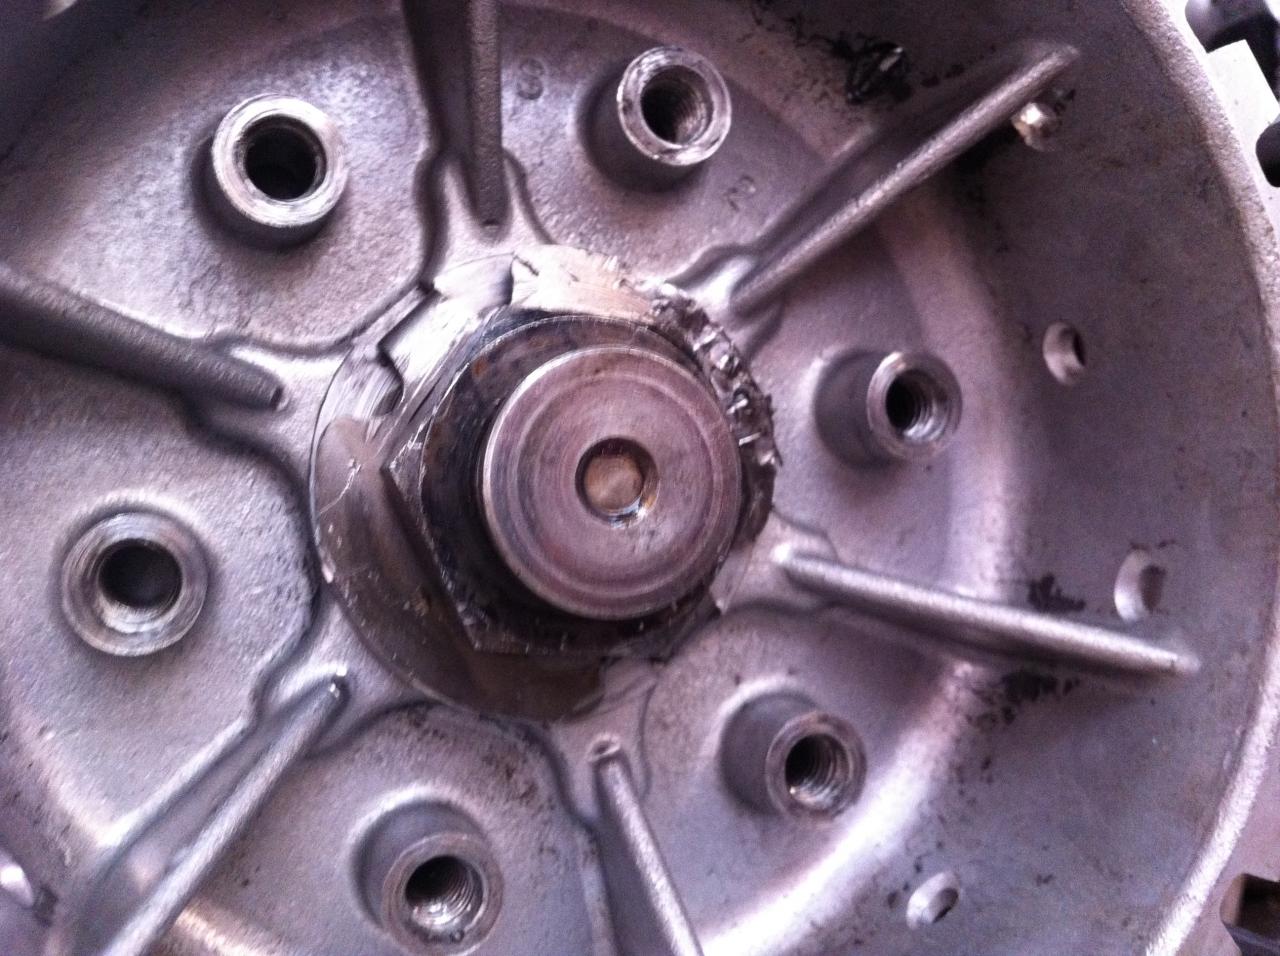
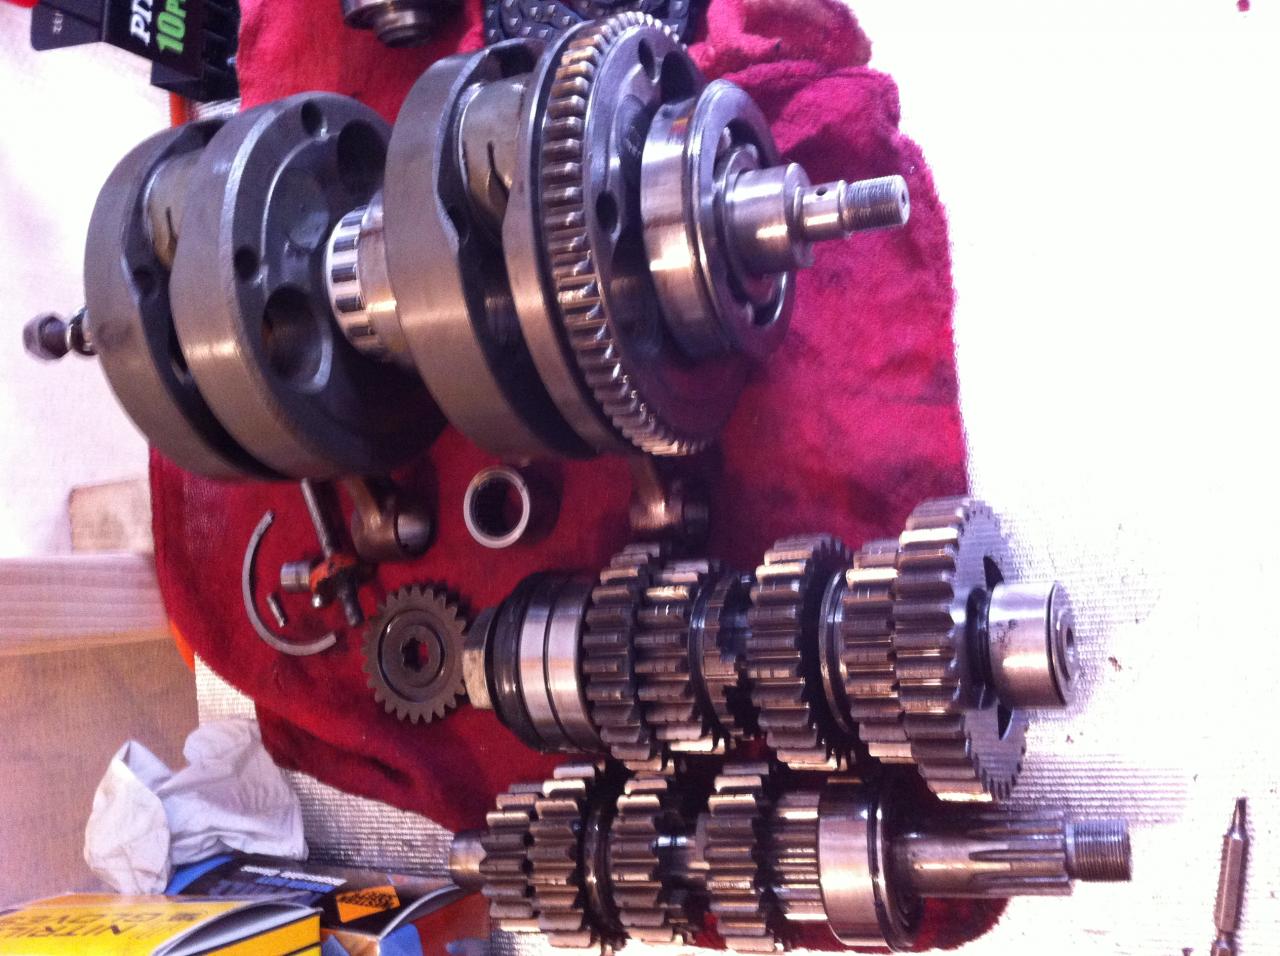
Rephase (planning on sending crank and cam shafts to Hugh)
so this includes the 277 PAMCO system
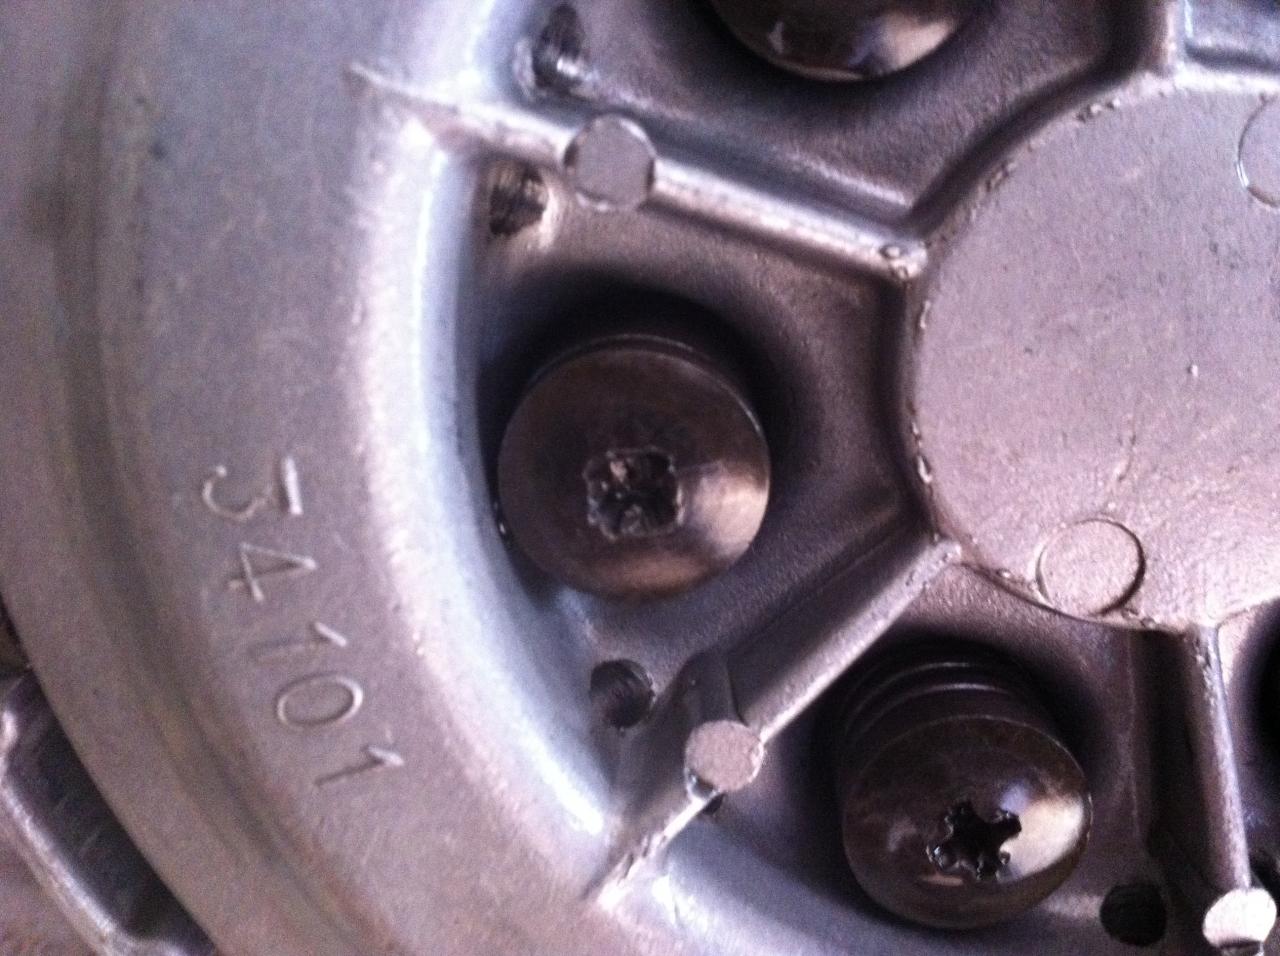
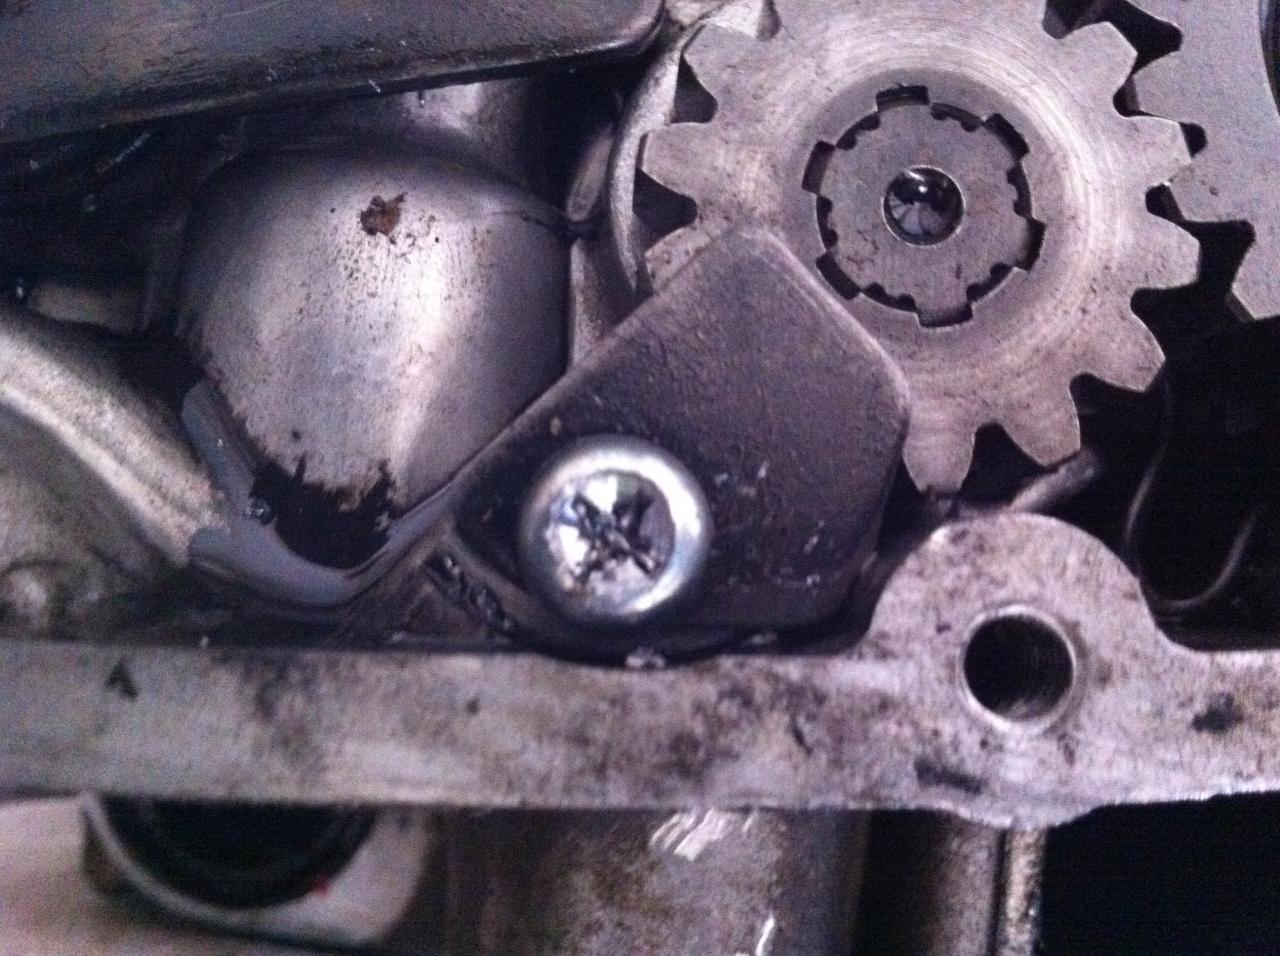
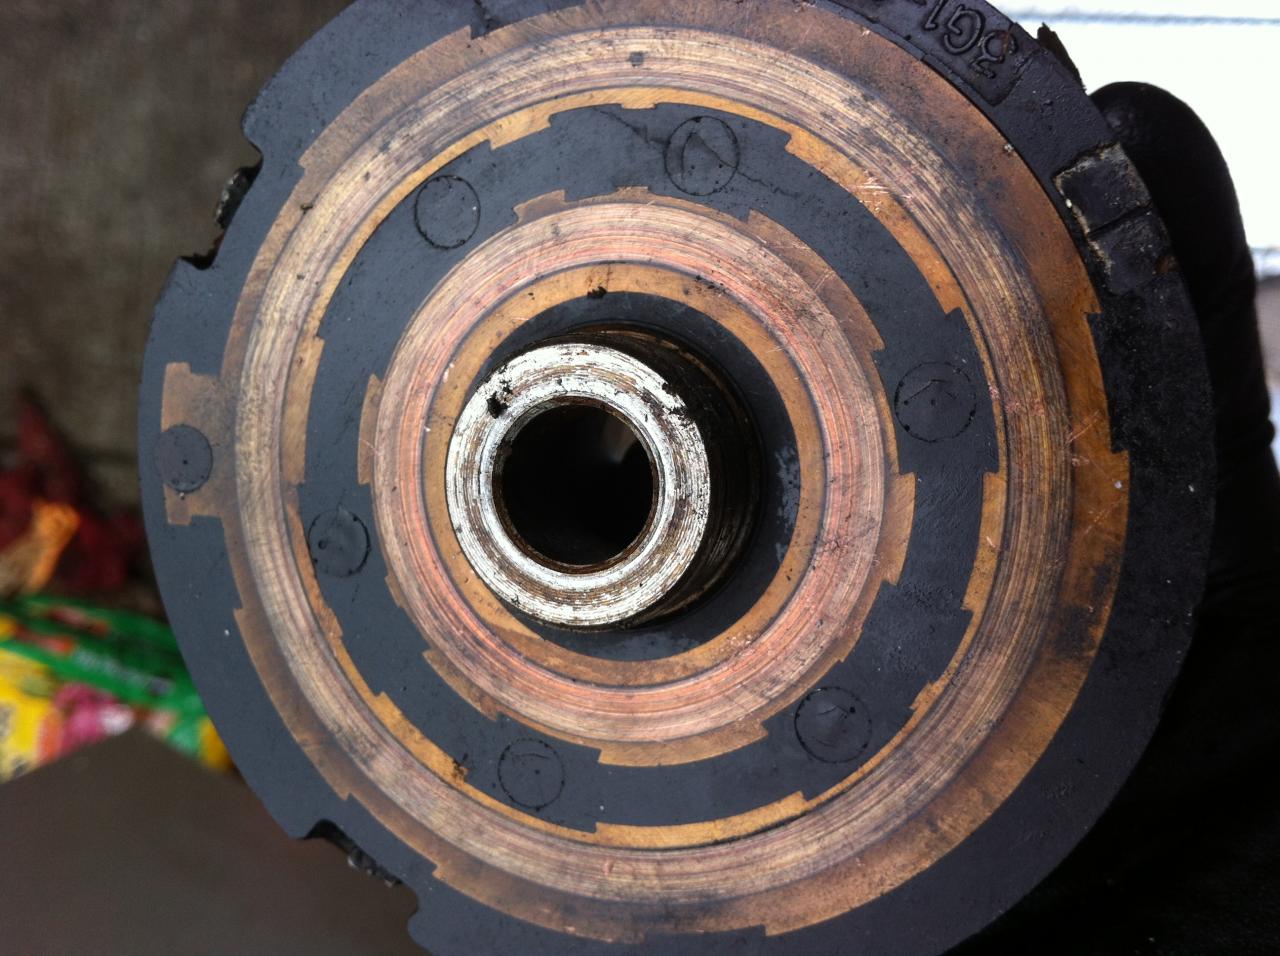
clutch screws replaced with Mike's hex bolts
considering PMalternator (probably only if I can get someone to buy the old one)
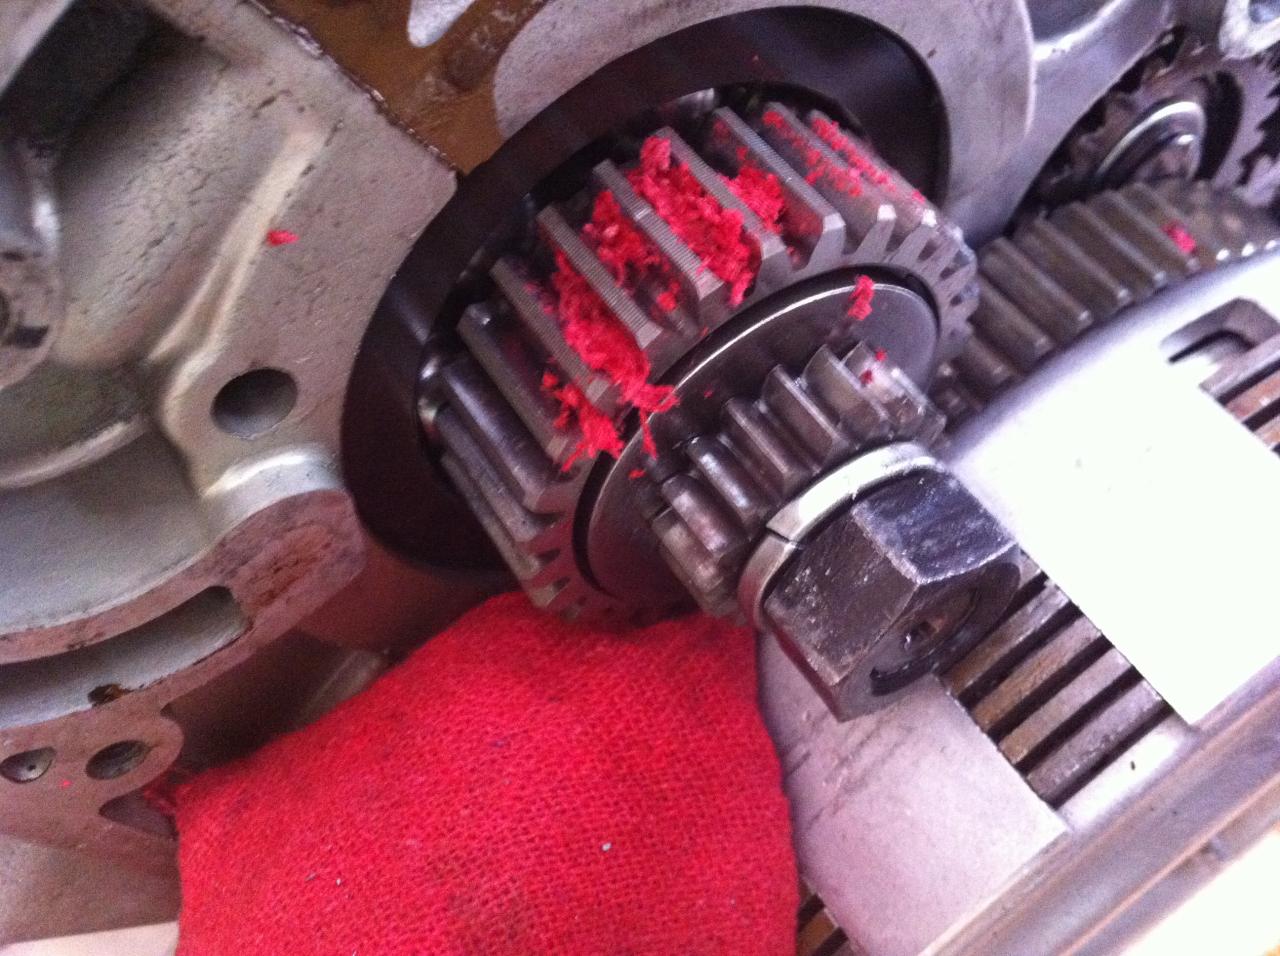
5th gear upgrade

Am I missing something?

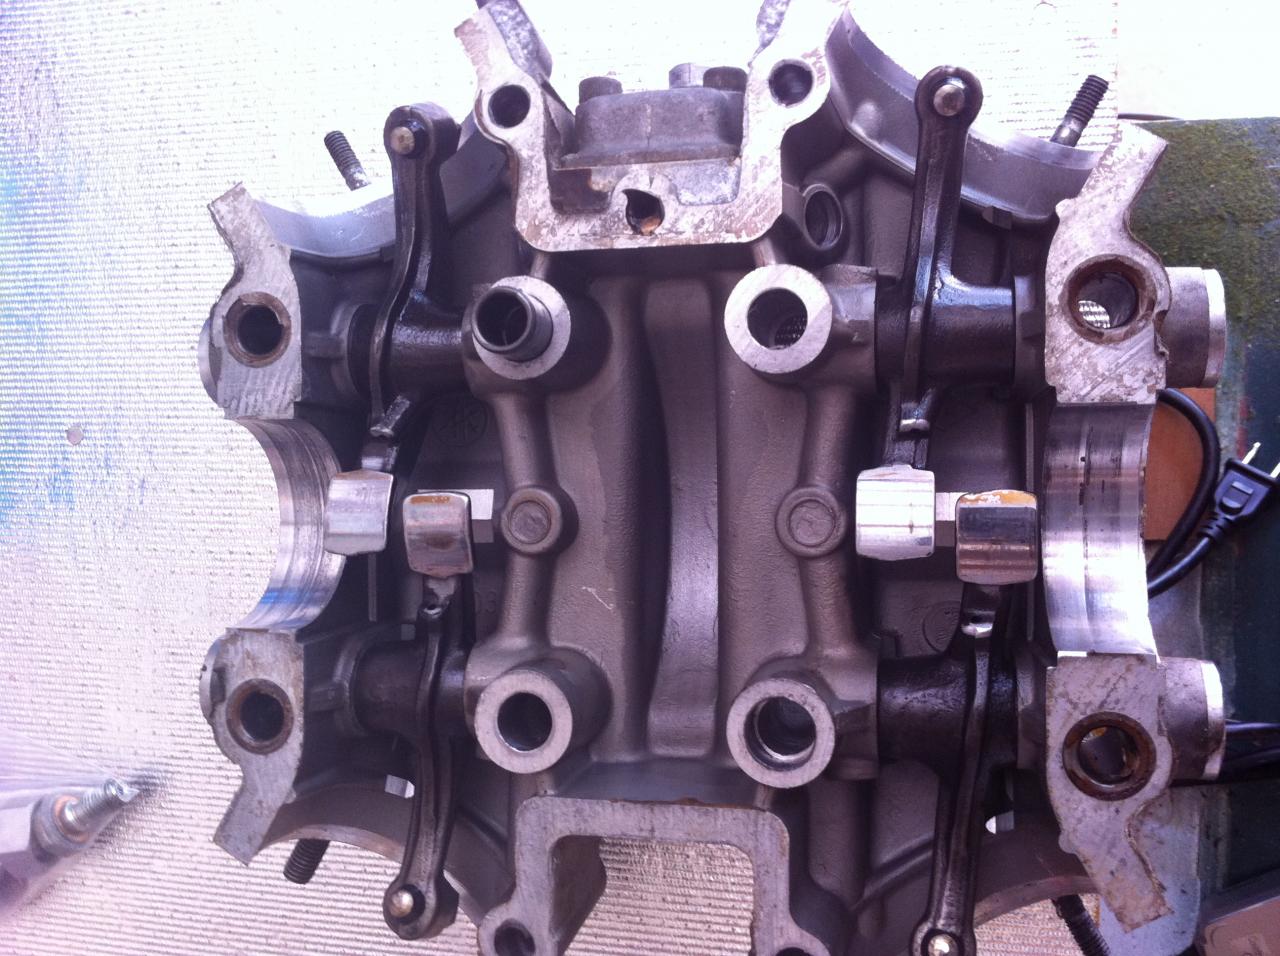
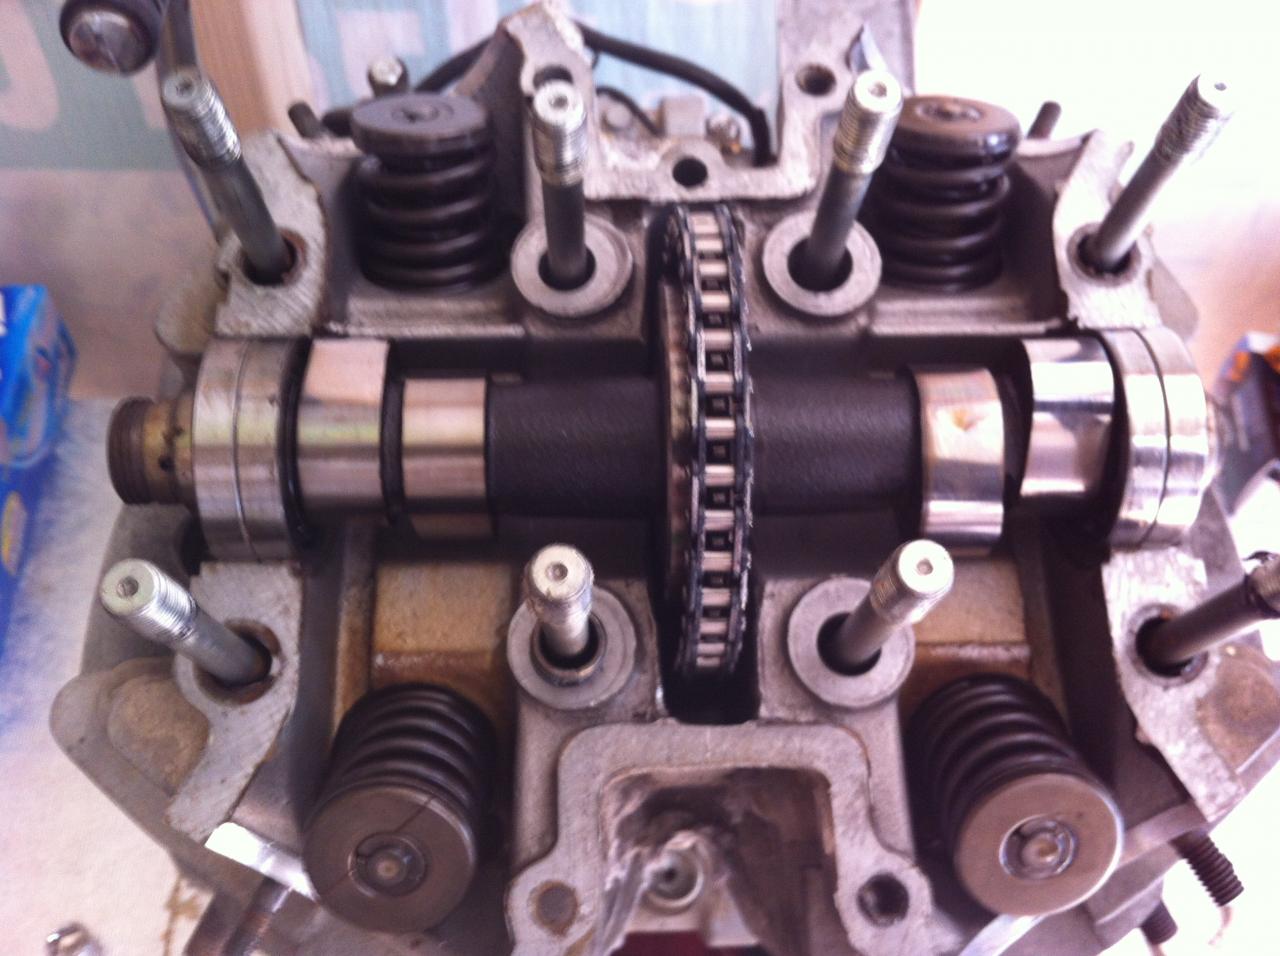
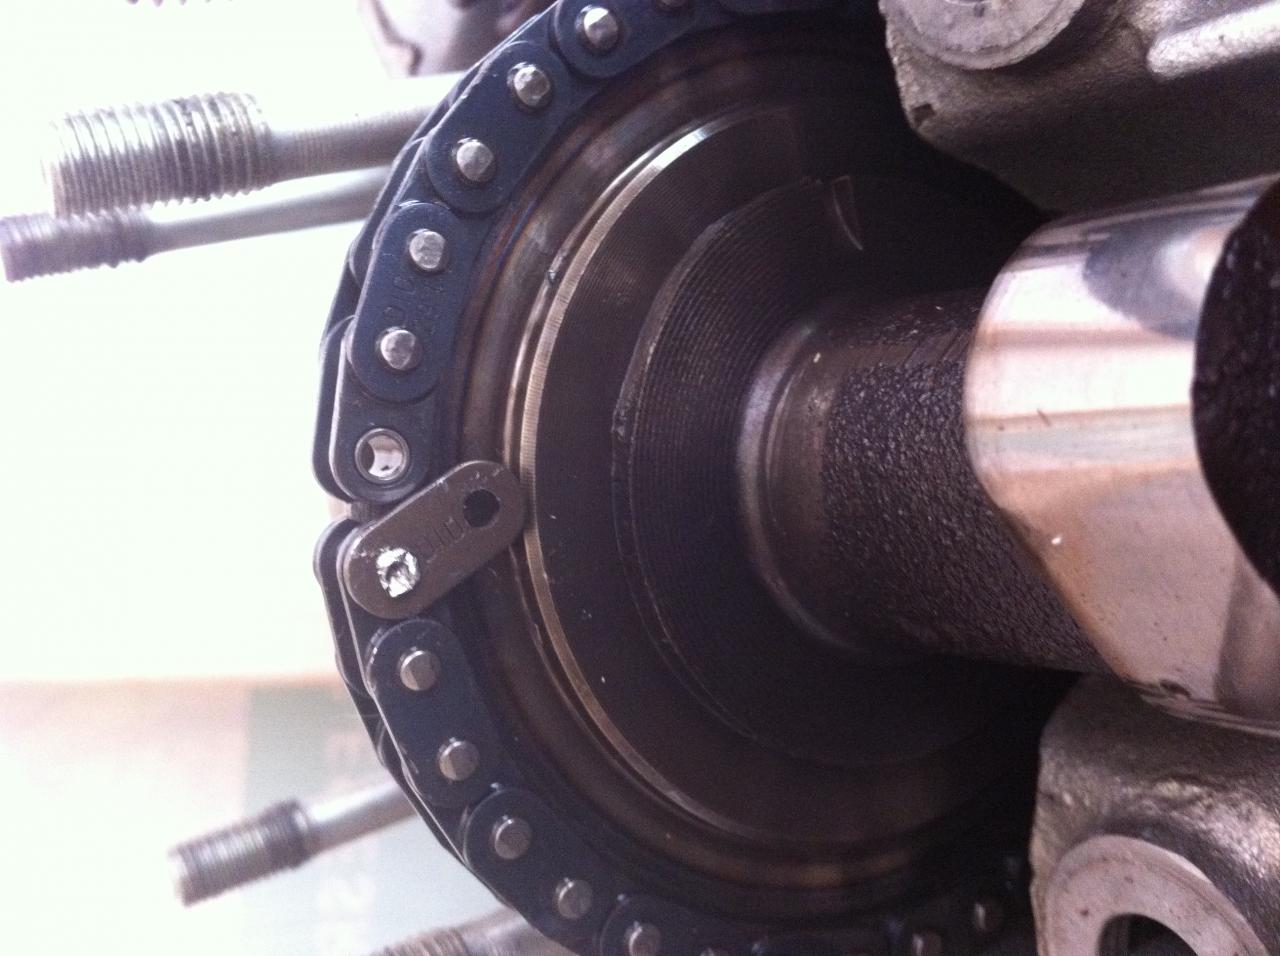
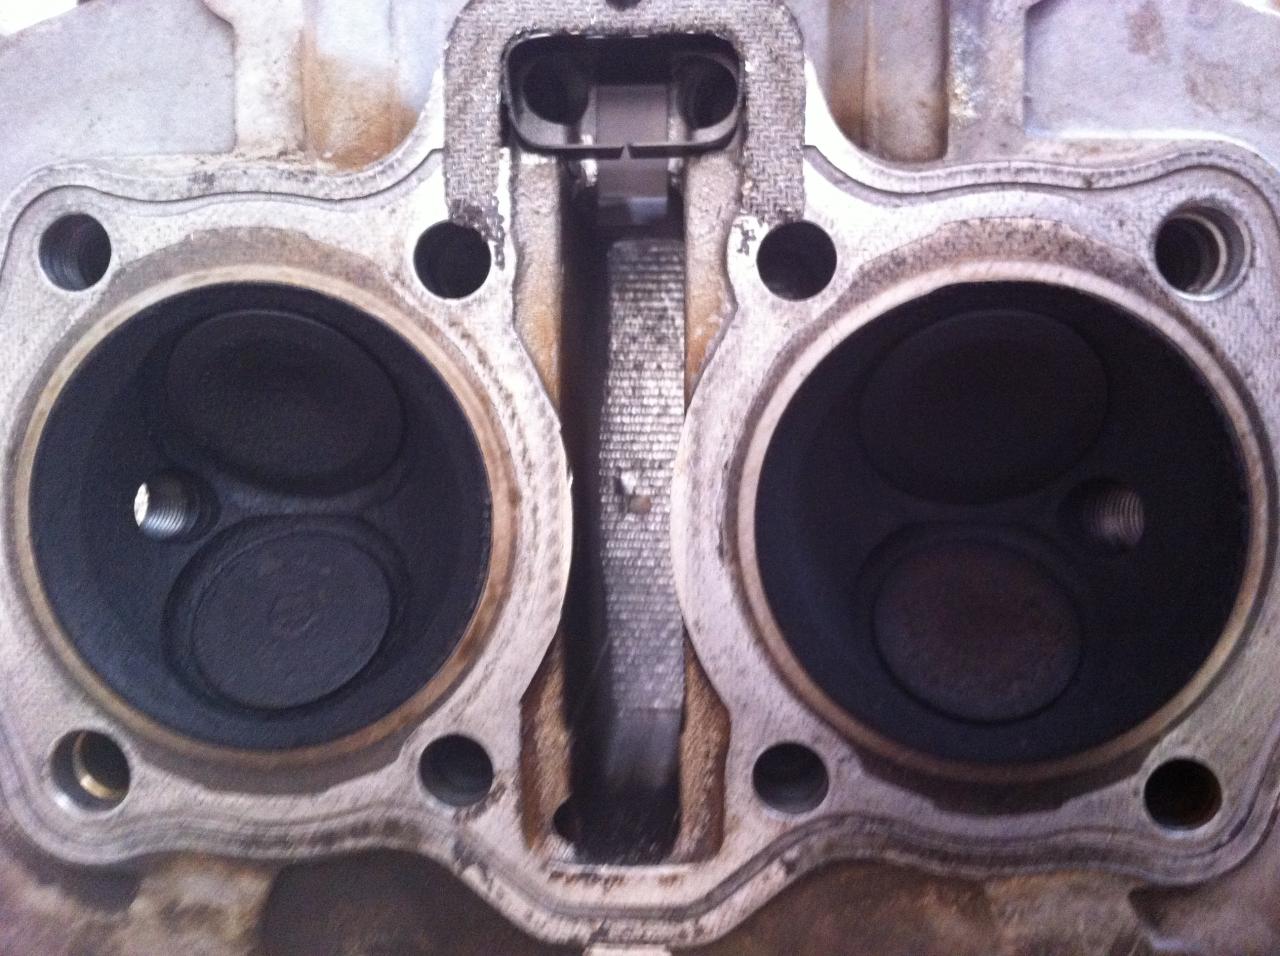
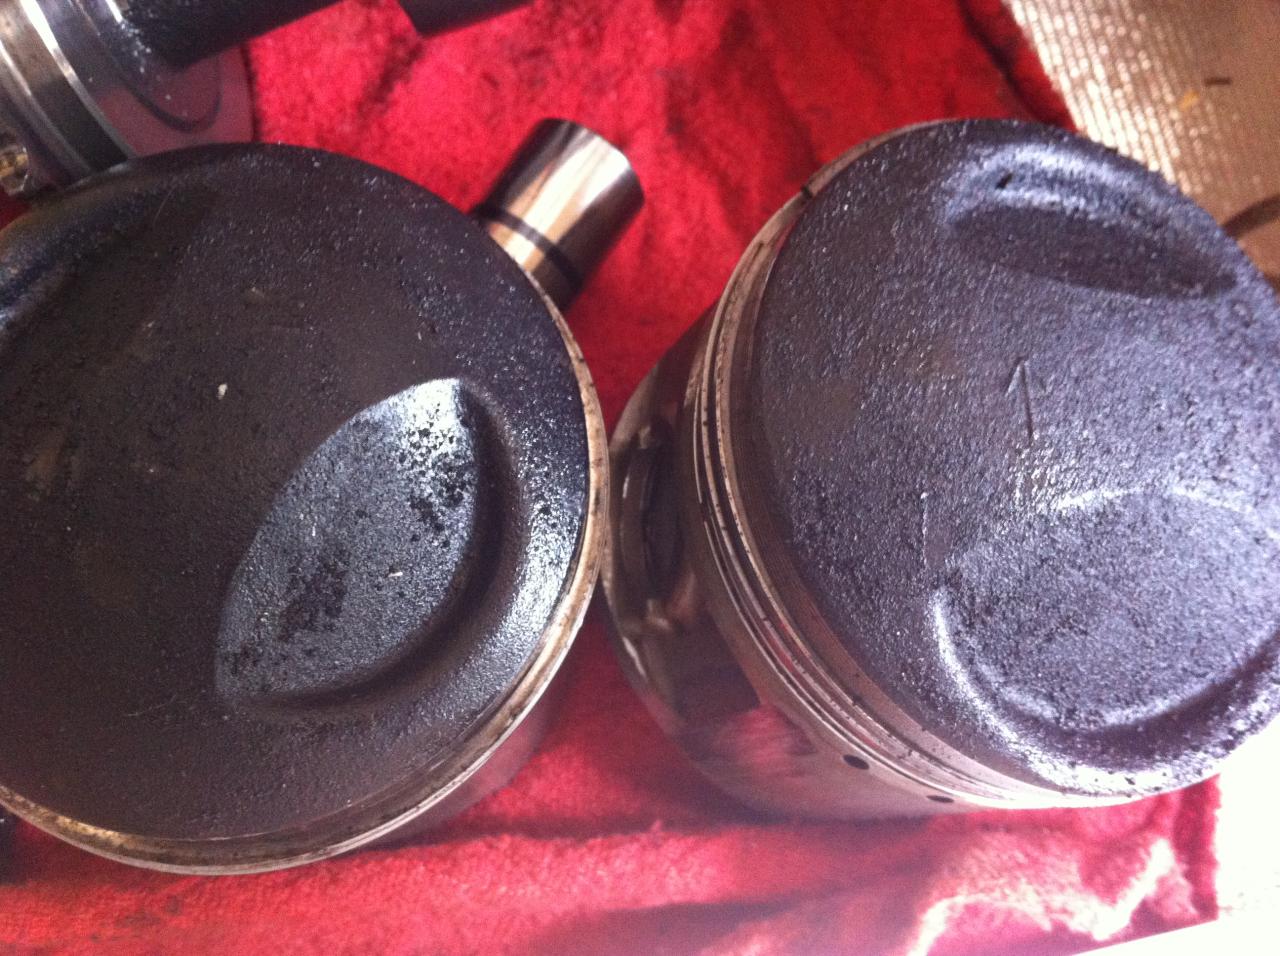
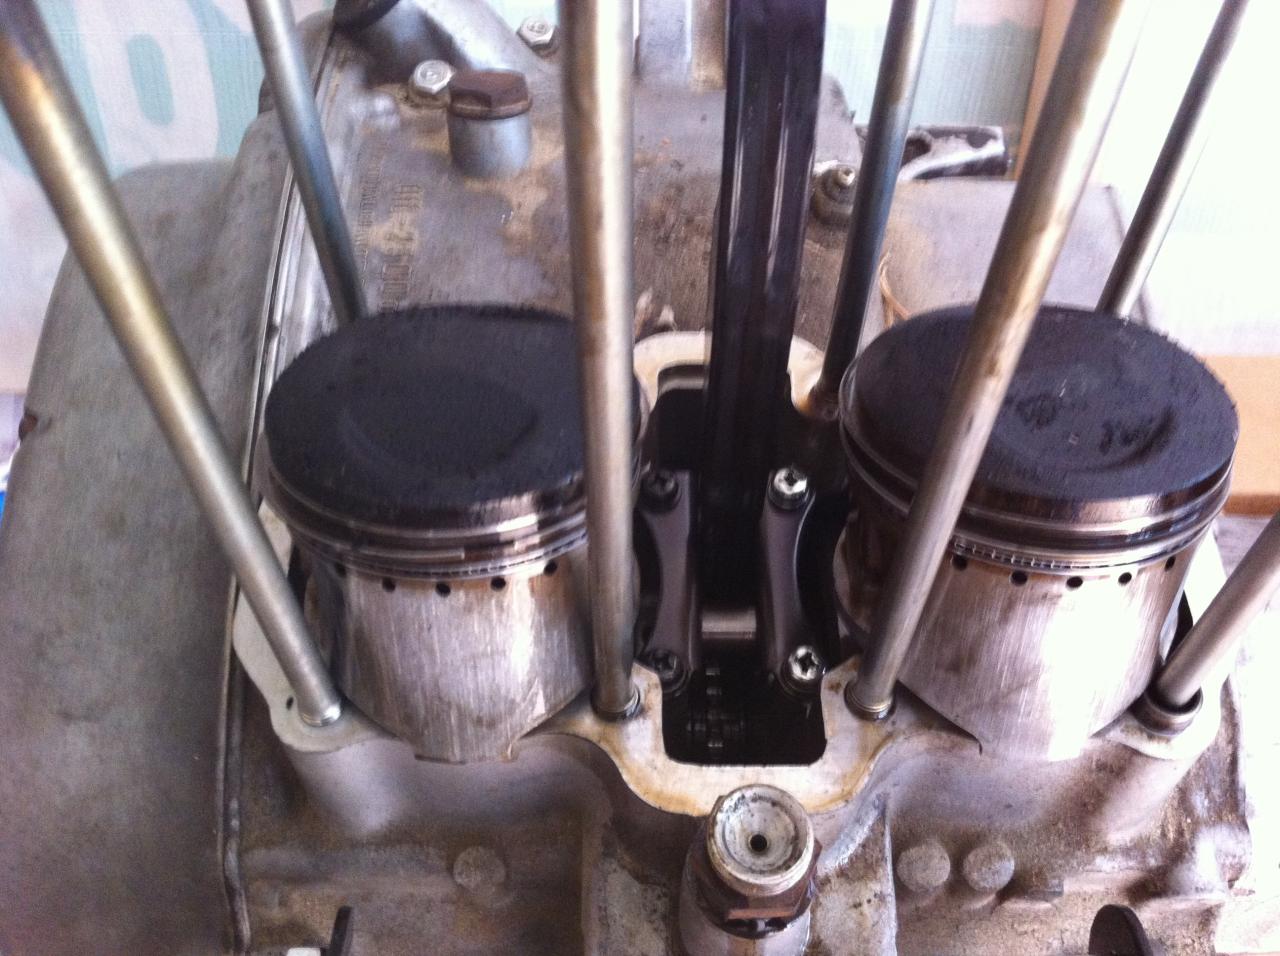
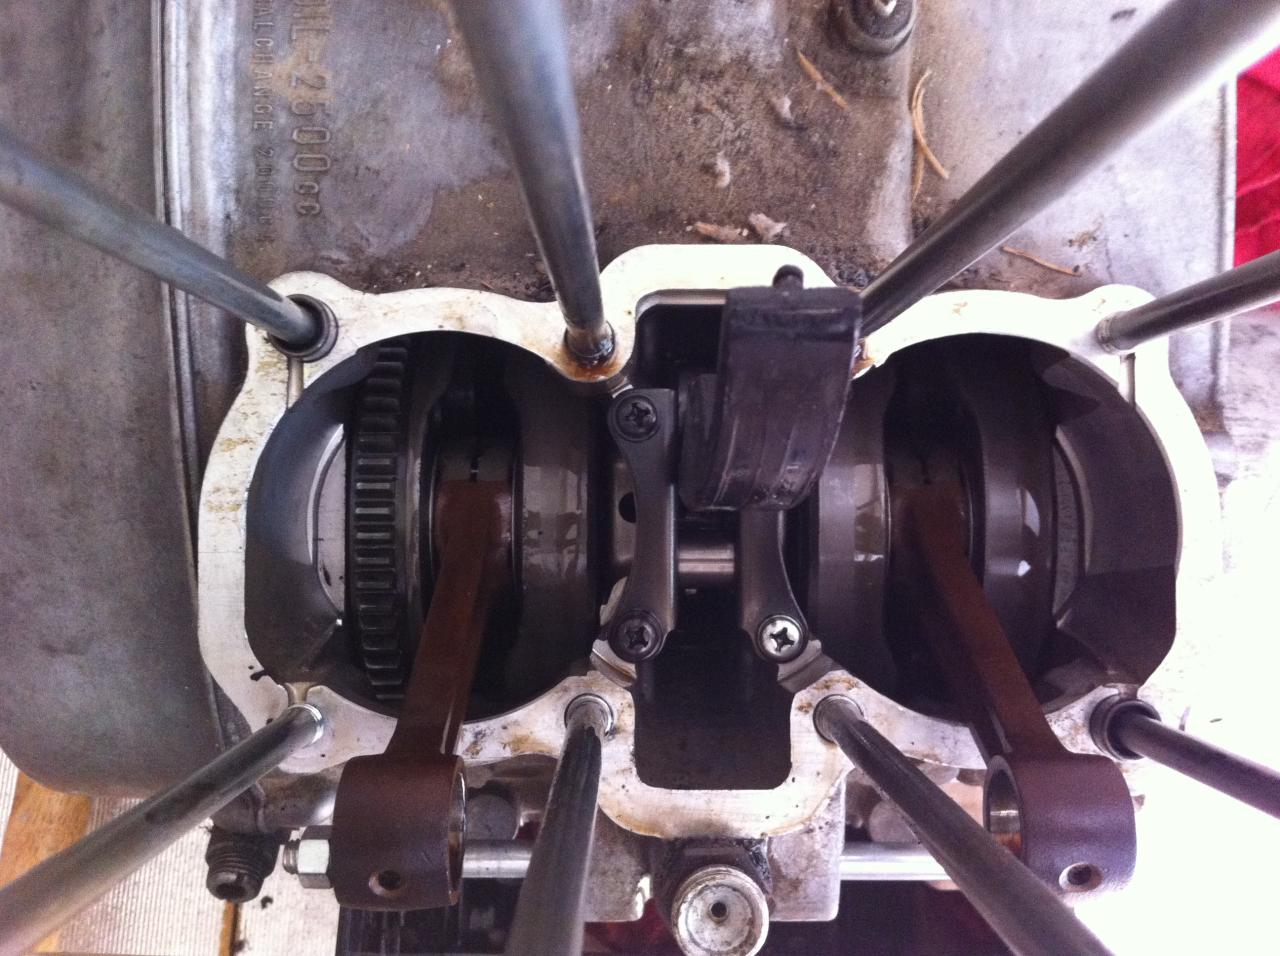
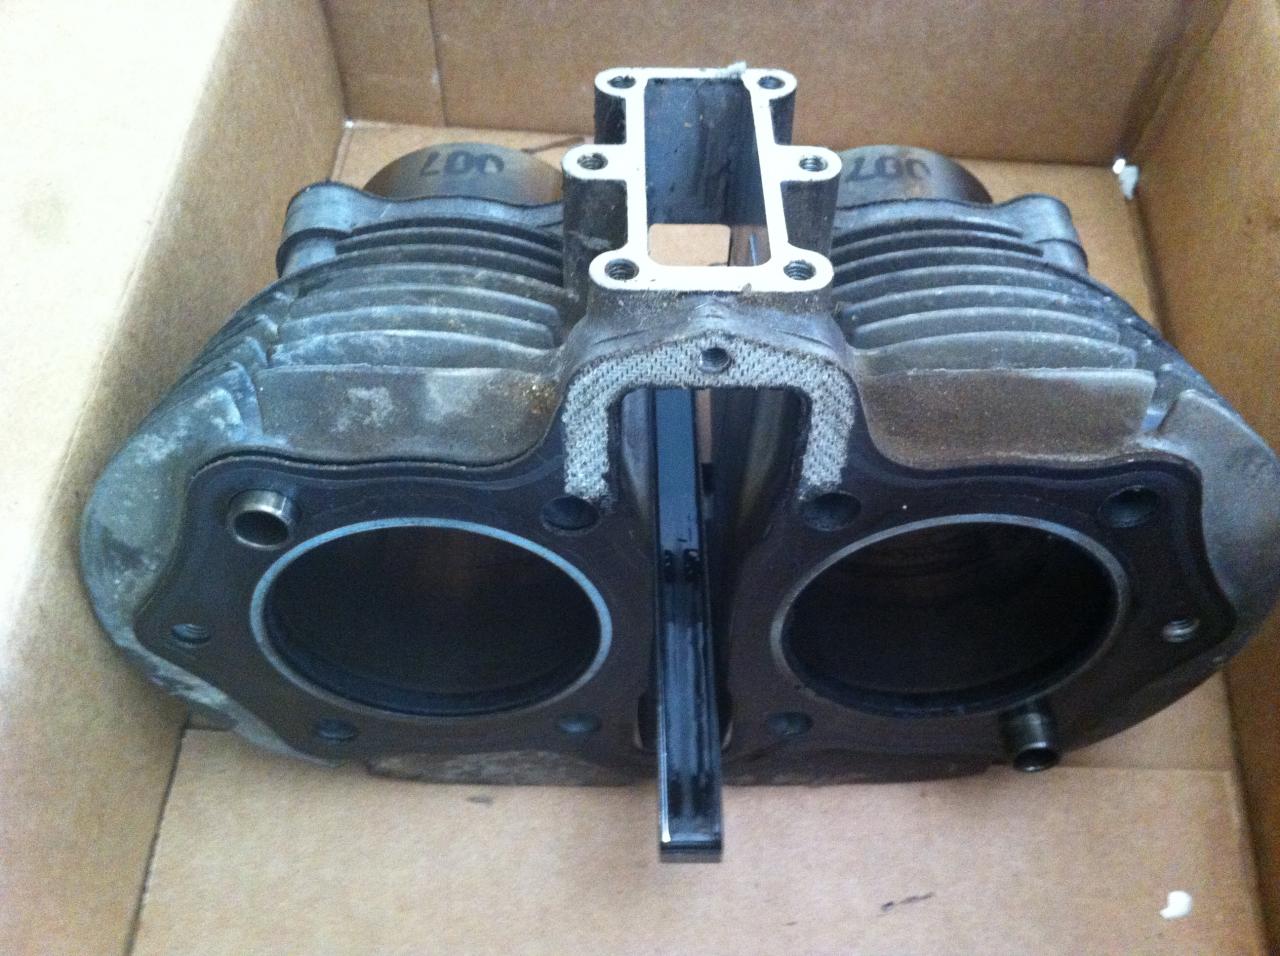
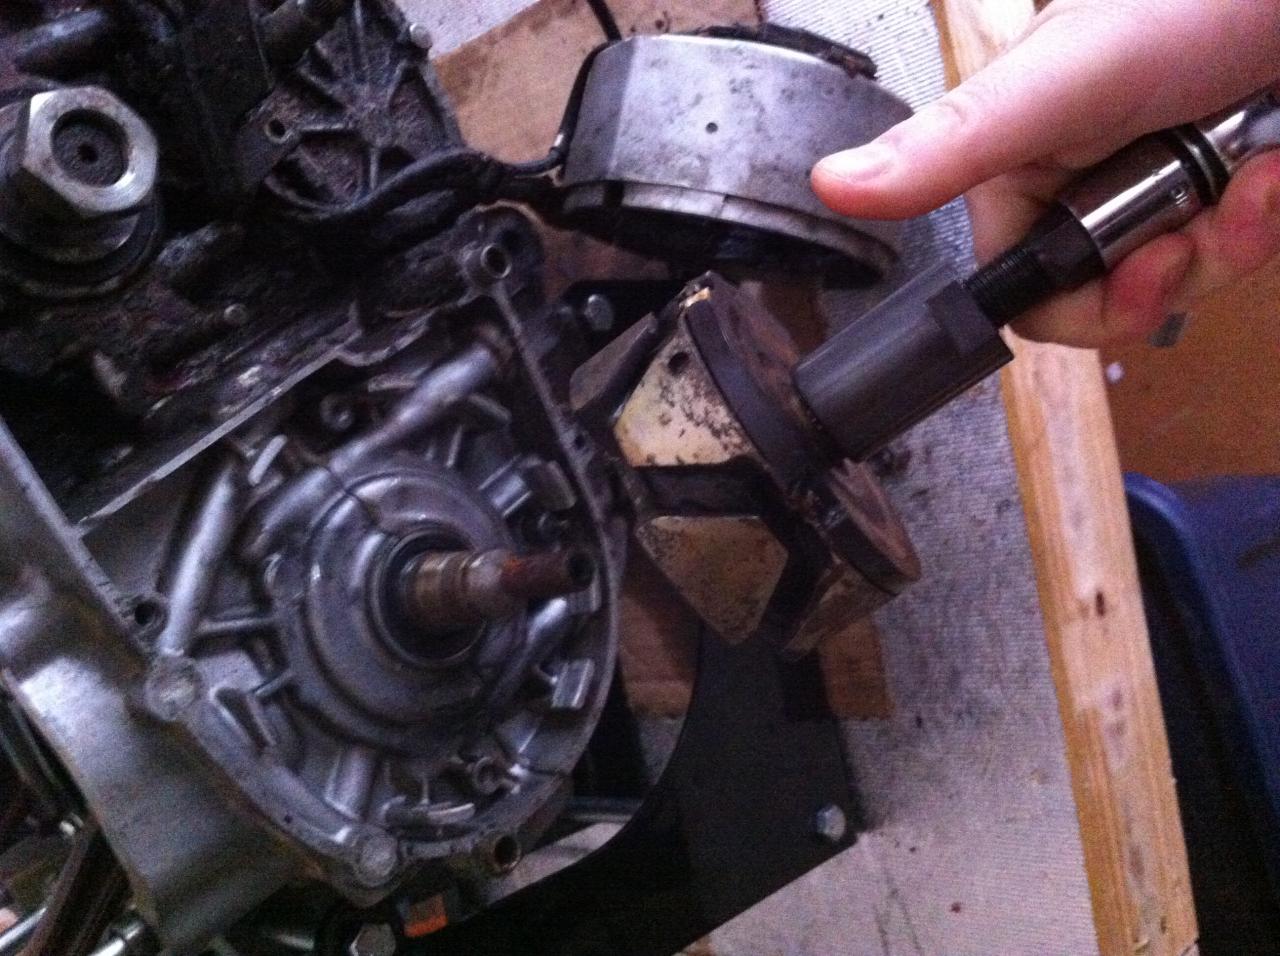
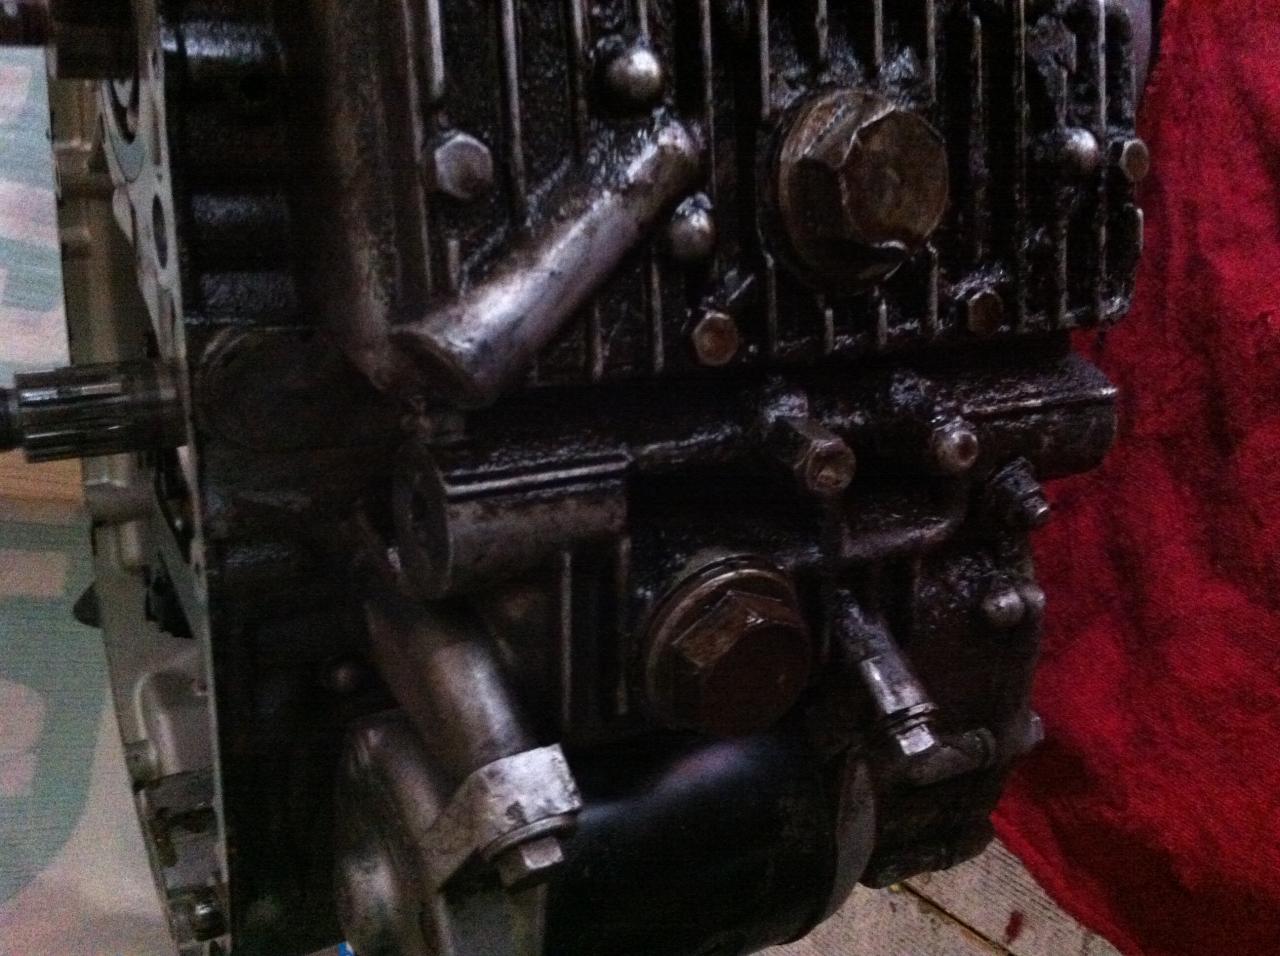
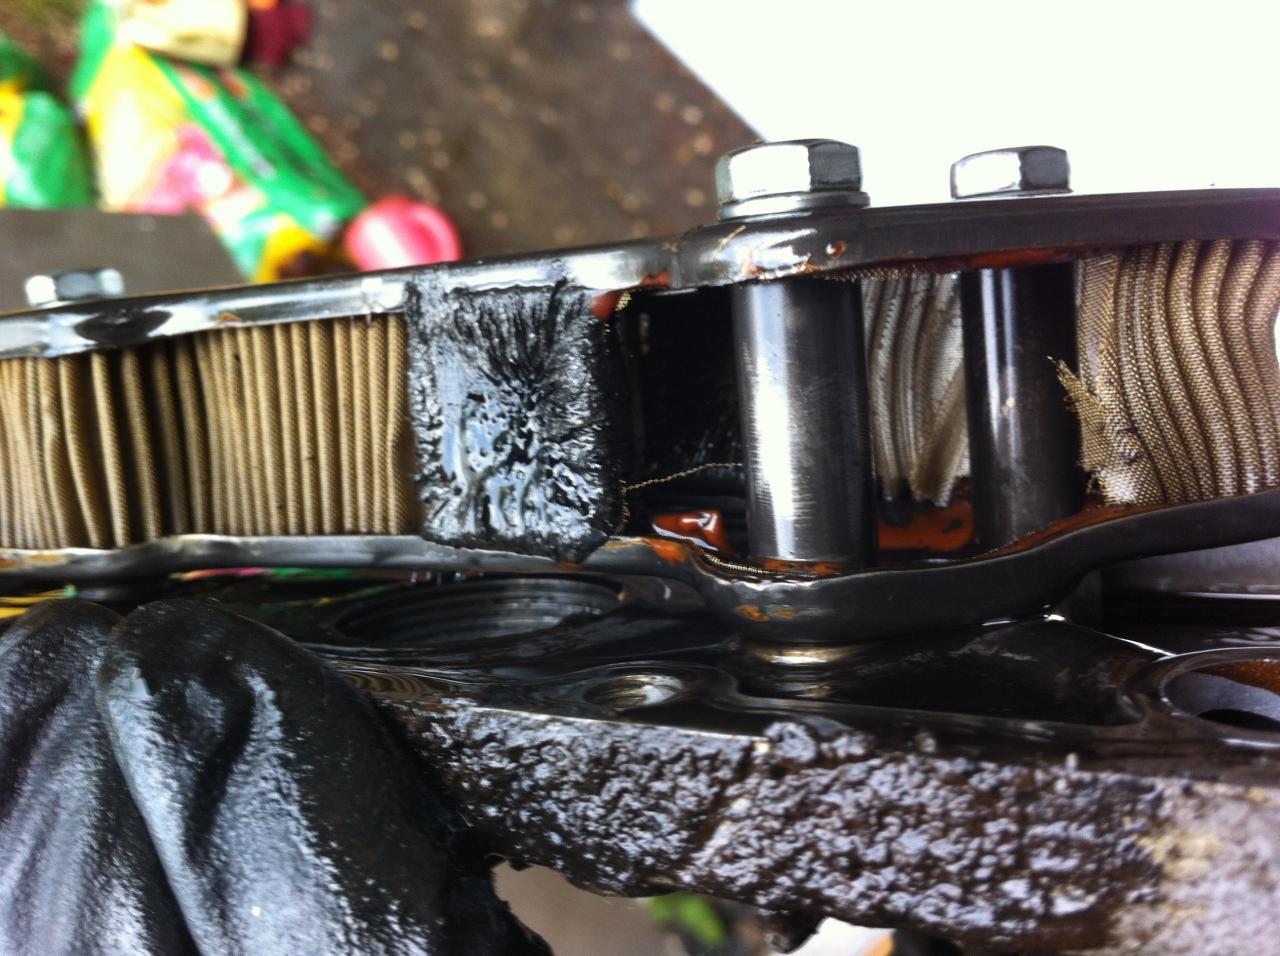
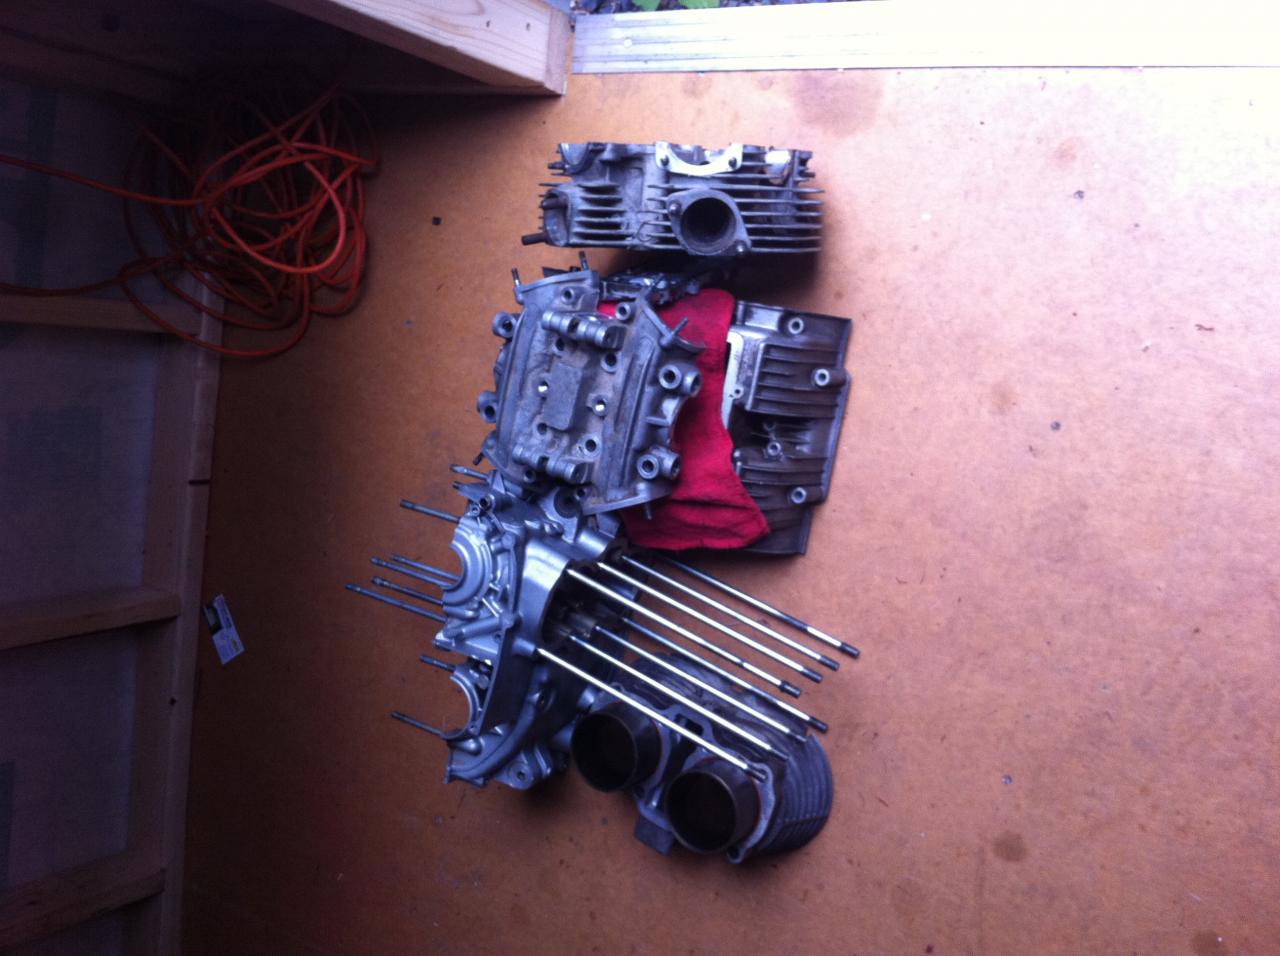
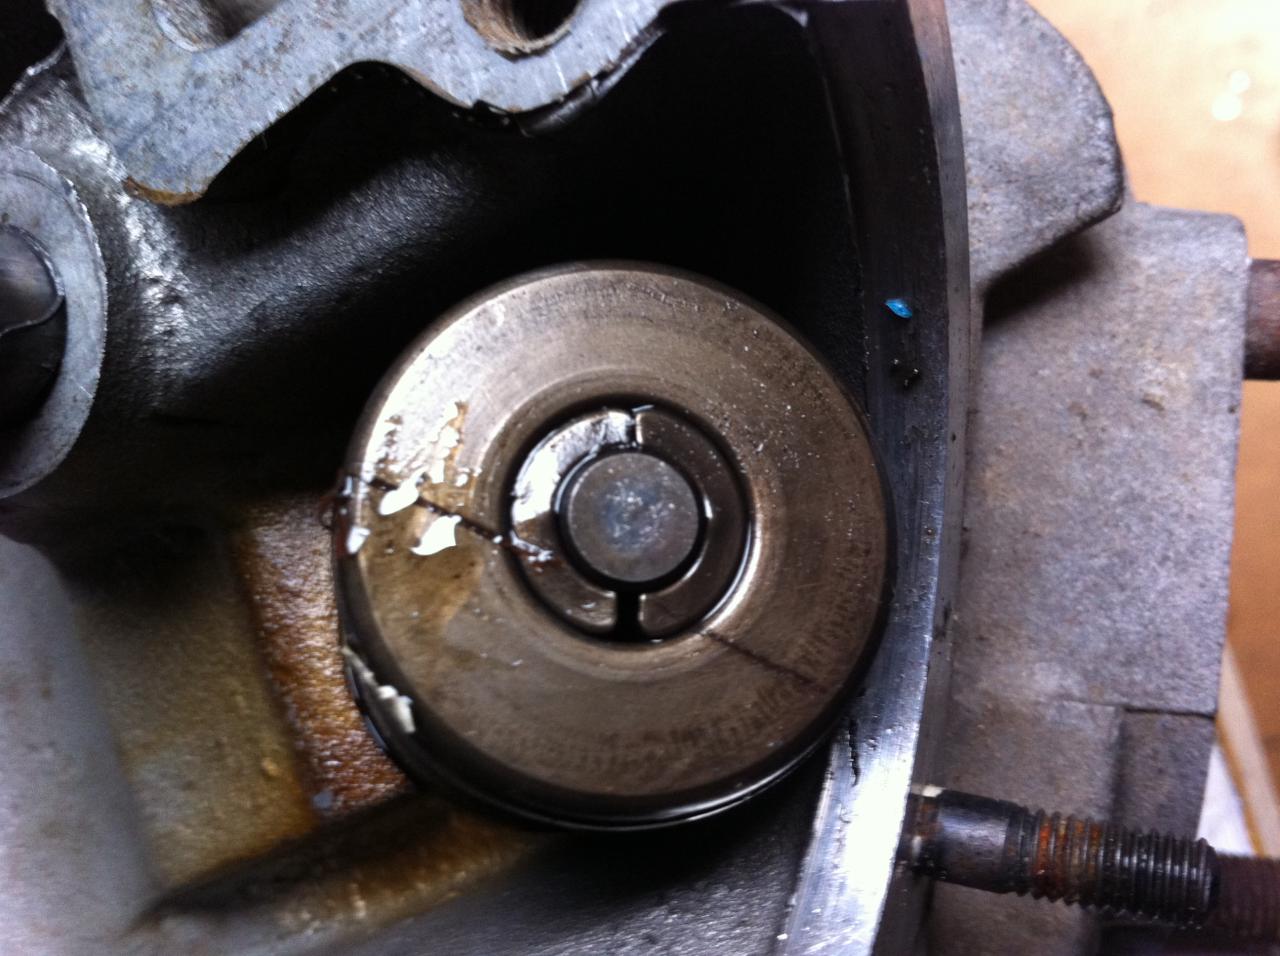
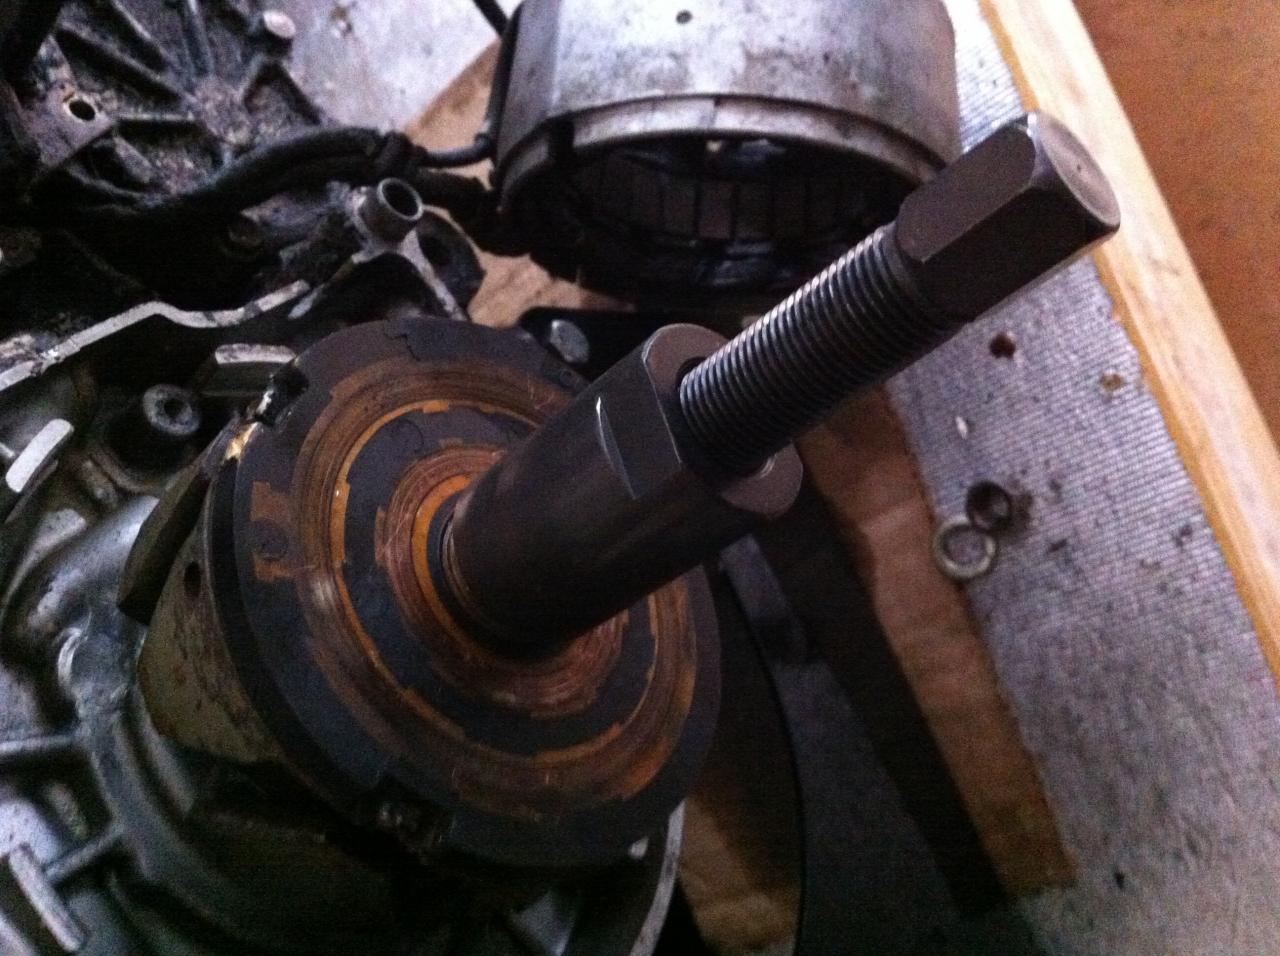
Anyway, presenting... the engine!

full
 
Here's what I accomplished today:

tappets look to be in excellent condition:

full


Is it feasible to change the adjustment bolts so they are a little easier to use?

Top of the valves looks very clean:

full


Here's the master link in the cam chain after I beat it silly with a chisel. I guess I didn't have the right tool...

full


Valves look good, nice and charred and I don't even want to know what kind of evilness the old gasket there might have been made of:

full


Sorry, this one's blurry. Pistons have a goodly amount of carbon scoring on them. These droids have seen a lot of action:

full

full


I think the cam chain tensioner is in good shape:

full

full


Cylinders look ok, at least to my eye.
full


This stunk... ALL 6 clutch screwheads were stripped out! Oh well. I got to buy a screw remover set from HF.
full


More to come! Time for wine with my wife on the porch.
 
I won! Using a screw removal kit I got from HF and my impact driver, I got out all 6 screws. Guess I'll need some new ones.

full


full


This was funny. In my Clymer guide, it says to fold up a rag and jam it between the gears on. However, there is some rag death that ensued as I ranked down on the wrenches to get the bolt loose:

full


Ordered the alternator puller and a 27mm socket from Mikes so I continue the disassembly.
 
Cool Steven

Don't throw away your clutch screws. They can be drilled out for allen screws.
 

Attachments

  • IMG_0118.jpg
    IMG_0118.jpg
    117.6 KB · Views: 704
  • IMG_0119.jpg
    IMG_0119.jpg
    115.1 KB · Views: 657
Phat Tony is right. You have a cracked valve retainer. Also, the best way I've found to break links is to grind out the pin with a Dremel tool with a stone, not a burr. They disappear like magic.
 
So, thinking I have cracked retainers, I went out and looked at it close up. Interestingly, I don't think it's broken, but has a line of some kind of material that was strung across it like glue or something. I was able to scrape it off, confirm that the retainer isn't cracked, but noticed that it is definitely stained. I tried to get a good close up that shows it crossing the circlip and even onto the block itself on lower right of the picture:

full
 
My tools from Mike's came today! I didn't have a lot of time to work on things but I did get a little time out in the garage:

Pullers designed for this task surely make things easier! I thought for some reason the basket would come out gently, but it came off with a big POP!

full

full


My new 27mm socket. It's huge!

full


Ew... oily death at the bottom:

full


Oil sump screen was torn, as are most other blog members I've seen. Don't know what that black square part is:

full


So, the clymer guide says to remove the 14 nuts on the bottom and then split the case. However, I can only find 11!:shrug: 
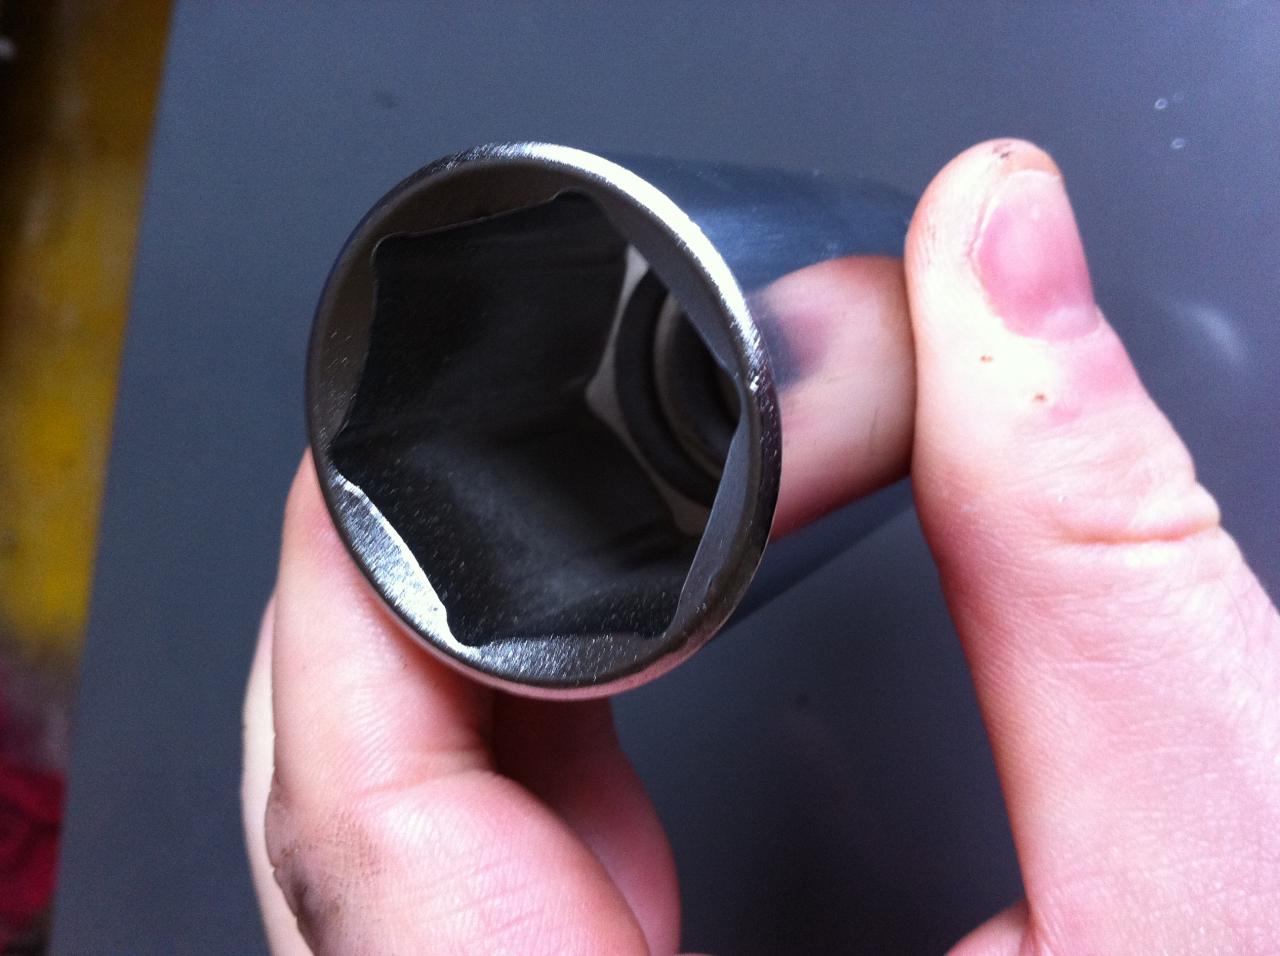
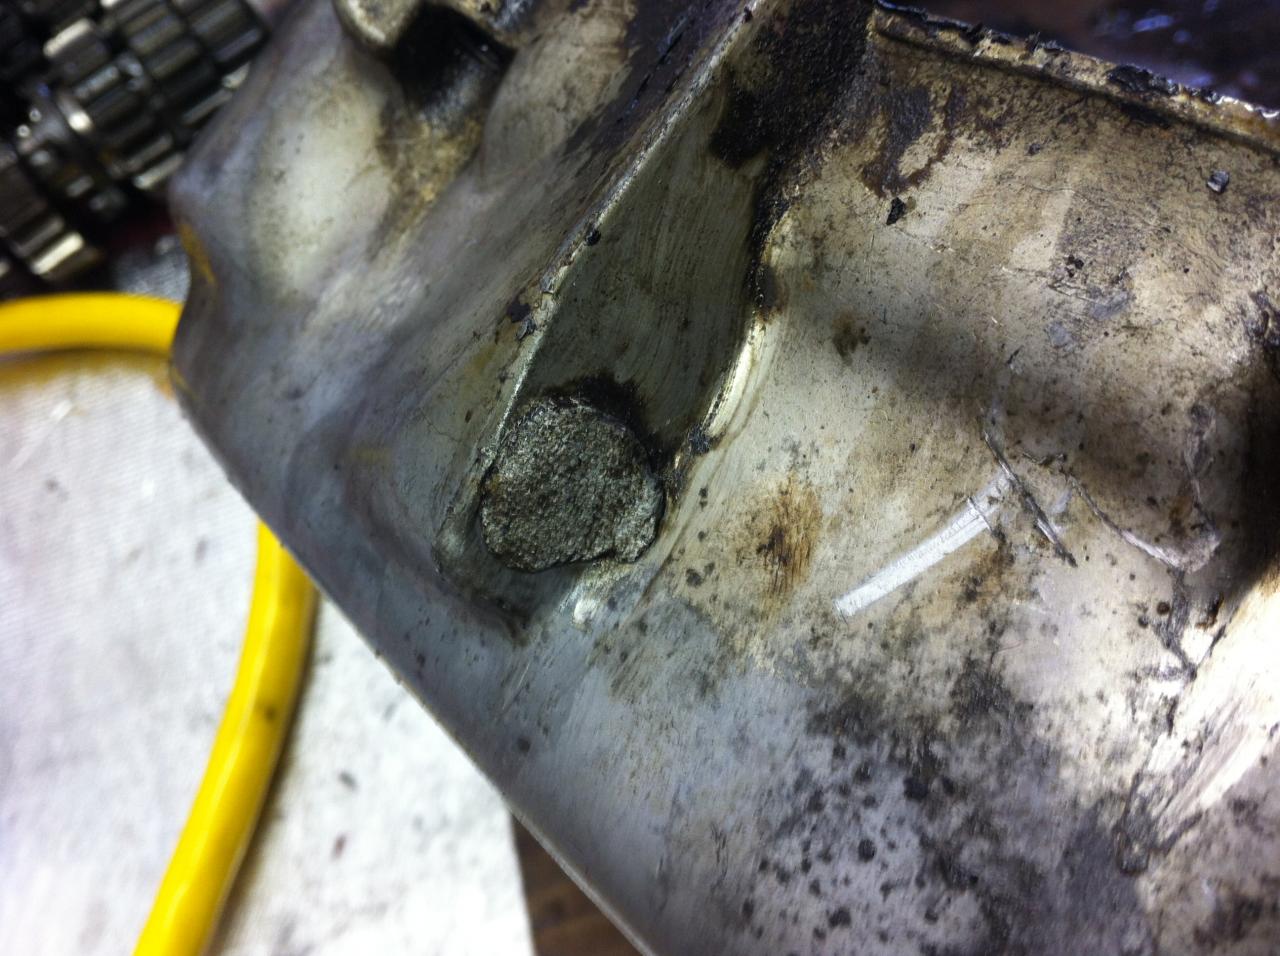
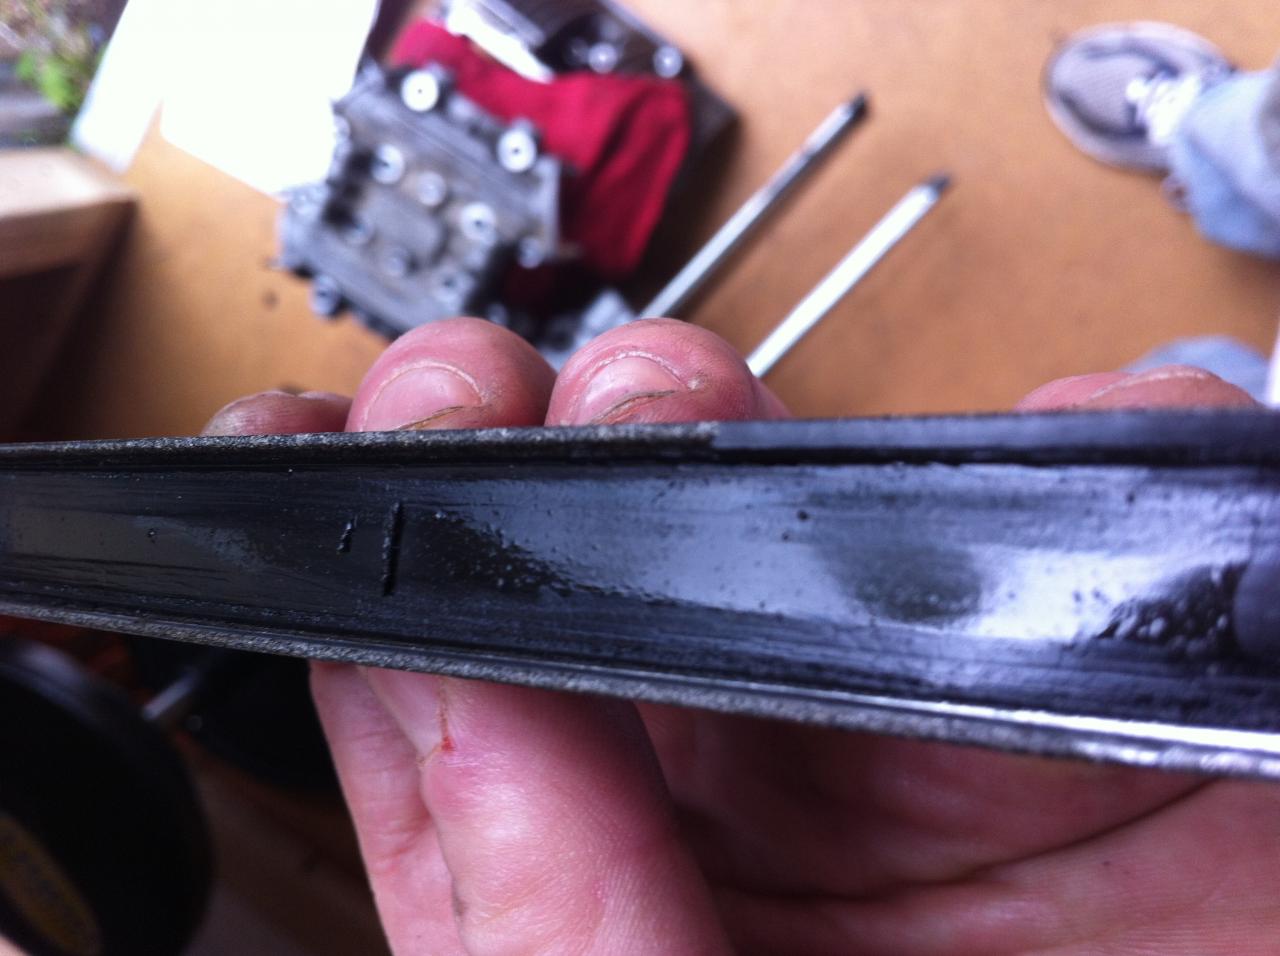
I looked and looked but just didn't see what I was missing. Then, it was kid's bed time and starting to get dark so I had to wrap it up for the night. Nuts! (get it? :laugh:)
full
 
fart! another stripped screw! Glad I got that puller set from HF.

full


I found the missing 3 bolts I couldn't find of the 14 I need to remove to crack the crank case . They're bolts in the most obnoxiously hard to reach places, 2 on the starter side, 1 on the alternator side. I think I need a closed-ended 11mm wrench. So, of course, I have a 10 and an 12. Aaagh!
 
Got it cracked!

Crank and gears all look ok on first glance:
full


So, here it is, all splayed out on my bench!:
full


Other than all the frigging stripped phillips head screws, this has been the only thing that I've knowningly destroyed using the wrong kind of puller. If anyone wants it and thinks they can fix it, I'll send it to you if you pay for shipping in a flat-rate USPS box:

full

full


Next:

De-grime, then get block blasted clean and the cylinders bored/honed.
 
The impact driver just seems to be driving the bit into the metal And isn't turning the screw. These are the ones that hold together the tappet arms. Any advice?

full
 
ok points screws (and thus the rest of the tappets) all removed. I picked up a $9.99 impact driver at AutoZone after checking with the local auto car place I usually go. A few smashes, then the impact drill worked great. I'll try filing them smooth and polish them up.

Any idea what I've found here? Looks like liquid weld or something mished into some small spot on the bottom middle of the bottom cover. Nothing seems to need to go there, it just seems really out of place:

full


This is the cam chain guide, you know, the one you can't buy anywhere except in the UK? Check out just how much rubber is missing off this thing!

full


Well, I guess all the big disassembly is done. I've degrimed the big pieces as best I could and plan to take all this to Viscous Motors on N Interstate where they have an ultrasonic cleaner and charge $80/hour shop time. At this moment in time and space, I am going to leave the metal UNFINISHED!

full


Anyone know just how clean I should get the surface of the pistons?

full
 
Just for everybody's information, when pulling anything off of a tapered shaft, preload it with a bolt or puller down the center bore against the end of the shaft, then hit it smartly directly down on the head of the bolt and it will pop off. I have used this procedure to remove things from tapered shafts for many years and it always works.
 
haven't had time to get to a place to have the big pieces cleaned so I spent some time trying to figure out polishing. After reading a bunch, I decided to go with a bench grinder that I could sort of turn into a buffer. This jobby cost me $49 at HD. It was really easy to get the covers off to expose the whole wheel.

full


I did have to make one modification to get the buffing wheel to tighten down. Just used a little spring hose clamp:

full


There are lots of discussions on the board about polishing/buffing so I didn't want to discuss that here, but here's the link that's really been helping me: http://www.xs650.com/forum/showthread.php?t=17989

And, after several attempts using different technique, here's what I was able to do this weekend:

full


Update on my build:

Mikes order just placed:
4 01-0114 Valve Stem Seal-each
4 01-0650 OEM Cylinder Head Sealing Washer
1 01-8802 Rivet Link-DID 219FTss (74-84 650's)
1 05-0004 Cam Chain Tensioner Arm
1 05-0015 Piston Pin Clips (Pk/2) 447/533 type
1 18-0871 Bottom End Copper Washer Kit - 13pc.
1 39-6504 Allen Bolt - Clutch Spring - (6pc.Set)
1 39-6505 Needle Bearing with Thrust Washer
1 39-6512 Lock Tab - Clutch Hub Nut
1 52-4008 Cam Chain- DID 219FTssx106
1 18-0208 Athena Premium Overhaul Gasket Set
1 24-6591 4 Pc. Starter Gear Retention Kit
2 05-0016 Piston Rings "Standard" size 447 type
1 05-0042 Shift Shaft Circlip
1 49-0735 6mm Countersunk Star Washer pk/10

They're out of sump filters so I'll need to figure that one out. Also, you'll see no pamco or advance parts. Here's my thinking:

It'll cost $485 to have Hugh do the crank and cam rephase, then $280 for the pamco w/advance kit for the rephase and everyone seems to be out of that one. Since this is my first engine, I think the thing to do is just get it rebuilt and working and save the fancies for another build. It fits my budget better (the Mikes order was like $340) and I think I shouldn't be too crazy my first time out.
 
I'm enjoying your thread as I have a similar project. Mine, however, is an engine that was completely dismantled with the cyls bored out to 0.50 and new pistons and rings purchased. The guy I bought it from runs a custom build shop and has too many projects to continue this "pet" one of his, so I will be attempting to put all the puzzle pieces together without a clue for where they go! :D Your thread is invaluable to me!
 
Back
Top