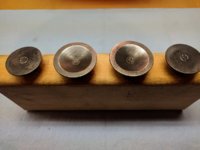
Yew bet, Rob.

If you really want to get into the wristpin fit, Google:
"types of clearance fits in engineering"

One of my old books (somewhere) had a good layman's test of clearance and transition fits, by feeling the effort required to push an oiled shaft thru a machined hole. When new, the motorcycle wristpin would require a mild press effort to pass thru the conrod small end. About the same when pushing thru the piston holes. A servicable fit would still be a looser sliding fit, but with no perceived wobble. A tolerable fit would have a bit of wobble, but no perceivable up/down slop. Best to do this with the new wristpins...
 
Yup, thanks Pete. That's definitely my plan. He's the bike machinist, I'm not. Happy to hear I'm only dealing with the top end. Need to get those pistons ordered so have to do some digging into how to do that.
 
Interesting 2M will Google that and then will test when the new pins are here.

Thanks again for the additional info.
 
I think you probably don't see much written about the piston pin fit tests because they are so simple. You just check for a nice slip fit and no wobble, no measuring required. First oversize is only 1/4 (.25) of a MM. Many times that is not enough to clean up the wear and/or scoring in a cylinder. In fact, I'll bet 2nd oversize is more commonly used. Cruzinimage doesn't even sell the 1st oversize, only 2nd (.50) and 4th (1.00).
 
I think you probably don't see much written about the piston pin fit tests because they are so simple. You just check for a nice slip fit and no wobble, no measuring required. First oversize is only 1/4 (.25) of a MM. Many times that is not enough to clean up the wear and/or scoring in a cylinder. In fact, I'll bet 2nd oversize is more commonly used. Cruzinimage doesn't even sell the 1st oversize, only 2nd (.50) and 4th (1.00).

ahhhhh......good points 5Twins.

P
 
Word of caution about calipers (especially the budget versions). Many have a 'varying' accuracy of greater than 0.001"
Don't know if I just got lucky but for less than 30 bucks this budget caliper works great. I've checked it numerous times against my micrometer standards (1 - 6") and it's easily within a thousands. Gives fractions (reason I bought it), decimal and millimeters. It ain't a Starrett but.....
As for the con rods, I'd agree with 2M... if you don't have any wobble (with the new wrist pins), they'll be just fine.
 
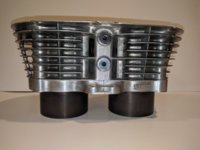
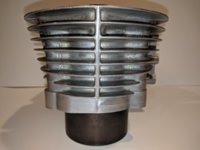
Been working away cleaning off 40 years of grime and carbon. 4 hours in a 32*F shop was enough for me today. Wish I had started this job a little earlier.....lol.

Jugs are cleaned up and bagged, waiting for 2nd over pistons and bits so I can then take them to my machinist.
Both Mailman and DanielBlack offered to smuggle the pistons over to this continent for me.Thanks guys.
Daniel is prepping for a rebuild of his own so he added my pistons to his order and saved some on shipping. Thanks again Daniel.

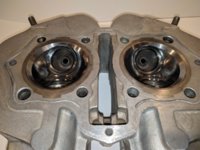
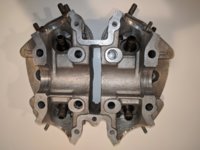
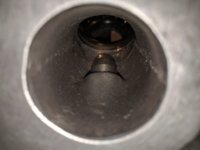
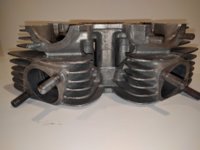
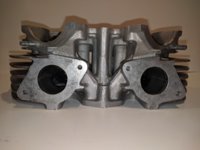
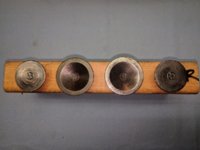
Finished head clean up today, Whew.
Will hopefully finish the valves tomorrow and will check things out and get some measurements of springs, valve clearances, etc.


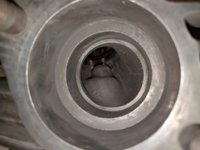
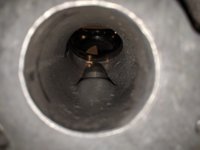
IMG_20171207_174913.jpg IMG_20171207_174836.jpg IMG_20171207_174934.jpg IMG_20171207_175026.jpg
 
Thanks Jim. I also put a good stainless cabinet makers rule across the head today and it looked good to my untrained eye.
When I run the cylinders over to him I will take the head in as well and have him check it.

A little plug here for my machinist Terry Wolfe, he's been doing this work since 75. http://wolfeworx.com/

I was by his place the other day and he said, "Go have a look around back in the shop". I see why......lol. First bike I saw on a lift when I went in was a 74 TX650.

Also in there were a couple of old Bonnie's, a Trident, a 70's Norton 750 Commando and a Kawi Z1 in great shape, in for a total restore.
Could have spent the whole day snooping around back there.

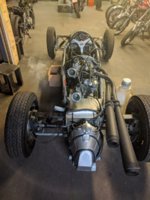
Also have a look at this racer they're doing some work on. Powered by a Vincent engine.

IMG_20171204_105316.jpg IMG_20171204_105339.jpg IMG_20171204_105330.jpg

They're a great outfit. I order my OEM parts through them and we're sure lucky to have a guy of his caliber in town.
 
Last edited:
Now that is the sort of fabrication/engineering project that I really admire.

103001-225ff4b97dfb5b66a831973b94c47f66.jpg


Brief highjack (sorry) :
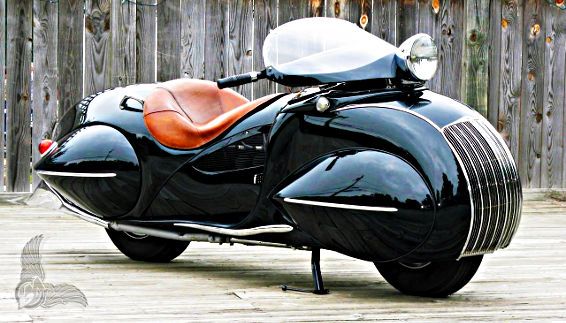
In a similar vein, but in the genre of bodywork fabrication, there is Syracuse leather artist (and Cannonball Endurance Run winner) Frank Westfall's 1930 Henderson re-creation, which many of you have probably already seen.

1930-art-deco-henderson01.jpg


>> OK, back to Robin's top end.....
.
.
 
Robin, that motor is impressively clean for just using good old elbow grease. Making it shine, old school!
Well done!
 
Ok, got the head and valves finished cleaning. Had to resort to 5twins knotted wire wheel trick on one exhaust valve. One cleaned up OK with a wire wheel with a lot of time, the other just wouldn't give it up. Rigged up an angle grinder in one of my bench vices and put on a full face shield.

IMG_20171209_111556.jpg

Some cleaned up pics....

IMG_20171207_175851.jpg IMG_20171207_175244.jpg IMG_20171209_142230.jpg

IMG_20171207_201741.jpg IMG_20171207_201804.jpg IMG_20171207_201830.jpg IMG_20171207_201922.jpg

IMG_20171207_175407.jpg IMG_20171207_175426.jpg IMG_20171207_175442.jpg IMG_20171207_175458.jpg

Measured spring lengths. Looks like all's good there. Within the 2mm wear limit.
Valve spring actuals.jpg

Checked valve spring tilt. Hard to measure and varied dependent on rotation of the spring, but less than 1mm so I'll guess within the 1.83 mm spec.

Valves cleaned up...

IMG_20171209_114325.jpg IMG_20171209_115413.jpg IMG_20171209_134110.jpg

I don't think the pitting looks too bad, so they should lap pretty easy. Out of interest I tried a leak test and it took about a half an hour for kerosene to start leaking out.

Stems don't look too badly dimpled. Kinda hard to get a pic of this that shows it well.

IMG_20171209_140512.jpg IMG_20171209_140520.jpg

Also measured valve stem to valve guide clearance as best I could. When I was reading about this in the manuals I wondered how I would anchor a magnetic gauge base to measure this. There was enough of the steel combustion chamber sleeve to get a positive lock but I sure couldn't set things up to measure both X and Y axes. I couldn't feel any perceptible play and the most I could measure in my crude setup was just under .001", so within the .0039" wear limit I guess.

Should have the rocker cover finished cleaning tomorrow then can move things in where it's warm!
 
Back
Top