Hi Azazel,
well, you seem to have won the photo-posting battle, or at least fought it to a standstill, eh?
About the bike, what's that antique furniture term? Well patinated?
It's a look that some riders cherish, it lets them spend more expense and effort on the bike's mechanicals and keeps it safer from thieves, who prefer to nick the shiny ones.
The photos do show that besides not being kept looking good the bike has been somewhat PO'd.
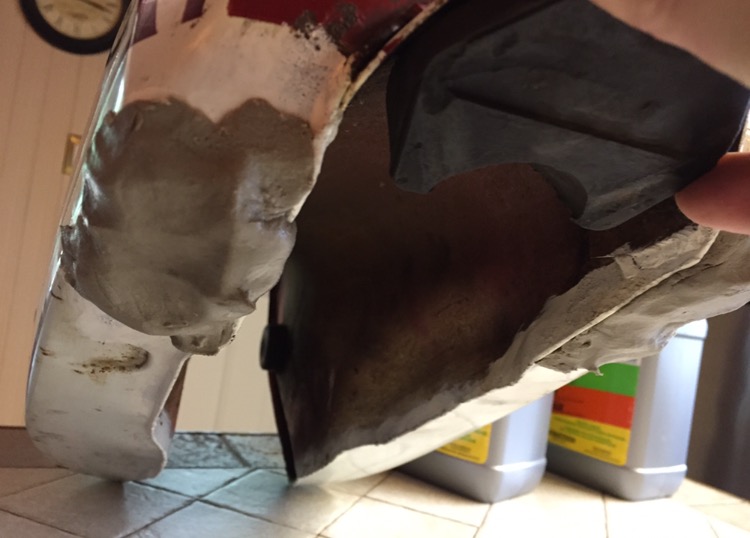
While side-covers are easily lost it's not everyone who's install his mufflers wrong side out.
And WTF is the thing bolted to the rightside muffler? A flagpole bracket?
When you put the mufflers to rights a thing that won't cost much but will improve the bike's look is to replace the el-cheapo strap-iron muffler clamps with Stainless T-bolt clamps from Princess auto.
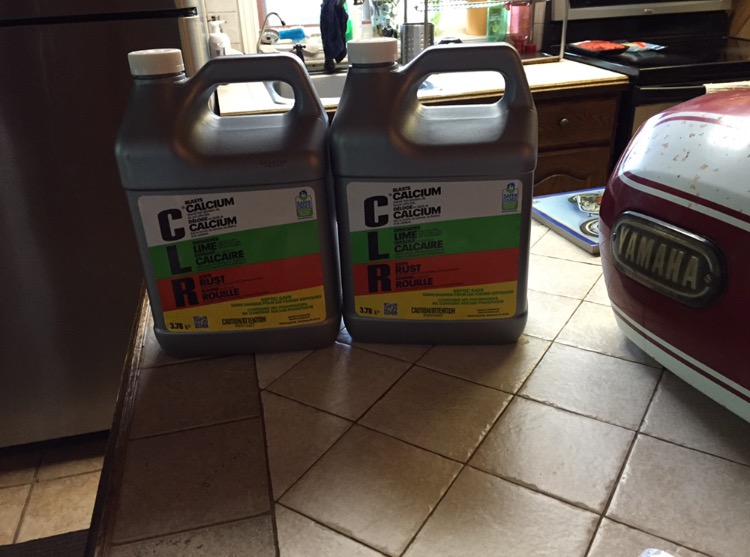
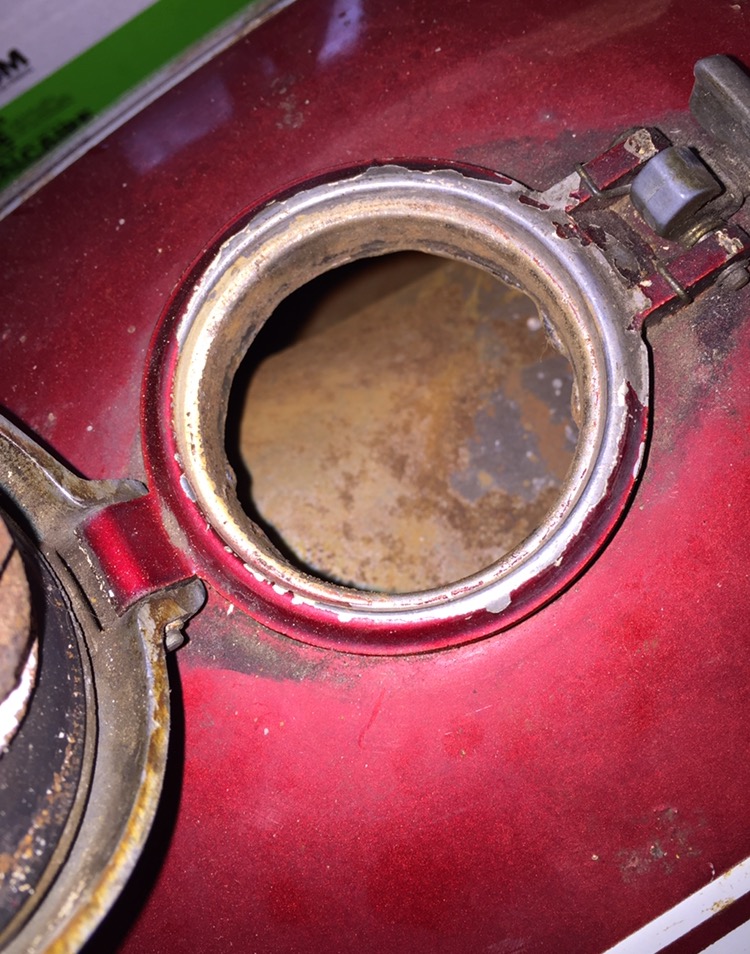
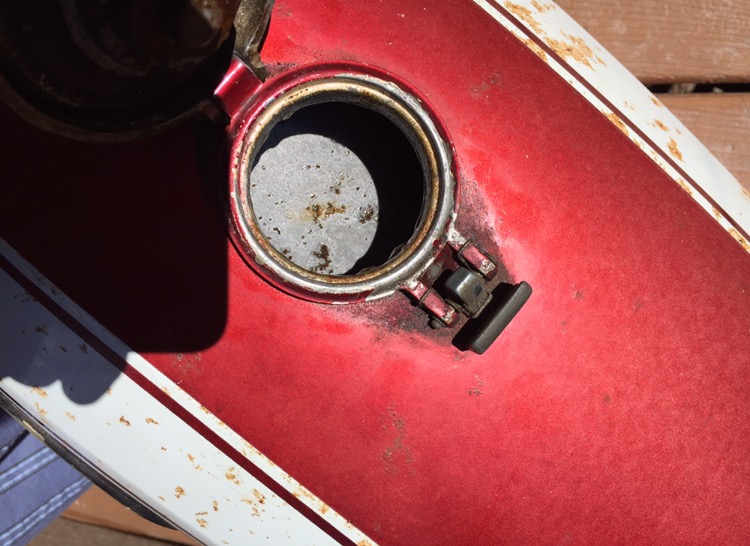
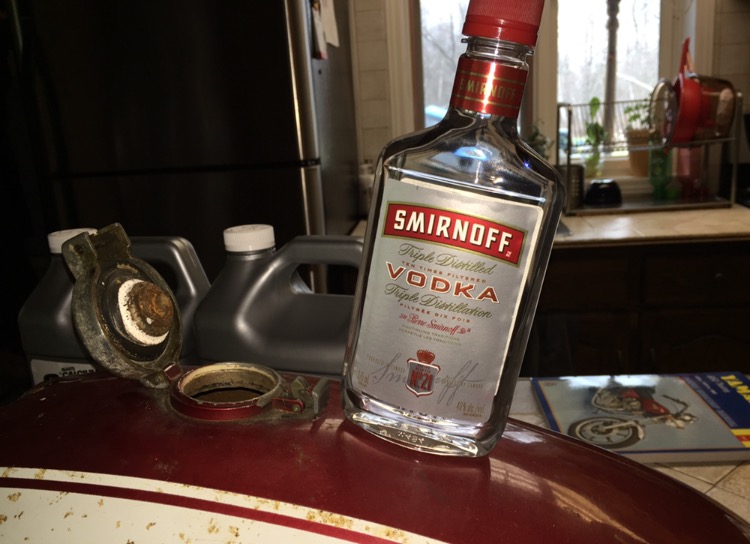
[edit] your last pair of photos just leapfrogged this post. Reverse electrolysis cleaning may be the way to de-rust that tank and there may be more than $50-worth of frustration in restoring that switch. Perhaps it's replacement time?
I had no idea they (mufflers) were installed upside down lol! (though i new something wasn't right...
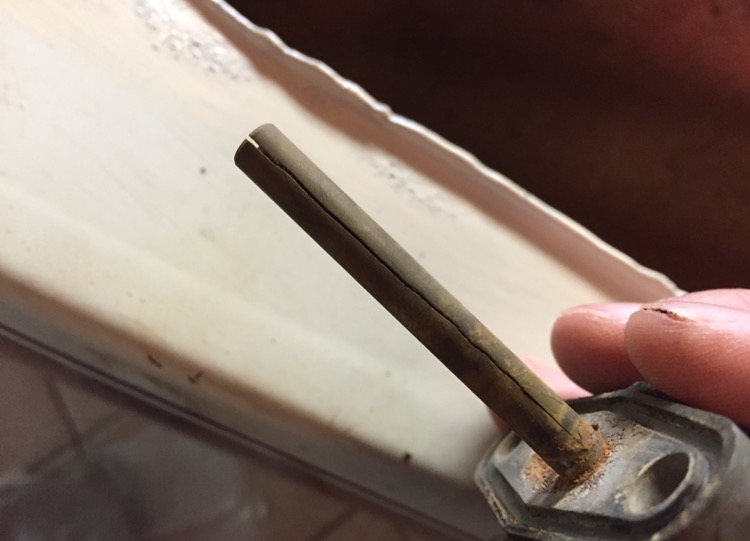
The left muffler is about 1/4 inch from the chain man! Jeez! I knew that wasn't good Haha


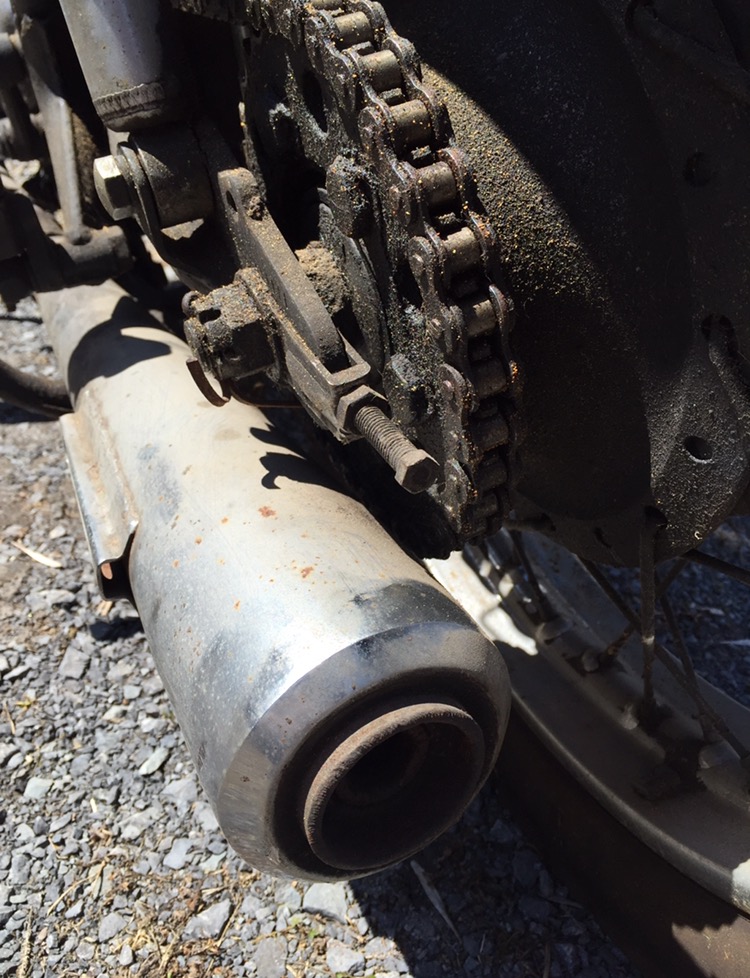
And here's another pic of the right side one.
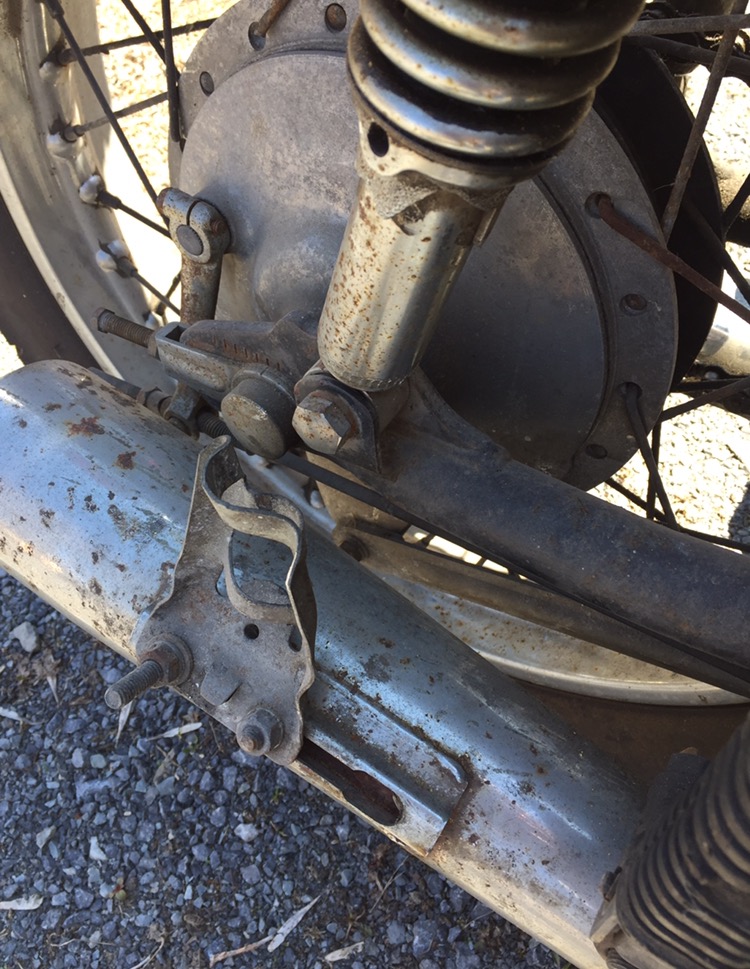
As for whats bolted on it, I have no friggin clue.
 I'll know more about terminology when I get my manuals.
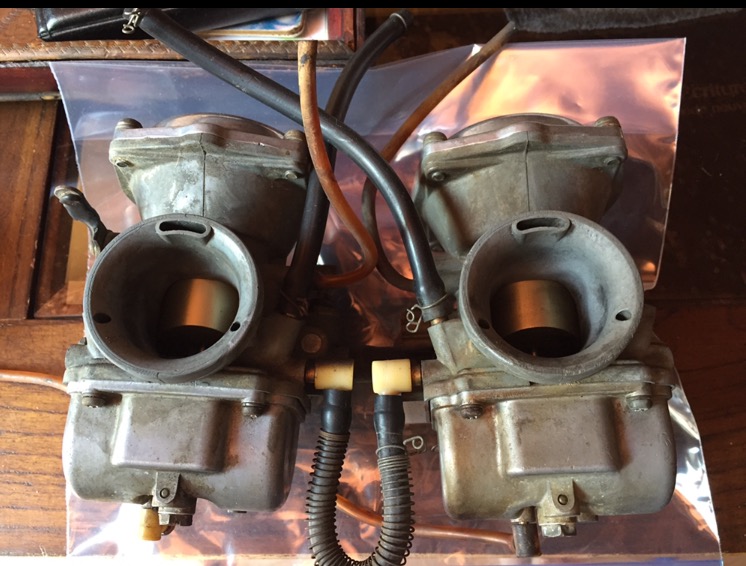
I have the side covers still. I just took them off to clean the carbs.
As for the handlebar switch: I'm having a hard time finding OEM parts for '72 gauges and switches. Been looking and looking. Others were right on this forum when they said that '78's and up were easier to find parts. But whatever, I fell in love with the '72.

Send me a link for the T-bolt clamps from PA if you get a chance.
reverse electrolysis. I'll have to look into that.