So I spent some time in the shed today!
- Mount headlight properly
DONE!!!
- Find replacement line for clutch
DONE!!!
- finish off foot pegs
Getting there!!!
- mount indicators
FRONT ONES DONE!!
- mount coils
DONE!!!
- mount tacho and speedo
DONE!!
- recon front caliper/s(not sure if I want to go twin or single yet)
Going to scratch that, they don't fit
- mount Boyer ignition
DONE!!!
- add fake oil tank for housing electrics
DONE!!
- add key starter
DONE!!!
- add hi/lo light switch
DONE!!!
- add kill switch
DONE!!!
- add neutral light
DONE!!!
- add spark leads
DONE!!!
- sort out exhausts
- paint fenders
-Install Boyer power box
-Install one way valve on breather
DONE!!!
-Bleed clutch
DONE!!!
-Bleed brakes
- replace tyres
- Find replacement brake line for front brake
- fab steering stop
- add chain
- mount front fender
- fabricate rear fender
- mount rear fender
- mount rear light
- paint and drill rotors
- possibly make spacers for calipers/rotors
- mount number plate
- wire entire bike
- mount rear brake switch
- clean gas tank
- paint gas tank
- plug excess petcock holes
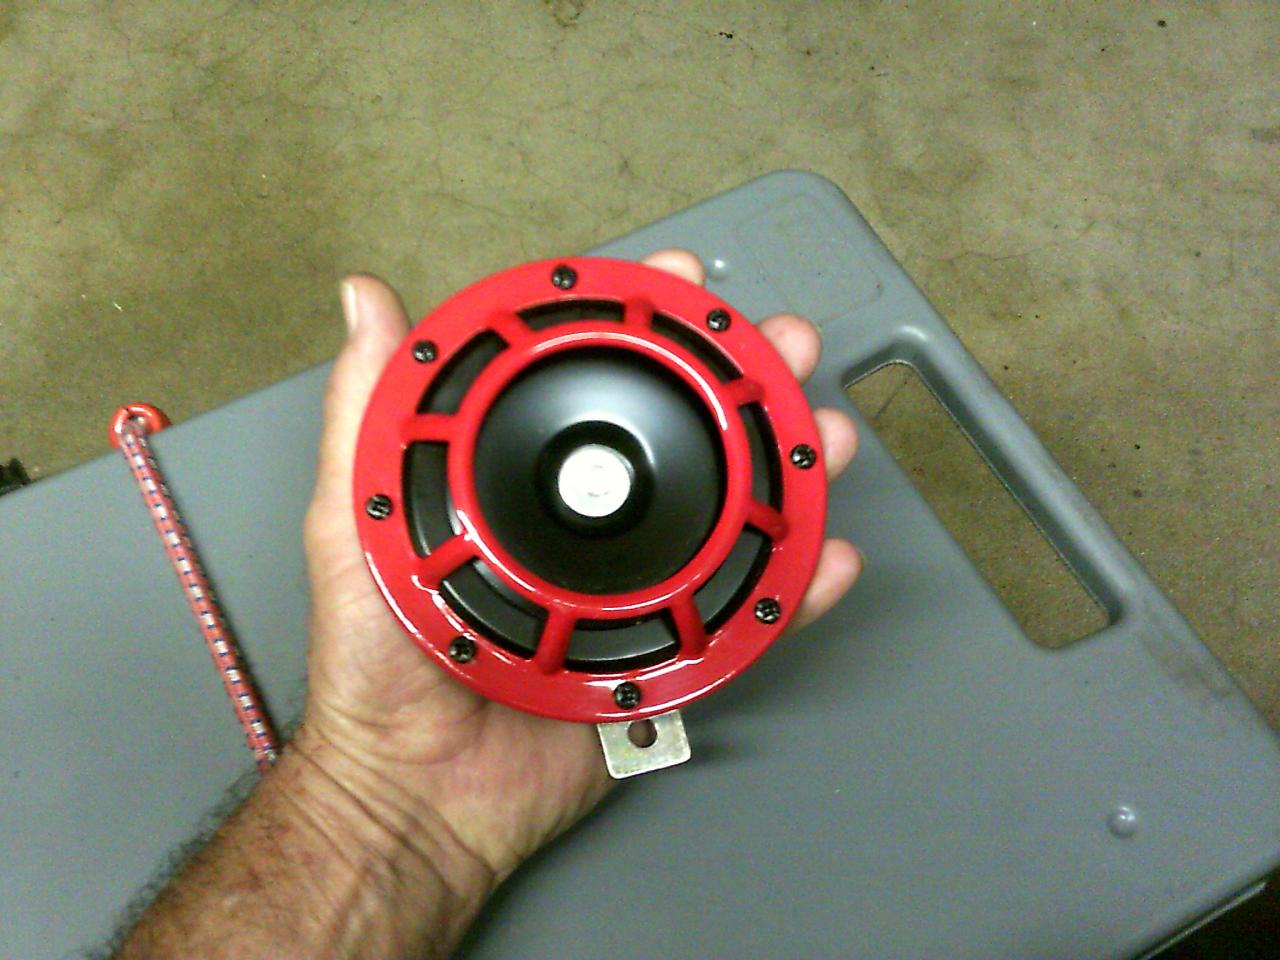
- add horn
- add petcock
- install fuel line
DONE!!!
- add filter pods
DONE!!!
- add oil
- add fuel
- run engine
- tune engine
- get MOT!!
I got some nice Ramair filters on the bike now!
One way valve fitted to the engine.
I also added some clear fuel line so I can see if there is any fuel going to the engine!
I decided to rebleed the clutch, I started by removing the top and putting a bit of clear tubing over it, then pushed the cylinder out until the seal was showing. I then opened up the MC and started squeezing the lever gently until the brake fluid started coming out past the seal on the slave. I kept going, keeping the MC reservoir topped up, until there were no more bubbles coming out.
Then I sealed of the MC reservoir, pulled back the slave cyclinder all the way in, and emptied out the excess fluid in the tube. Pulled off the tube, cleaned up the excess fluid, and replaced the cap. Job done! I then screwed on the left cover, and hoped for the best! After I realized I will have to remove it to get the chain on again!

Oh well.
Might go back in the shed later, depends on how cold it gets! My little heater can't keep up!!