-
Enjoy XS650.com? Consider making a donation to help support the site.
XS650.com receives a small share of sales from some links on this page, but direct donations have a much greater impact on keeping this site going.
You are using an out of date browser. It may not display this or other websites correctly.
You should upgrade or use an alternative browser.
You should upgrade or use an alternative browser.
XS650 Scrambler Build
- Thread starter halfmile
- Start date
You goin' polished or painted?
I wonder if those holes will whistle.
Maybe at 88 mph...
Maybe at 88 mph...
Gives new meaning to the term "tuning my engine" don't it?I wonder if those holes will whistle.
CoconutPete
1979 XS650 Special
Beautiful!
Edward R. Murrow reporting from the scene

Or....

PS I like the holes!


Last edited:
racerdave
^ Gone not forgotten ^
You have some real talent half. Do you have any vids/sound of your white tracker running?
Last edited:
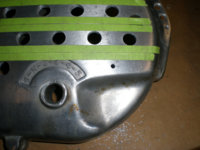
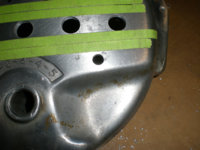
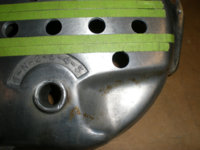
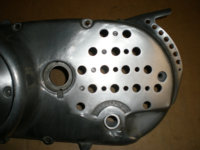
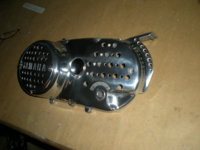
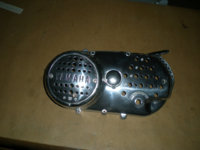
Drilled the last holes today. I do use a stepped centering bit. I`m not nuts about the pattern but it does save the support ribs. Here are a few pics. Also I counted the holes and it has 4 more than my Prom Date.
View attachment 114624 View attachment 114625 View attachment 114626 View attachment 114627 View attachment 114628 View attachment 114629 View attachment 114630 View attachment 114631 View attachment 114632 View attachment 114633
Hi halfmile,
well, bugger me! 43 years as a machinist and machine designer and this is the very first time I've seen or heard of stepped centering bits.
Guess you learn something new every day if you ain't careful.
As to your prom date's hole count, most folks have 10 if you count the eye-holes or 100,000+ if you include the skin pores and the holes in your
cast cover are either too many or far too few to fit either, eh?
The guy I got the bits from said that`s what they were. They are from Boeing Aircraft in Wichita. A salvage Co. here in Topeka sells them by the pound when they get them. I have a 5 gallon bucket full. They are oddball sizes like 1/4" in is really .2496 etc. There are numbered and lettered bits too. Most are new and sharp as hell. Good thing too because I can`t sharpen a bit to save my ass! I`m sure someone with aircraft experience will know what these are. Holes

A big one would be even better. Then you could share it....A small lottery win would certainly speed up the process!
A chrome sidestand..... hmmm.... never thought of that. I bet you're chompin' at the bit to get that frame back.
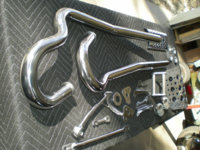
I picked up the frame and dropped off the parts to be chromed ( 2-3 weeks) I need it NOW. Anyway the official assembly started Today! I hunted for 1 1/2 hrs this afternoon for the rear shock bolts and washers. When I had this mocked up in the basement I just through all the bolts etc that was on the bench into a plastic tub and took it all to the shop. They were at the bottom of the tub. Imagine that. I didn`t make a lot of progress but at least it`s a start.
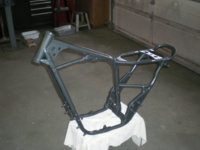

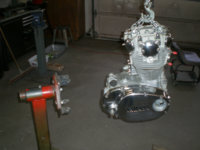
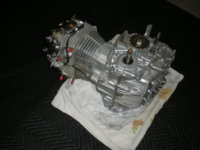
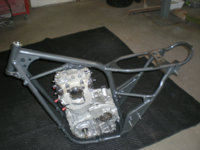
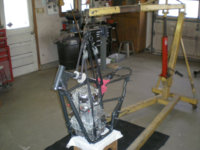
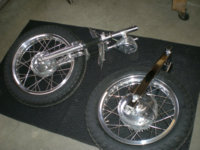

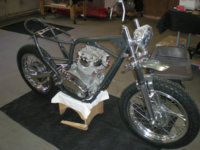
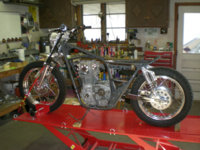
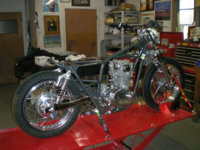


Pretty good days work for an old man.... 
That looks beautiful Phil!!!
That looks beautiful Phil!!!
I didn`t make a lot of progress but at least it`s a start.
I'd say that was a very good progress day....
It looks like you layed the frame over the engine. This from another thread about engine install.
Beautiful, halfmile....

I'd say that was a very good progress day....
It looks like you layed the frame over the engine. This from another thread about engine install.
Beautiful, halfmile....
Thanks Jim & Tom. I did lay the frame over the engine, slid in the bottom and lower rear bolts and sit it upright. Took about 20 seconds tops. I did put rubber cups over the exh studs. In without a scratch. Piece of cake!!
CoconutPete
1979 XS650 Special
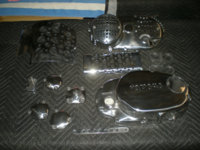
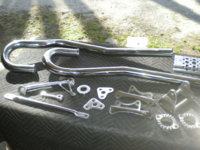
Did a rough cut polish on the aluminium "Stuff". Tomorrow I`ll do the final quick polish and clean up. I pick up the frame on Wed and drop off the parts to be chromed at the same time. Things are starting to fall into place. A small lottery win would certainly speed up the process!
View attachment 114880
Looks gorgeous halfmile!
What do you protect these pieces with after you polish them? Anything? Or do you just have to maintain/clean them a lot to keep them looking nice?
Similar threads
- Replies
- 14
- Views
- 426
- Replies
- 0
- Views
- 226


