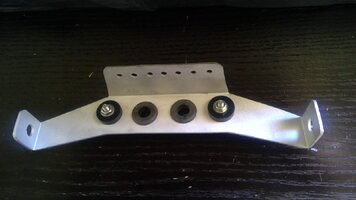
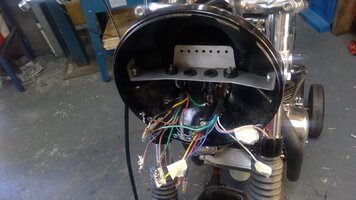
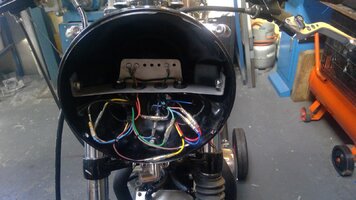
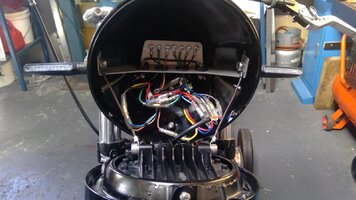
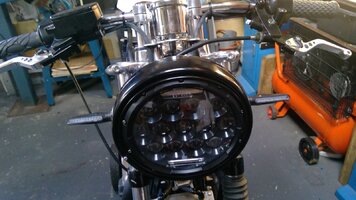
I've designed and put together a couple of much simplified harness' one for lights, the other for ignition, minus stuff I don't require, neutral light and so on. But still the spaghetti bucket lived up to it's name. I dislike untidy with a vengeance so made a bracket that sits inside the spaghetti bucket to try and keep things neat and make it easier to find and connect the wires.
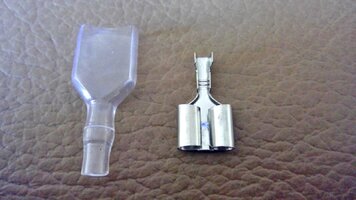
Two grommets sit in the middle for routing earth wires through to earth connections and a couple of linked, Delrin, insulated terminal bridges sit either side of them for power connections. Mostly connected up, but still have to connect the headlight cables and speedo light cables, not sure about adding idiot lights, more procrastination needed there me thinks! The cables emanating from the switchgear are very, very light gauge, not sure if they'll handle the current, even though all lights are LEDs, so I may have to either solder in heavier gauge cables or change the switchgear.
Two grommets sit in the middle for routing earth wires through to earth connections and a couple of linked, Delrin, insulated terminal bridges sit either side of them for power connections. Mostly connected up, but still have to connect the headlight cables and speedo light cables, not sure about adding idiot lights, more procrastination needed there me thinks! The cables emanating from the switchgear are very, very light gauge, not sure if they'll handle the current, even though all lights are LEDs, so I may have to either solder in heavier gauge cables or change the switchgear.