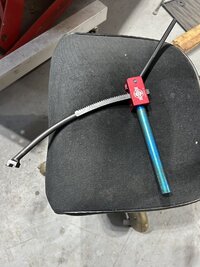
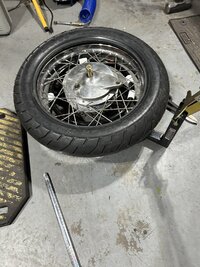
Manifold installed. Bike seems to run fine. Purchased Baja no pinch tool for installing tires. Works great!! New rear tire!
-
Enjoy XS650.com? Consider making a donation to help support the site.
XS650.com receives a small share of sales from some links on this page, but direct donations have a much greater impact on keeping this site going.
You are using an out of date browser. It may not display this or other websites correctly.
You should upgrade or use an alternative browser.
You should upgrade or use an alternative browser.
Big TX500 project, any help appreciated!
- Thread starter Made2care
- Start date
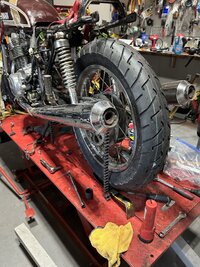
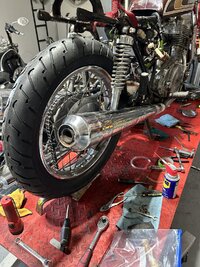

Update!! New tires are on. Took her out for her maiden voyage( 1st in who knows how long). What an incredible feeling to bring a bike back from the dead. Will probably take her out again tomorrow and then begin a total teardown to properly restore.
This bike is very fast and rides really smooth!!
This bike is very fast and rides really smooth!!
.... and then begin a total teardown to properly restore.
Well don't put the camera away yet. We want to see all of it!!

Yes… I will share lots of pics along the wayWell don't put the camera away yet. We want to see all of it!!
")
Update!! New tires are on. Took her out for her maiden voyage( 1st in who knows how long). What an incredible feeling to bring a bike back from the dead. Will probably take her out again tomorrow and then begin a total teardown to properly restore.
This bike is very fast and rides really smooth!!
If nothing is off and rattling and smoking putting on some miles can help identifying where more attention is needed
The long screwdriver to the ear and the engine listening can help. Fact finding period Looking at smoke --Oil consumption finding leaks
A rattling cam bearing or conrod or .. or . Once in parts at the work bench excessive play is a bit more difficult to find.
And needs measuring and experience
A bit driving now and taking notes .Especially it the work is done later in time Can be a plan.
Good to hear your bike is up and running! Well, now there are at least two of us with some love for the 500.
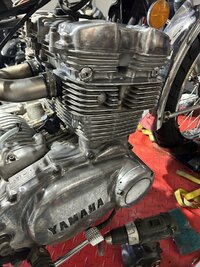

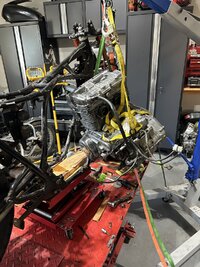
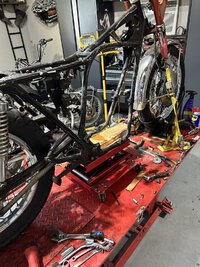
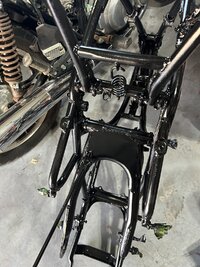
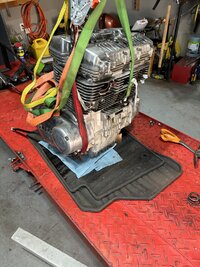
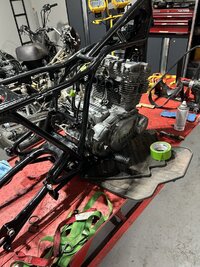
Frame is painted. Cleaning up engine some more then engine back into frame
All the bits on my workbench lol.
I did get lucky… someone already invested in the oil filter mod/ adapter( original oil filter setup only took oem odd size filters that are not made anymore) so now I can easily replace filter with common one
All the bits on my workbench lol.
I did get lucky… someone already invested in the oil filter mod/ adapter( original oil filter setup only took oem odd size filters that are not made anymore) so now I can easily replace filter with common one
Attachments

Last edited:
Amazing what one can accomplish on their days off from work. I’m off for two weeks and took advantage of it on the first day.
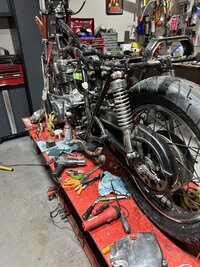
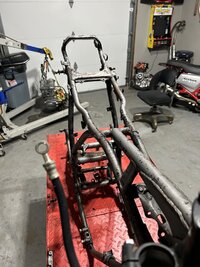
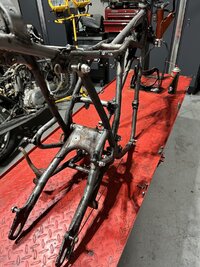
As mentioned above, after stripping the frame , I decided to go with a high temp, oil and gas resistant enamel , which I’ve had success with in the past. No powder coating here, just good old diy and it’s just as good!
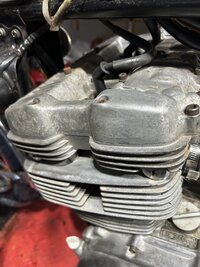
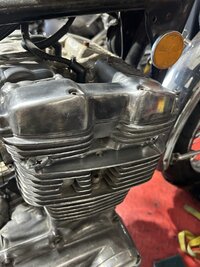
I’m comfortable with the engine clean up and polishing, not perfect but much better.
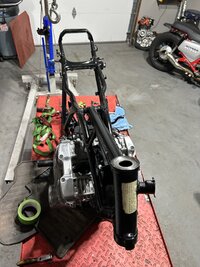
Next step will probably be rebuilding the forks.
Having fun with this one
As mentioned above, after stripping the frame , I decided to go with a high temp, oil and gas resistant enamel , which I’ve had success with in the past. No powder coating here, just good old diy and it’s just as good!
I’m comfortable with the engine clean up and polishing, not perfect but much better.
Next step will probably be rebuilding the forks.
Having fun with this one


Santa has left , so back to work
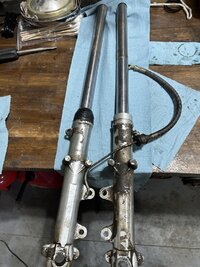
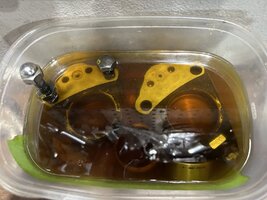
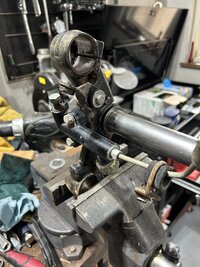
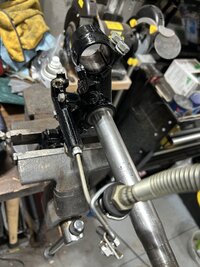
Tackling the forks…. Less pieces than goldwings
Also rebuilding front brake caliper and master cylinder.
Parts on the way, Santa passed on bringing me those!
Tackling the forks…. Less pieces than goldwings
Also rebuilding front brake caliper and master cylinder.
Parts on the way, Santa passed on bringing me those!
Attachments
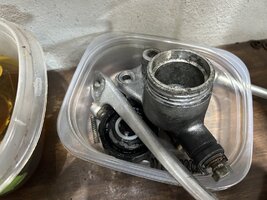
Balls and races or new tapered bearings?Bearings were shot , new bearings on the way
Tapered bearingsBalls and races or new tapered bearings?
If you got the AllBalls kit that includes grease seals for both bearings, do install the bottom one. along with the original Yamaha rubber ring seal, but no need to install the top one. It really doesn't do anything. Gravity will naturally pull the grease down so no need for a seal on the very top.
That’s good to know. Thanks for the heads upIf you got the AllBalls kit that includes grease seals for both bearings, do install the bottom one. along with the original Yamaha rubber ring seal, but no need to install the top one. It really doesn't do anything. Gravity will naturally pull the grease down so no need for a seal on the very top.
Similar threads
- Replies
- 4
- Views
- 2K
- Replies
- 3K
- Views
- 413K
- Replies
- 438
- Views
- 52K