Steering stem nut: Round 2.

So, jus' to recap, the original nut was buggered courtesy a previous owner. Not just buggered, but a very sloppy fit at that. Ordered a NOS one from Ebay and it was also a sloppy fit. So much so that you could screw it on just by rocking it back and forth and have it walk it's way down the threads... no turning needed. And.... the diameter is too big. It wouldn't fit inside the top triple hole.
So first things first... the loose fit:
Like the original, it came with two slots cut into it...
View attachment 241084
Decided to add a slot at every flat on the nut. Ain't used my hacksaw in so long I couldn't find it for a bit...
View attachment 241085
Then I used the vise to close down between the slots until I got a nice snug fit on the steering stem. I say snug... actually went too tight and had to work it some before it would screw on and off by hand.
So that cured the sloppy fit, but now it's tapered and still too large in dia to fit the hole in the top triple...
My Atlas is still a bit sickly, but feelin' good enough to tackle this job. So he said anyway. I put some aluminum tape on the jaws so I didn't ruin the chrome. Centering was achieved by putting a dead center in the tailstock, screwing the nut down on the steering stem and tightening the nut in the chuck. Once I had the chuck good and tight, it was turn the chuck out one thread and loosen the tailstock one thread. Rinse and repeat until the nut finally unscrewed itself...
View attachment 241086
View attachment 241088
Oh... and I didn't have a tailstock center big enough for the hole in the steering stem... so I have to half ass one of those too from a bolt...
View attachment 241087
Used my homemade tool post grinder with a well worn 1/16" cutoff wheel....
View attachment 241089
Kept grinding it down a few thousands at a time with test fits in between passes until I got a snug interference fit. And that just naturally cut all the taper off it.
View attachment 241090
View attachment 241091
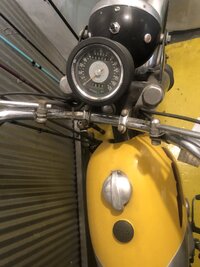
...and here we are. It's a little more than hand tight in the hole and on the stem, but is easily tightened with a socket.
View attachment 241102
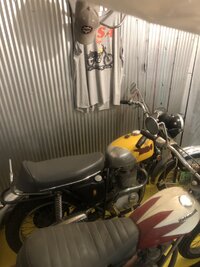
Cleaned and reinstalled the bearing balls and put it all back together. Bearing tension is now easily adjusted with a socket and the upper triple is snug around the nut... I'm happy. Victor sez he's happy too.
Where there's a will, there's a way
 View attachment 241106