my HughsHandBuilt hydrolic clutch install

sseres

XS650 Junkie
Messages
512
Reaction score
12
Points
18
Location
Portland, OR
full

excited to have gotten my clutch upgrade cable in the mail this week. I had some time today but won't be able to finish the whole thing.

full

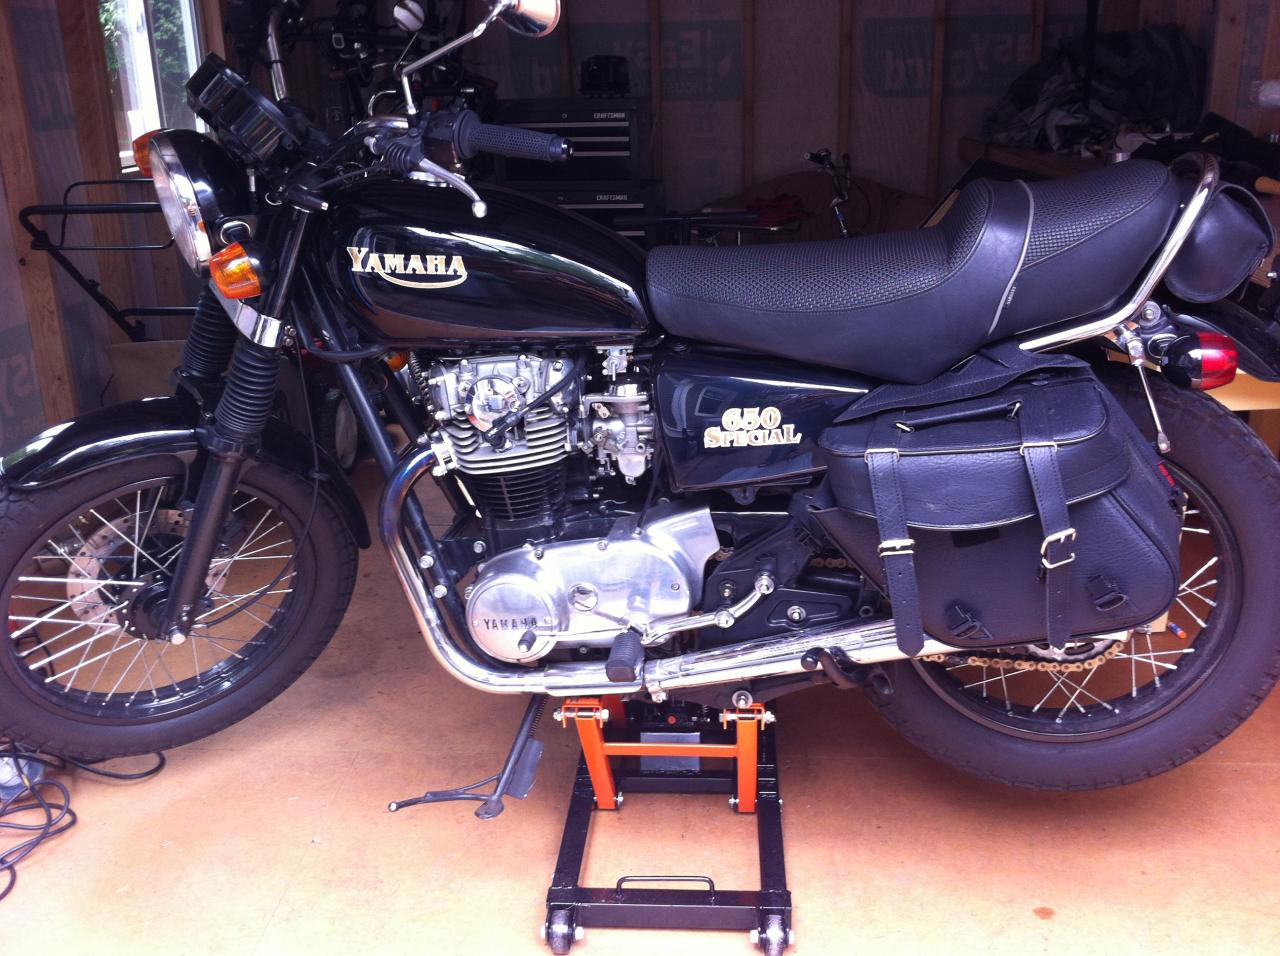
First thing I did was assemble my tools and get the bike up on my lift.

full

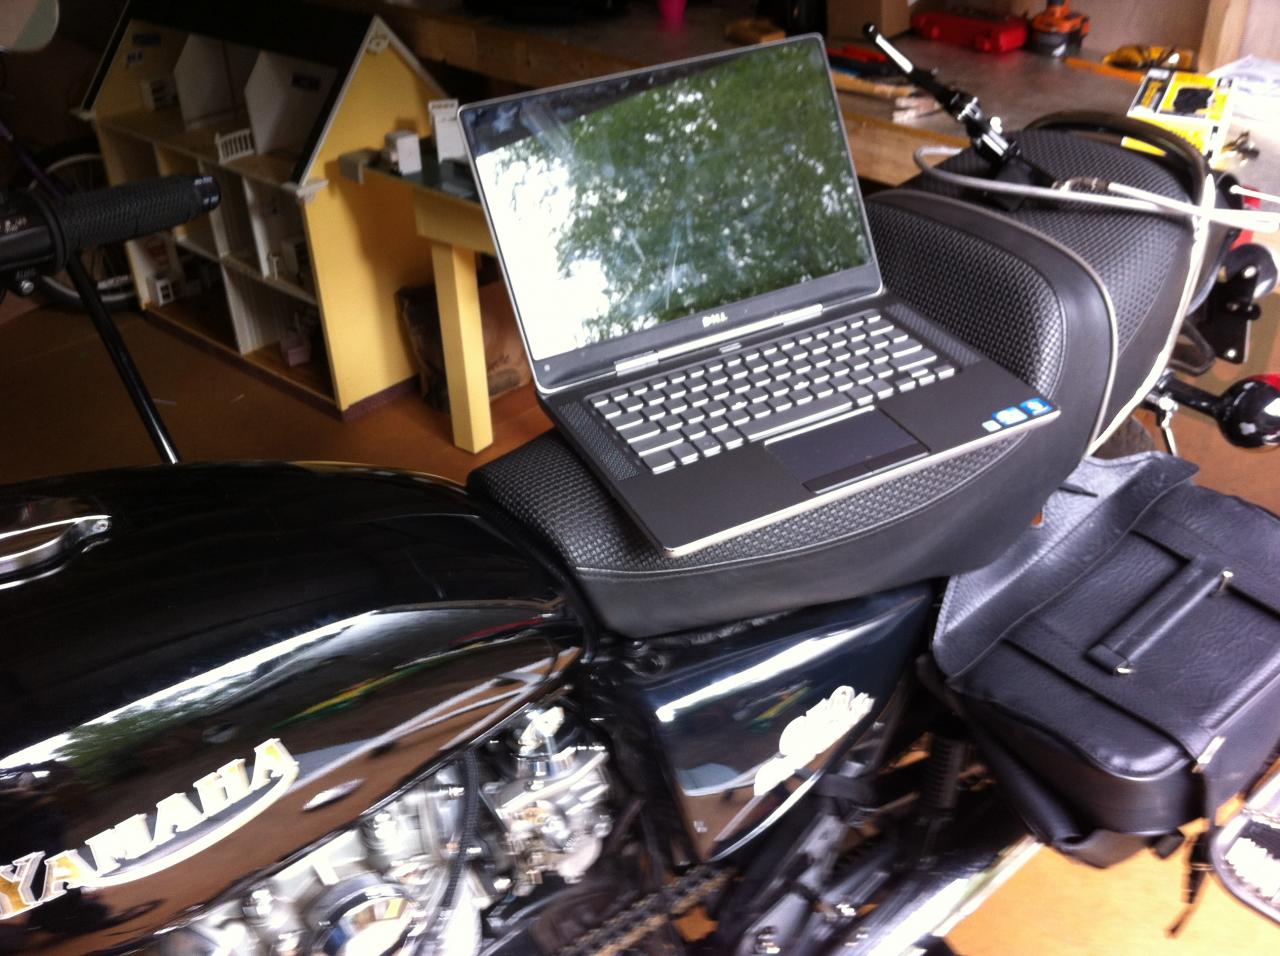
I don't know how you work on motorcycles without wifi and xs650.com up on the computer!

full

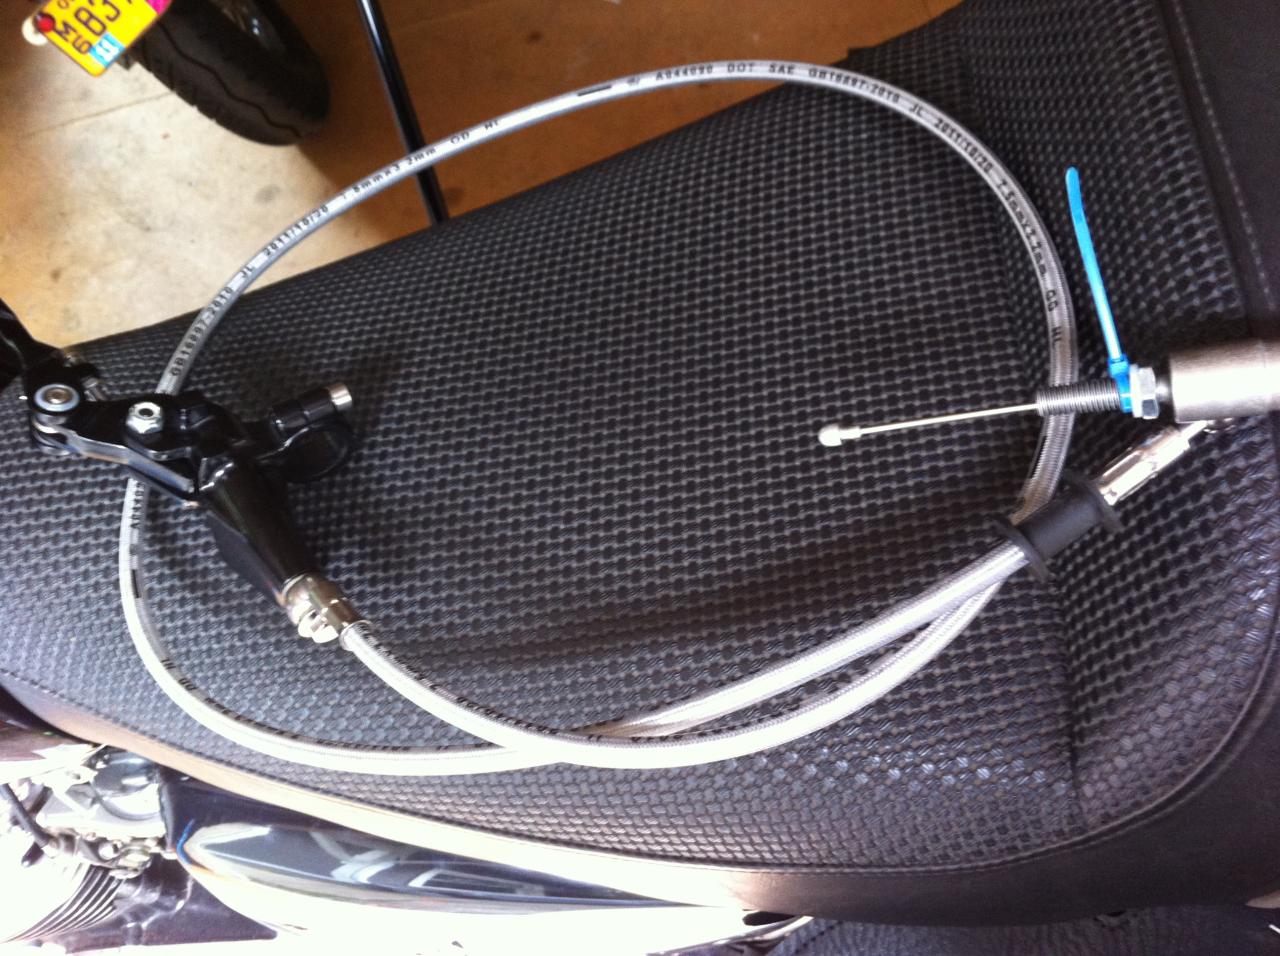
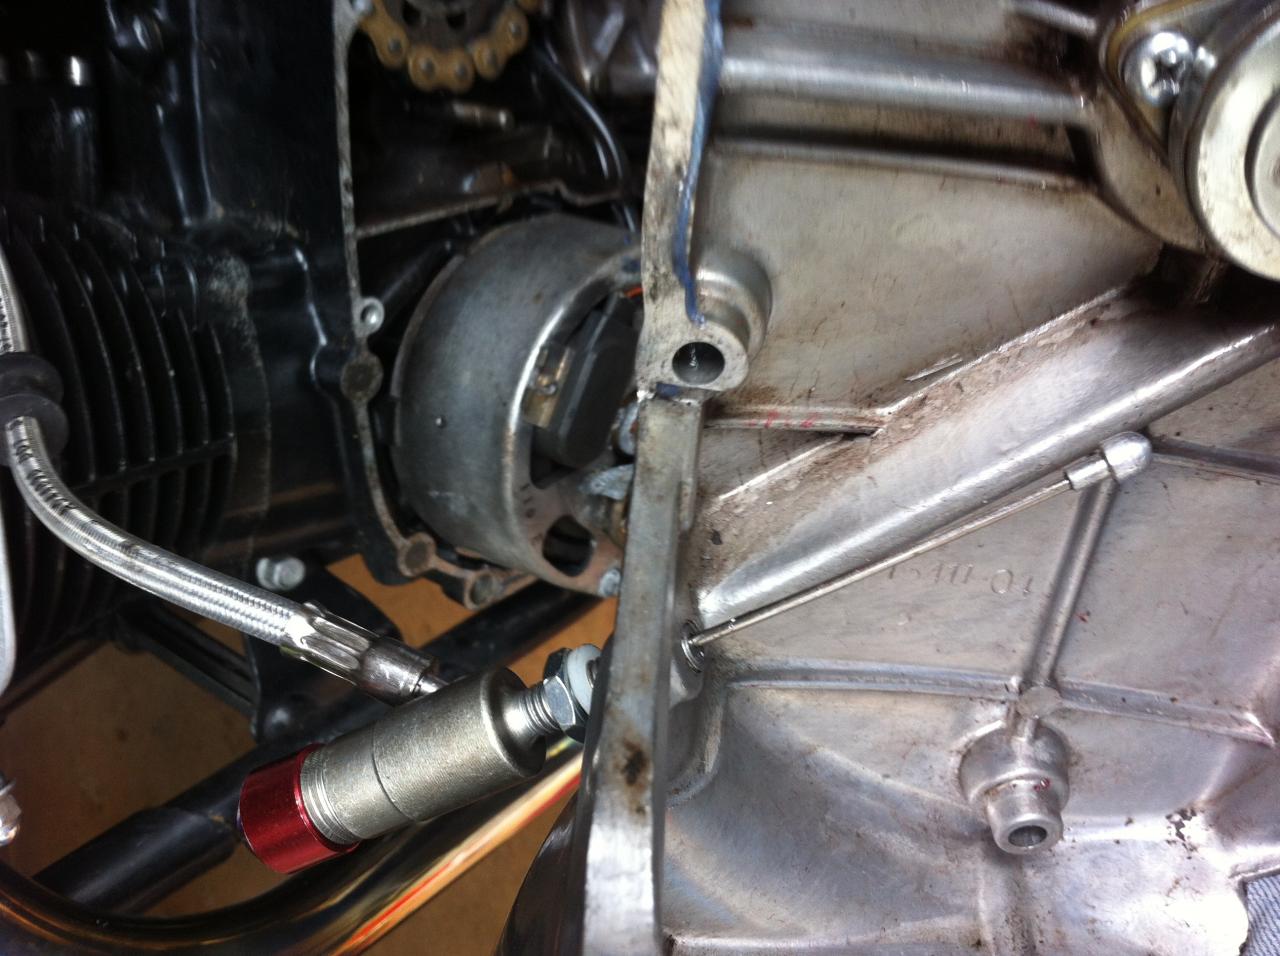
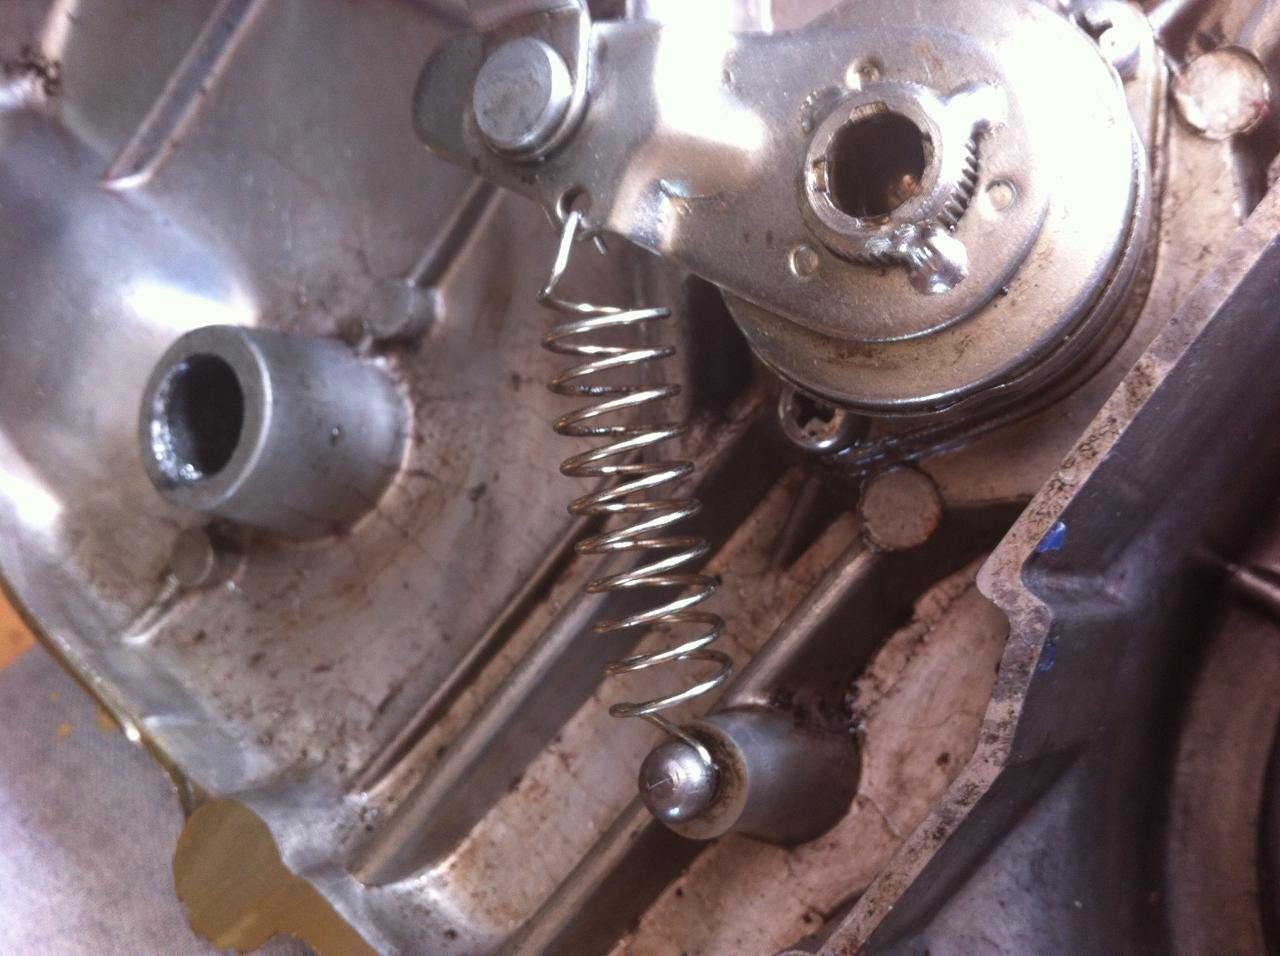
just a view of the original cabling how it inserts into the transmission.

full

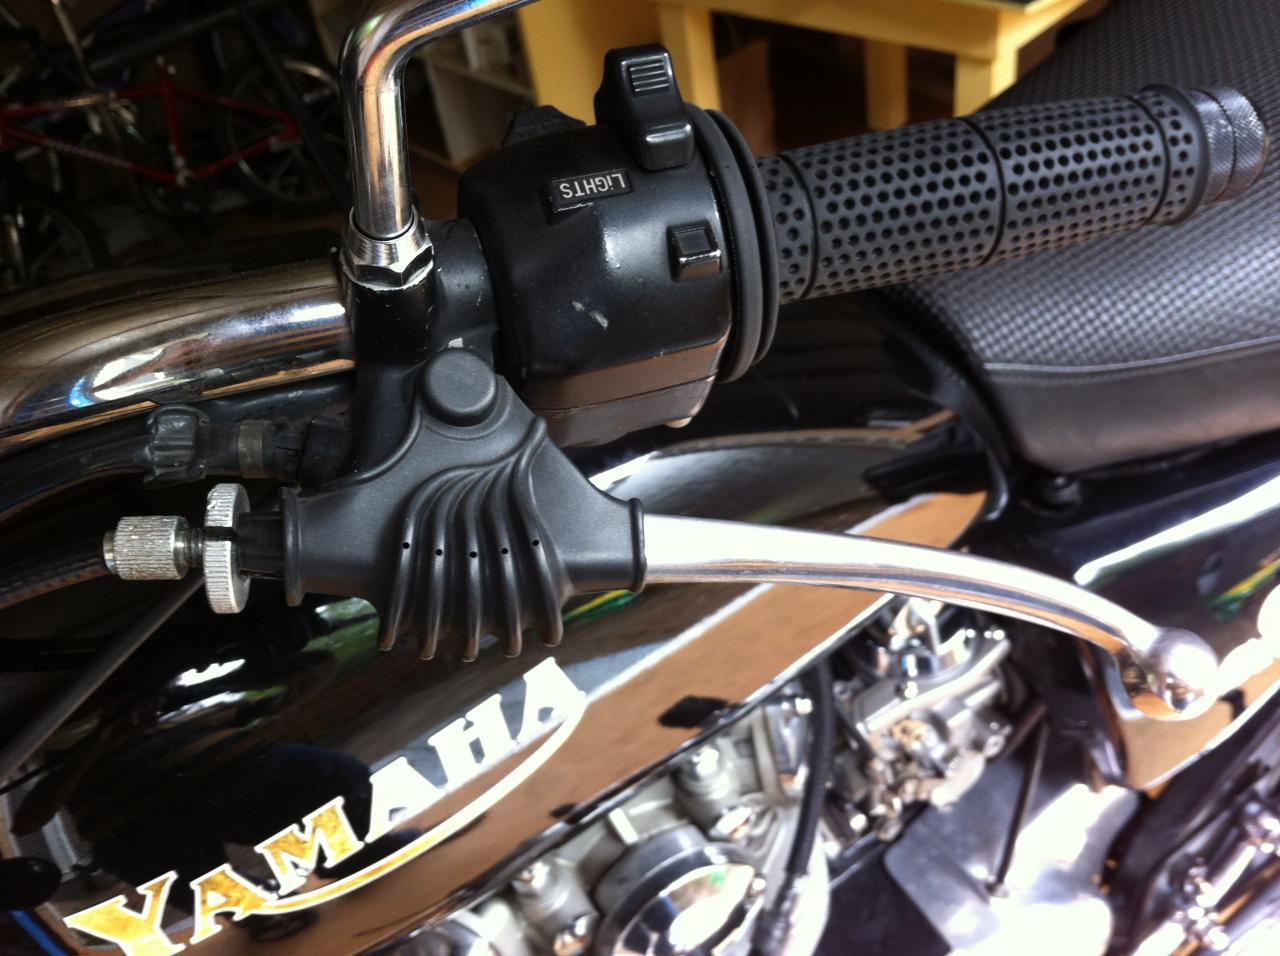
the handlebar before I tear into it. It was at this time I realized the mirror is attached to the dang clutch level. I guess I'll have to figure out that one later.

full

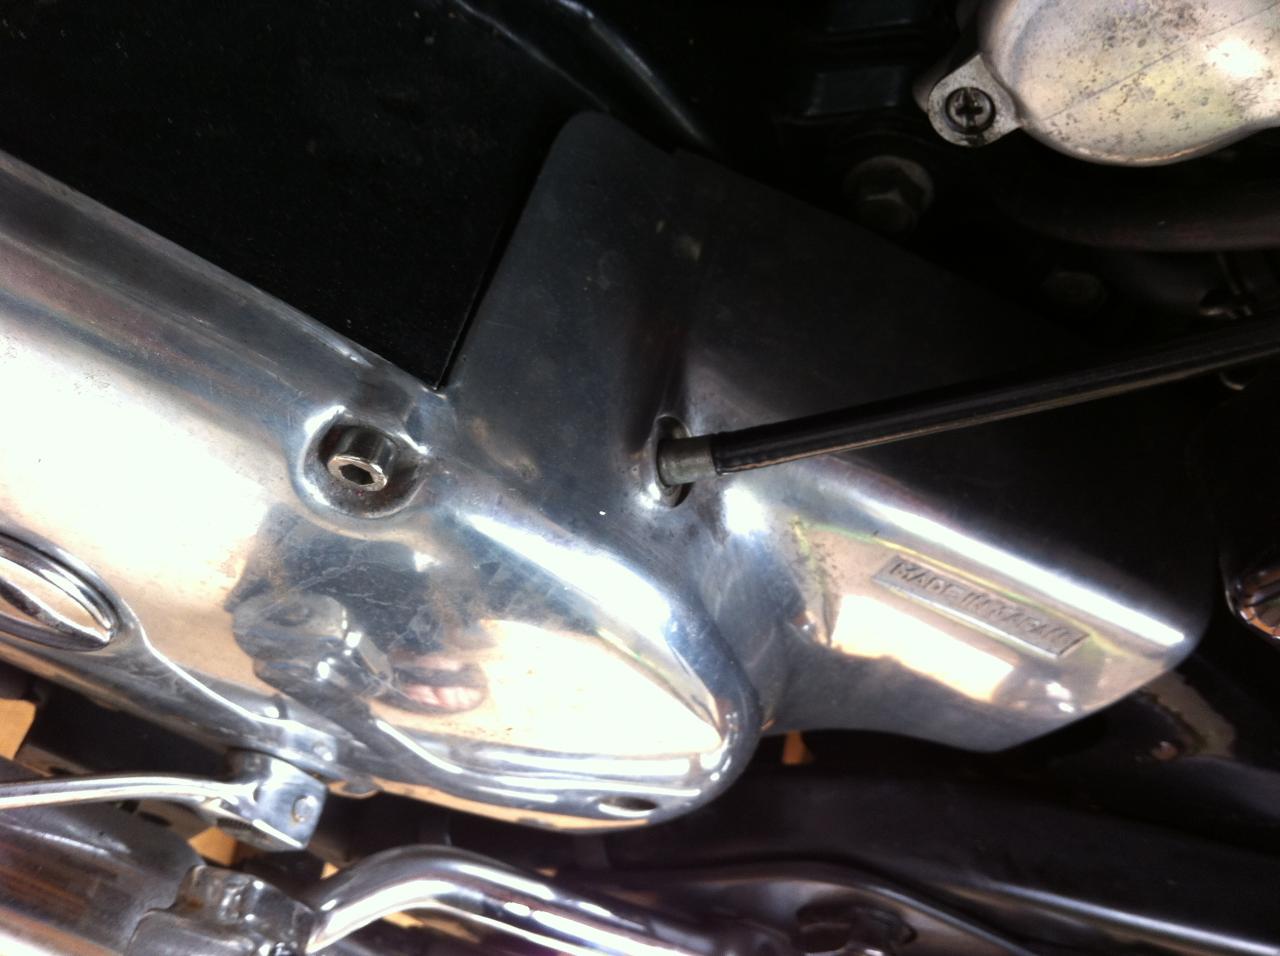
First few steps involve taking off the shifter and left peg. Not too big of a deal. All of the screws that hold it in are the same size except for the very front one, and the frontmost on the bottom which are a bit longer . I was happy not to see the "oil death" that Hugh warned might be under there.

full

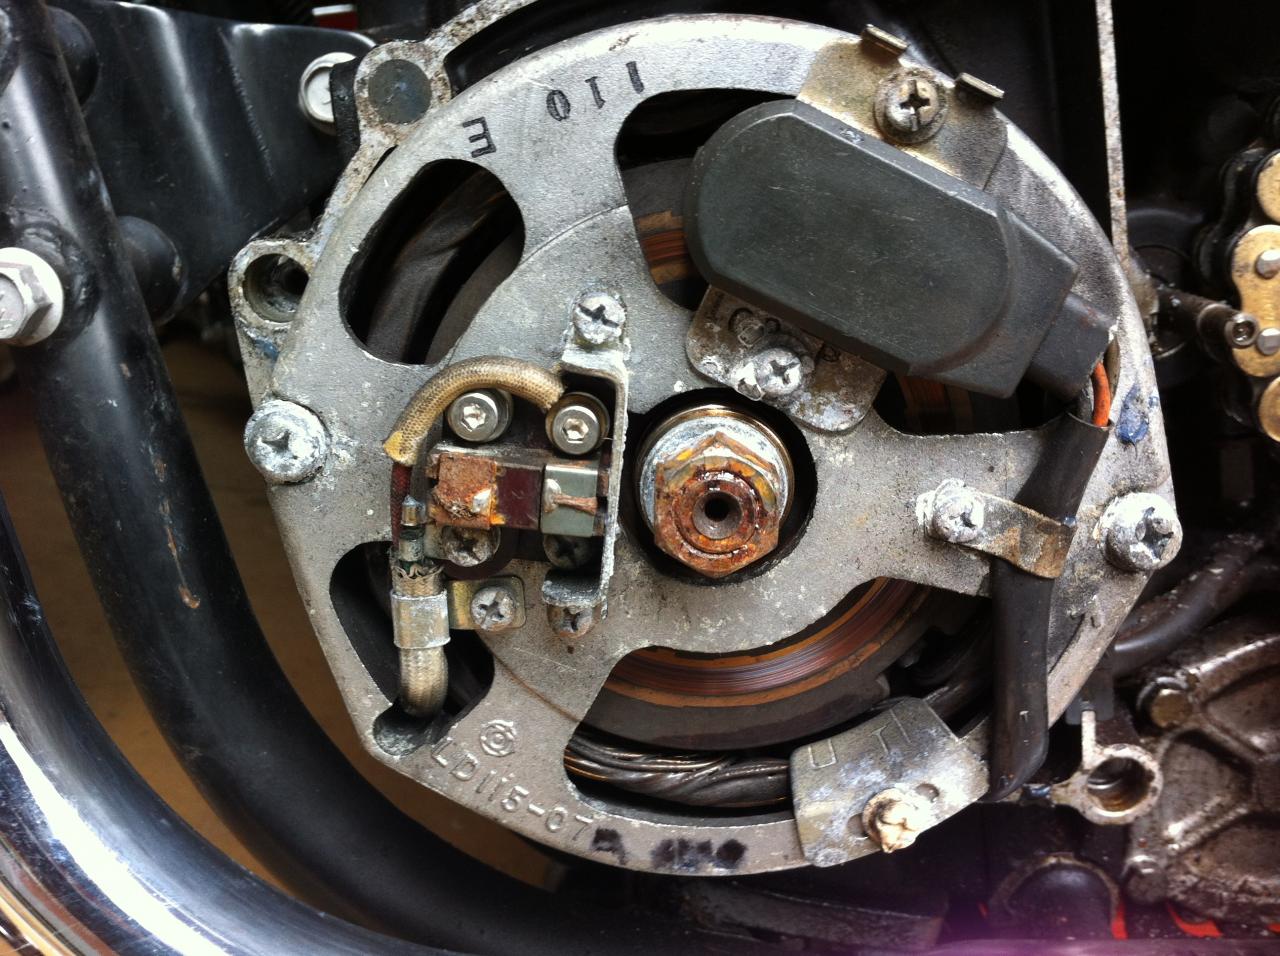
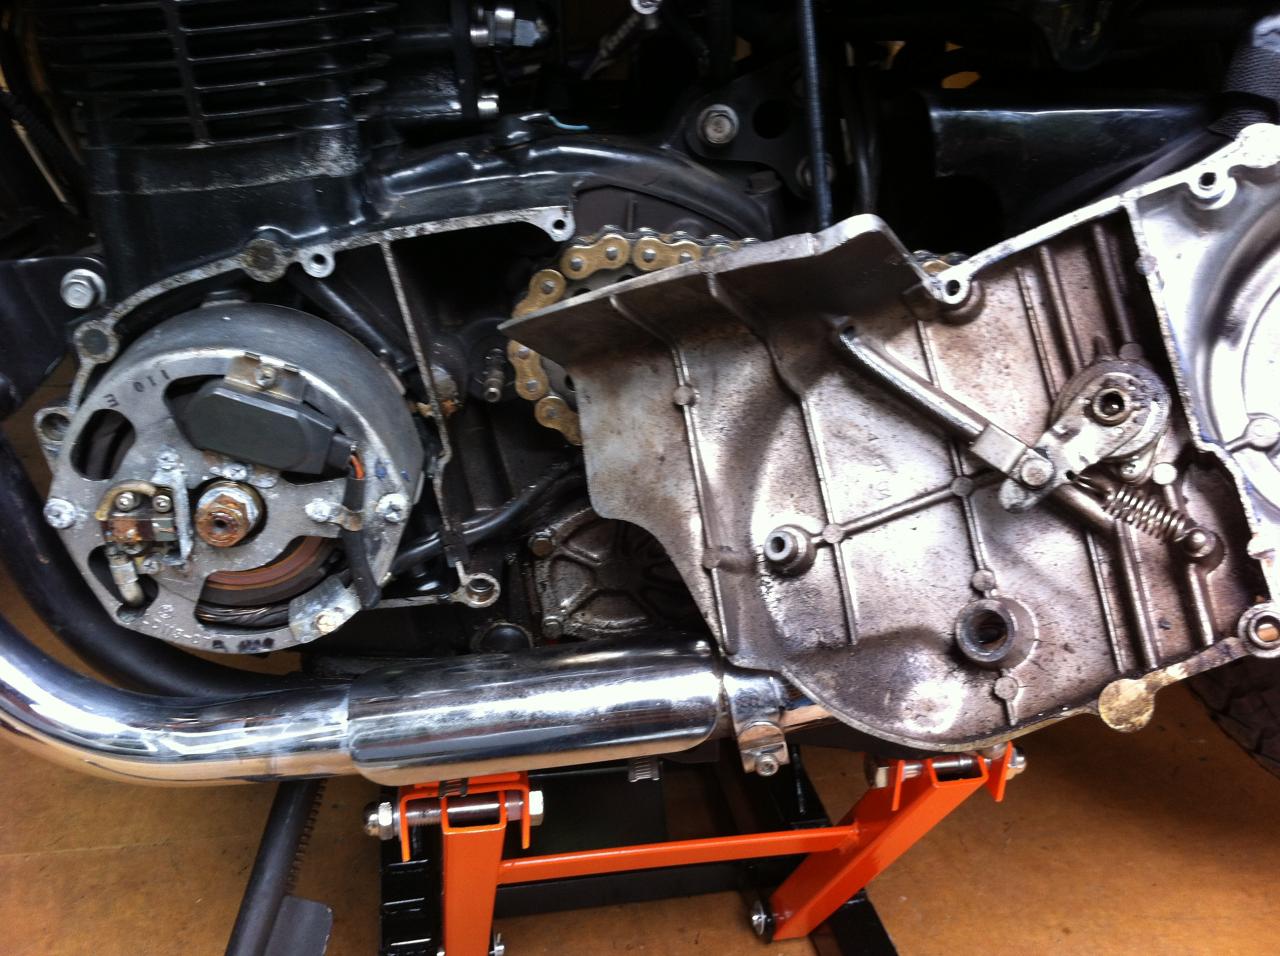
I really was surprised to find what looks like corrosion on the generator. Not sure if it's a new or old problem actually. I've not been having electrical charge issues with the bike, although I do ride a lot, and when I'm not it's on a battery tender. I think this will be something I tackle when I do the 277 rephase next winter.

full

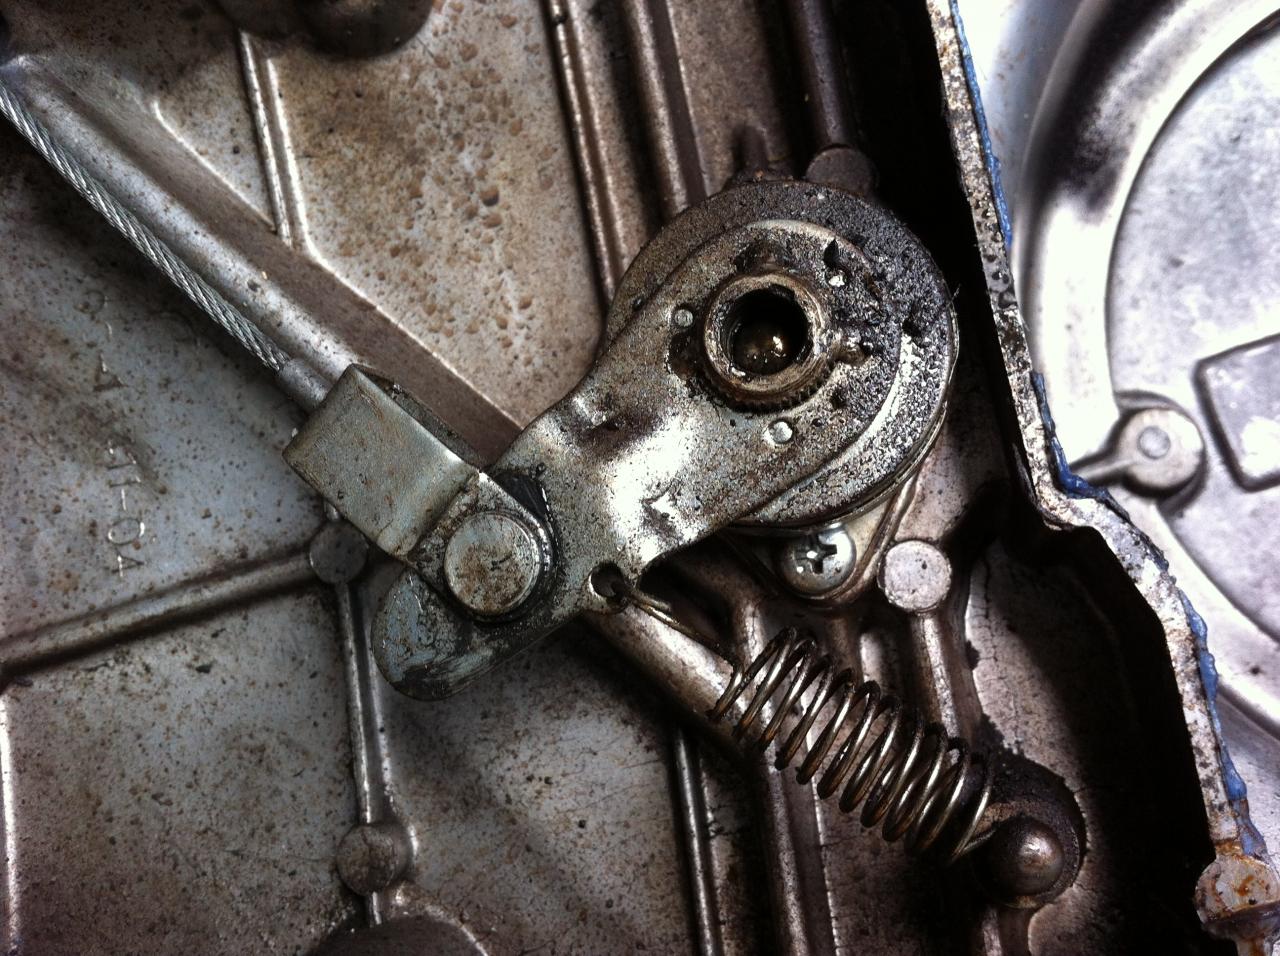
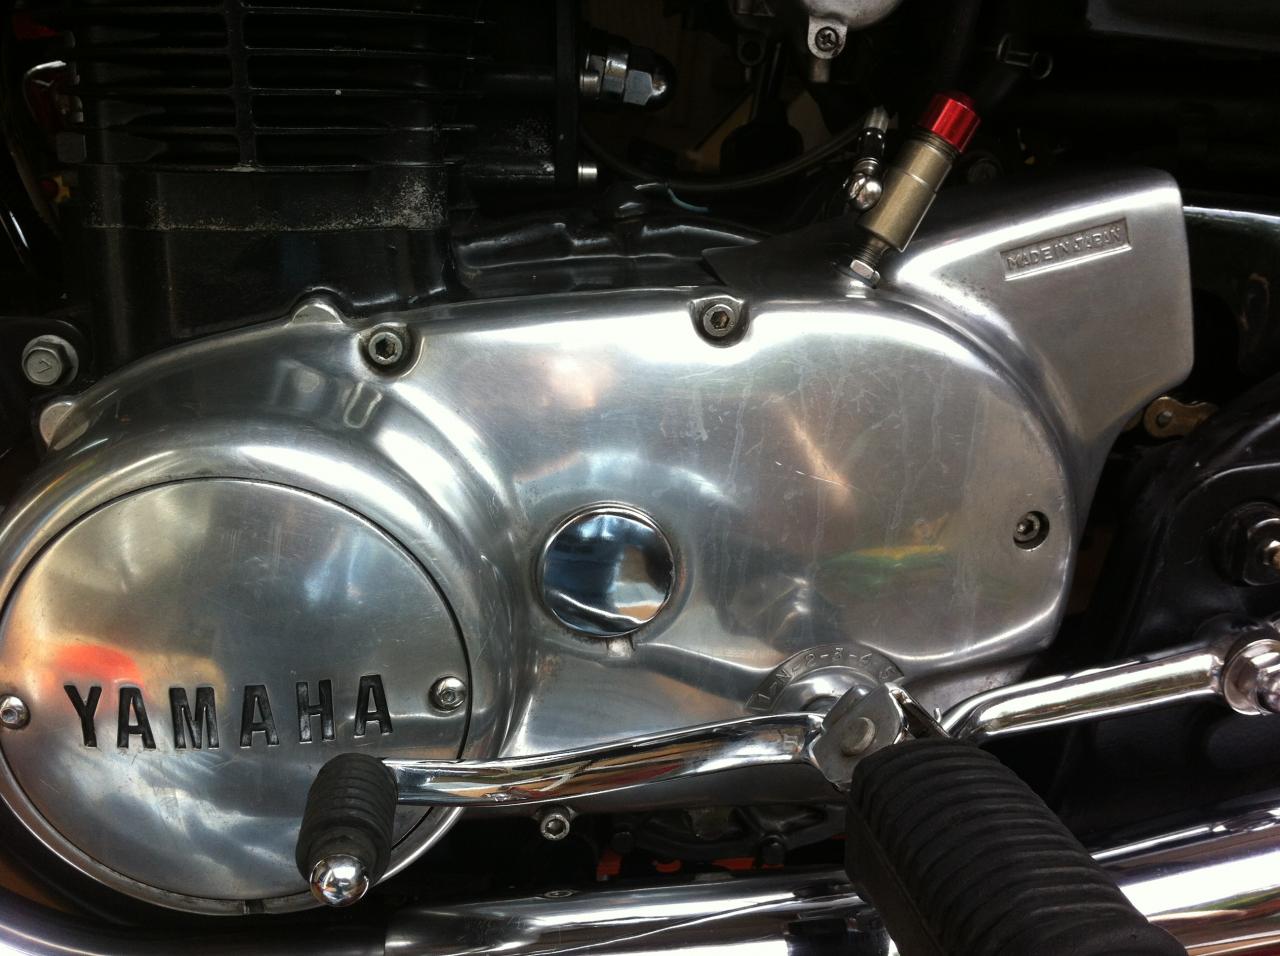
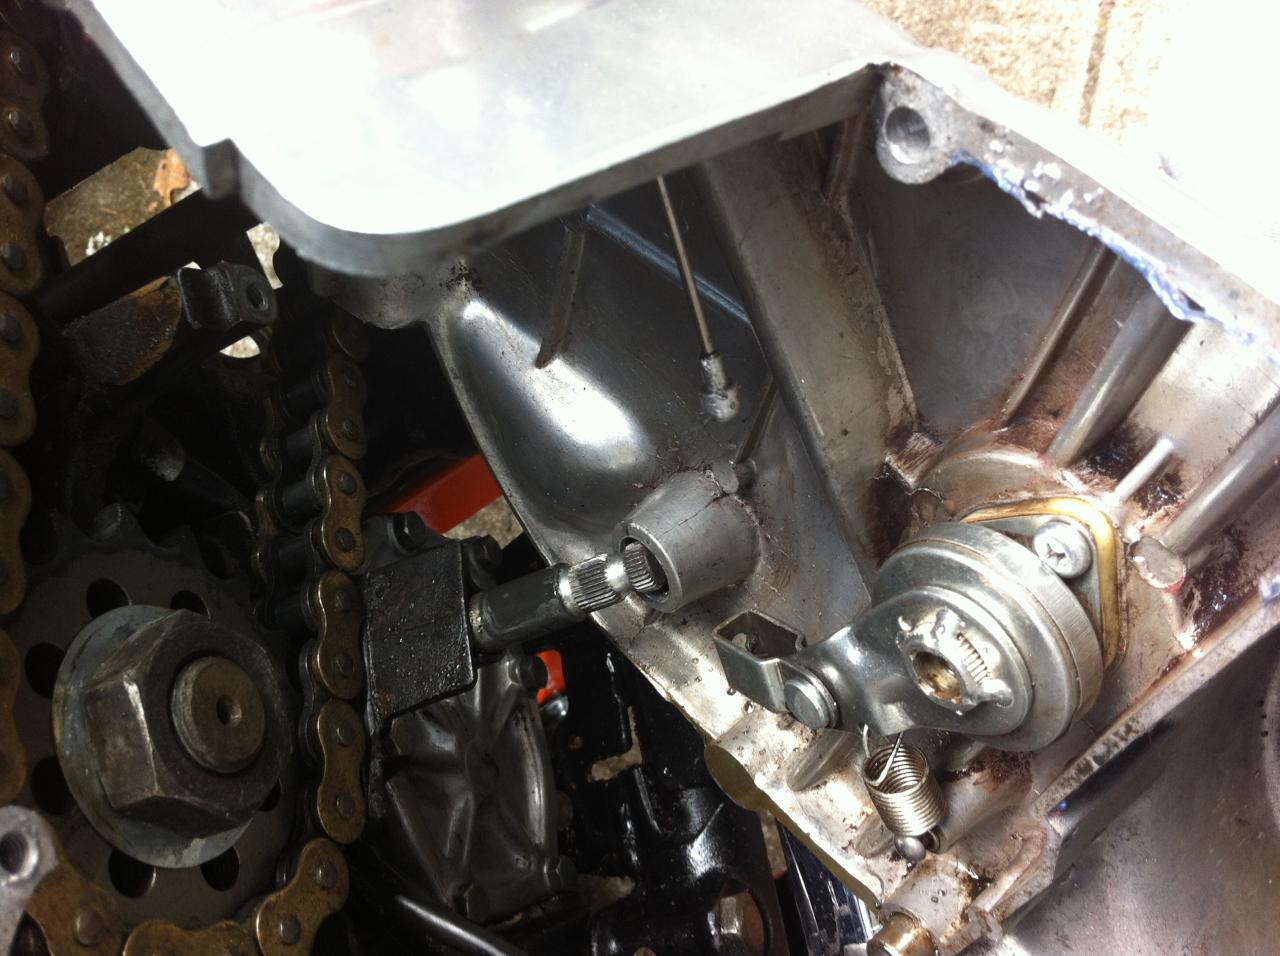
Close up of the clutch actuator. A bit of a grimey mess. I was reading up on best cleaning practices and it seems WD40 will be my friend here.

full

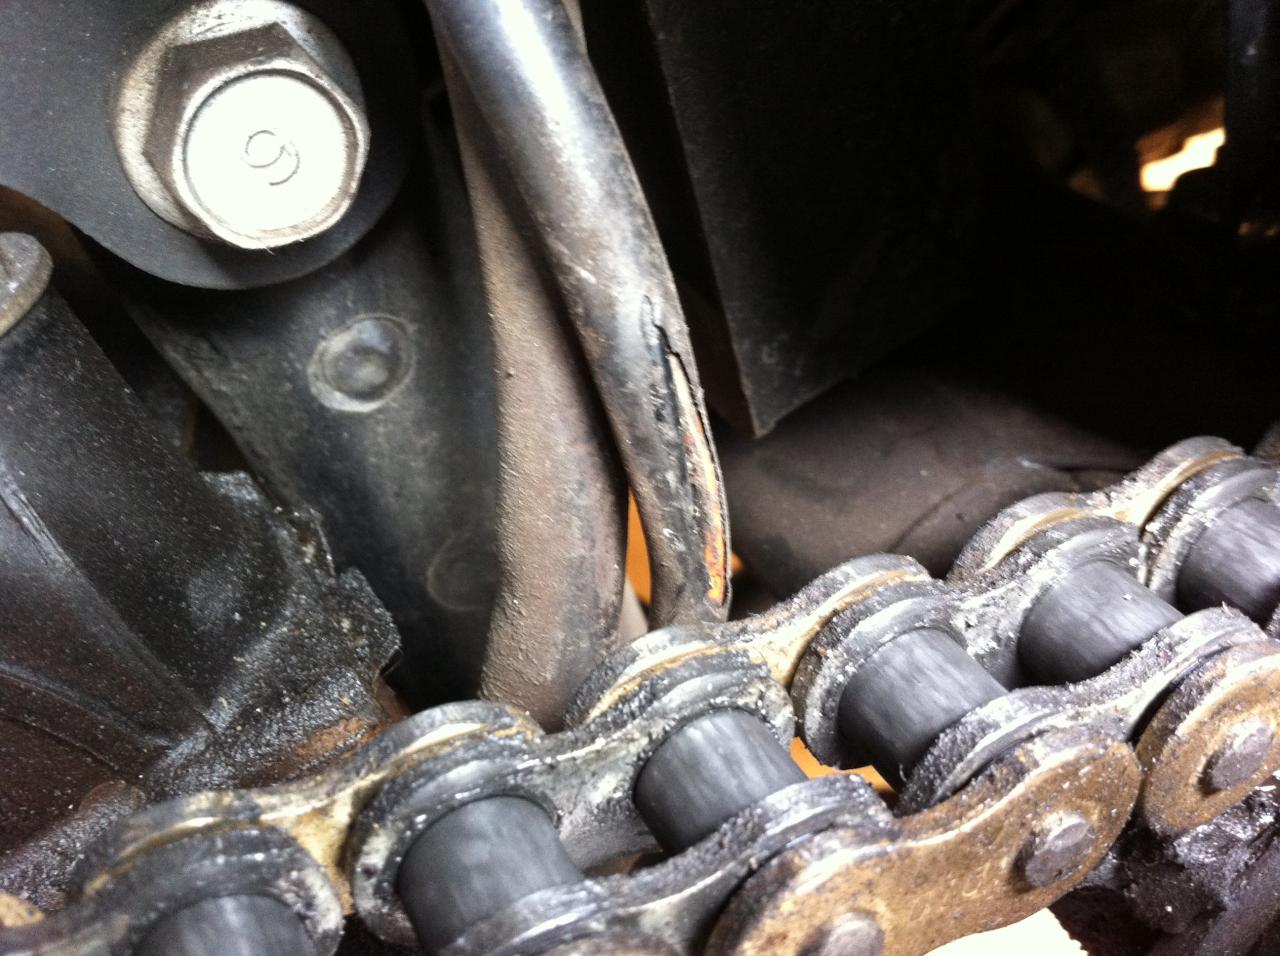
This was another weird surprise. Appears this harness had been touching the chain! Check out how it didn't get the inner wires, just the outter casing. I'll try to tie this up more securely with some zip ties before I put everything back together.

full

This was an "oh-dammit." I accidentally broke the original clutch lever/mirror mount taking it off.:banghead:

full

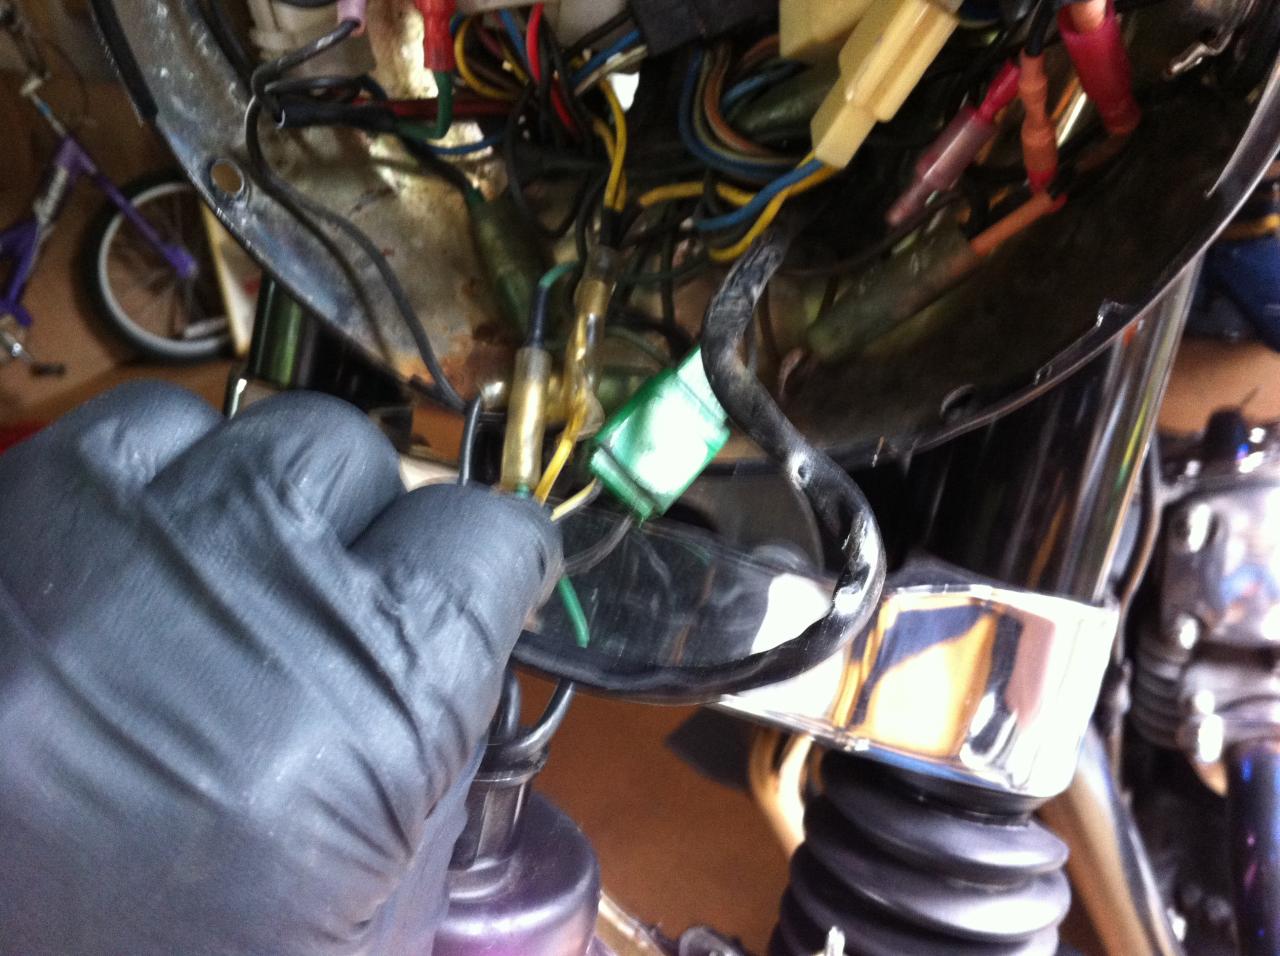
This is the "rat's nest" in the headlight. It was really easy to trace the clutch switch in there and disconnect it.

full

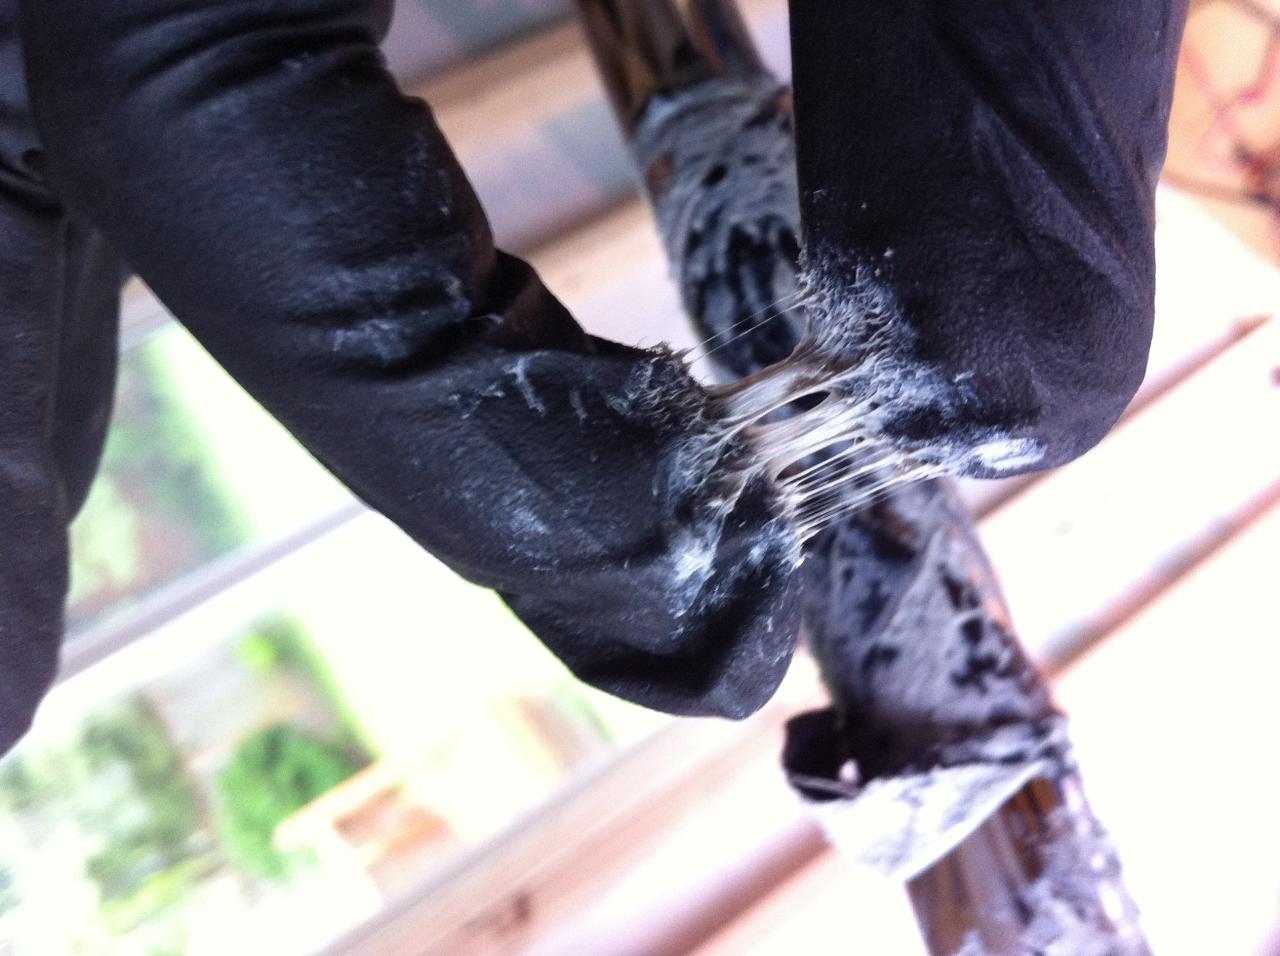
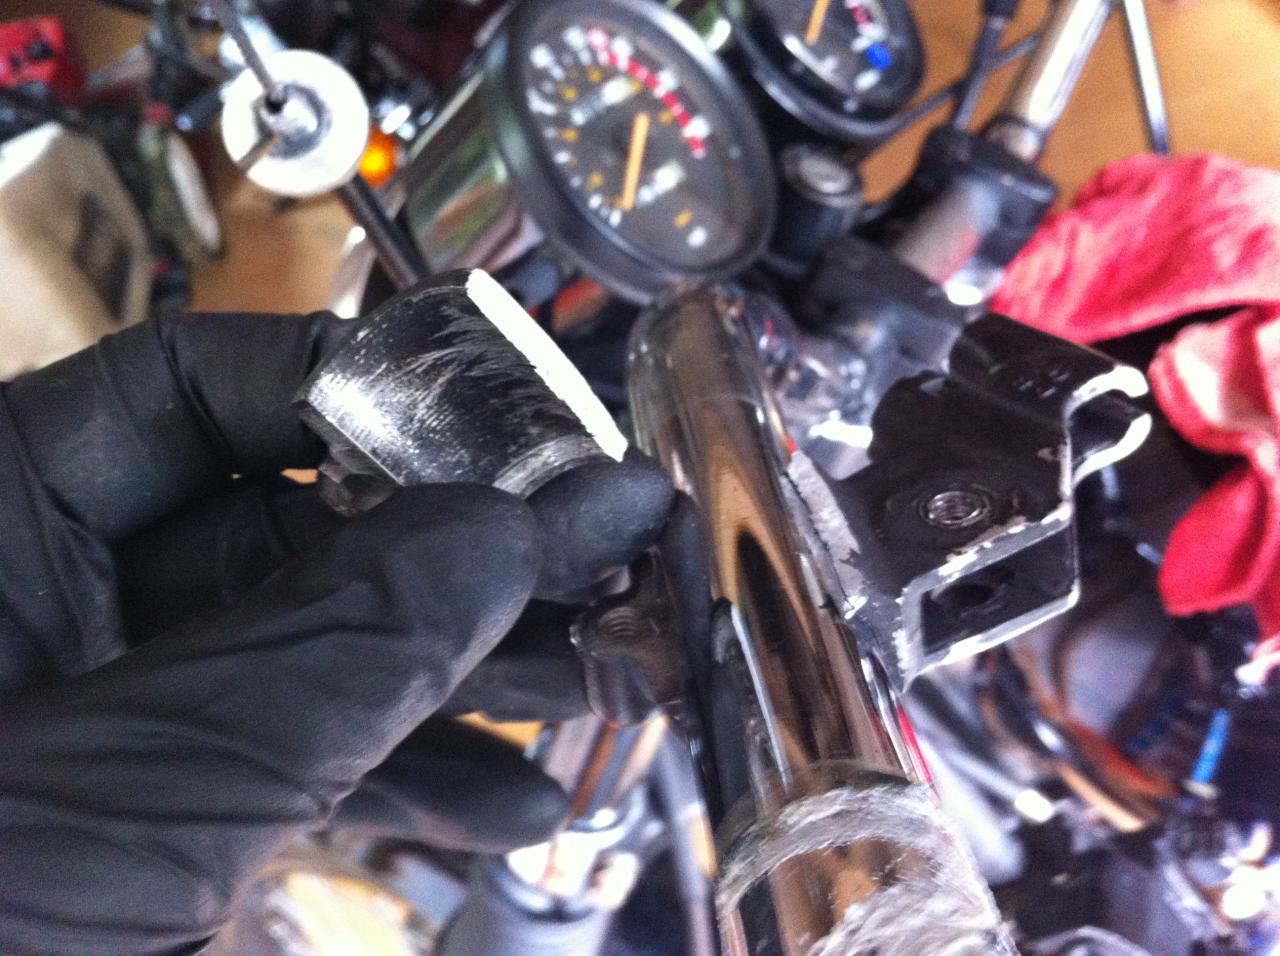
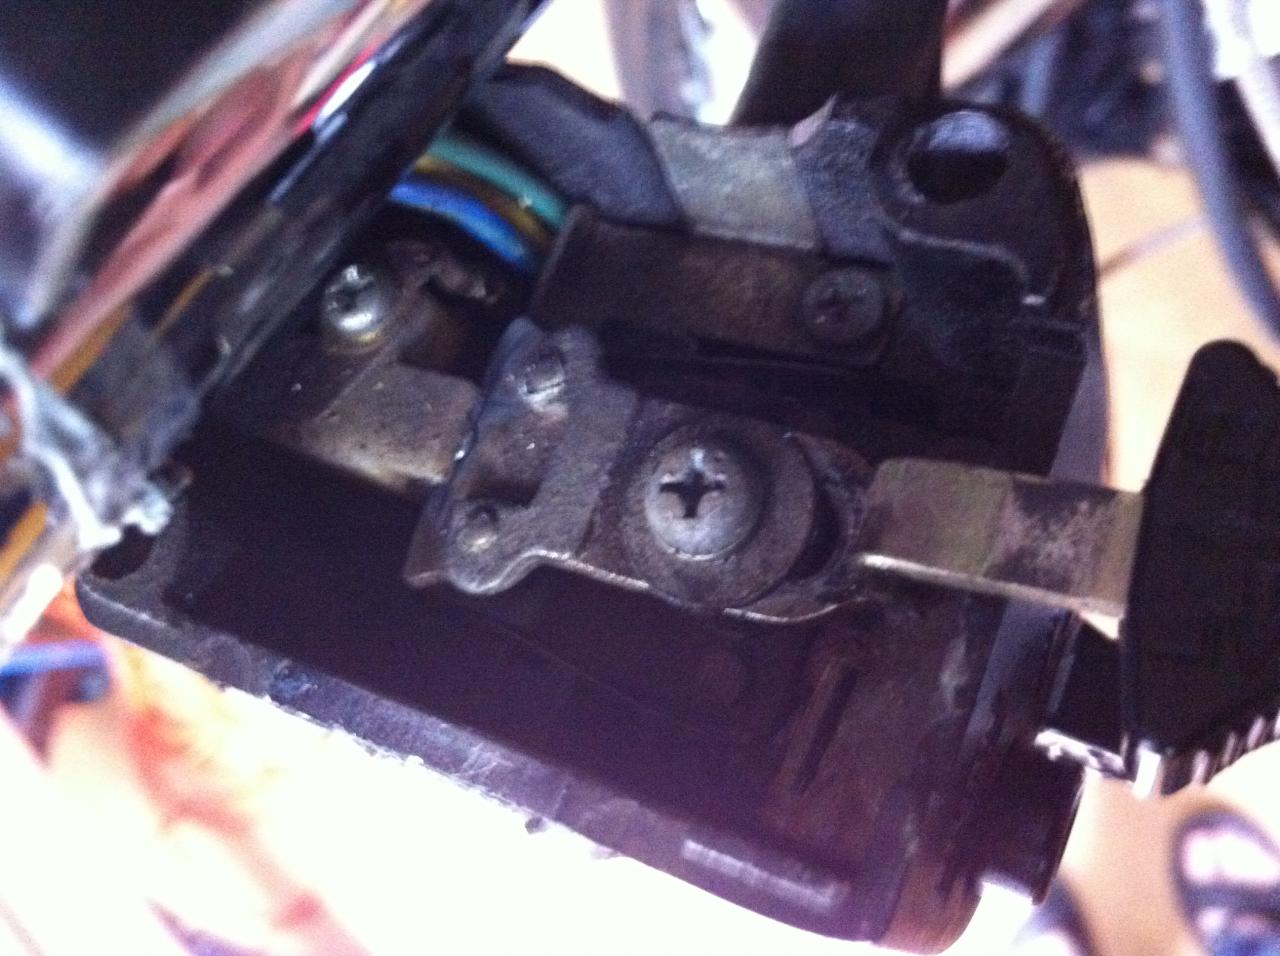
Getting the grip off, I ran into whatever the frack this is.

full

Since I had the turn signal switch open, I shot it with some wd40 to get the cancel function to loosen up a bit.

full

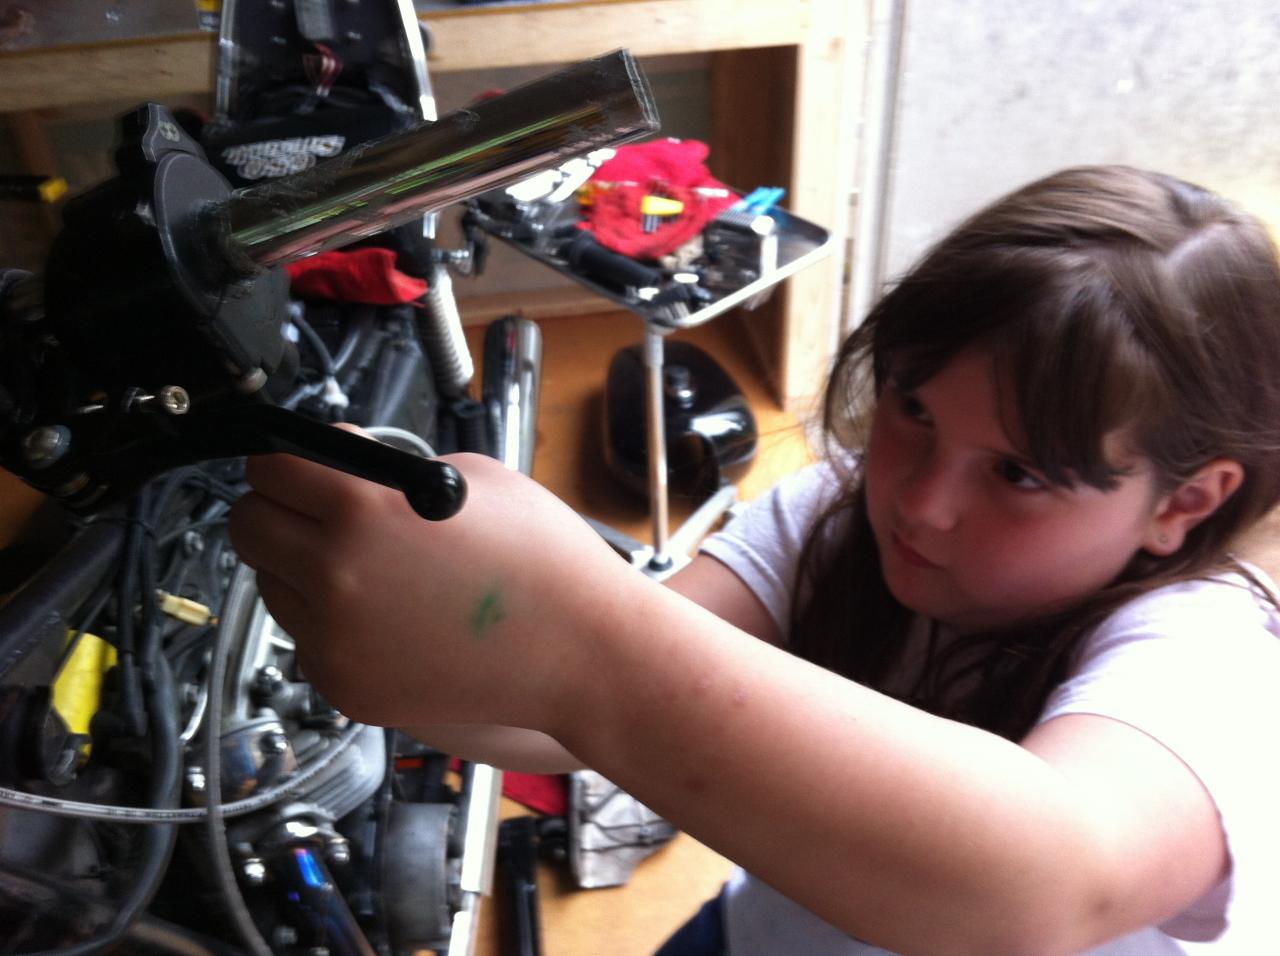
My daughter couldn't pass up an opportunity to lend a hand.

full

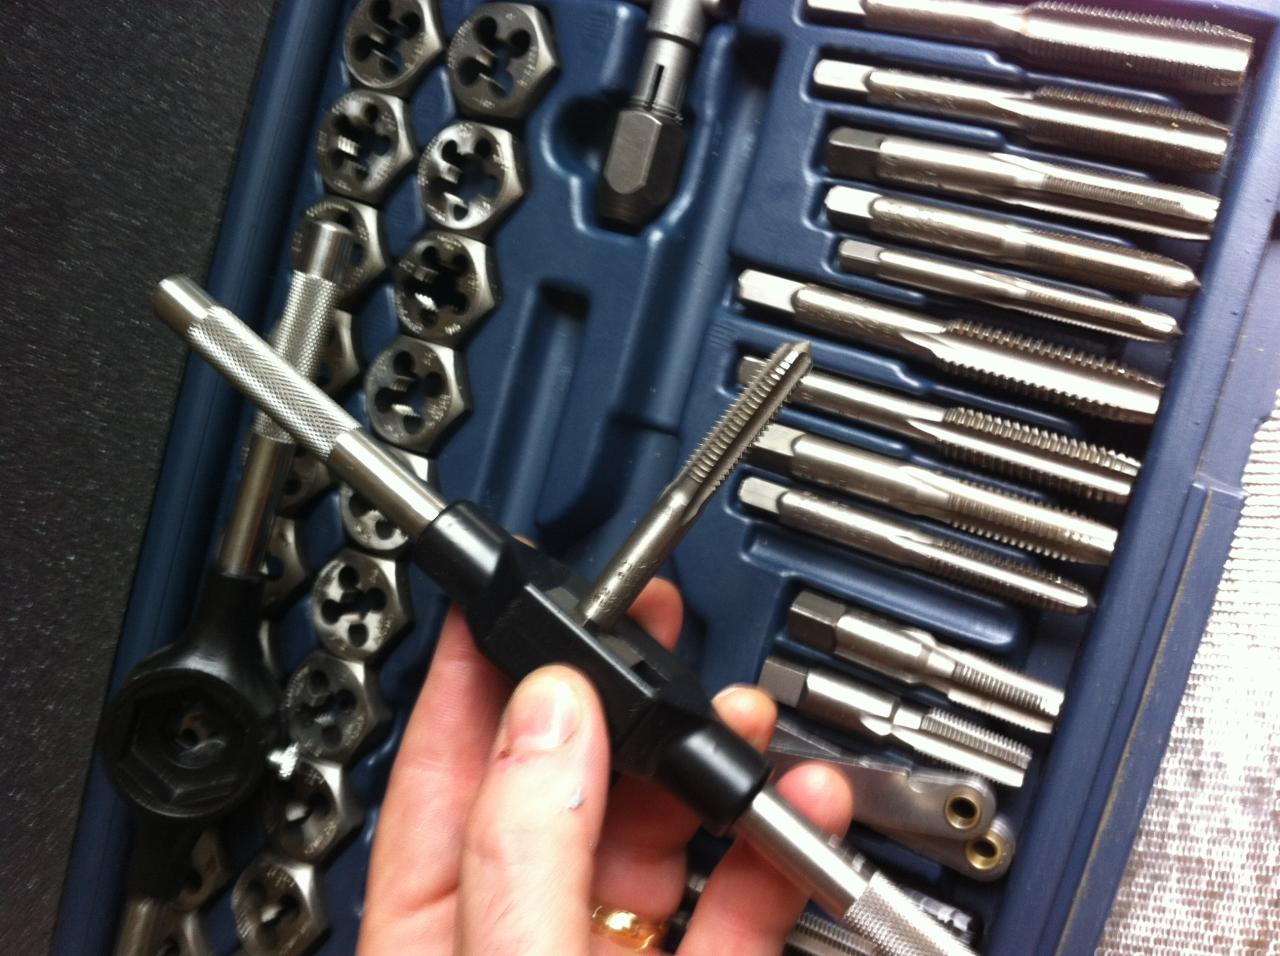
Everybody needs to have a coworker like mine who has stuff like this to borrow.

full

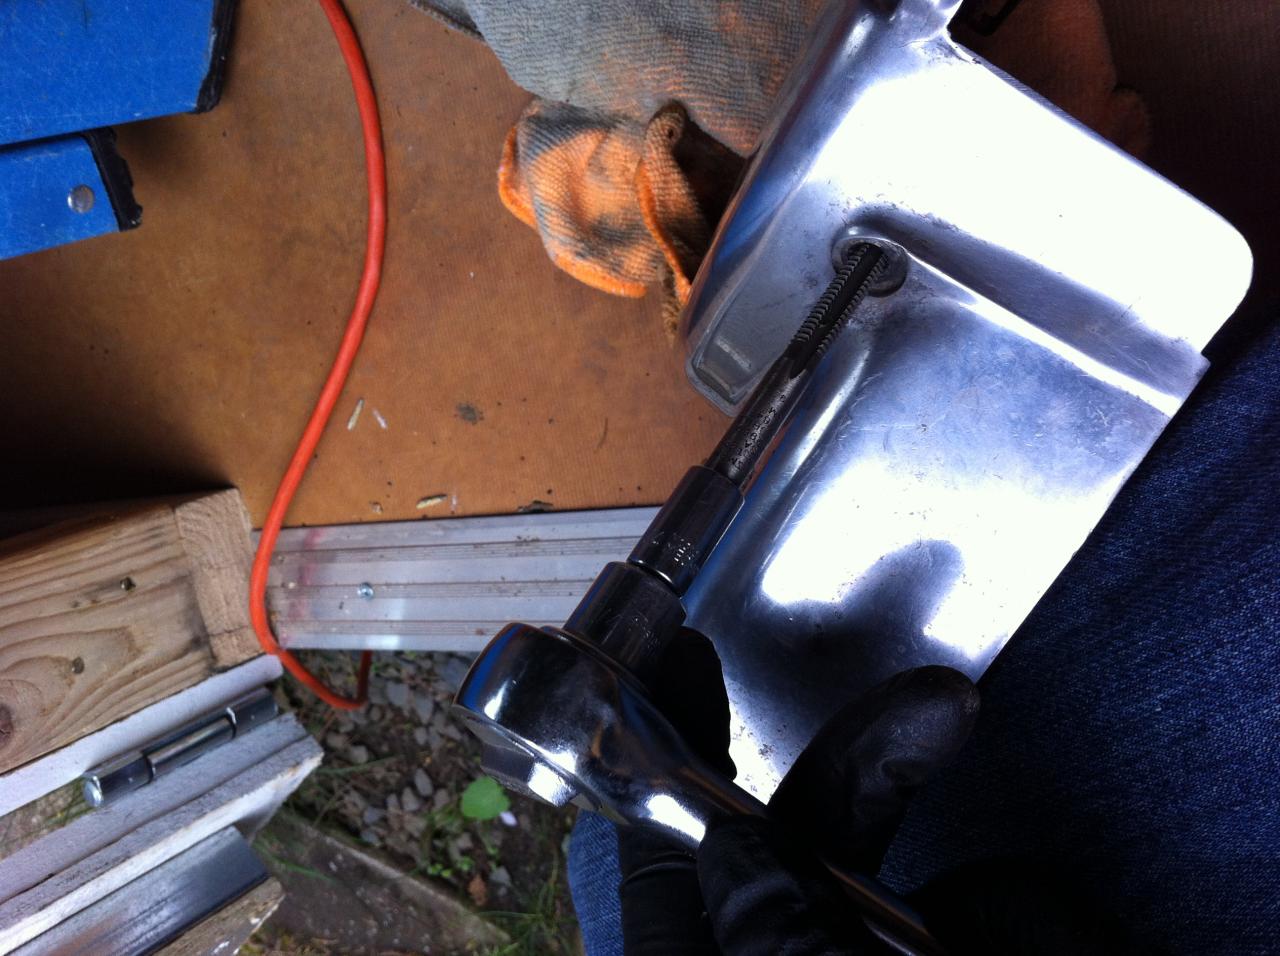
I did have to invent a more clever way to get the bit in the cover. a socket set driver did a good job.

full

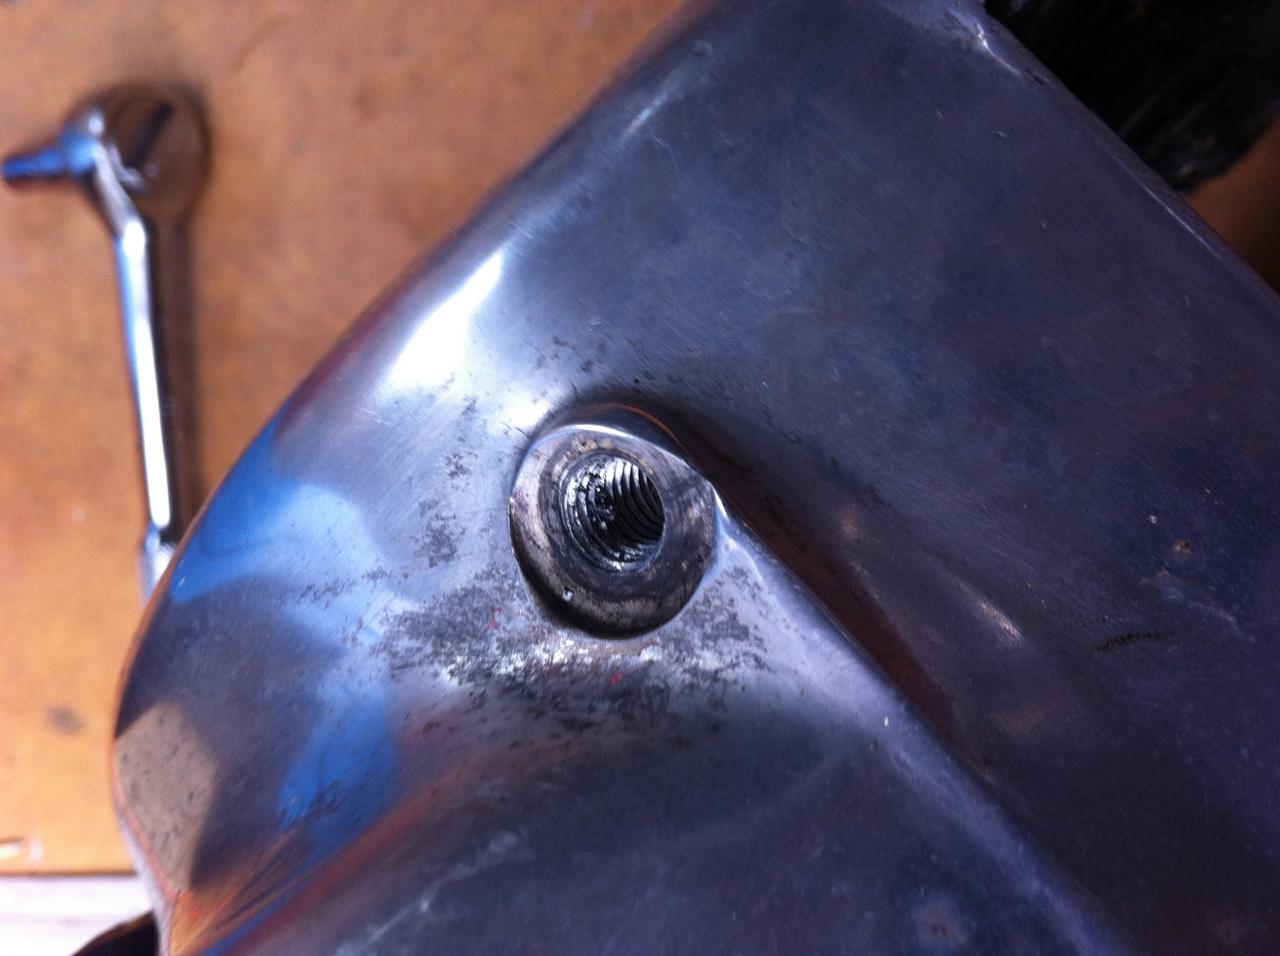
I mean, how cool is it you can put threads in something?

So, that's day one . Friends coming over soon and I need to help. I'm also out of WD40 so looks like I have to stop. This been a very cool project and Hugh's instructions are really spot on.
 
Full of enthusiasm, I set out to get this project done and head out for a ride. Got on my grubbies and went out to the garage. Project #1 was clean the cover.
full

Weird wear pattern around some of the holes, but they all seem to be superficial cracks.

full

Got the tail end of the new cable screwed into the case.

full

All back together!

TROUBLE

I was initially unaware of how to adjust the clutch and did some screwing in and out of the little adjuster and jam nut on the leftside cover. Then something happened and the clutch wouldn't disengage. The clutch lever felt all wrong, too. I took the side cover back off and noticed the cable had slipped out of the actuator.
full


Got it back in, did a better job of bending back the tab and put it all back together. While I was in there what I realized was that the adjustment screw puts more or less pressure on the clutch push rod so I started over with that. While I had the cover off, I also turned it 2 full rotations out so the distance inside would be a little longer in case that was needed.

Now, I'm in a pinch. Either I don't get it adjusted far enough out and the bike stalls when in gear with the clutch in, or I'm slipping at high revs. I don't know what else to adjust, am hungry, and frustrated, so I'm going to eat lunch.
 
From another thread on this site:

1. Loosen until no drag felt.
2. Tighten until you feel it just touch then back it off a 1/4 turn.
3. Tighten jam nut.

So it should be just barely touching. If you have it adjusted like that then it might be something else. (Like in my case I needed new clutch friction plates)
 
I do feel like I've done that kind of adjustment. I'm stuck in this loop of either too much play and it slips, or not enough and it stalls in gear with the clutch pulled. I took it upon myself to think that it shouldn't be the friction plates or anything like that, because all was fine with the clutch before I put in the upgrade.

The only weird think I notice is that when you squeeze the handle, there's an amount you can pull out the cable farther than the spring is pulling it. Thinking maybe it was the spring, I made an adjustment:

full


However, it didn't really make a difference. It doesn't seem like it gets worse while holding the lever in, so I don't think I have air in the line... I don't think
 
Now, I'm in a pinch. Either I don't get it adjusted far enough out and the bike stalls when in gear with the clutch in, or I'm slipping at high revs. I don't know what else to adjust, am hungry, and frustrated, so I'm going to eat lunch.

I think first you may need to lower the Slave Cylinder in the side cover a bit, as you shouldn't have needed to back the adjustment screw off 2 full turns. Pull the "cable" end of the slave cylinder fully out before you hook it up as well, or you'll get odd adjustments.

Are you keeping the OEM controls on the bars? Make sure nothing is hitting up there as well, there are a few minor mods you have to make to the clutch lever to clear those chunky controls properly.

Keep me posted if you have more trouble. We've had lots of folks love this setup, and a few that get caught in "funky install" land - but once you get it right, you'll love it. :thumbsup: Again, keep me posted, shoot me an email if needed, but I wanna see you riding :bike:

Hugh
 
I think first you may need to lower the Slave Cylinder in the side cover a bit, as you shouldn't have needed to back the adjustment screw off 2 full turns.

Sorry, I don't think I was clear. I turned the cover 2 full rotations to back out the slave cylinder to make it expose more of the cable. I didn't turn the adjustment screw (the one with the jam nut on the outside of the cover) 2 full turns.
 
I have to ask though, who recovered that seat? Looks comfy :bike:
PO got it done. He did the restoration of this awesome bike. I've written him to find out who did the seat because I remember him telling me he sent it somewhere to get it done.
 
Pull the "cable" end of the slave cylinder fully out before you hook it up as well, or you'll get odd adjustments..

Hugh: I just want to be sure i'm hearing you correctly: position the actuator as far as it'll go then put the lid on (don't pull on the clutch lever to test it, which shortens that distance). THEN you can adjust using the usual methods.. sound good?

Are you keeping the OEM controls on the bars? Make sure nothing is hitting up there as well, there are a few minor mods you have to make to the clutch lever to clear those chunky controls properly.

I'm pretty sure I'm not bumping into anything, and I did read about what needs to be sawed off once everything's adjusted. I haven't cut anything yet. I didn't move the clutch level over as far as it goes yet so I don't think it's getting in the way.

BTW, you must be really busy answering emails and posting on blogs, but your efforts are REALLY APPRECIATED!!
 
Hugh: I just want to be sure i'm hearing you correctly: position the actuator as far as it'll go then put the lid on (don't pull on the clutch lever to test it, which shortens that distance). THEN you can adjust using the usual methods.. sound good?

BTW, you must be really busy answering emails and posting on blogs, but your efforts are REALLY APPRECIATED!!

Exactly, you want that rod to be at it's longest when you install the side cover. Then you can adjust the outer screw if needed.

We took off for the weekend to go to a local Show call "The Meltdown" and set up a booth there. It was a vintage and cafe' show, we were expecting 50-75 bikes. I think about 300-350 bikes showed up, including a feller who rode his 51' Vincent From Atlanta! :yikes: So we took 3 days away from the shop, and I am now stuck answering over 200 emails today :doh: All part of the job, to make sure you folks stay happy - I'm not complaining - I love my job :thumbsup:

Hugh

Hugh
 
So we took 3 days away from the shop, and I am now stuck answering over 200 emails today :doh: All part of the job, to make sure you folks stay happy - I'm not complaining - I love my job :thumbsup:

I couldn't imagine having to search a bunch of boards for my name/product names/product categories trying to find questions and help with those on top of email and phones. That would drive me nuts. :banghead:

I would probably setup ZenDesk add a bunch of FAQ's and canned responses for emails. Then write a bunch of scripts to monitor all the forums that I would be on to find posts/threads about me and my products. That would probably save hours of time responding to problems and info requests. :bike:

Hmm... this sounds like a new software product that I can build... :thumbsup:
 
Exactly, you want that rod to be at it's longest when you install the side cover.
Hugh

:wink2:Heh heh, that's what she says!:laugh:

IT WORKS!! THANK YOU HUGH!

Ok, for those out there like me, might I suggest 2 things:
1) loosen the jam bolt and clutch adjuster screw before putting the cover back on
2) be SURE you push the new cable all the way out as far as it goes and DON'T squeeze the new clutch lever until youre all buttoned up to be sure, as Hugh so aptly put it, make that rod be at its longest. Then the adjustment made sense to me and I'm back on the road!

Now saving my pennies to raise $400 so I can send Hugh my cam and crank for some rephrasing craziness this winter!
 
Back
Top