timing advance bushs

I am Carbon

shade tree mechanic
Messages
4,156
Reaction score
199
Points
63
Location
Fort Myers,Florida
The bushes that came with my Pamco kit OD is too large and has cracked my cam.
I can't get he damn bush out also.
I as well as others just can't catch a GD break!
full
 
I've seen a few of these same pictures now and finally have to make a comment as people are not learning from the mistakes of others.

I can't imagine beating on a soft bronze bushing that hard into a camshaft that's installed on the motorcycle to do that kind of damage and not know you are doing something wrong or something doesn't fit.

If it doesn't fit get a bigger f^^^ing hammer.

Come on guys.

Once it starts resisting that much you should have;

Removed the bushing and measured it and the camshaft hole.

Removed any burrs you just put on the bushing and started cleaning up the receiving hole in the camshaft of any rust and debris.

Measured everything again and compared the bushing size to the original one you must have removed.

Then start resizing the bushing to the point it's a good tight fit with just light taps to get it seated. Usually about a .001 th fit.
 
I agree about .001" interference is all you need. Alternatively, you could take it down to a near slip fit and use something like Loctite 609A retaining compound to hold it in. If you work it down to .001 to .0015 interference, putting the bushing in the deep freeze for about an hour should shrink it enough to slip fit, then expand into place as it warms up.
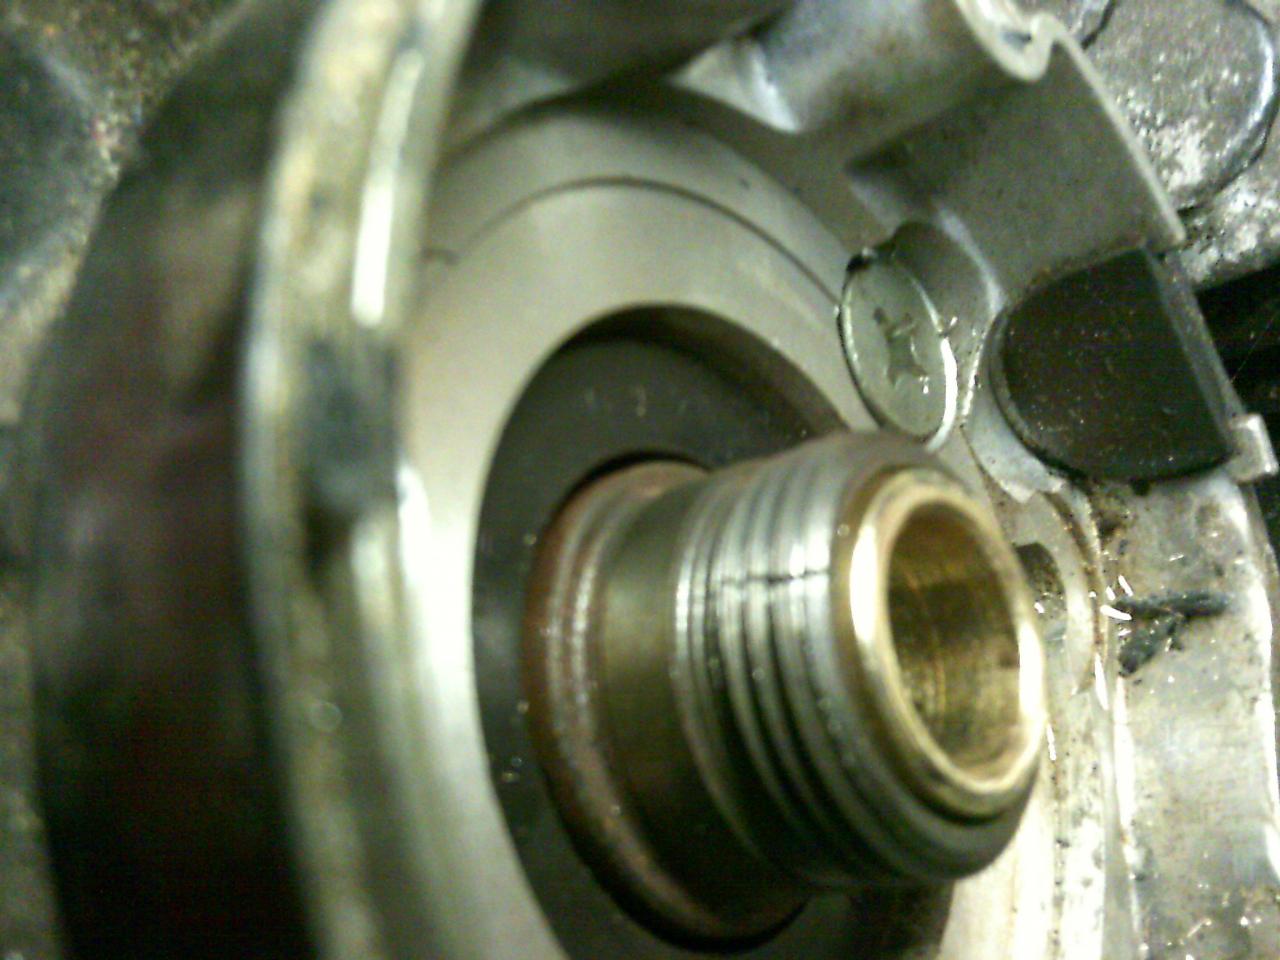
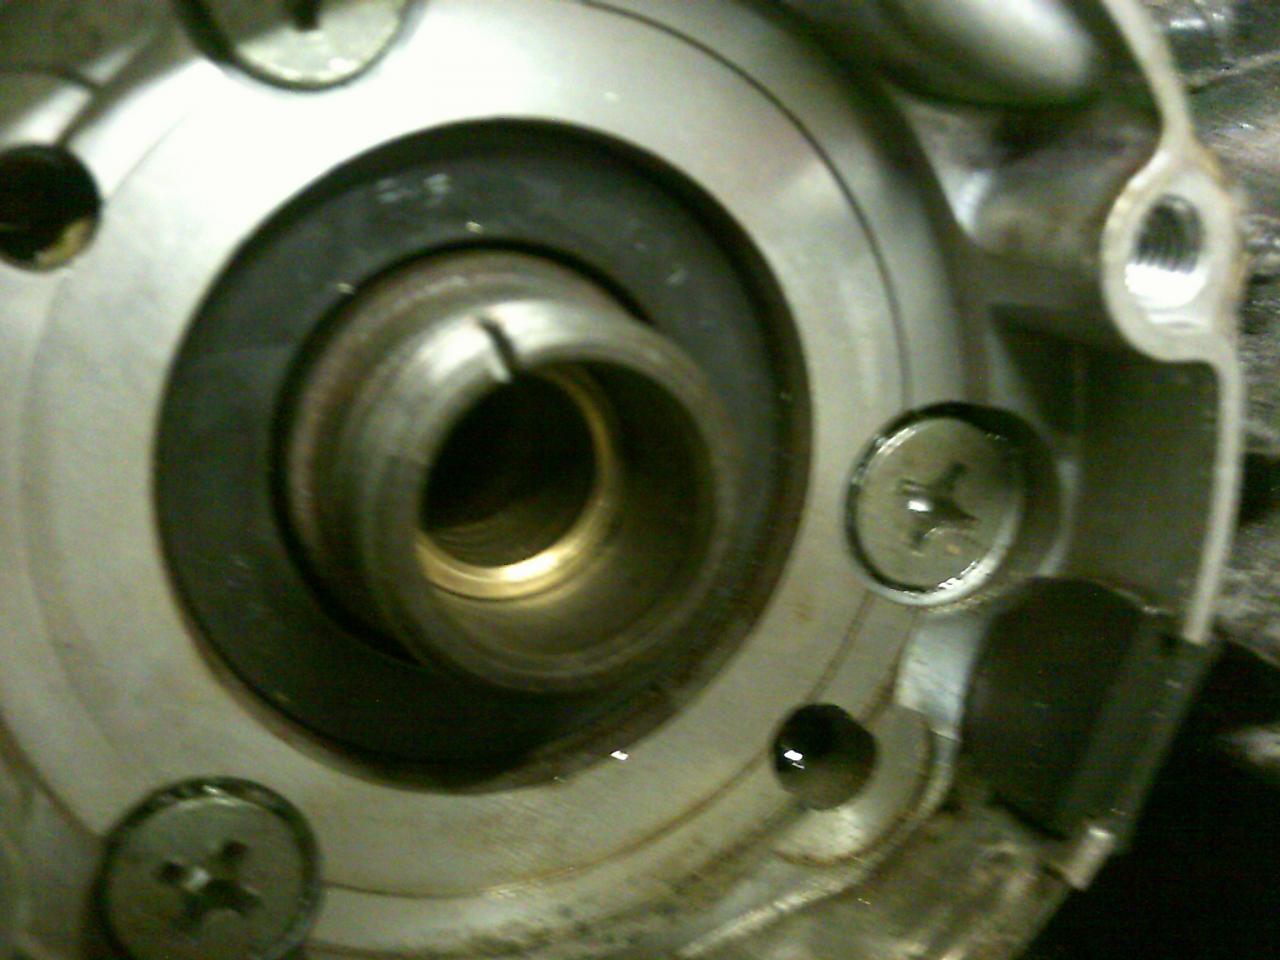
I know all this is too late to help. Sorry. I've seen a couple of these pics too. Old metal don't help (metal ages, in use or not) but a lot of these bushings are coming from supply houses that have pretty wide standards on parts like this, and verifying dimensions before installing can save some hardship. Last year I was converting GL1800 rear shock assemblies with the hydraulic preload adjust for use on Road Stars (Google "Road Wing") and the bronze bushings we used from McMaster-Carr ranged from pushing out when you put the center bolt in to cracking down one side when you pressed them. A little attrition on the stock, but nobody ever trashed a surrounding part. The wall of that cam is really thin, especially at the relief cut behind the threads, so you are pushing more internal stress to that thin point as you insert the bushing.
Sorry for your troubles.
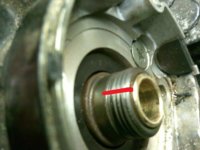
I do have a suggestion though. With the Pamco, that end of the cam will be a low stress area. There is no more ATU inertia to cope with, just a cap device. You might consider slotting that crack out with a good radius at the bottom of the crack going inboard. I'd consider carrying the slot all the way up onto the major diameter beyond the threads where the cross section steps back up. I'd do it on mine if I had your issue.
 
Okay I'm a dumbass.
I wasn't using a big hammer.
didn't have old bush to compare to.
So I'm a dumbass.
And I've seen the pix too.
And I'm a dumbass!!!!!
 
Ok, now that I've got that off my chest, here's the fix.

I would remove the big bushing.

Finding the appropriate size bolt and nut, use it to hold the bushing and put it into my drill press or hand drill. Spin said bushing to high speed and using a file or sandpaper reduce the size, going very slowly with lots of testing until it fits with a lot less pressure.

If you go too loose, you can tap the outside in about 20 places with a center punch to create indents, which also creates bumps that will tighten the fit when installed. Then using locktite reinstall.

I believe the cam threads will still be okay if you are reinstalling the advance unit and if not, there is very little load on this bushing so the slight crack will not cause you any more grief.

That's my 2 cents.

Wow, you got some reactions while I was typing this one.

Don't kick yourself too much it's fixable. Good luck Buddy.
.
 
I'm thinking that the bore in these later cams may not have been finished or sized as exactingly as the earlier ones because Yamaha knew they weren't fitting bushings in there anymore.
 
Here's my slot suggestion. I suggest this because the raw bottom of the crack will still be a stress rise point a crack could propagate further from. With a radius at that end, the stress will drop off a great deal. Of course the slot should be perpendicular, but I don't have the artist's touch with "paint" to illustrate it that way.
 

Attachments

  • cracked cam slot.jpg
    cracked cam slot.jpg
    227 KB · Views: 225
Oh! sugar, Carbon. That brass bush should really have a lip so it goes in thus far and no further. Of course, you will be tightening the nut on the advance mechanism, so it will go in, and in and in. Looks like the instructions should have a specific torque setting.

I am sure you know how to remove that - or find a way with what the fellers have said above - but that is no comfort with that split in the cam shaft, damn!

Keep us posted on the repair.

Anlaf
 
Thanks Guys for Your help.
I have gone through all the emotions and I am in the process of repair.
I figure a couple of choices for the crack
cut a slot like jd suggest.
stop drill the crack.
I think the slot is the easiest and that's my choice. thanks jd for that.
I am also going to do as Brian suggest bolt, nut and drill press and fine sandpaper.
I didn't have a tool to remove the bush.
After some thought I came up with a solution.

 
Well done, Carbon.

That little thing that flew out - could it be the tiny pin that slots un the cam as part of the timing mechanism (unless you took it out with the mechanism).

Anlaf
 
I still don't know what flew out.
The locating pin has not been installed yet.
I have been looking for what flew but can't find anything nor can I find anything missing. :shrug:
But I heard something hit the cabinet.
 
Been watchin' at 4:35 over and over, all I can see is the bottom allen head screw move a little more, as if to fully seat, and the bush move out about 0.20". Whatever it was, moved too fast to catch...
 
twomany I never found what it was.
But I have resized 2 out of 3 bushes.
I have cut the crack out. (what did I just say?) :laugh:
I have removed the split by using a cutoff wheel cutting a slot.
I have installed the left side bush and the inside bush on the right side.
Now that the inside bush in in place I can install the locating pin, advance plate and nut. Then I will install the outside bush and the rest of the Pamco ignition. Sounds easy enough so lets kick some ass! :guns:
full
 
ANLAF, on the 80 up bikes that had the TCI there are no bushings in the cam. So there is no old bushing to compare to.
On installing the bushes for the Pamco, If you found that it was going in hard I might think to use a Dremel tool with a thin cut off blade and cut a slot in the bushing. Like the bushing for the clutch push rod. This will let the bushing compress to a slip fit. After all the rod won't be spinning in the bushing like it does with the points and advancer.
If after installing the bushes the rod is a too tight fit. Use valve lapping compound on the rod, spin it with a drill to hone out the bushings.
I had to do that when I installed the bushings in an 82 engine. I ran it in my 75 while I had the 75 engine out for a rebuild to a 750. I was using an original Pamco with the stock mechanical advancer and the rod was a too tight a fit in the bushings. I used some valve lapping compound on the rod and spun it into the bushings to get a free spinning fit.
It was a bit time consuming but I lapped a bit cleaned out all the debris, greased the rod and bushings and tried it. I did the lapping and clean out several times till I got the free spinning rod with out any side play.
With the Pamco you won't need to be quite as precise as with an advancer. Just lap till you can get the rod through the bushings. On that end you only need one bushing, the one that goes under the pin. The bushing is what holds the pin in place.
Leo
 
Well I have the bushes, locator pin, advancer plate and the nut that holds it on installed.
full

Ready to test fit the shaft.
Leo, Hopefully I wont have to lap that in too. But I'm ready if I have to
 
Nice save and video . I viewed the thread and did not comment. You were beating up on yourself enough. The bushings I got from mikes pushed in by hand loose fit. I have heard that a piece of wooden dowel works never tried it. I still cant believe you done that. Those brass shavings should have been a clue. Shit happens good days and bad. Happy endings the best days. I had a good day out for a ride. The bike ran great the new carbs rock. :thumbsup:
 
I didn't know there was a Labyrinth Seal
The kit for 80s-84 only comes with 3 bushes .
the directions say to put 2 bushes into the right side of the cam.
And only one bush in the left side which leaves room for the Labyrinth Seal
Right now there is a space and the advance rod rides only a few MMs of the bush.
Looking at the cam for my #1 engine is has bushes and Labyrinth Seals, one of each in both ends.
So what does the Labyrinth Seal do in this case the bush does not?
is it just wider?
Is see on the other cam the Labyrinth Seals come out to the edge of the cam.
Two bushes together don't quite make it to the end.
A guy would think the Pamco kit would come with the correct parts.
 
Nice save and video . I viewed the thread and did not comment. You were beating up on yourself enough. The bushings I got from mikes pushed in by hand loose fit. I have heard that a piece of wooden dowel works never tried it. I still cant believe you done that. Those brass shavings should have been a clue. Shit happens good days and bad. Happy endings the best days. I had a good day out for a ride. The bike ran great the new carbs rock. :thumbsup:

You know that's right. I didn't even see the shavings. Some one had walk into the shop just as I started to knock the thing in. I was hammering and answering a question looking at the person I was talking to. I looked down just to see the crack, I let out a loud WTF and we you perdy well know what happened after that:laugh:
 
I don't think that labrynth seal is critical, it just holds grease so you can get 20,000 miles outta the advance rod before it needs servicing. Who knows, you may ditch the mech advance before then anyway. Having the bush flush with the end may help prevent any hanging of the slotted cam on the camshaft end, but if you've got that cam end smoothed off with no burr it shouldn't catch anyway.

Lotta posts here on labrynth seal, but may try different spellings to see them all...
 
Back
Top